New article
Recently updated
Setting Up Notifications for Work Permits in Ideagen Maritime Management Operations

This walkthrough provides a step-by-step guide on how to set up notifications for work permits. It will walk you through the process of configuring notifications to ensure that relevant personnel are informed about work permit activities.
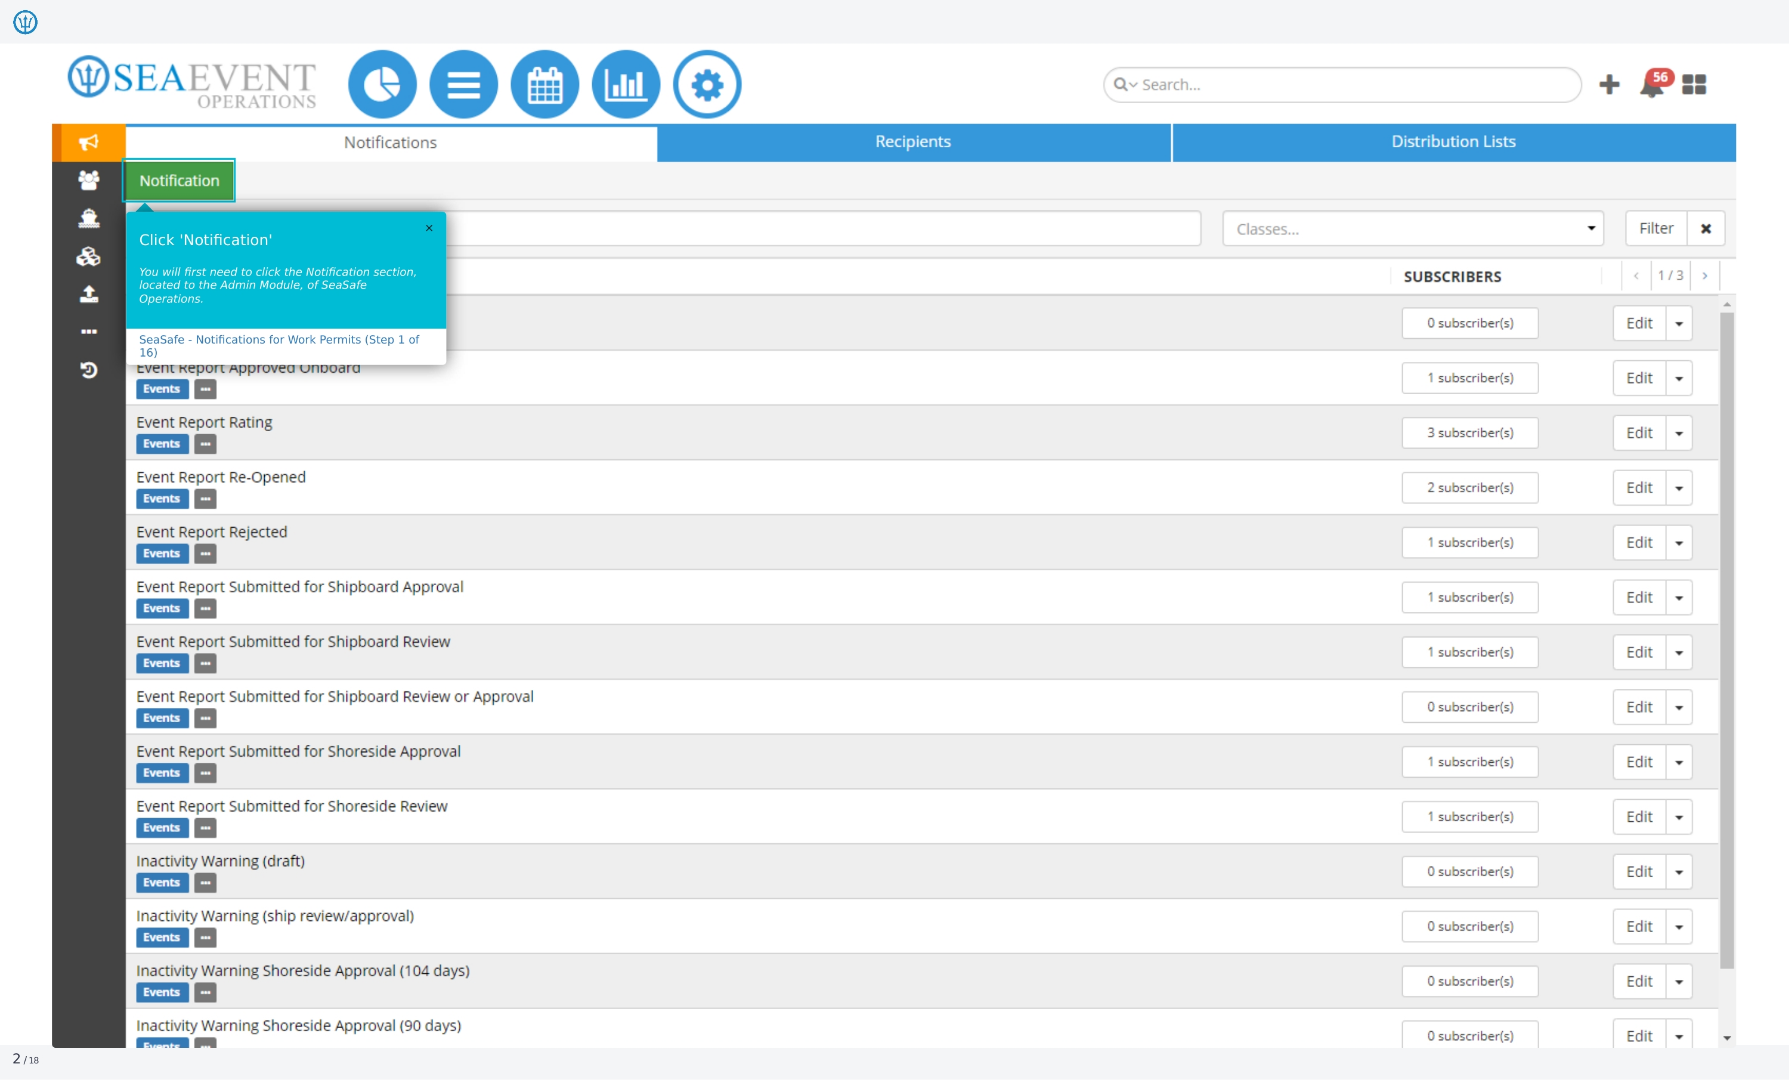
1. Click Notification
To begin, click the 'Notification' section located within the Admin Module of Ideagen Maritime Safety Operations.
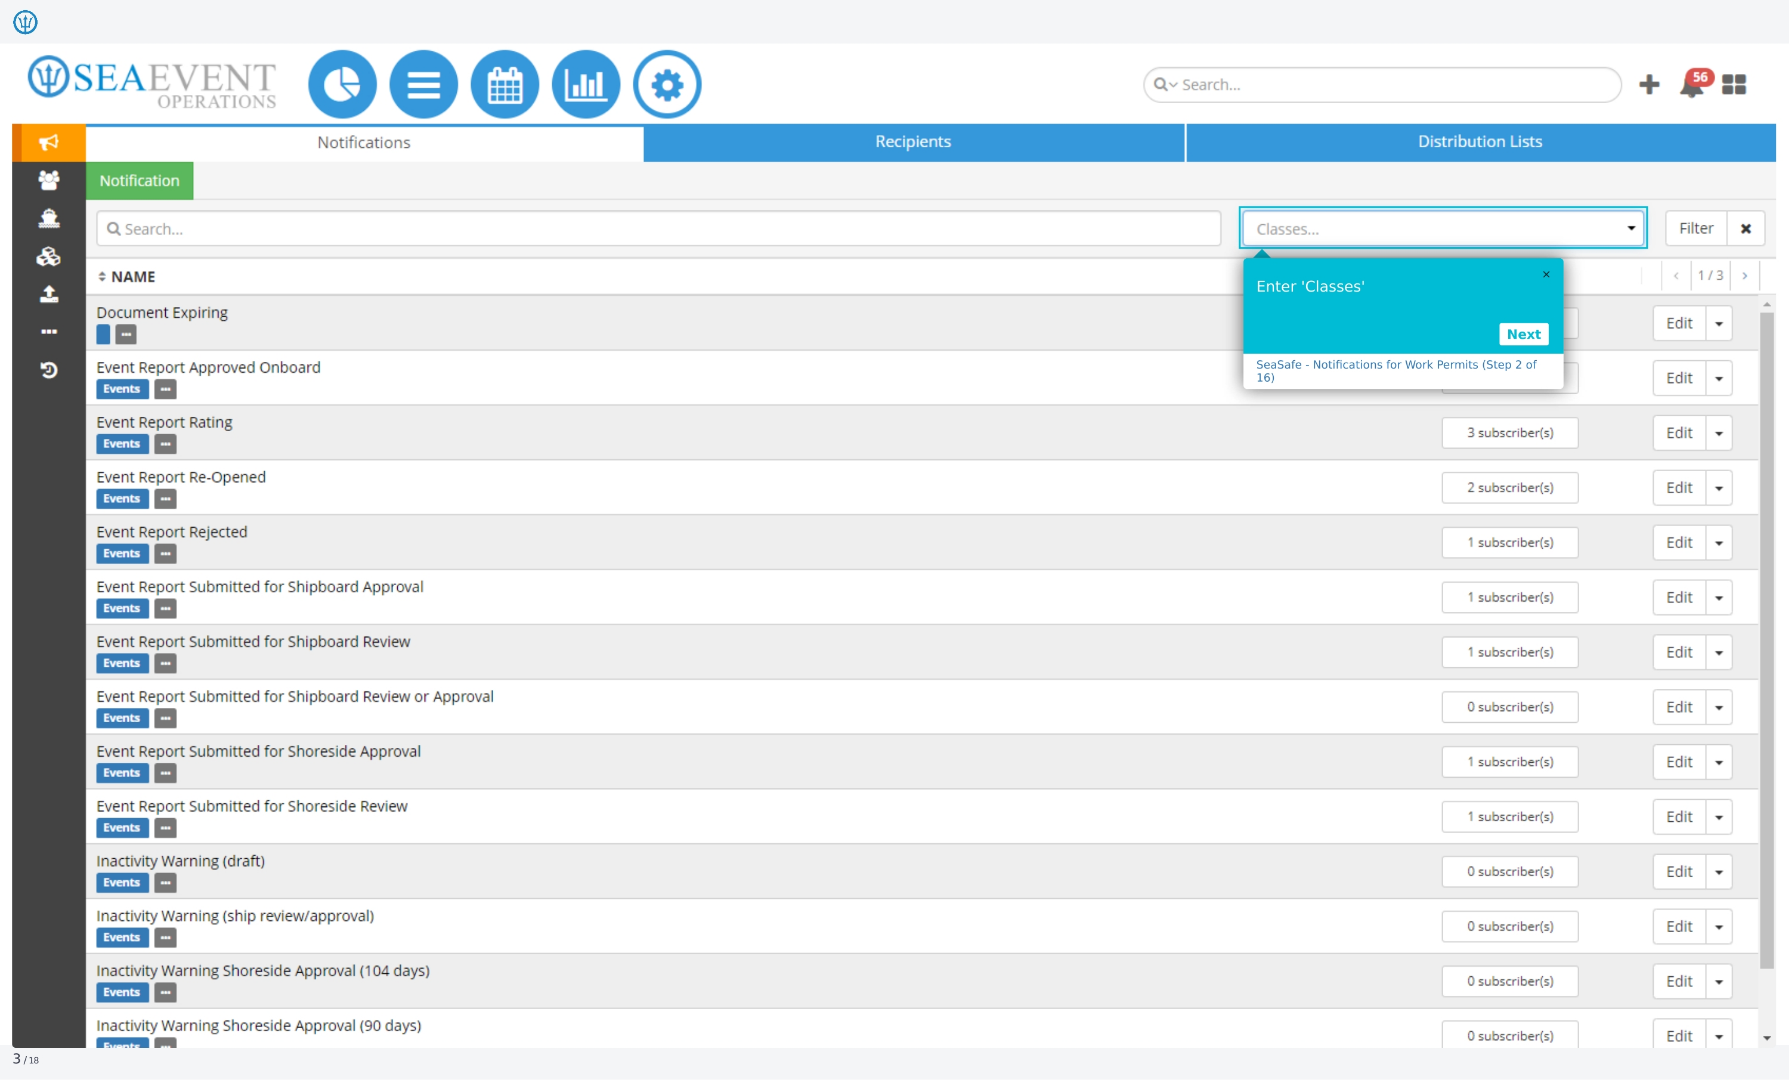
2. Enter Classes
Next, you'll see a field labeled 'Classes'. This is where you'll define the categories for your notifications. We'll explore the available options in the following steps.
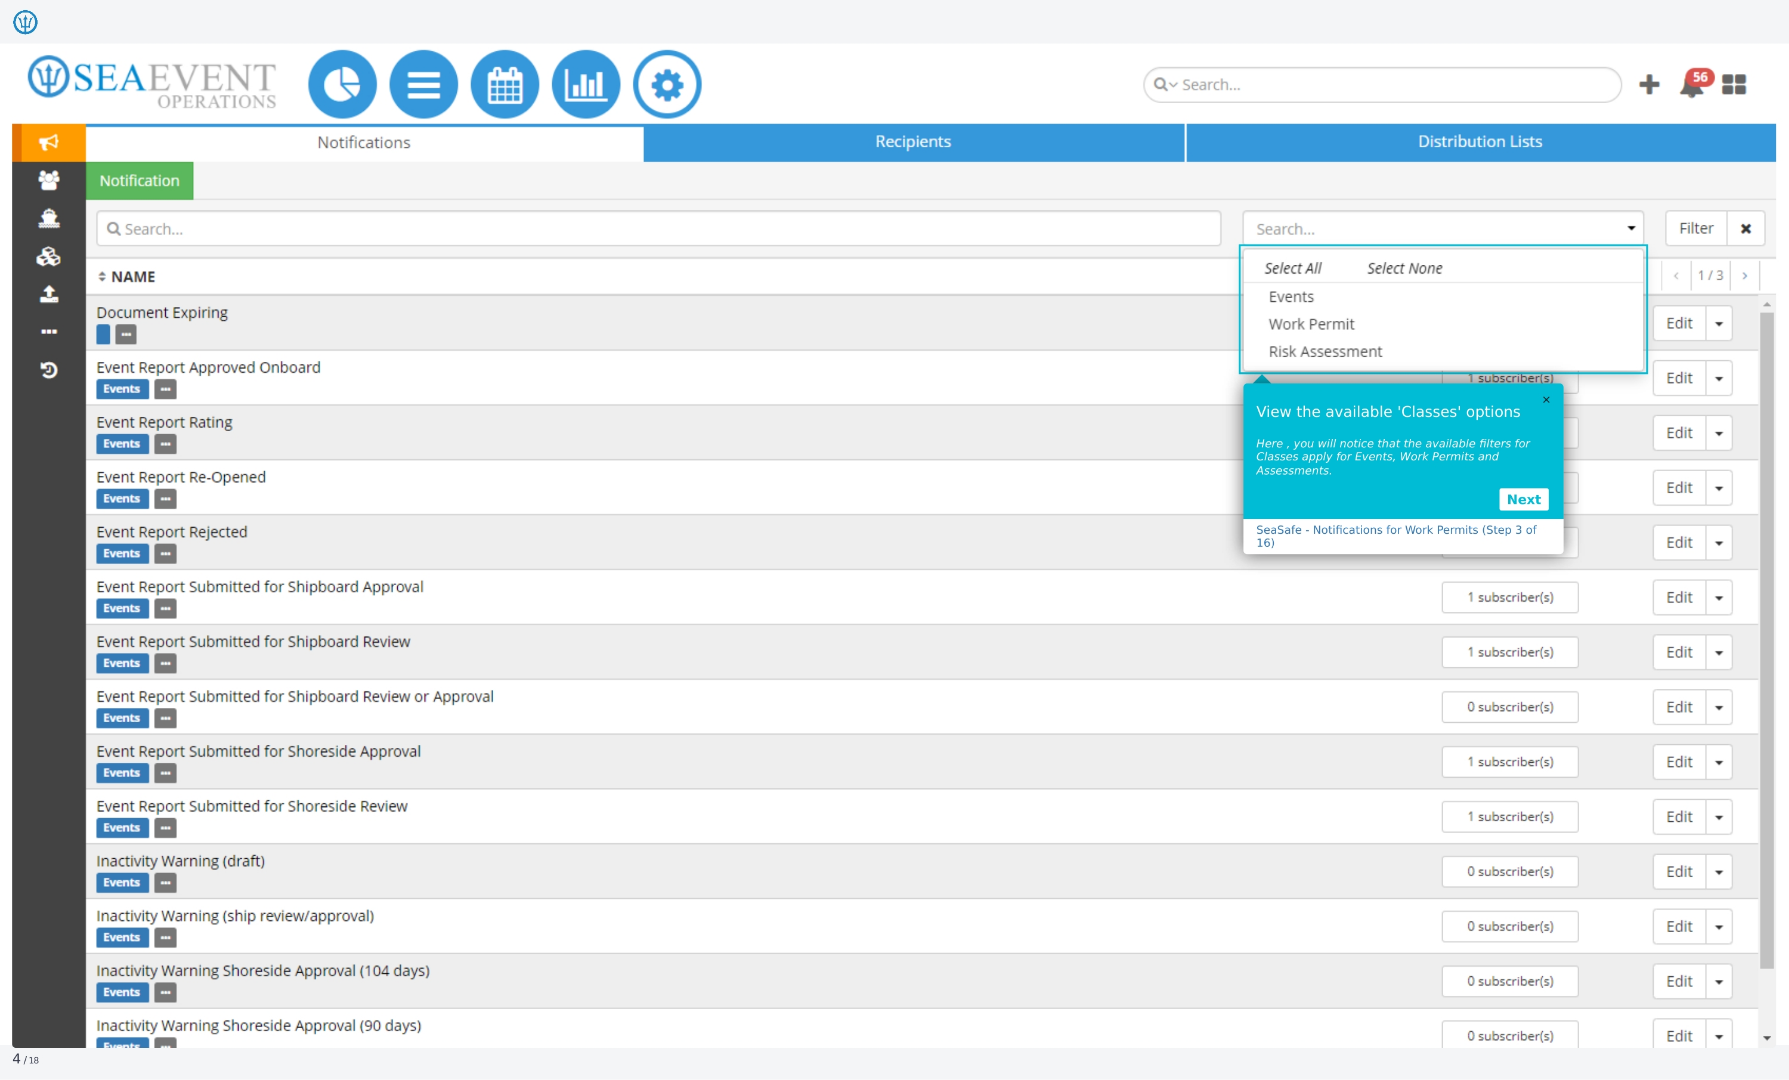
3. View Available Classes Options
Here, you can view the available 'Classes' options. The available filters for classes apply to events, work permits, and assessments. This allows you to categorize your notifications effectively.
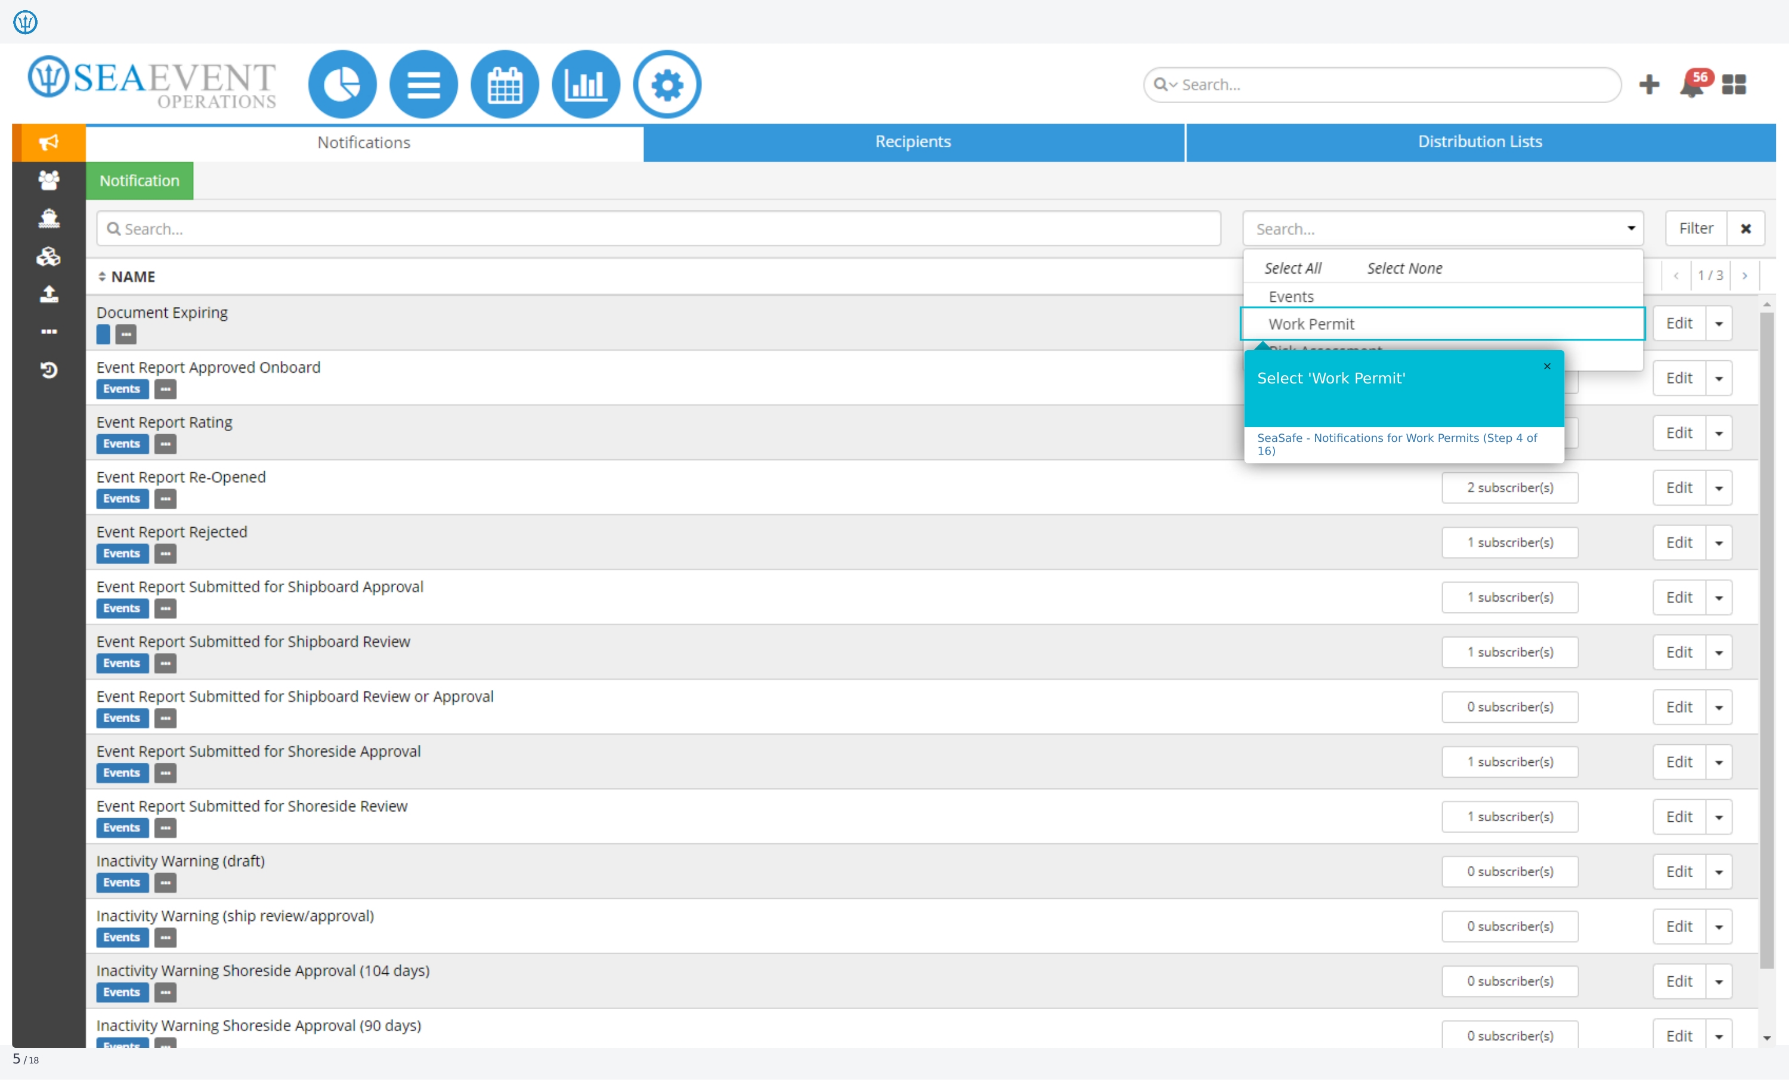
4. Select Work Permit
Select 'Work Permit' from the classes options. This ensures that the notifications you configure will be specifically related to work permits within the system.
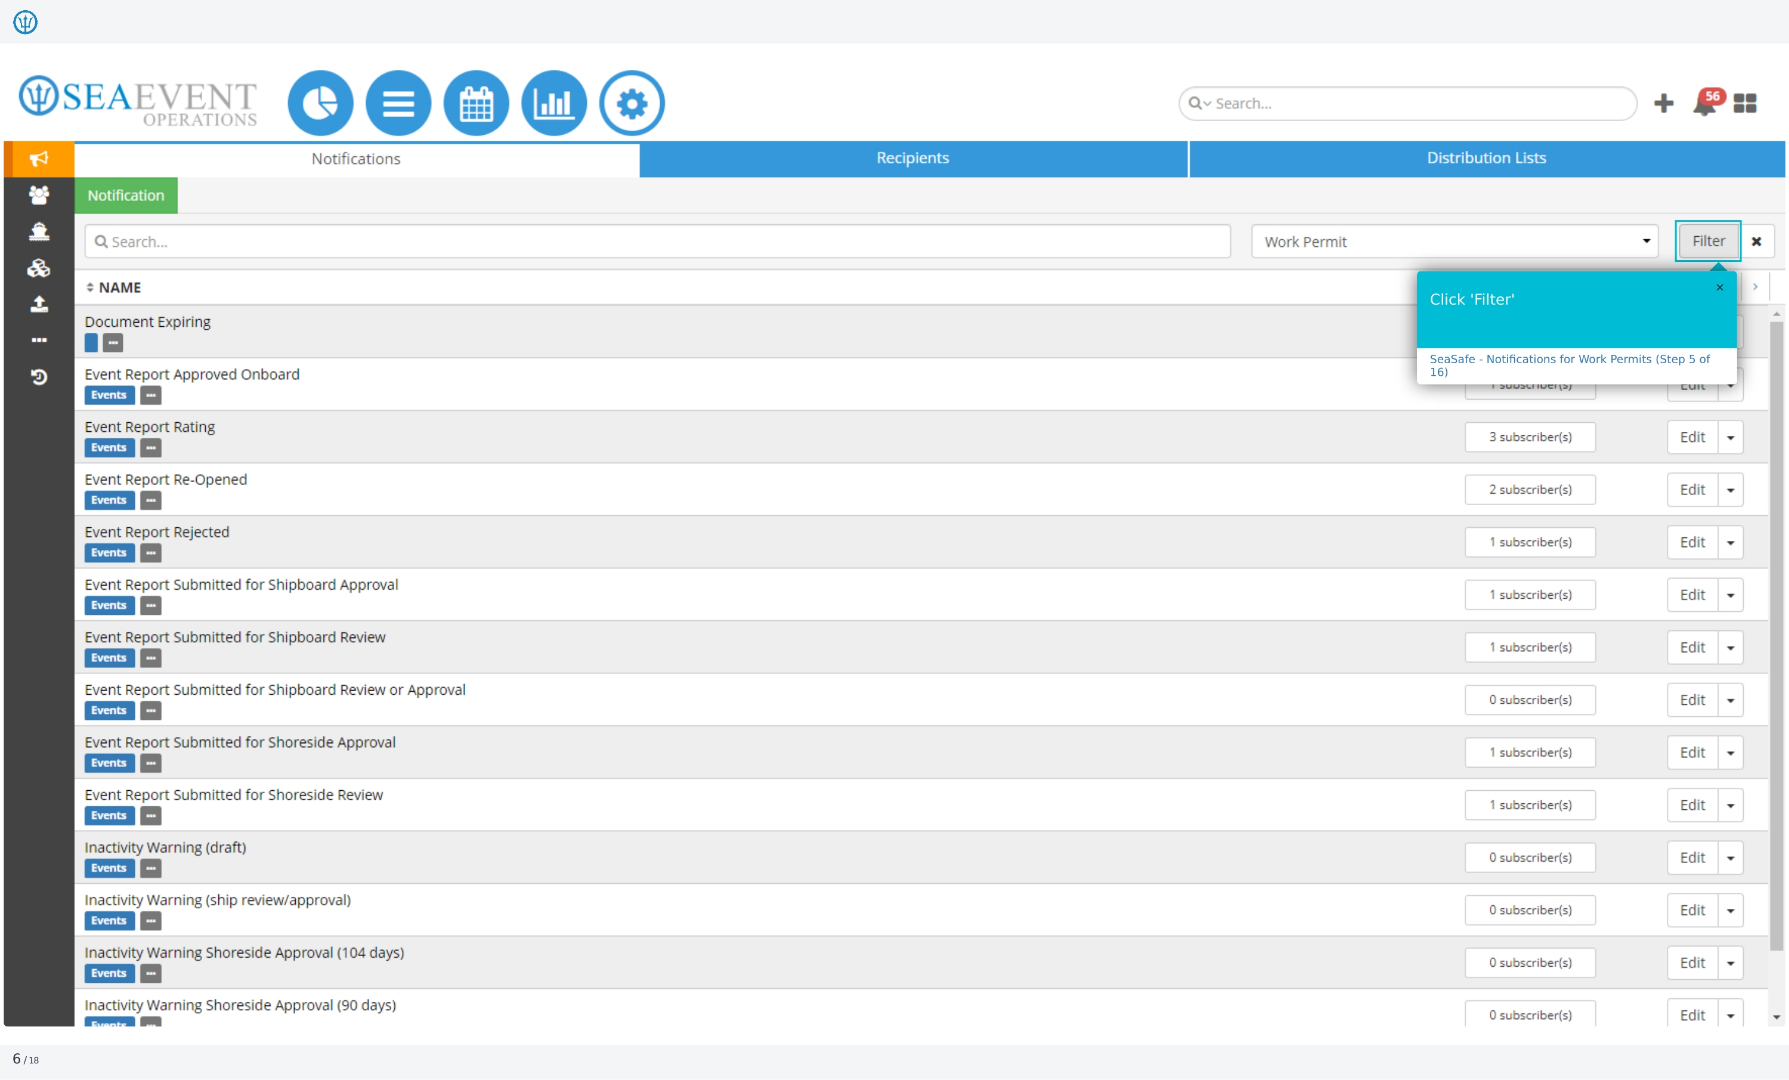
5. Click Filter
Click the 'Filter' button to further refine your notification settings. This will allow you to customize the notifications based on specific criteria related to work permits.
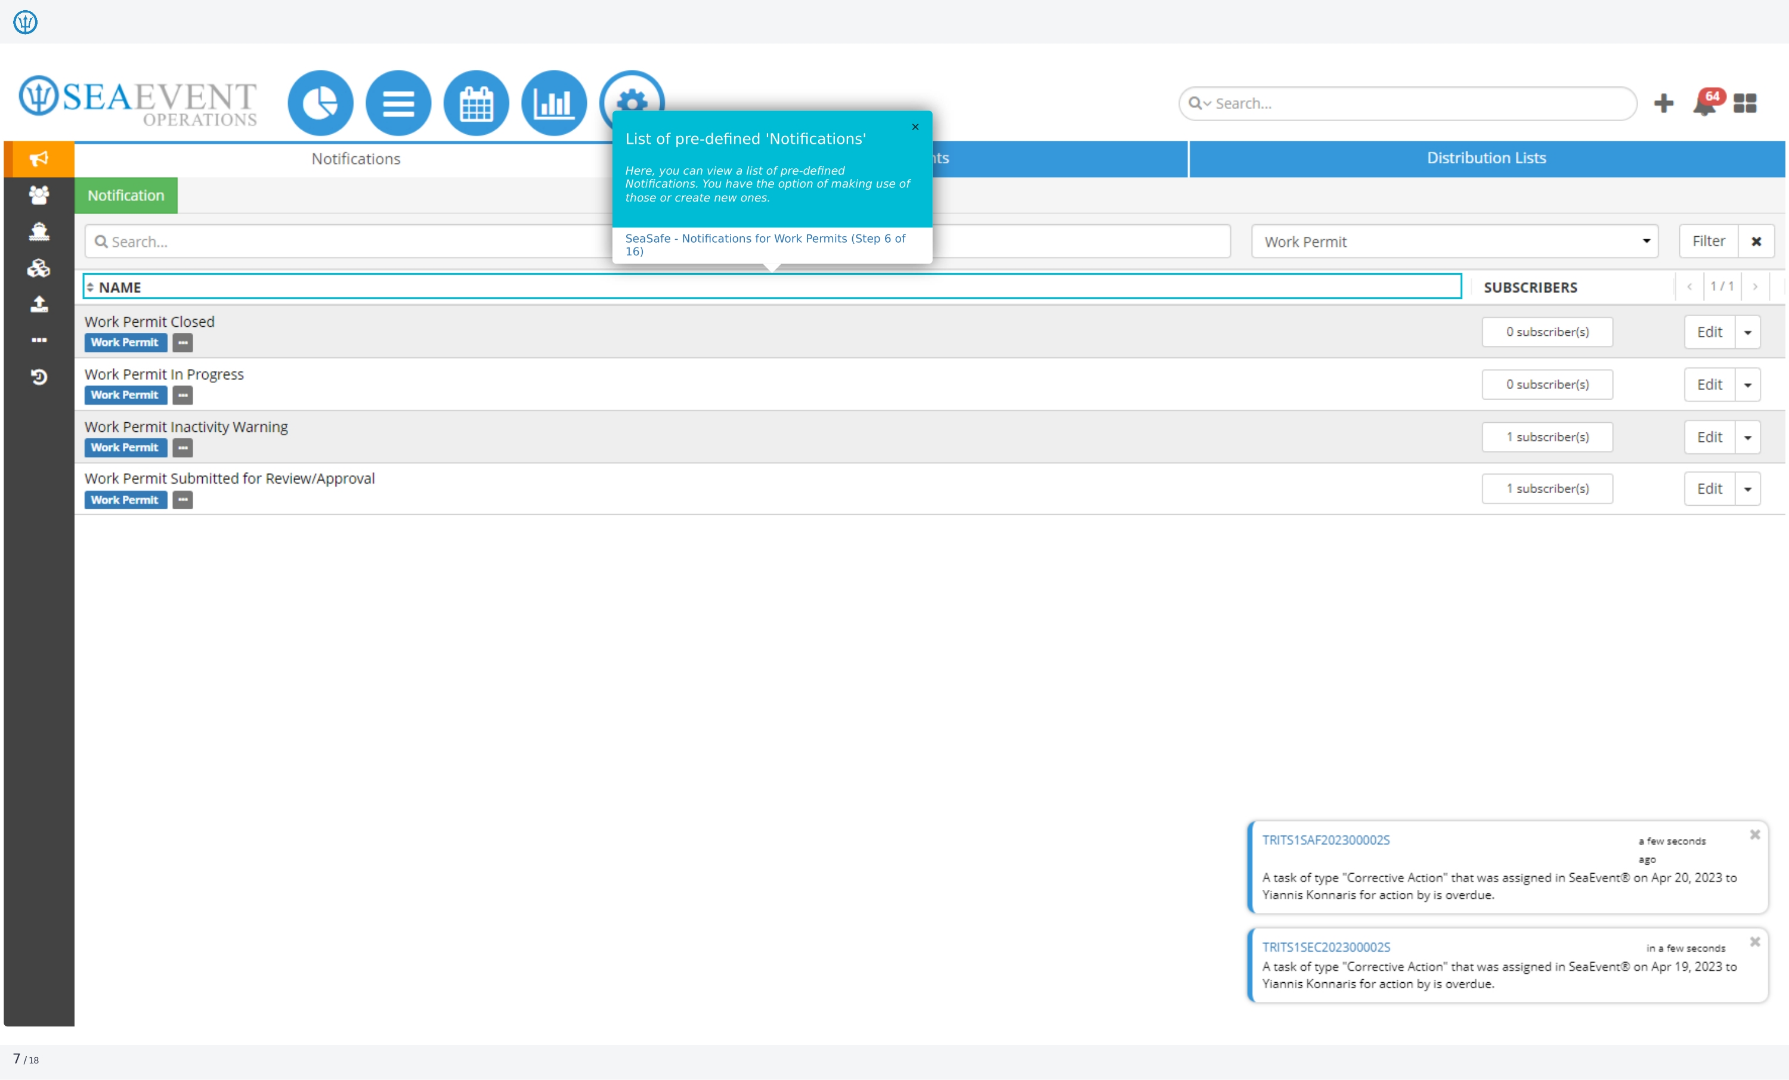
6. List of Pre-defined Notifications
Here, you can view a list of pre-defined notifications. You have the option of using these pre-existing notifications or creating new ones to suit your specific needs.
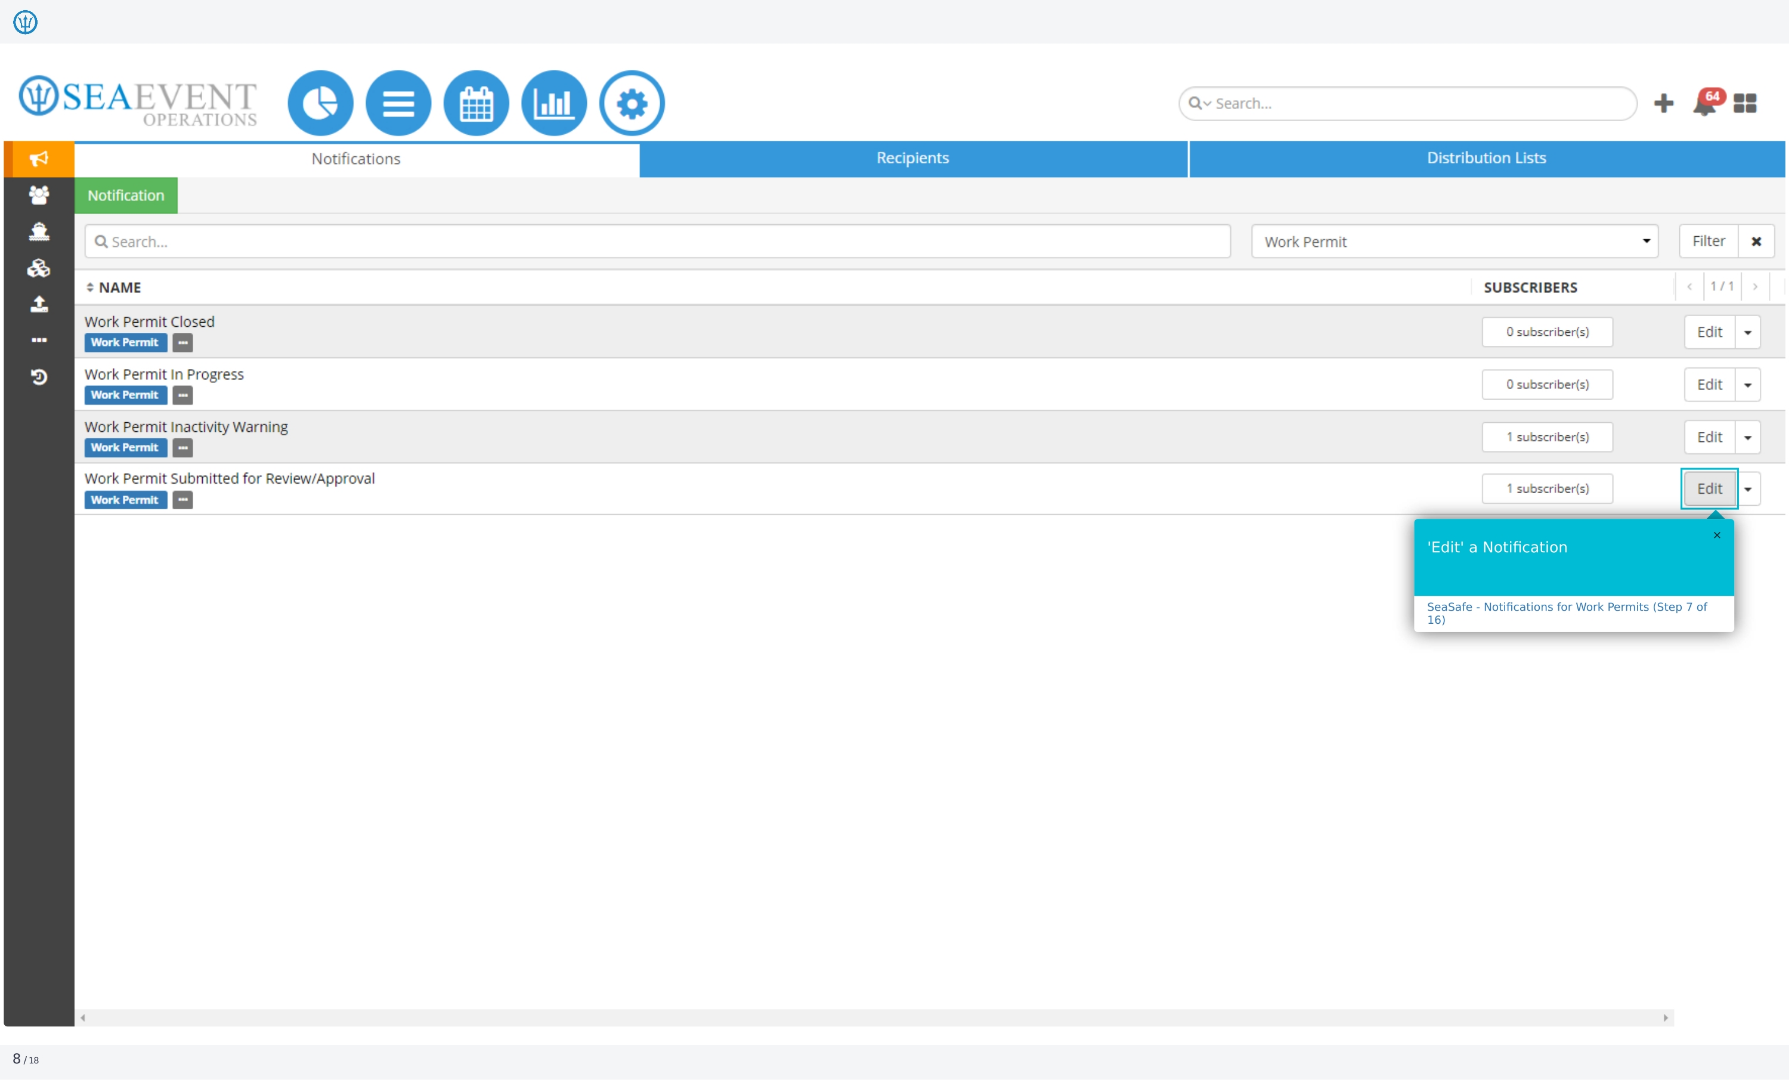
7. Edit a Notification
To customize a notification, click 'Edit' next to the notification you wish to modify. This will open the notification settings for further adjustments.
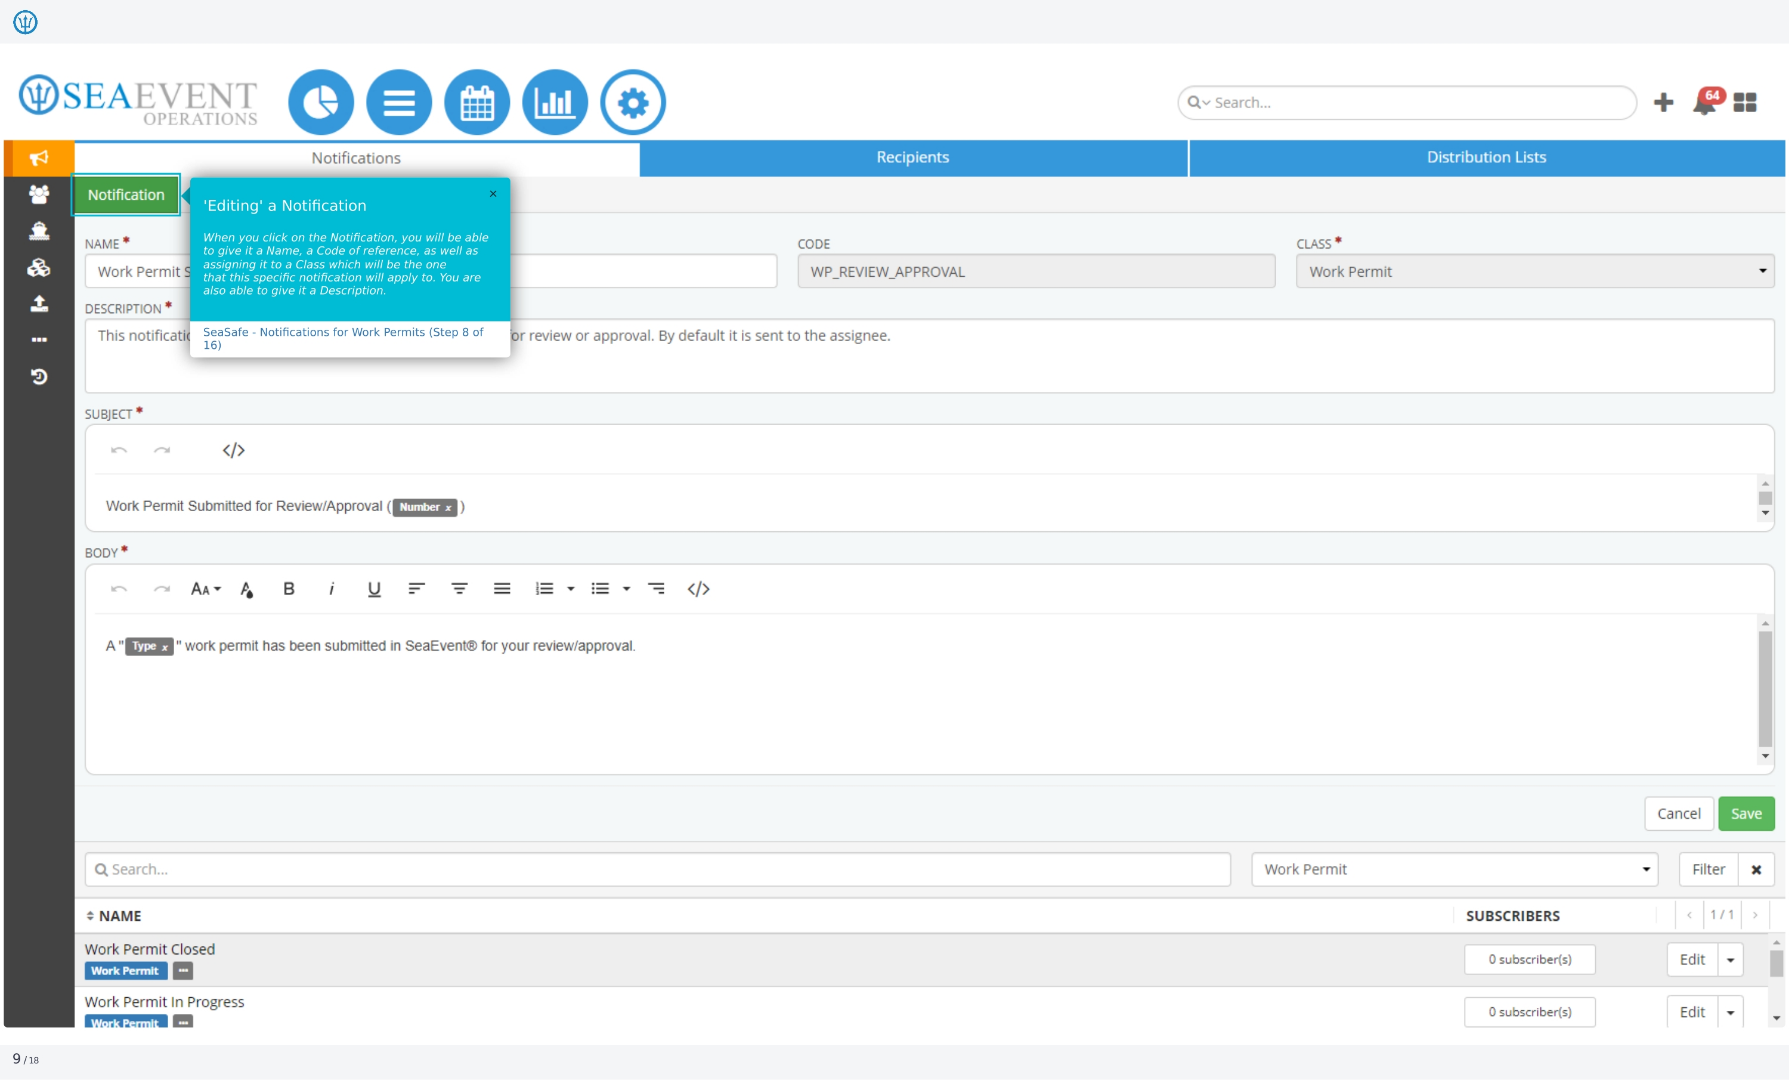
8. Editing a Notification
When editing a notification, you can give it a name, a code of reference, as well as assign it to a class, which will be the one that this specific notification will apply to. You are also able to give it a description.
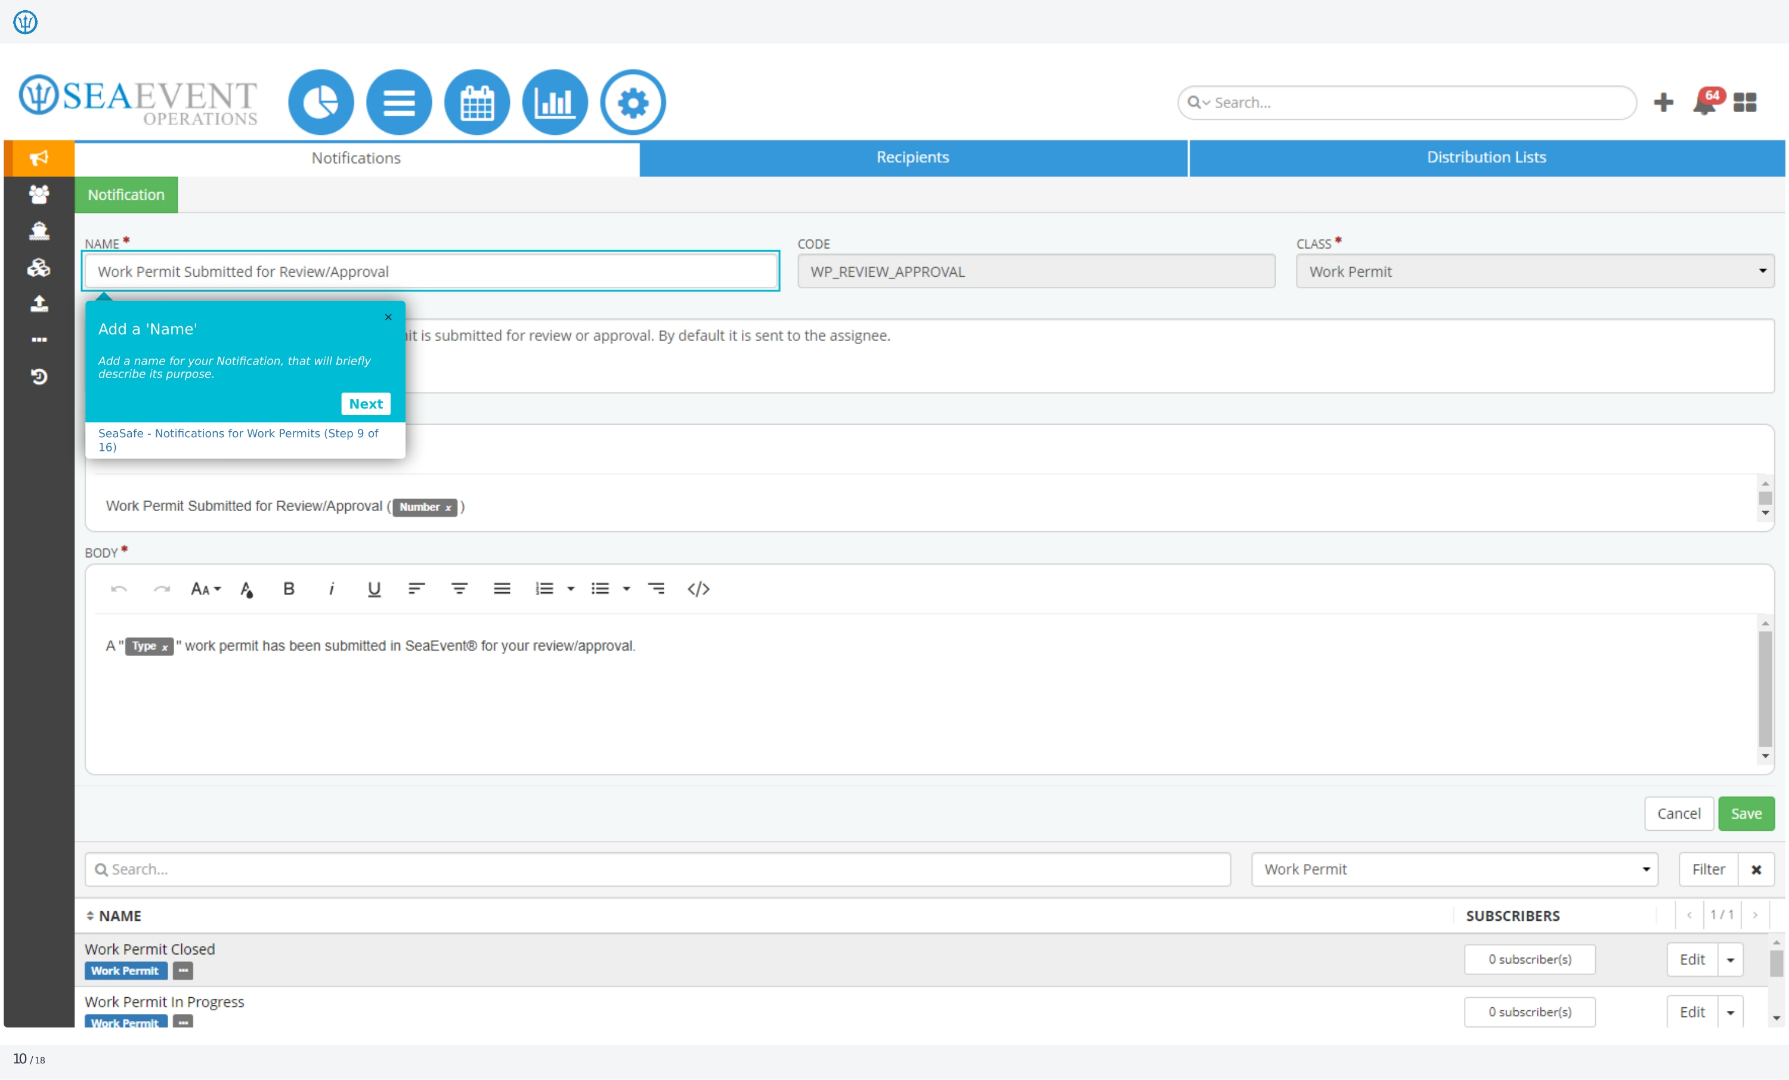
9. Add a Name
Add a name for your notification that will briefly describe its purpose. This will help you easily identify and manage your notifications within the system.
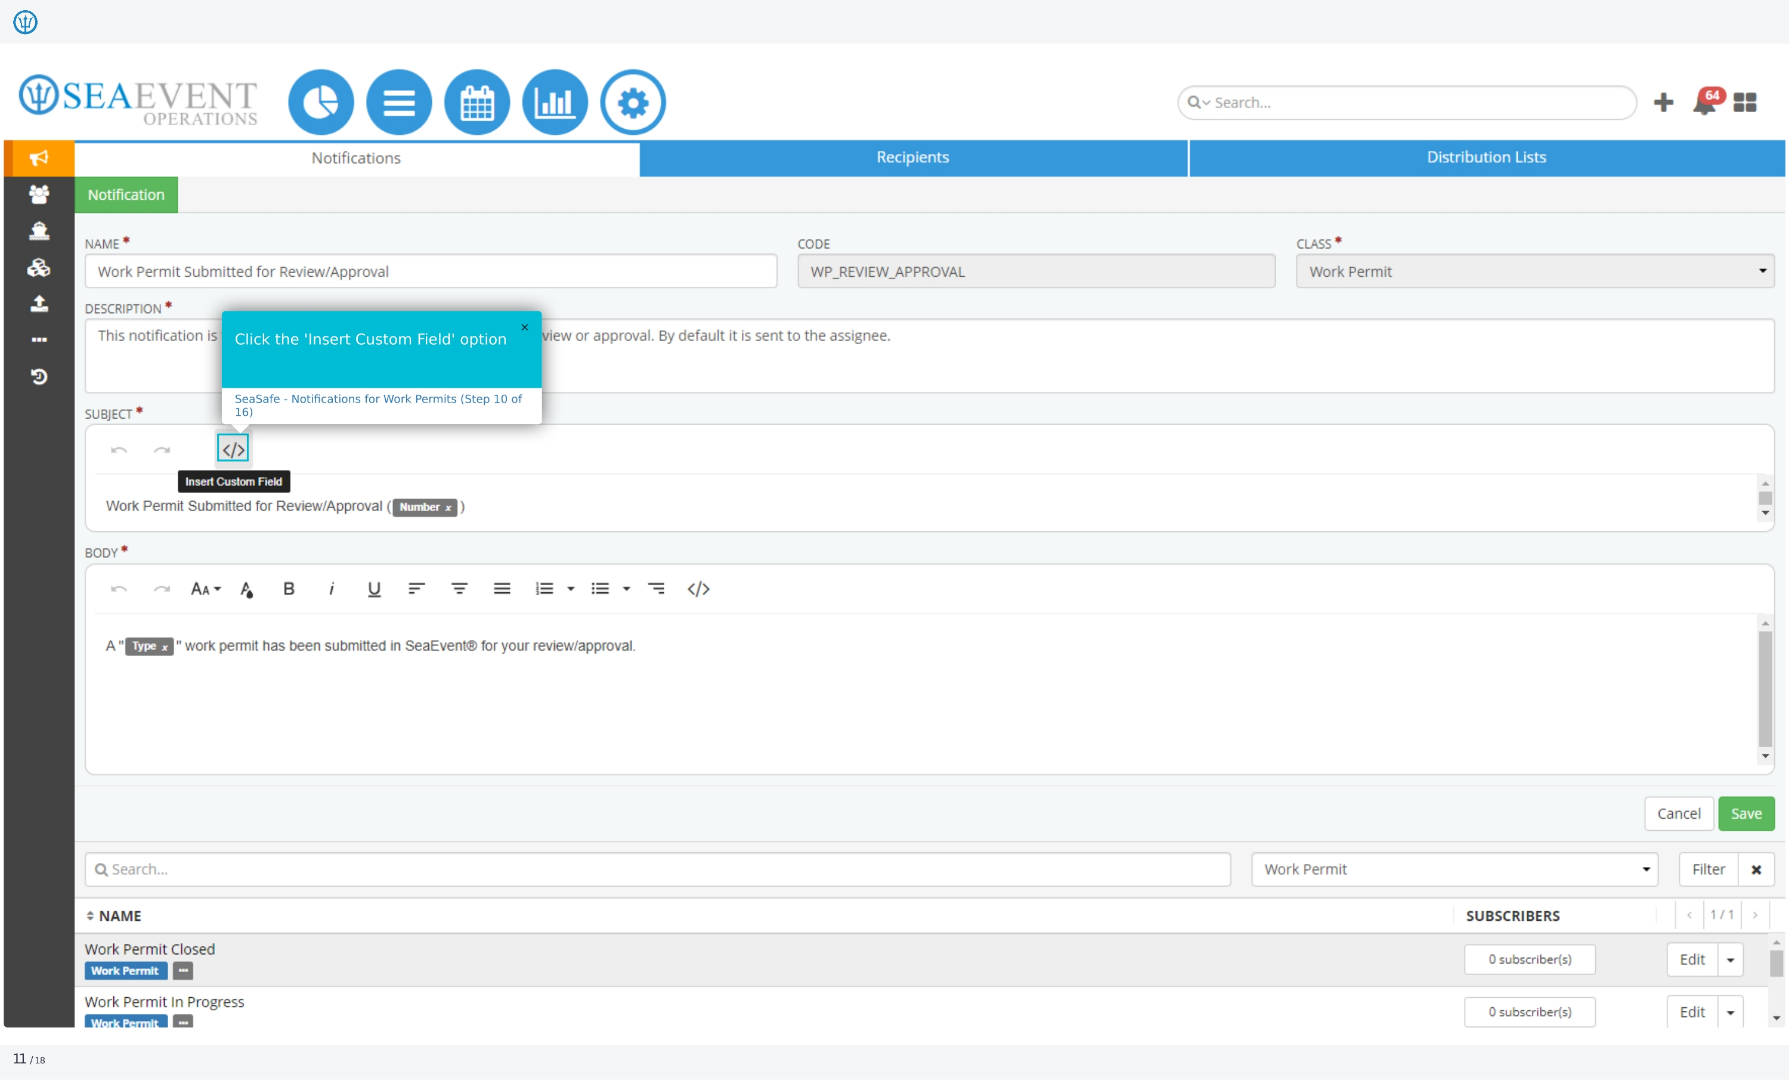
10. Click the Insert Custom Field Option
Click the 'Insert Custom Field' option to add dynamic data to your notification. This allows you to include specific details related to the work permit in the notification message.
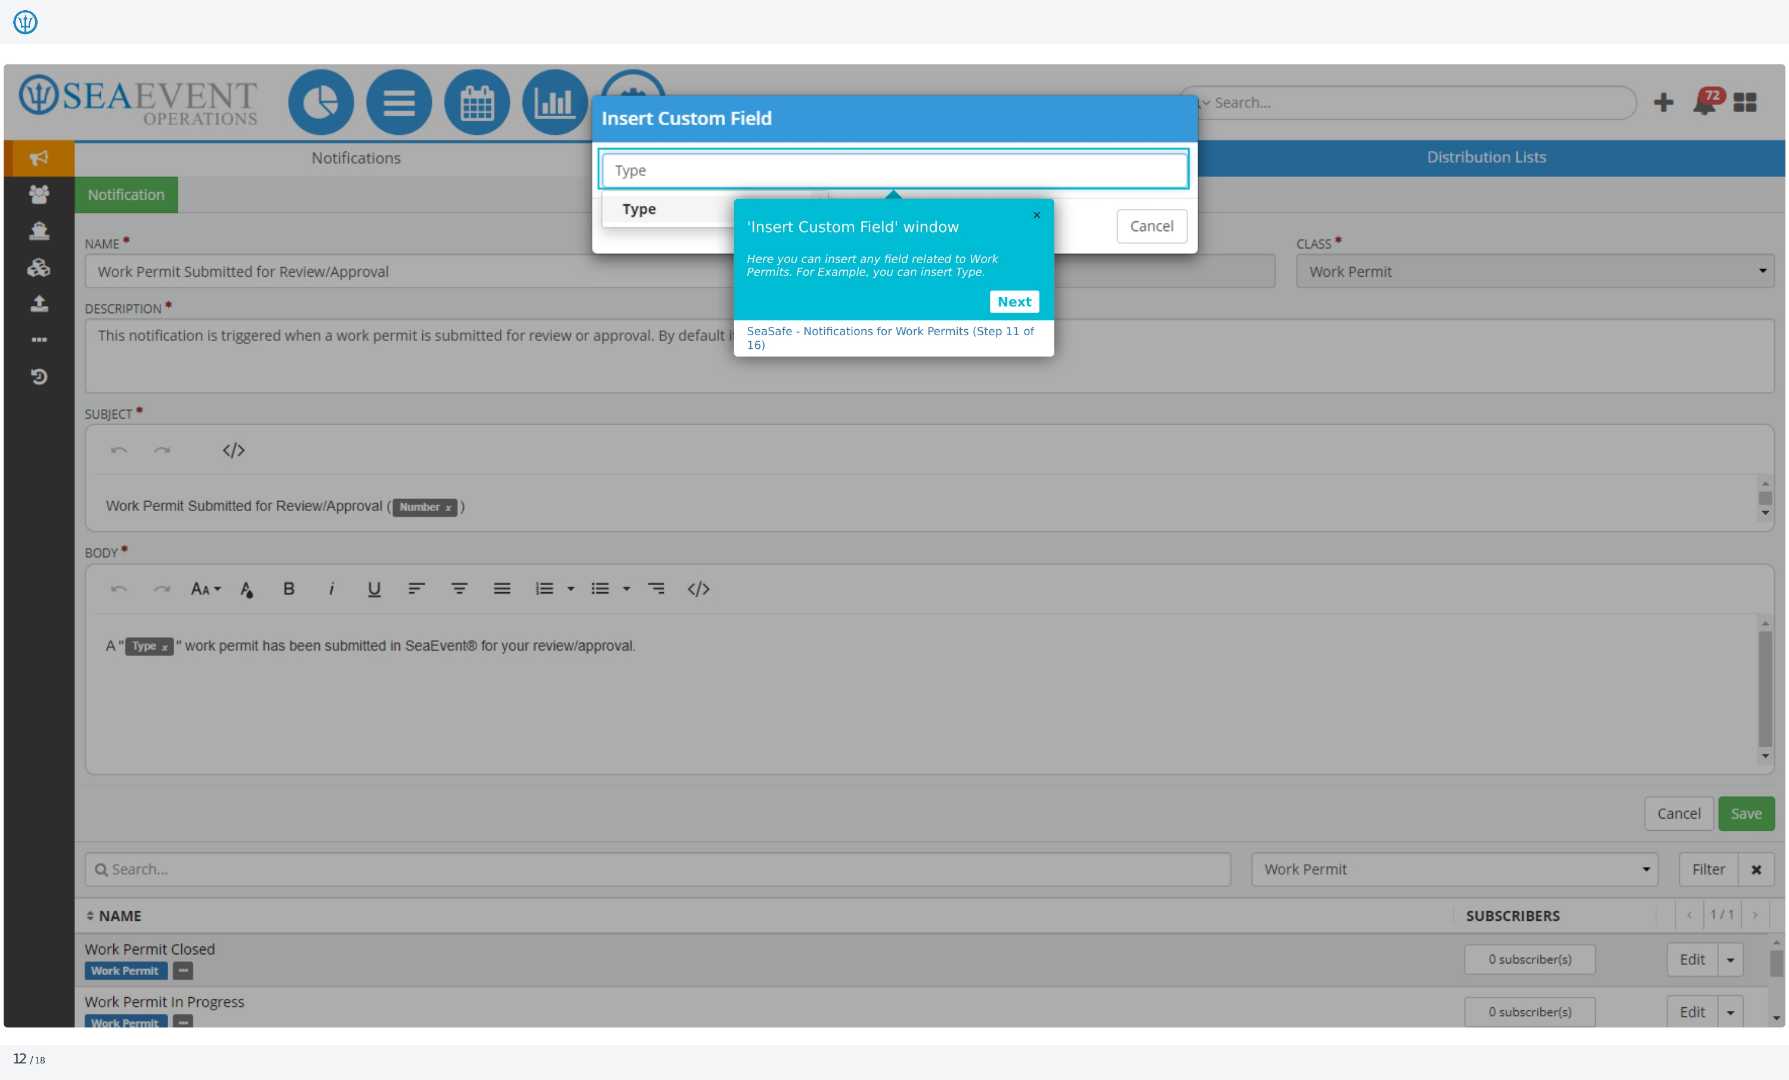
11. Insert Custom Field Window
Here, you can insert any field related to work permits. For example, you can insert the 'Type' of work permit to provide more context in the notification.
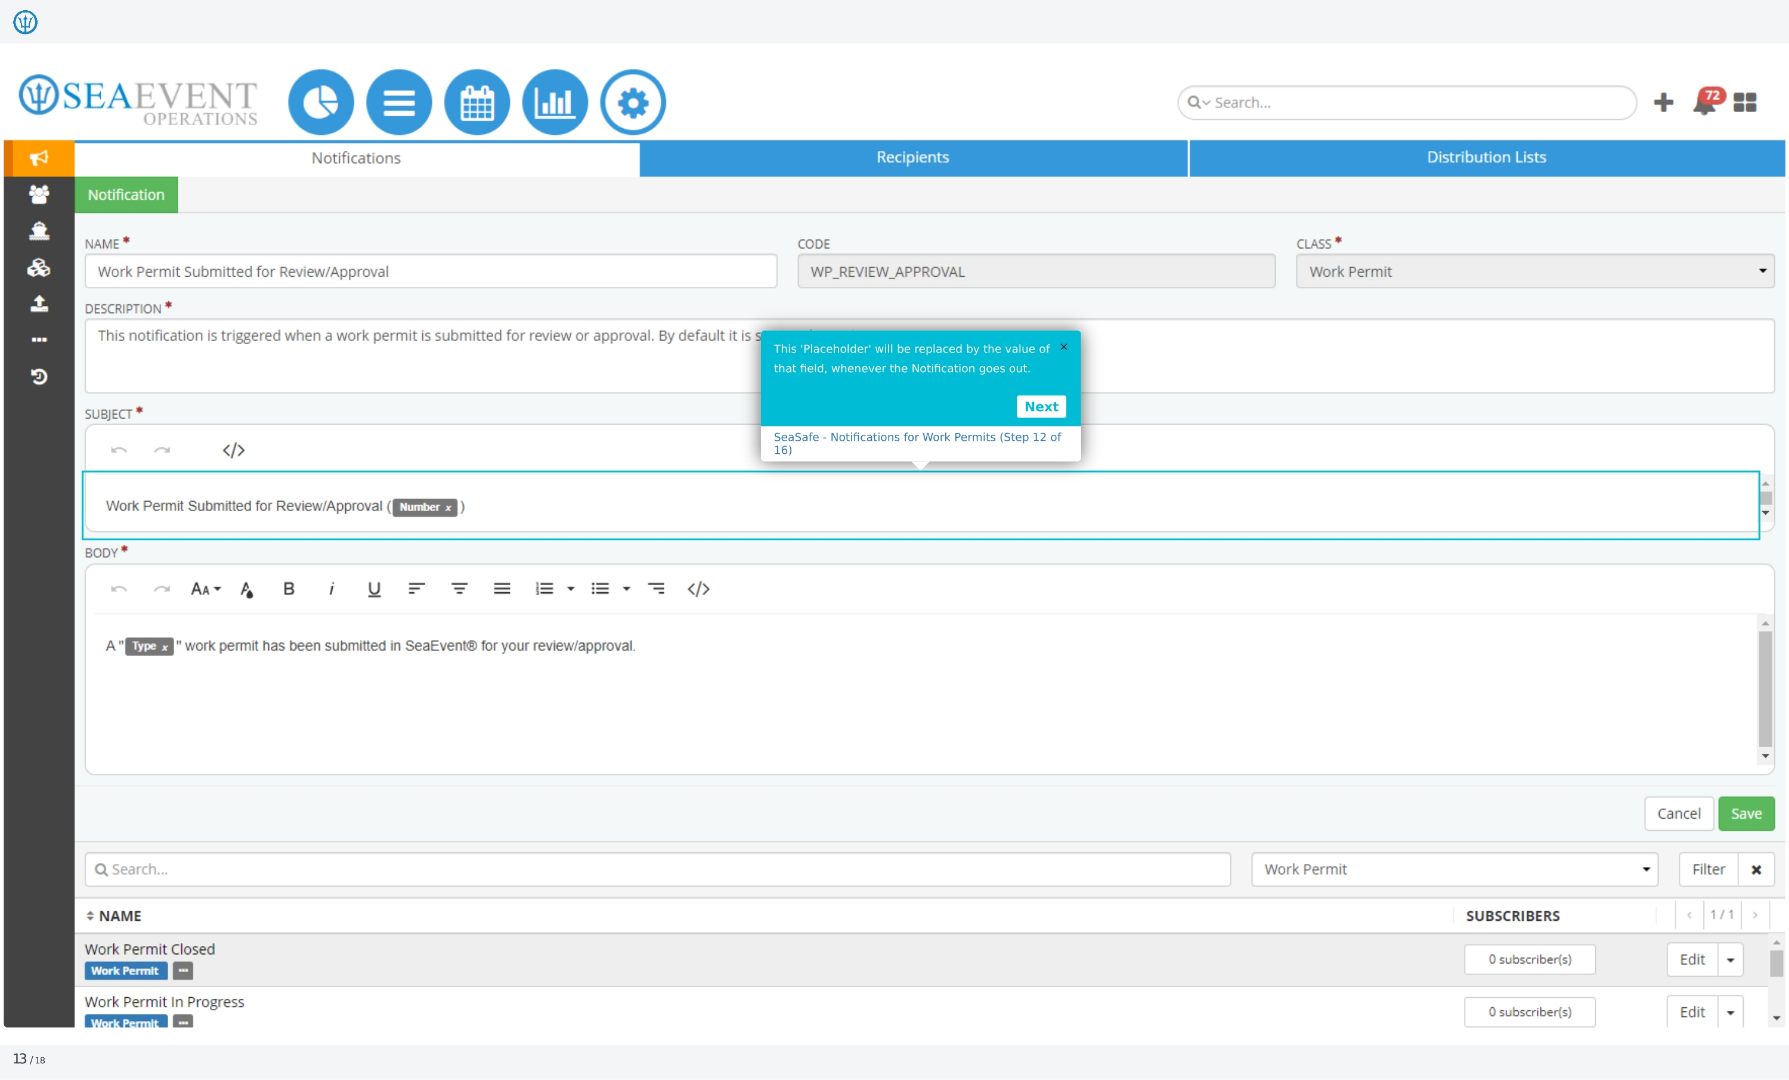
12. Placeholder
This placeholder will be replaced by the value of that field whenever the notification goes out. This ensures that the notification contains the most up-to-date information.
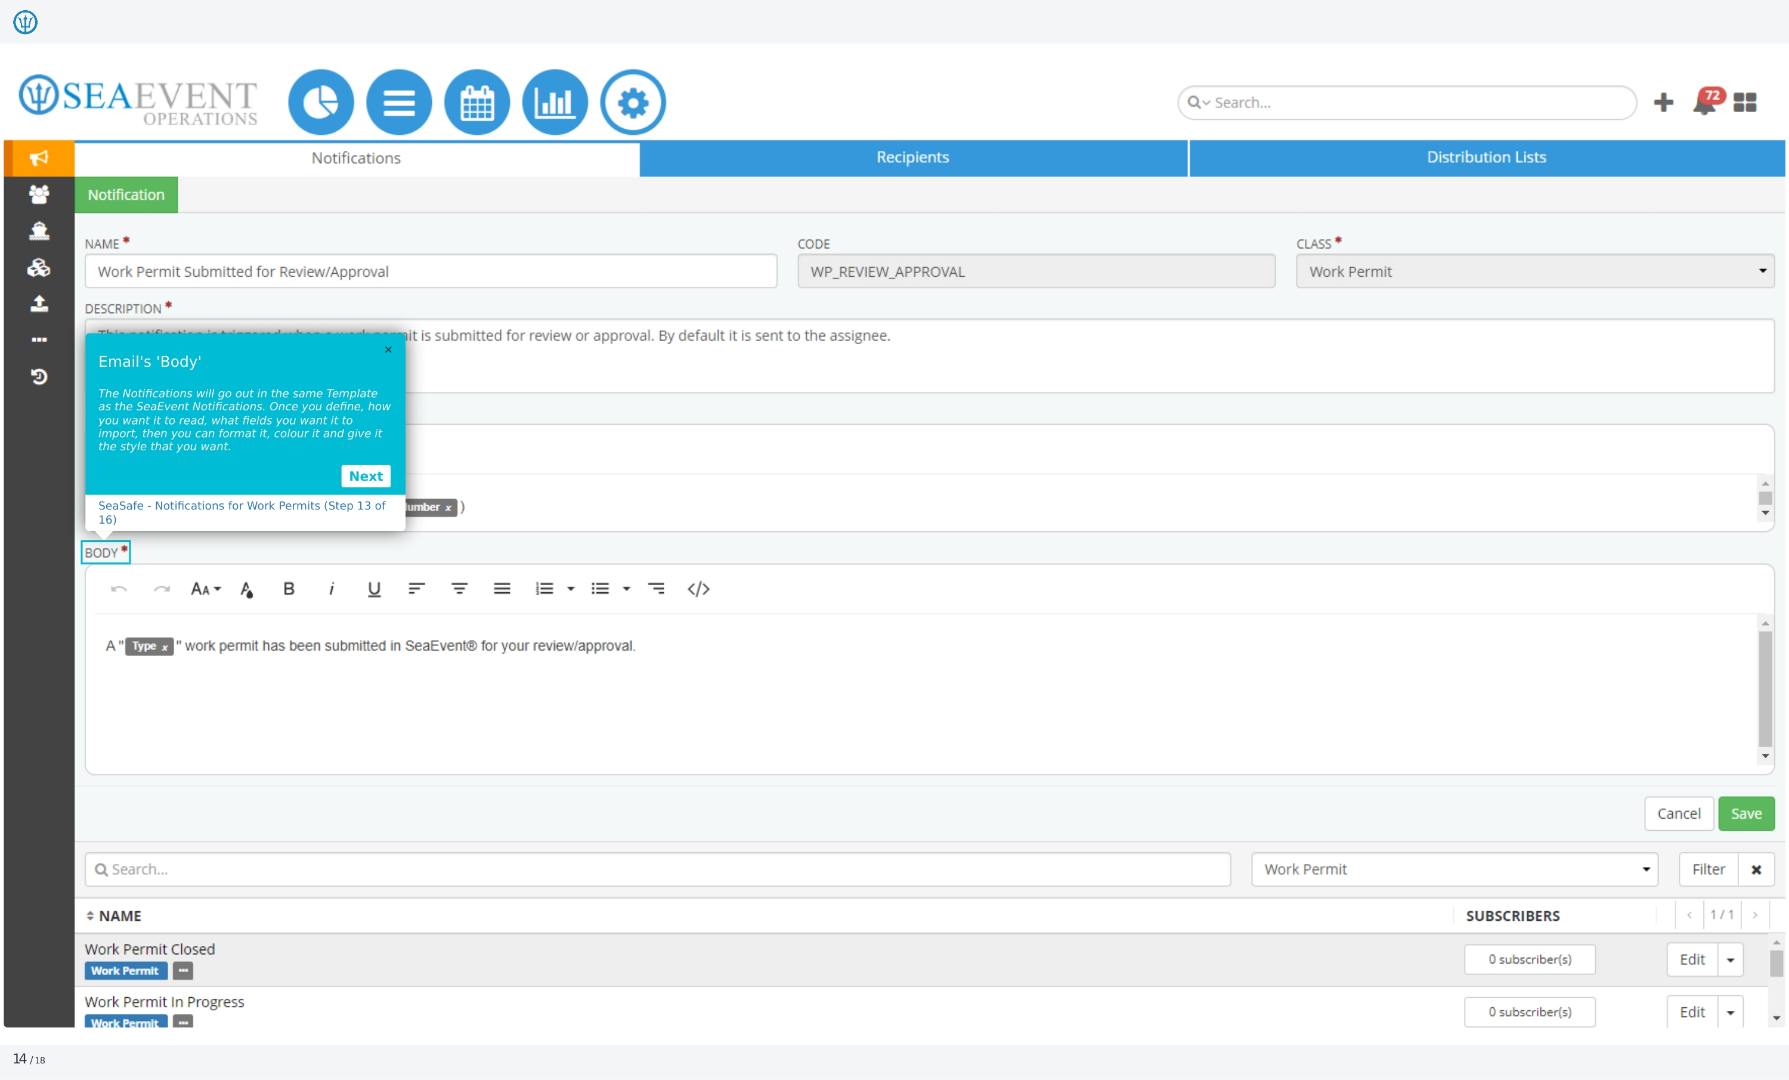
13. Email's Body
The notifications will go out in the same template as the Ideagen Maritime Management notifications. Once you define how you want it to read, what fields you want it to import, then you can format it, color it, and give it the style that you want.
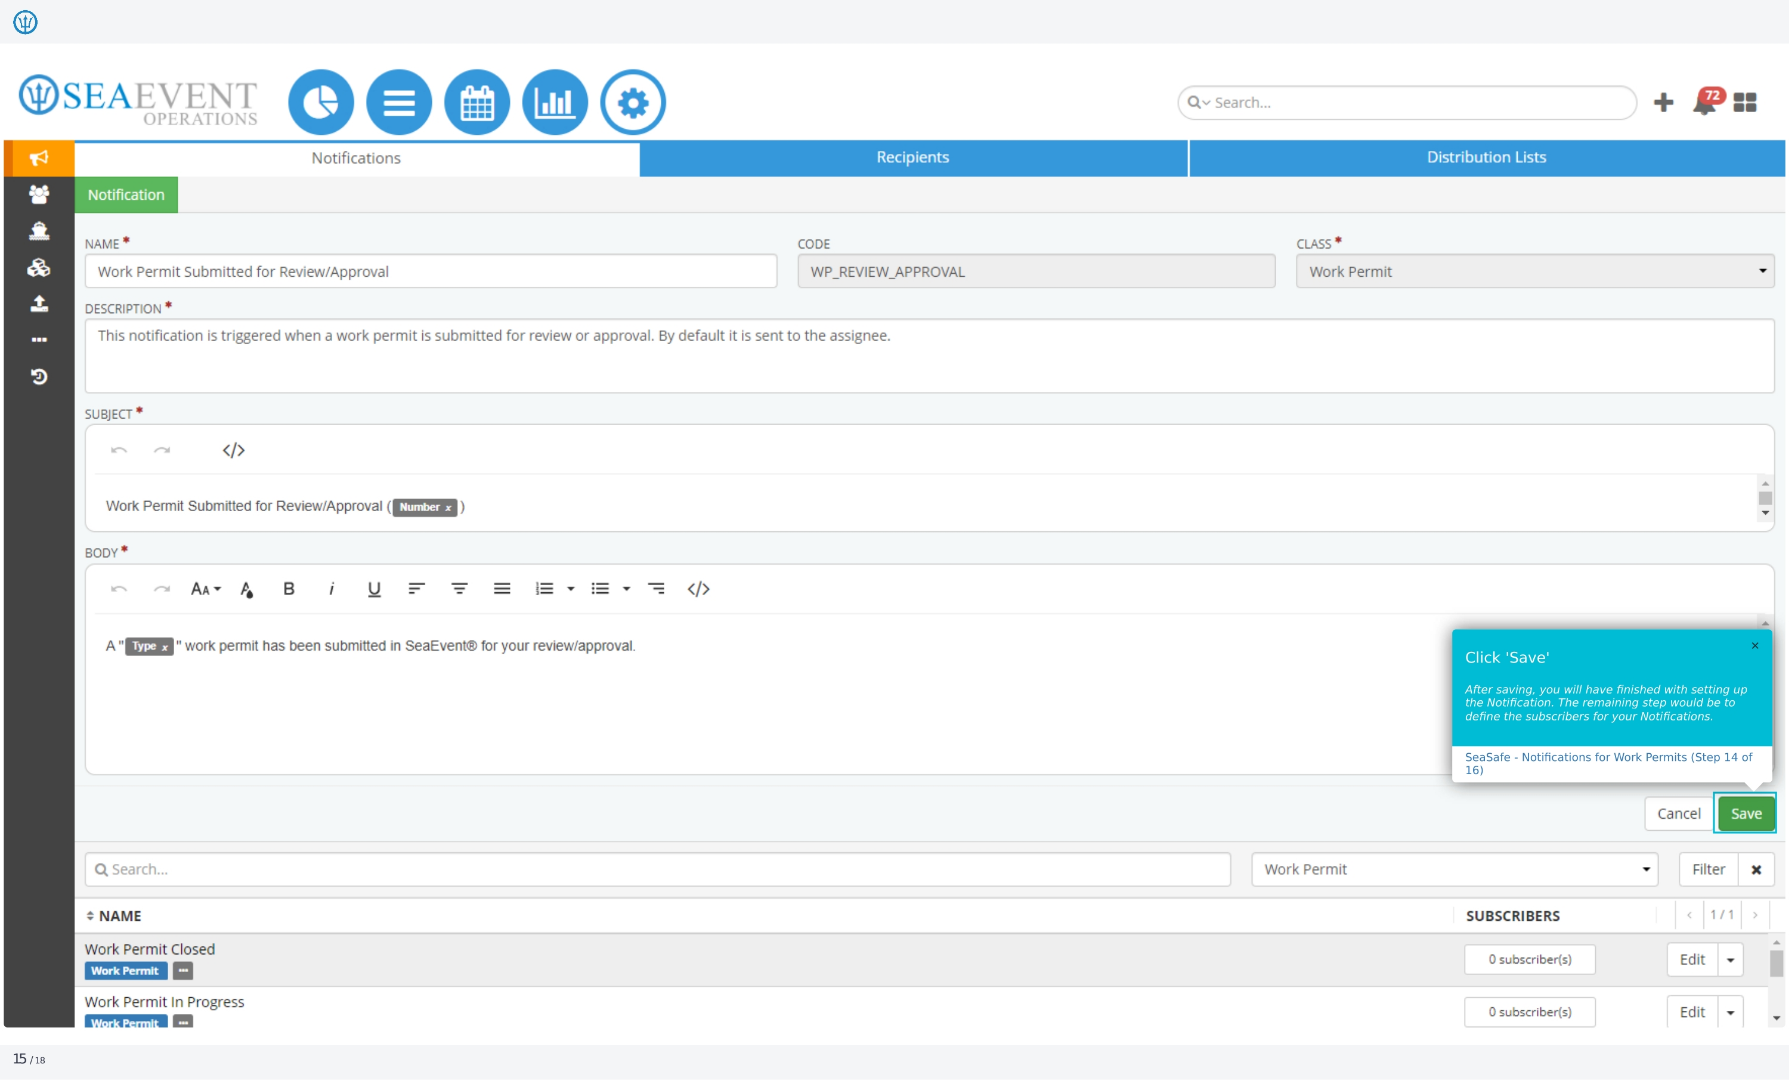
14. Click Save
After saving, you will have finished setting up the notification. The remaining step would be to define the subscribers for your notifications.
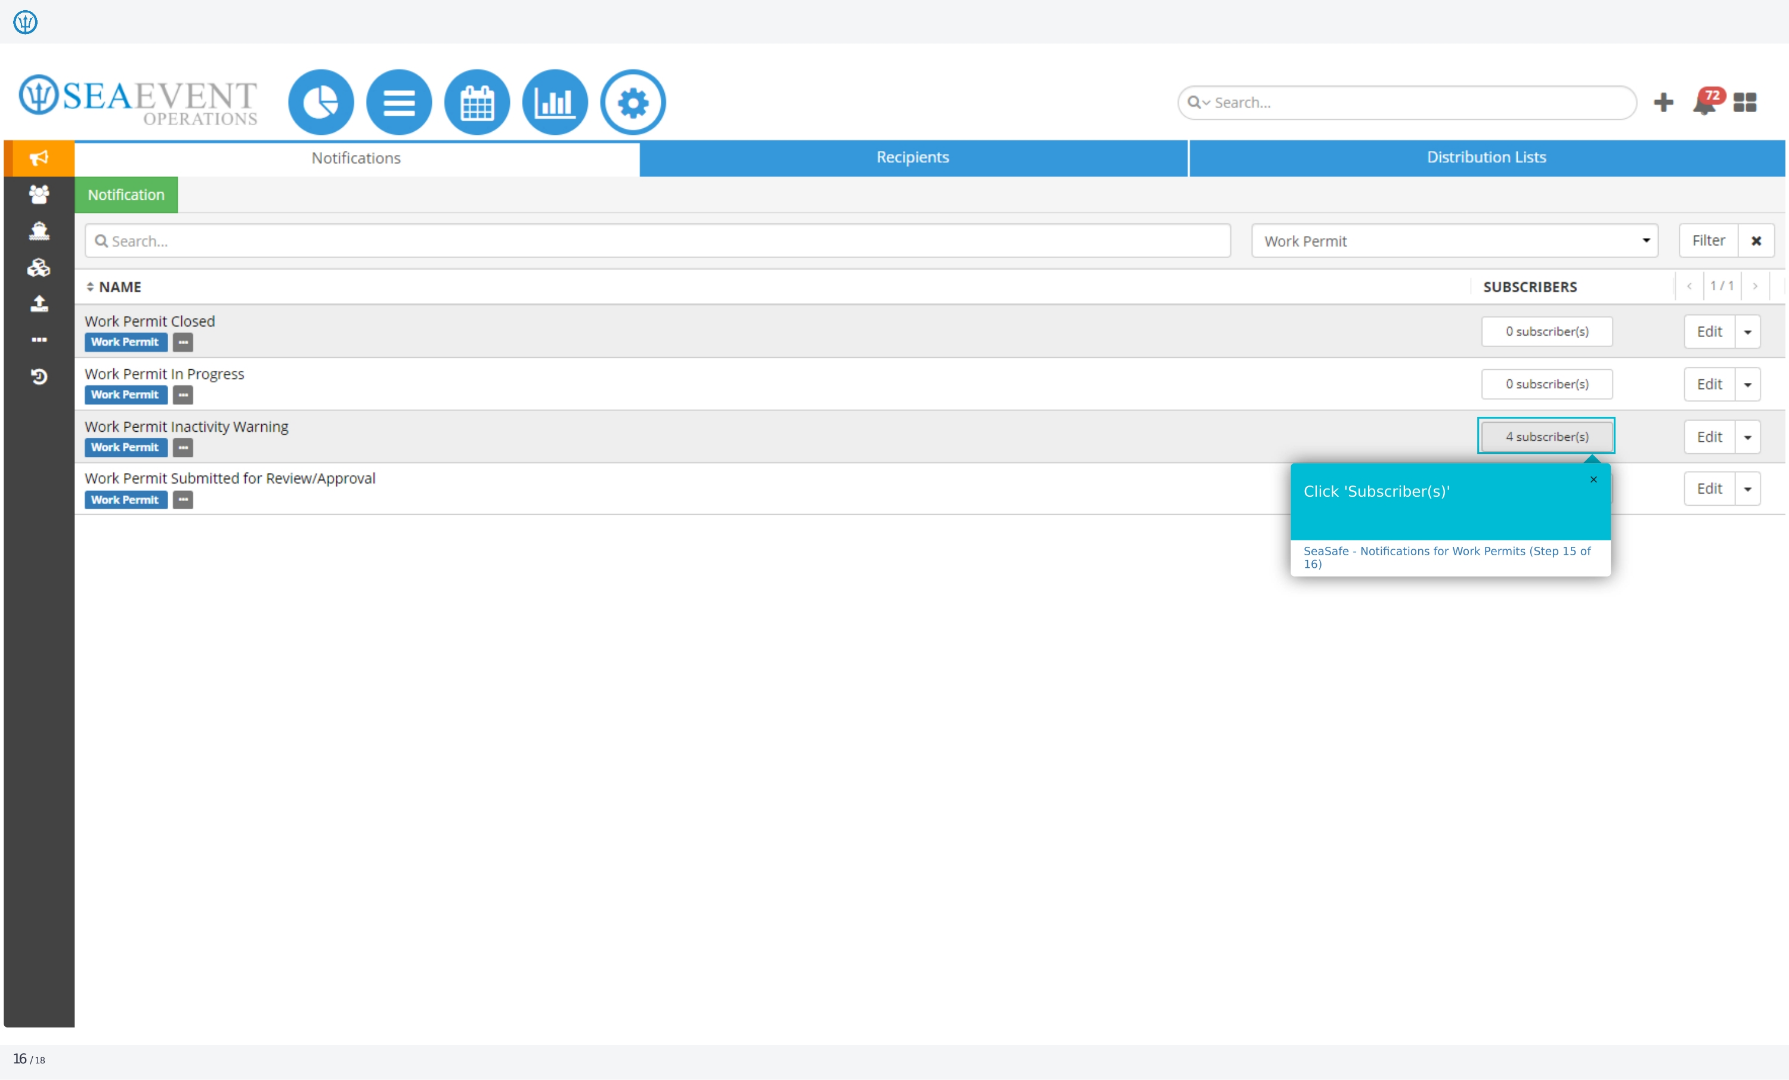
15. Click Subscriber(s)
Click 'Subscriber(s)' to define who will receive the notifications. This is the final step in configuring your work permit notifications.
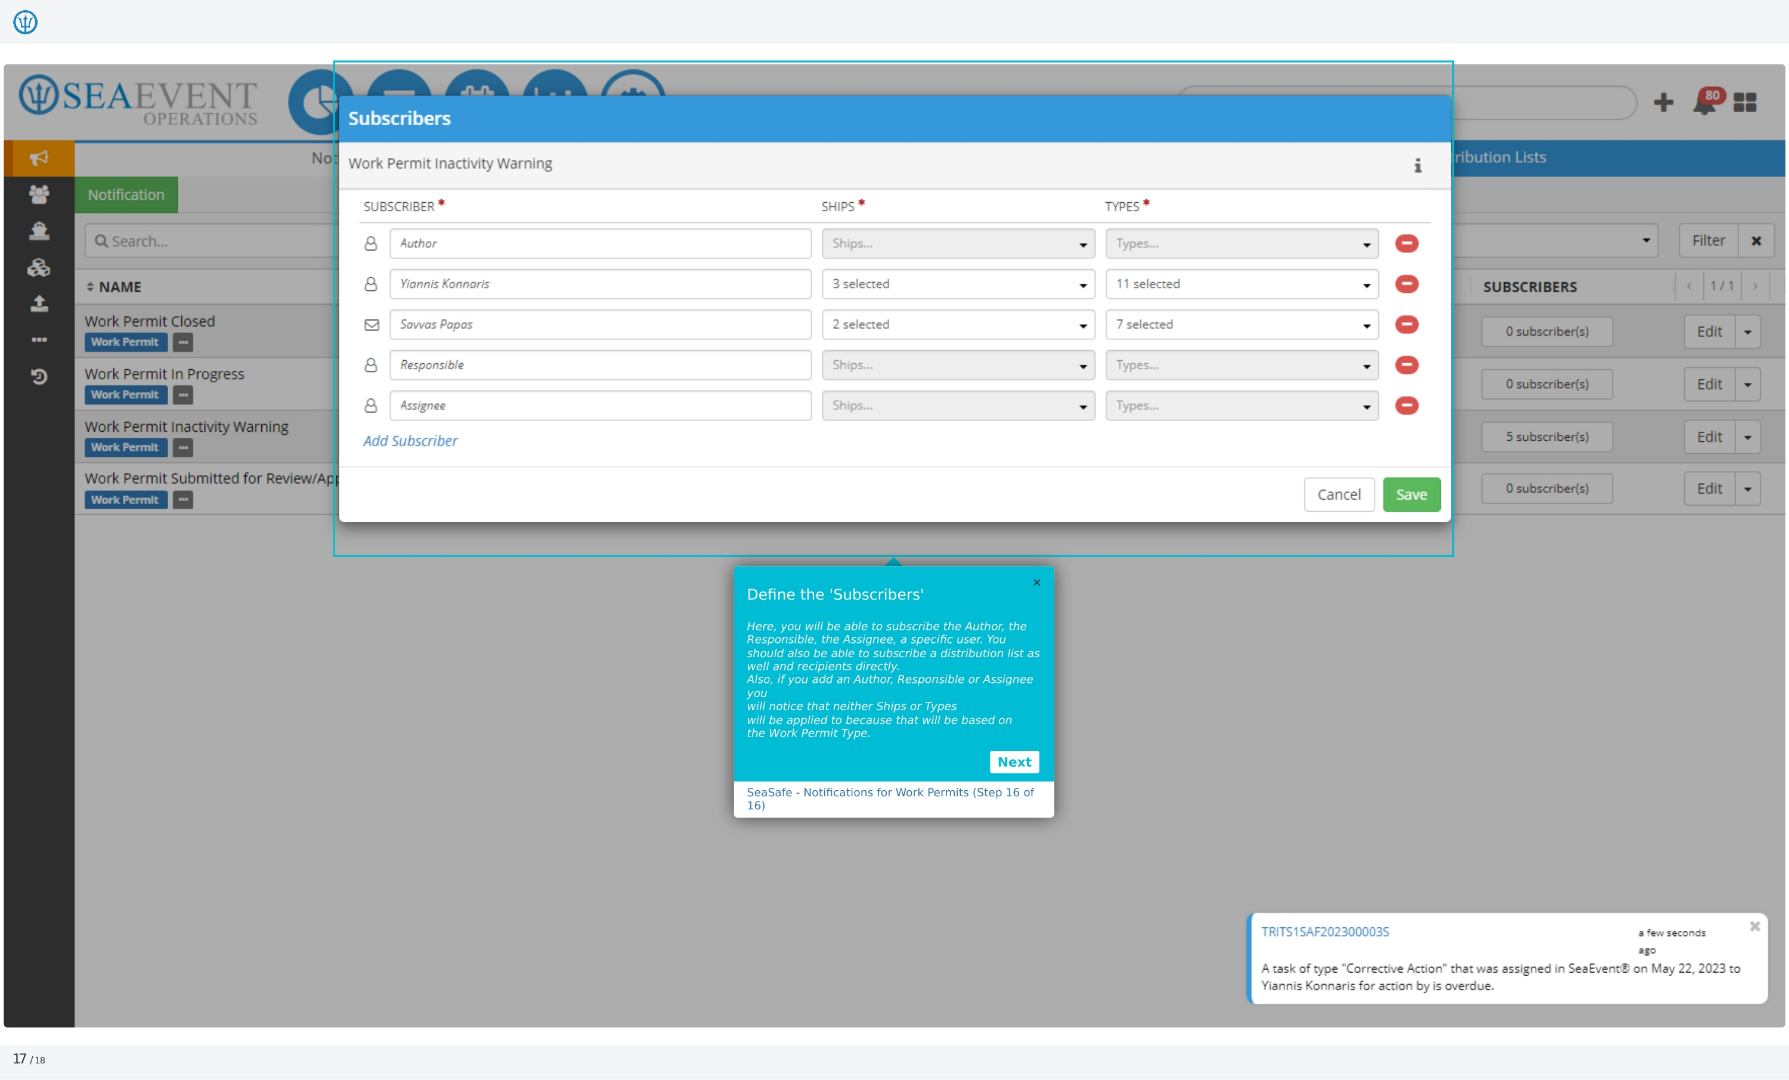
16. Define the Subscribers
Here, you will be able to subscribe the author, the responsible party, the assignee, or a specific user. You should also be able to subscribe a distribution list as well as recipients directly. Also, if you add an author, responsible party, or assignee, you will notice that neither ships nor types will be applied because that will be based on the work permit type. That's it! You have successfully set up notifications for work permits. You can now ensure that the right people are informed about work permit activities.