New article
Recently updated
Adding a New Profile in Ideagen Maritime Management Operations

This walkthrough explains how to add a new profile in Ideagen Maritime Management.
1. Introduction
Learn to configure profile settings and save new profiles. Administrators manually manage profiles, allowing tailored permissions for each user's role. Also, granting permissions for applications like Ideagen Maritime Management and Ideagen Maritime Safety. They can log in, report events, upload documents, approve workflows, receive notifications, and view dashboards. Admin roles such as Shoreside admin allow them to configure workflows, manage users, and enforce governance rules. Begin in the shoreside "Admin Menu" section under "Users, Ranks, & Profiles".
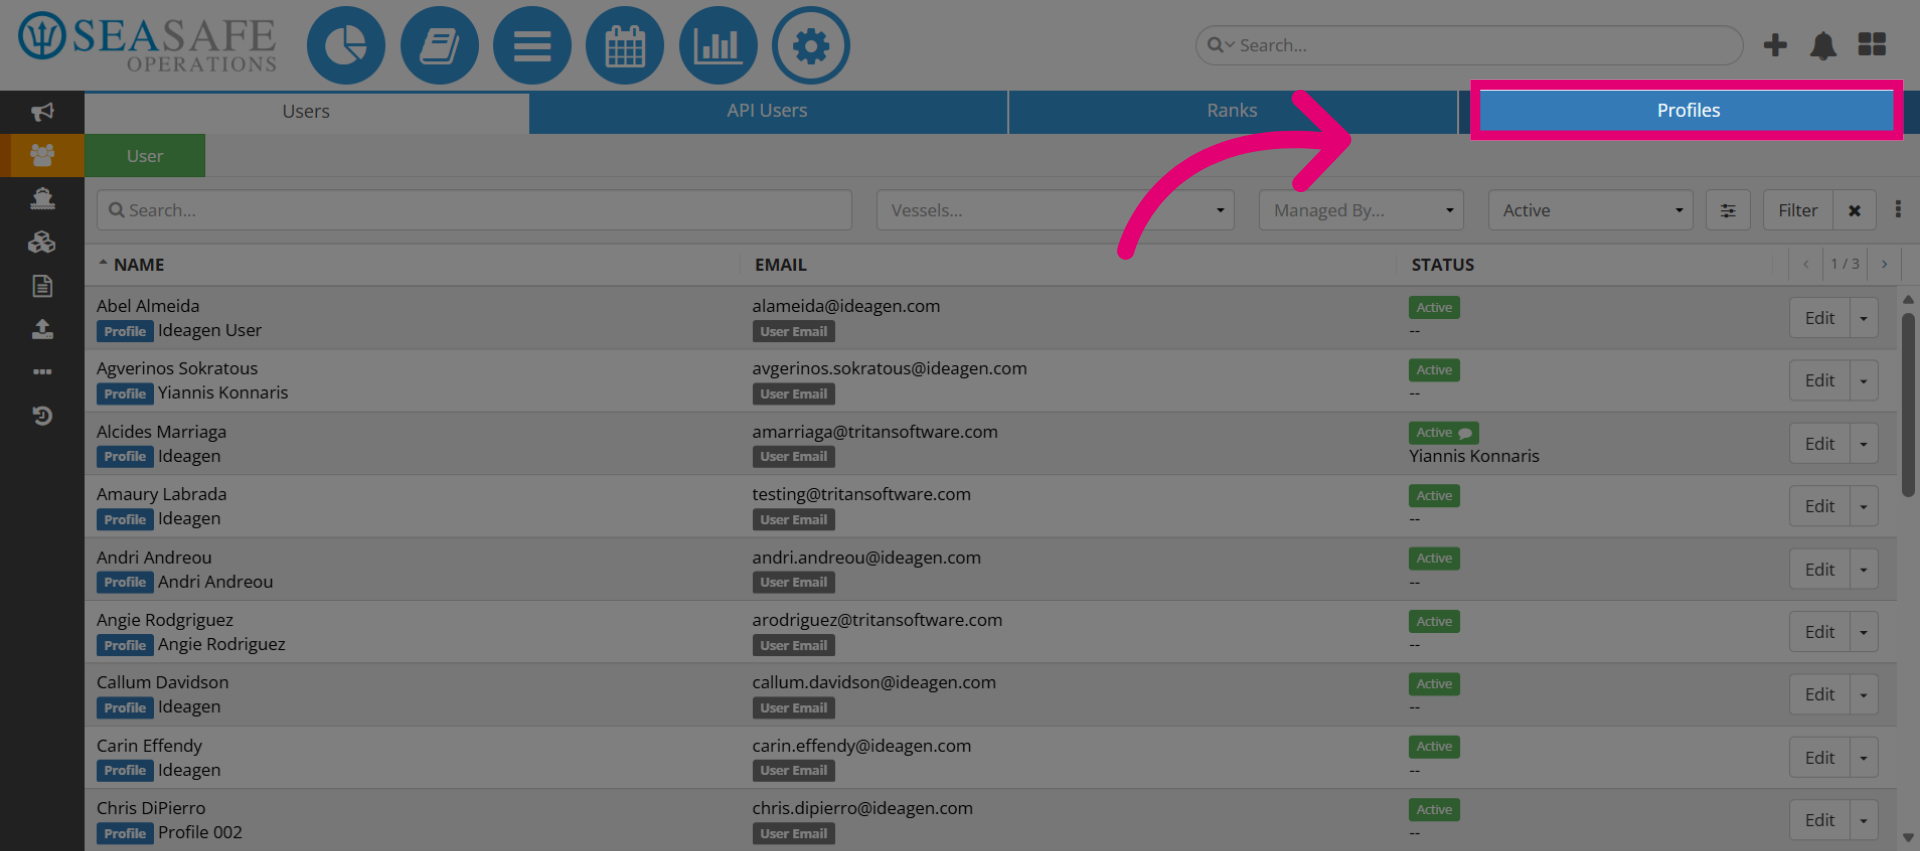
2. Go to the Profiles Tab
Select the "Profiles" tab.
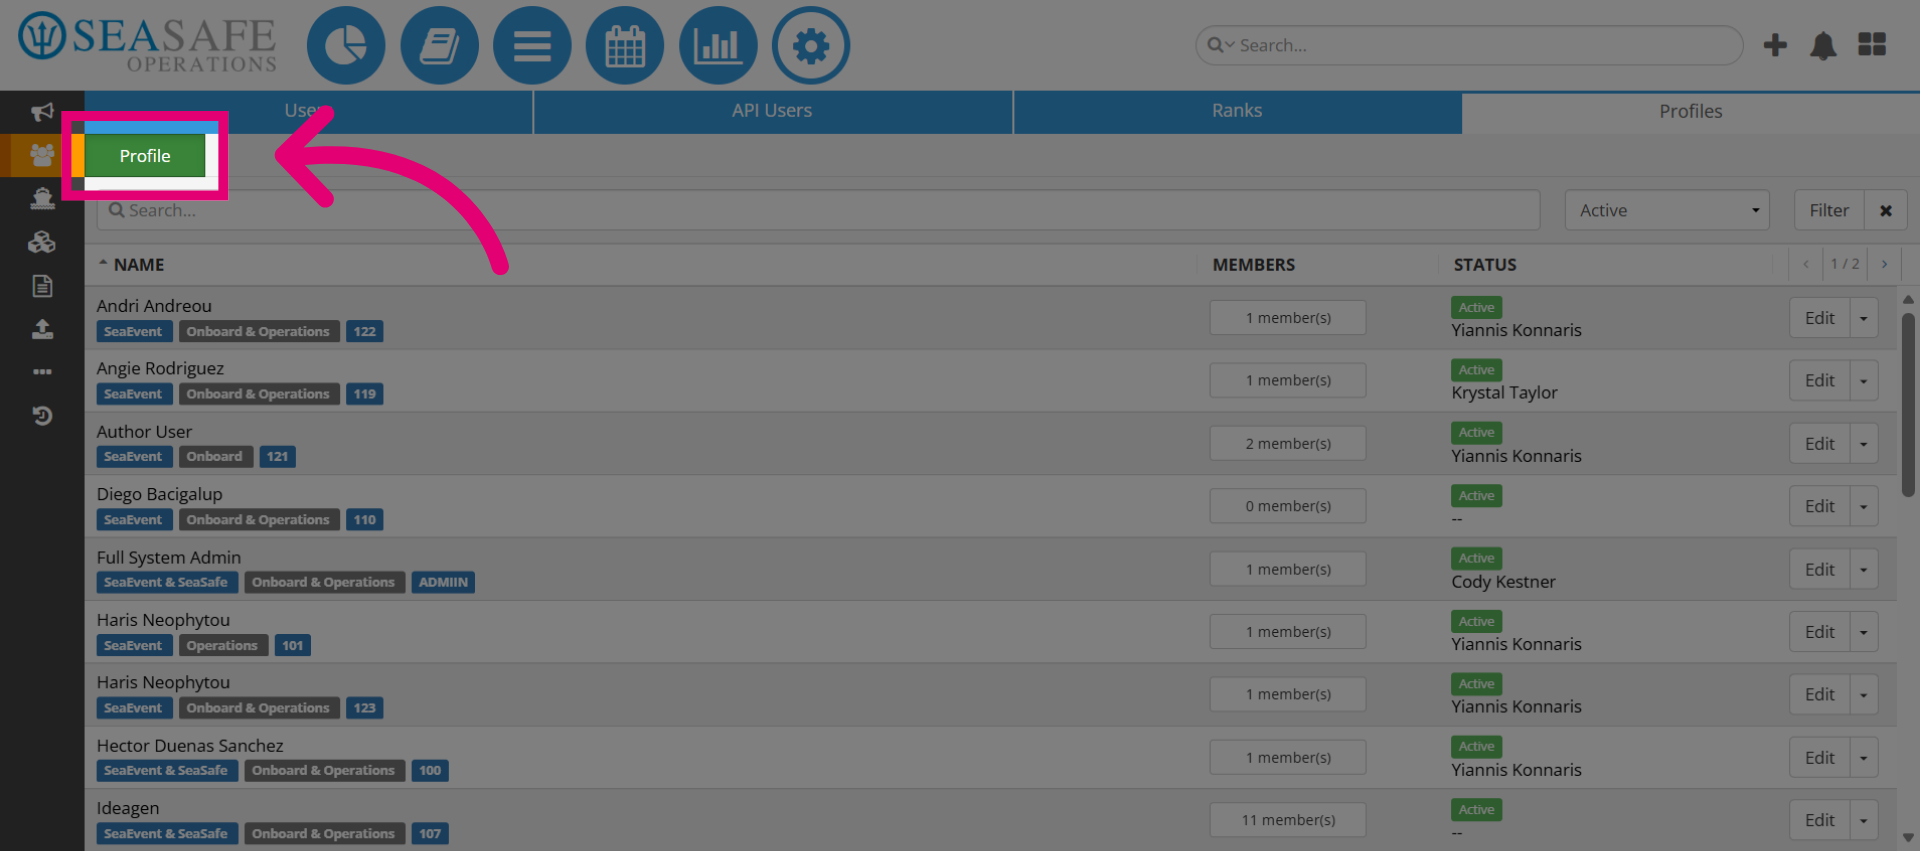
3. Open Profile Management
Then, select the green "Profile" button. This action starts the process of adding a new user profile.
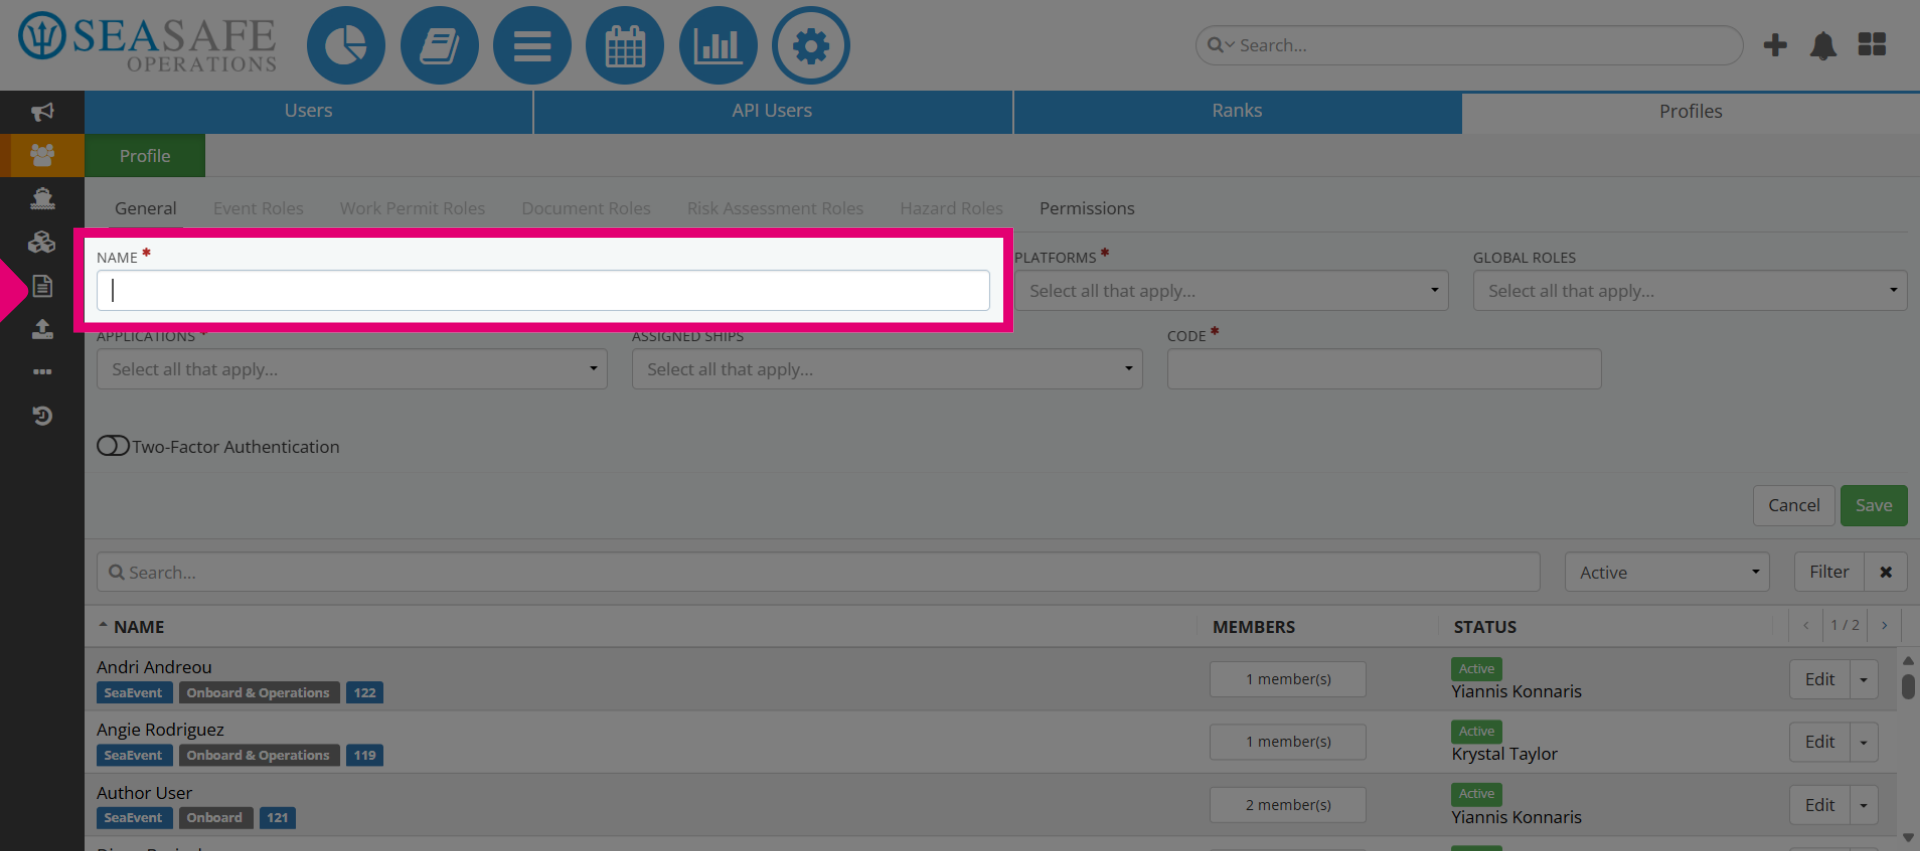
4. Initiate New Profile Creation
Initiate the new profile creation by typing the "Username" in the username field.
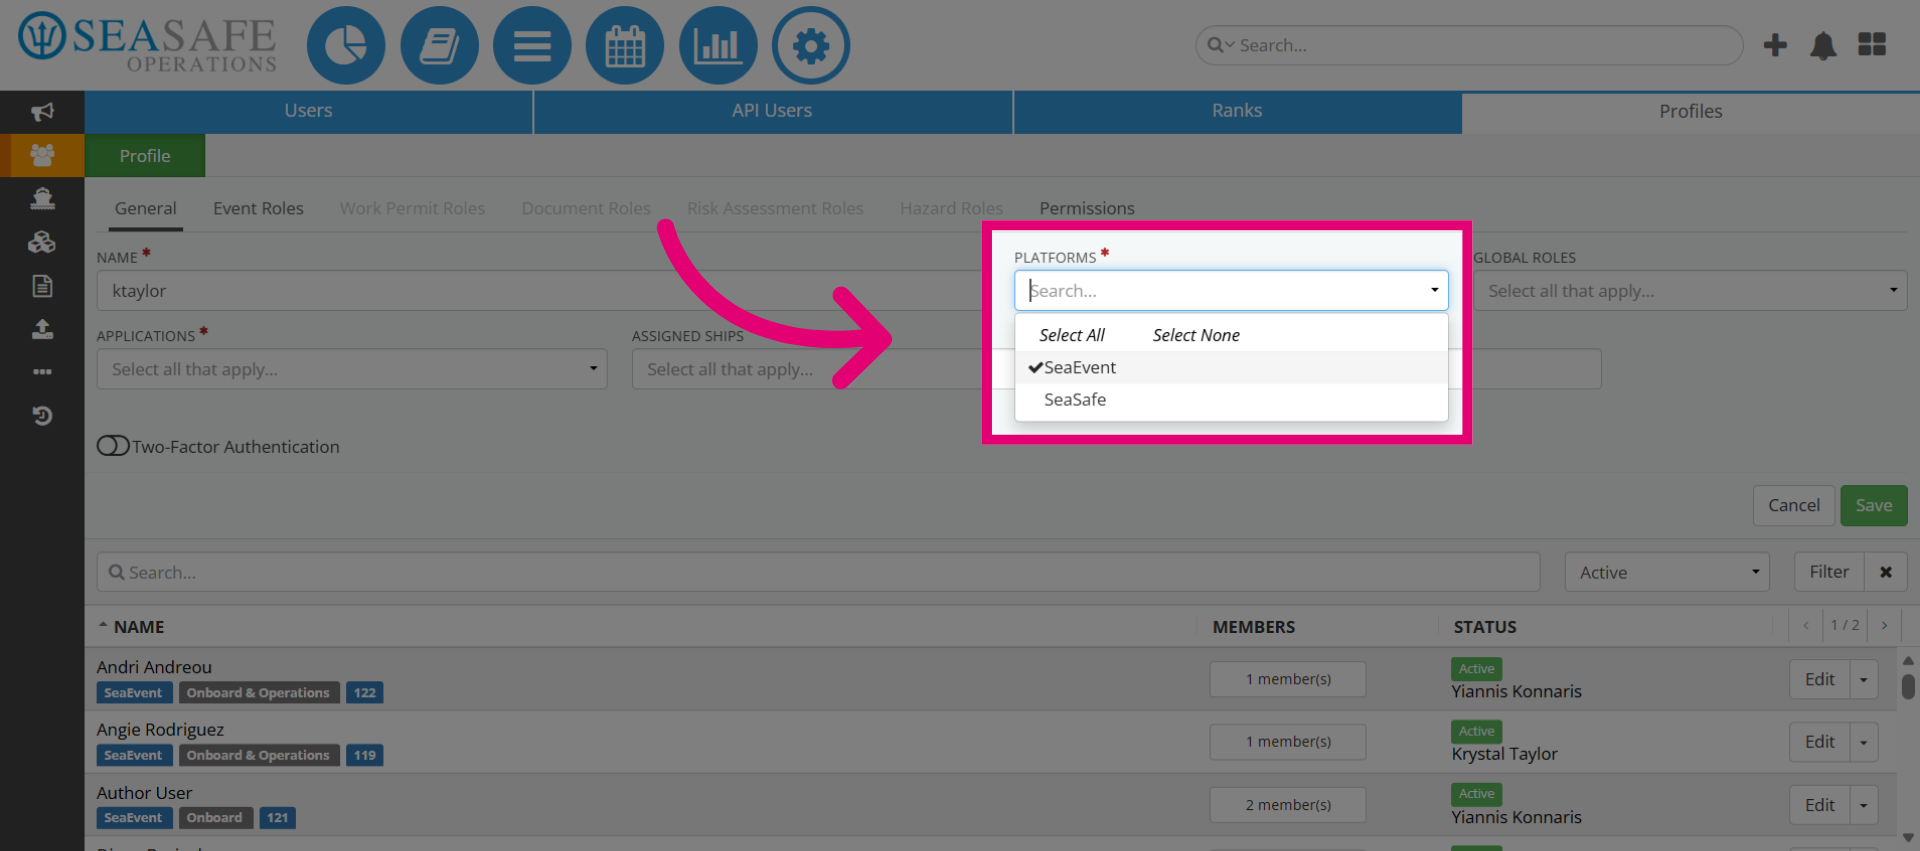
5. Choose the Platform
Then, choose the Ideagen Maritime Management and/or Ideagen Maritime Safety or none for the platform for the user. Assigning determines which platform the user can access. For example, Ideagen Maritime Management is for event reporting, while Ideagen Maritime Safety covers safety compliance.
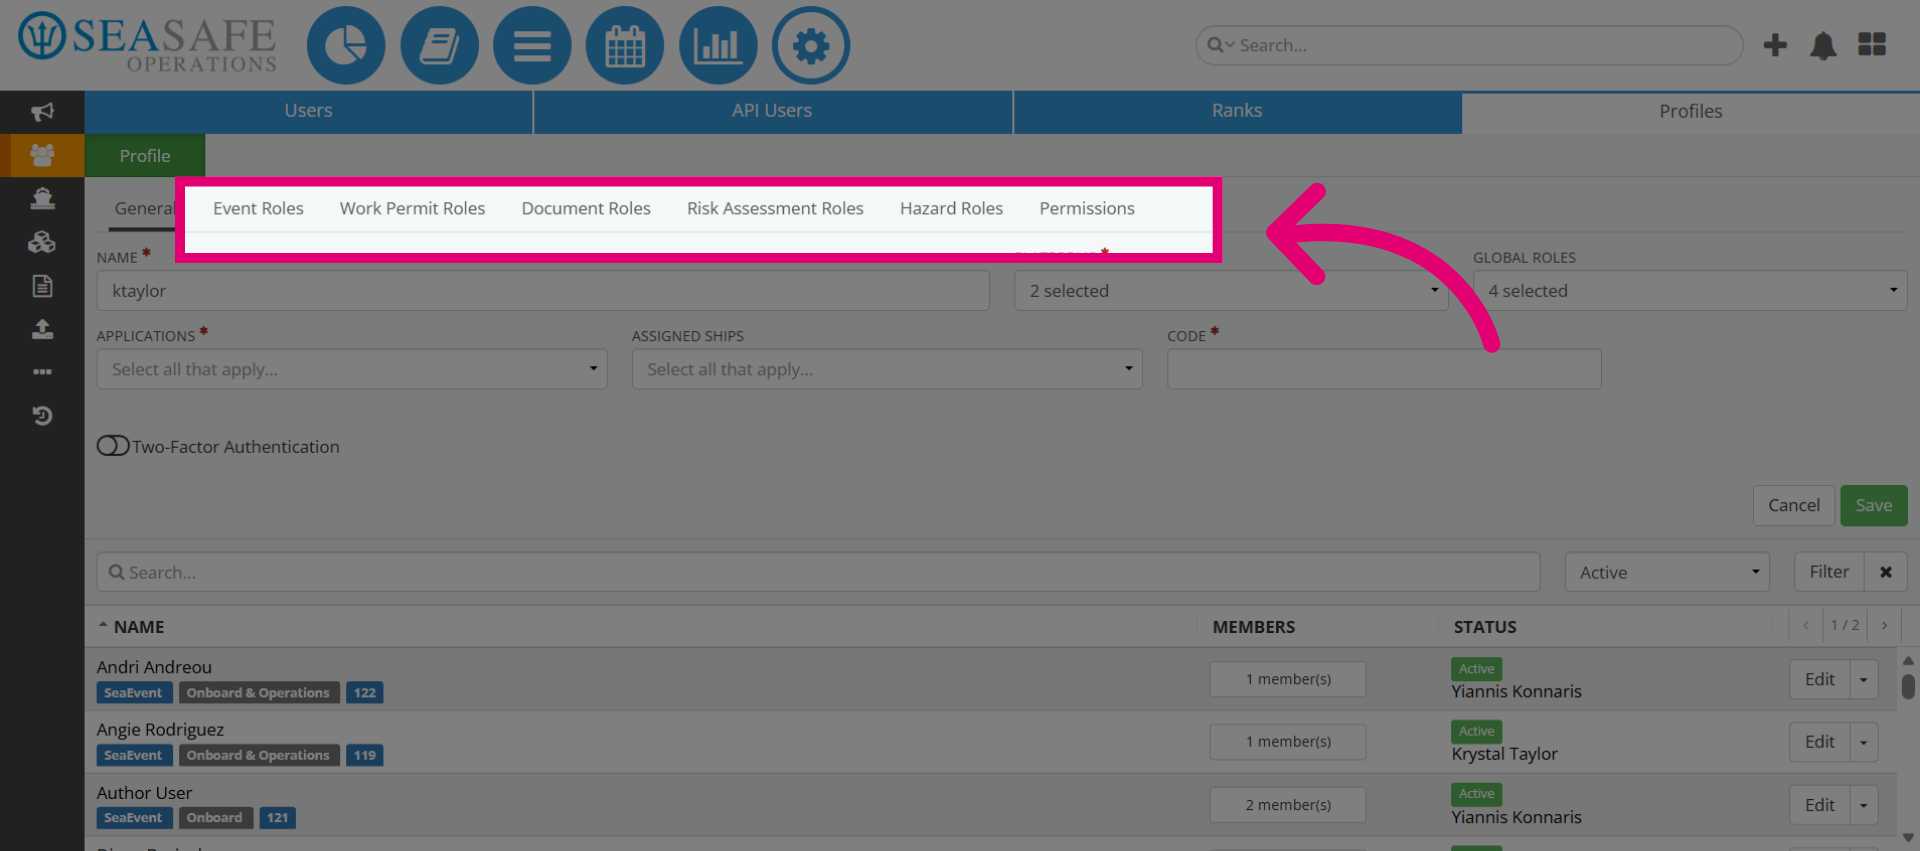
6. Platform Access linked to Report Role Access
The selected platform also determines the report areas accessible to the user. (Work Permit, Hazards, Risk Assessment, etc.) For instance, activating both options grants access to these reports.
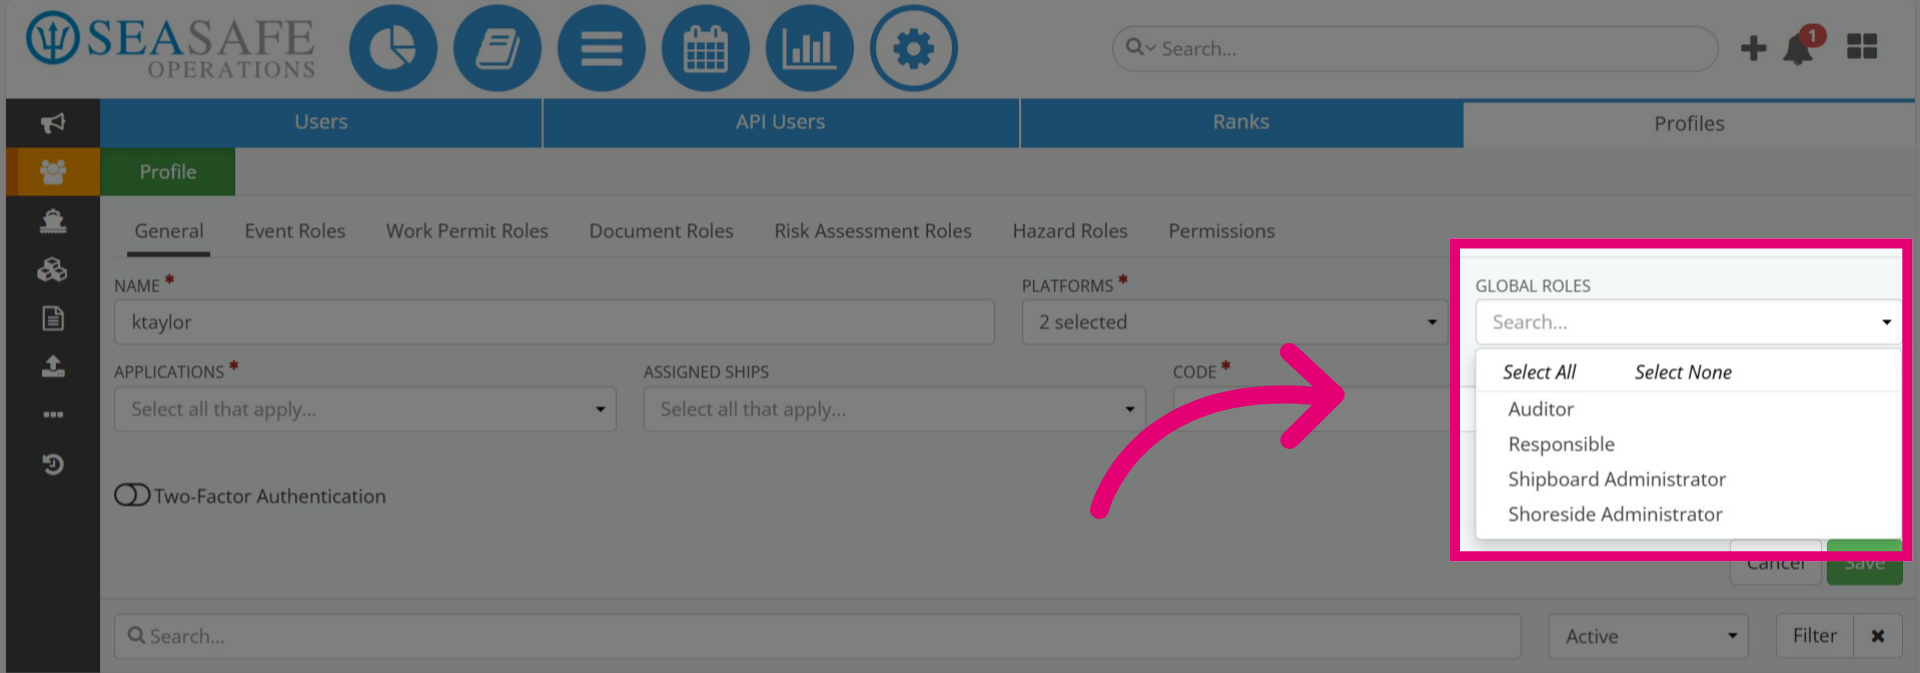
7. Open the "Global Roles" list
Next, pen the "Global Roles" list.
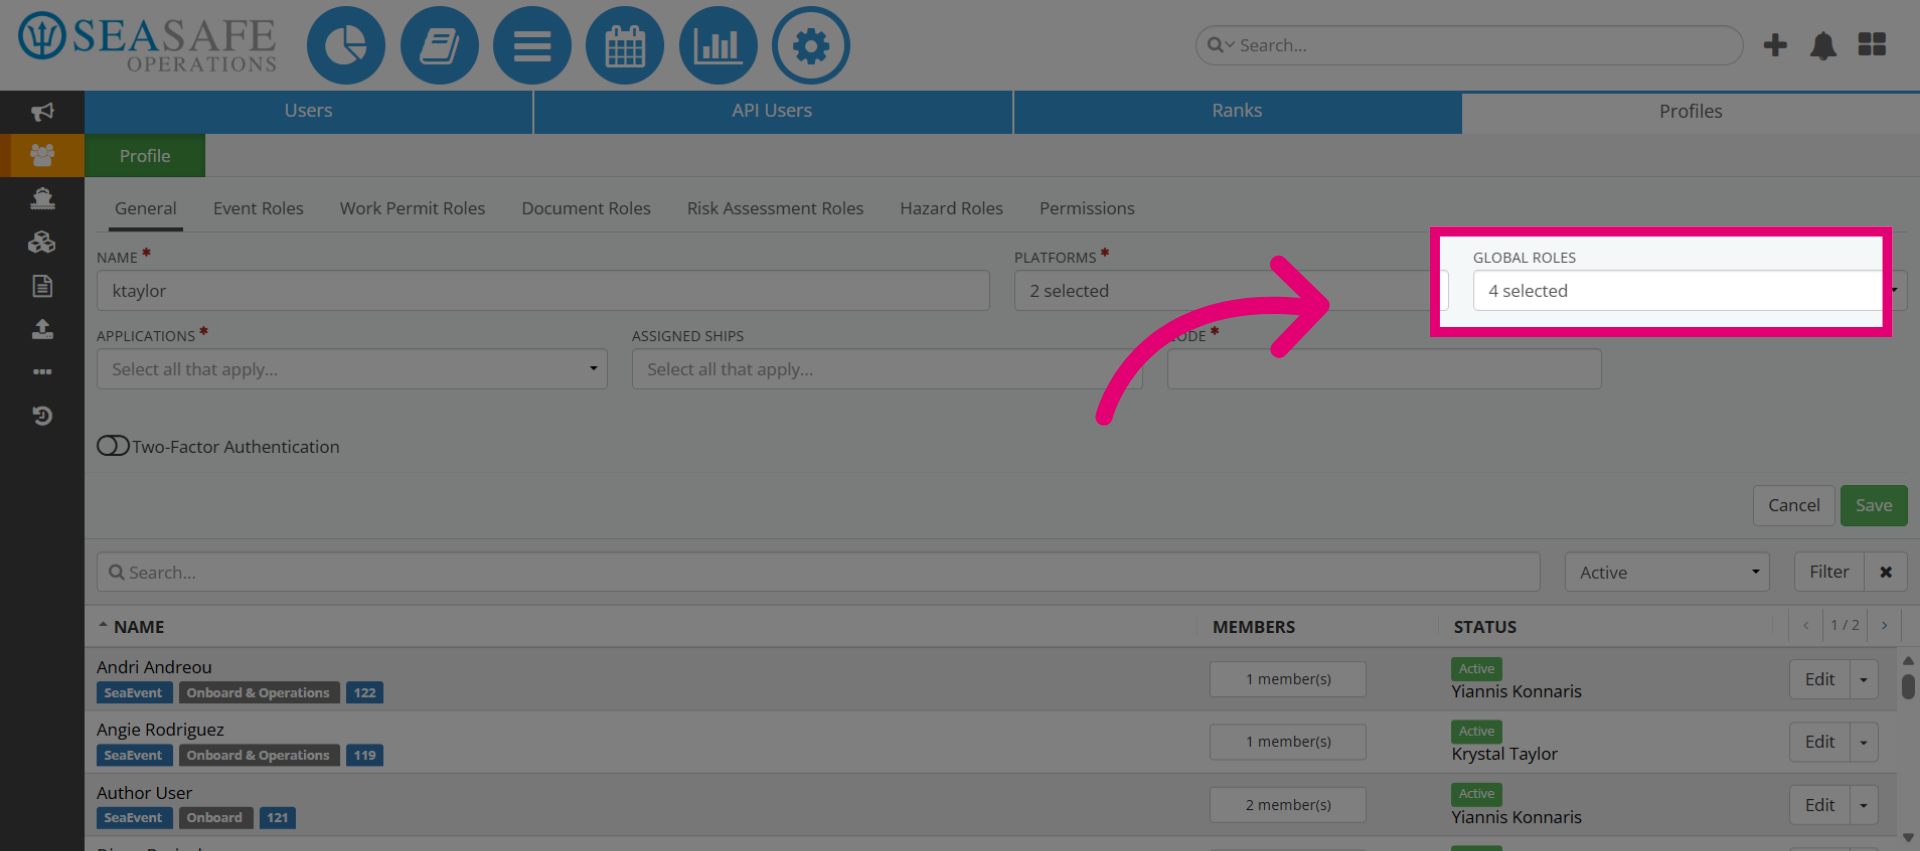
8. Select Global Roles
Then, select the "Global Role" for the profile. Administrators manually assign Global Roles in Ideagen Maritime Management for governance and compliance, controlling actions like reporting events and managing workflows. Roles include Auditor (read-only), Responsible (approves workflows), Shipboard Admin (manages onboard configurations), and Shoreside Admin (full governance to enforce rules).
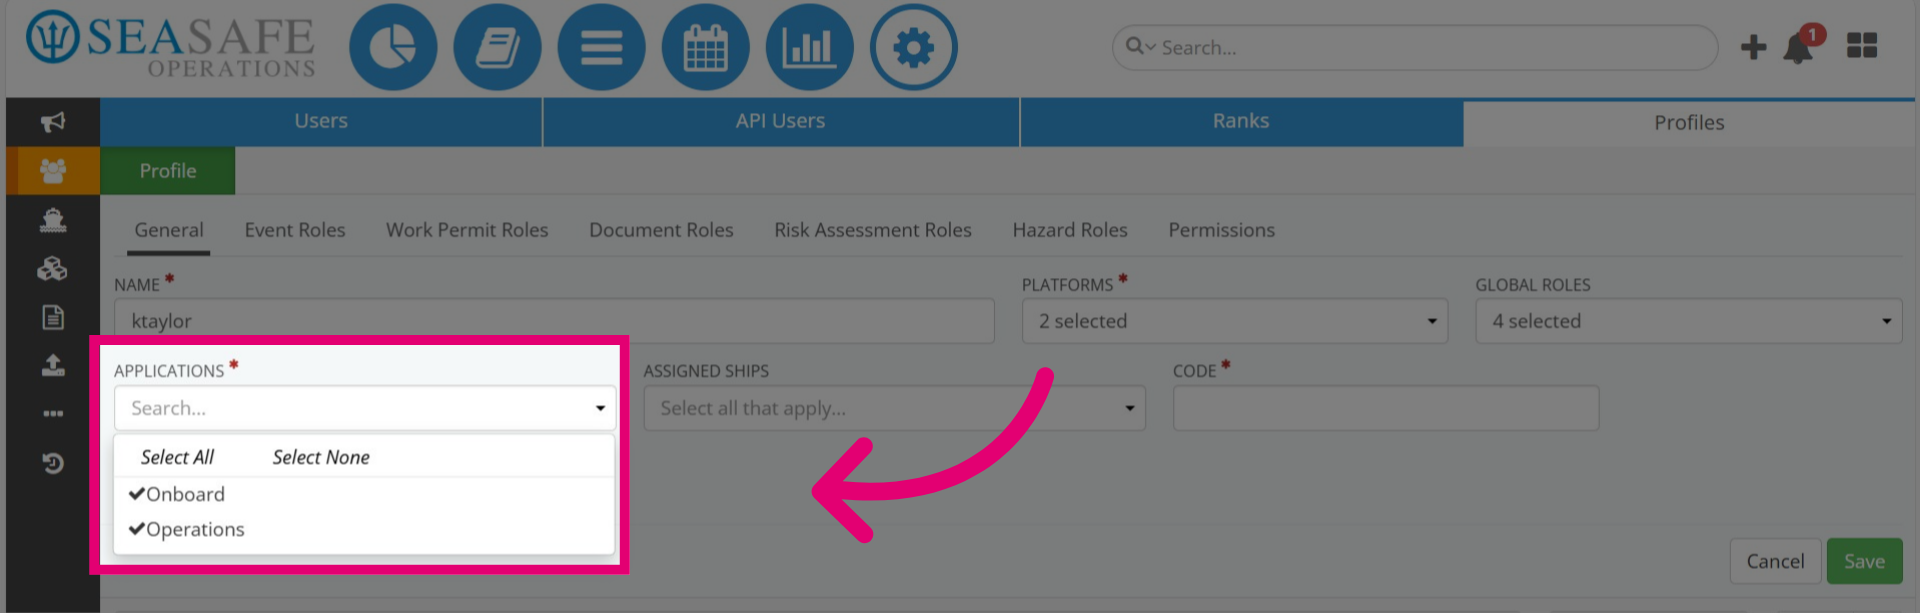
9. Select the Application(s)
Next, select the "Applications" for profile access. Choosing the "Onboard" application restricts users to their assigned ship for reporting and event management. The "Operations" application allows access to all fleet ships, enabling shoreside teams to oversee compliance, approve workflows, and monitor safety.
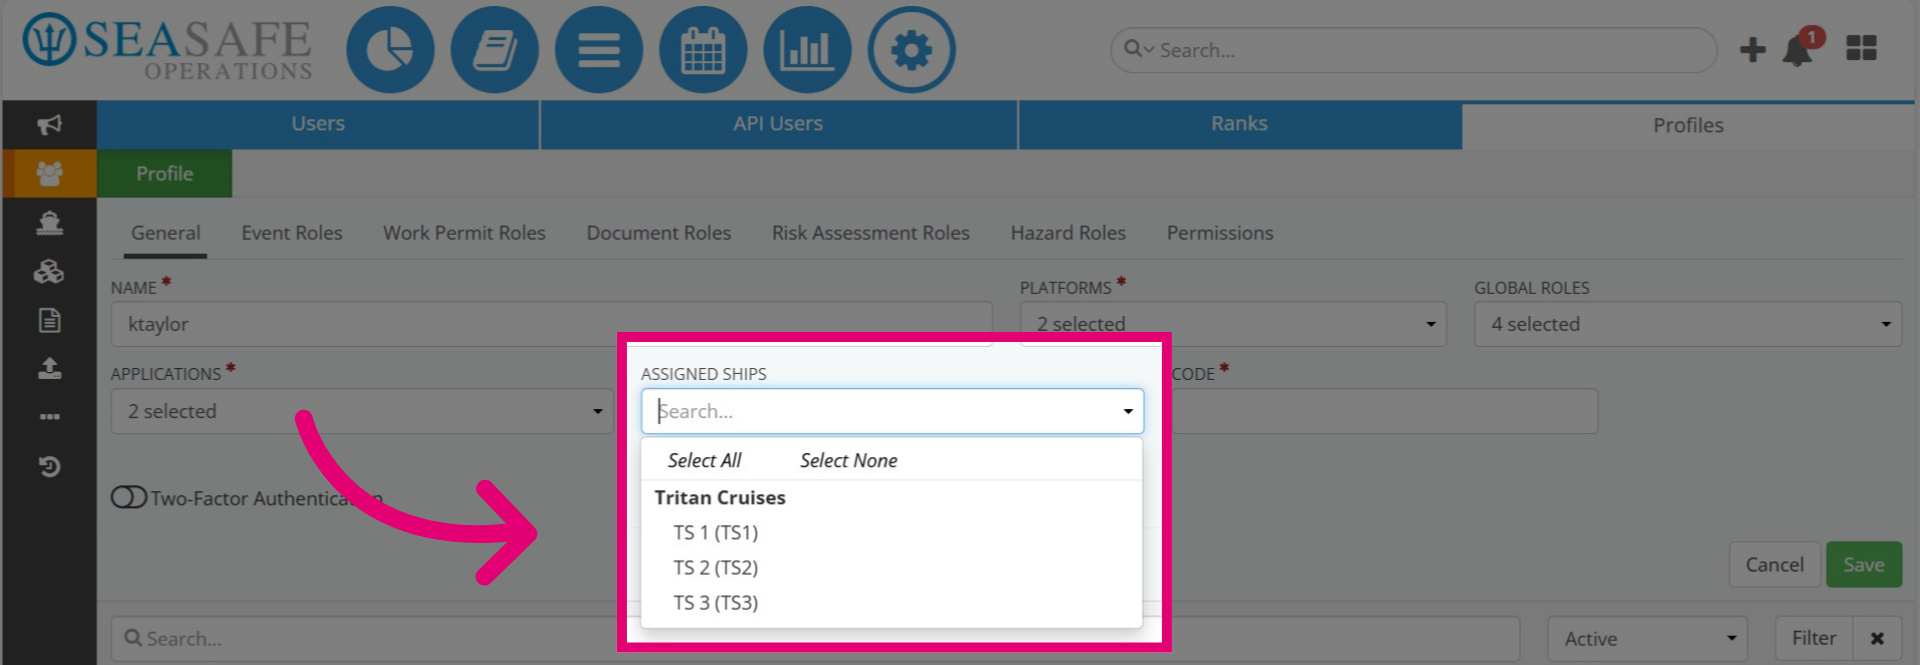
10. Select the Ships
If the "Operations" application is selected, you must also choose the specific ship or ships to provide access. This ensures that the user can manage events and workflows across the fleet while still limiting visibility to the vessels you designate.
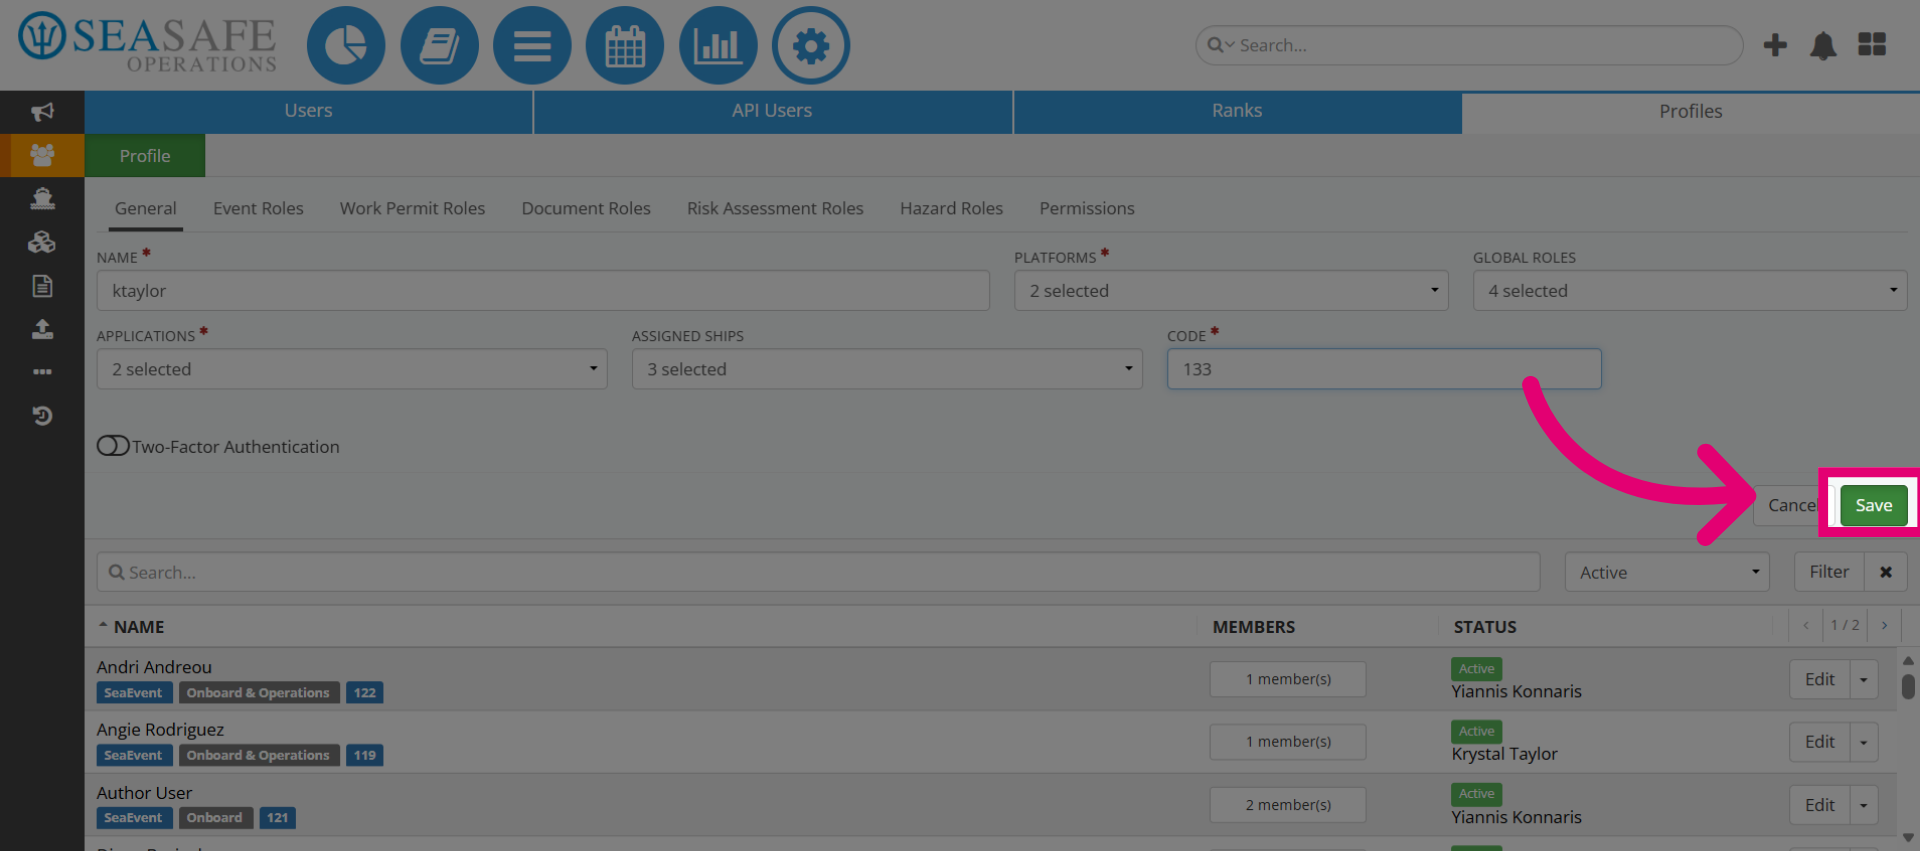
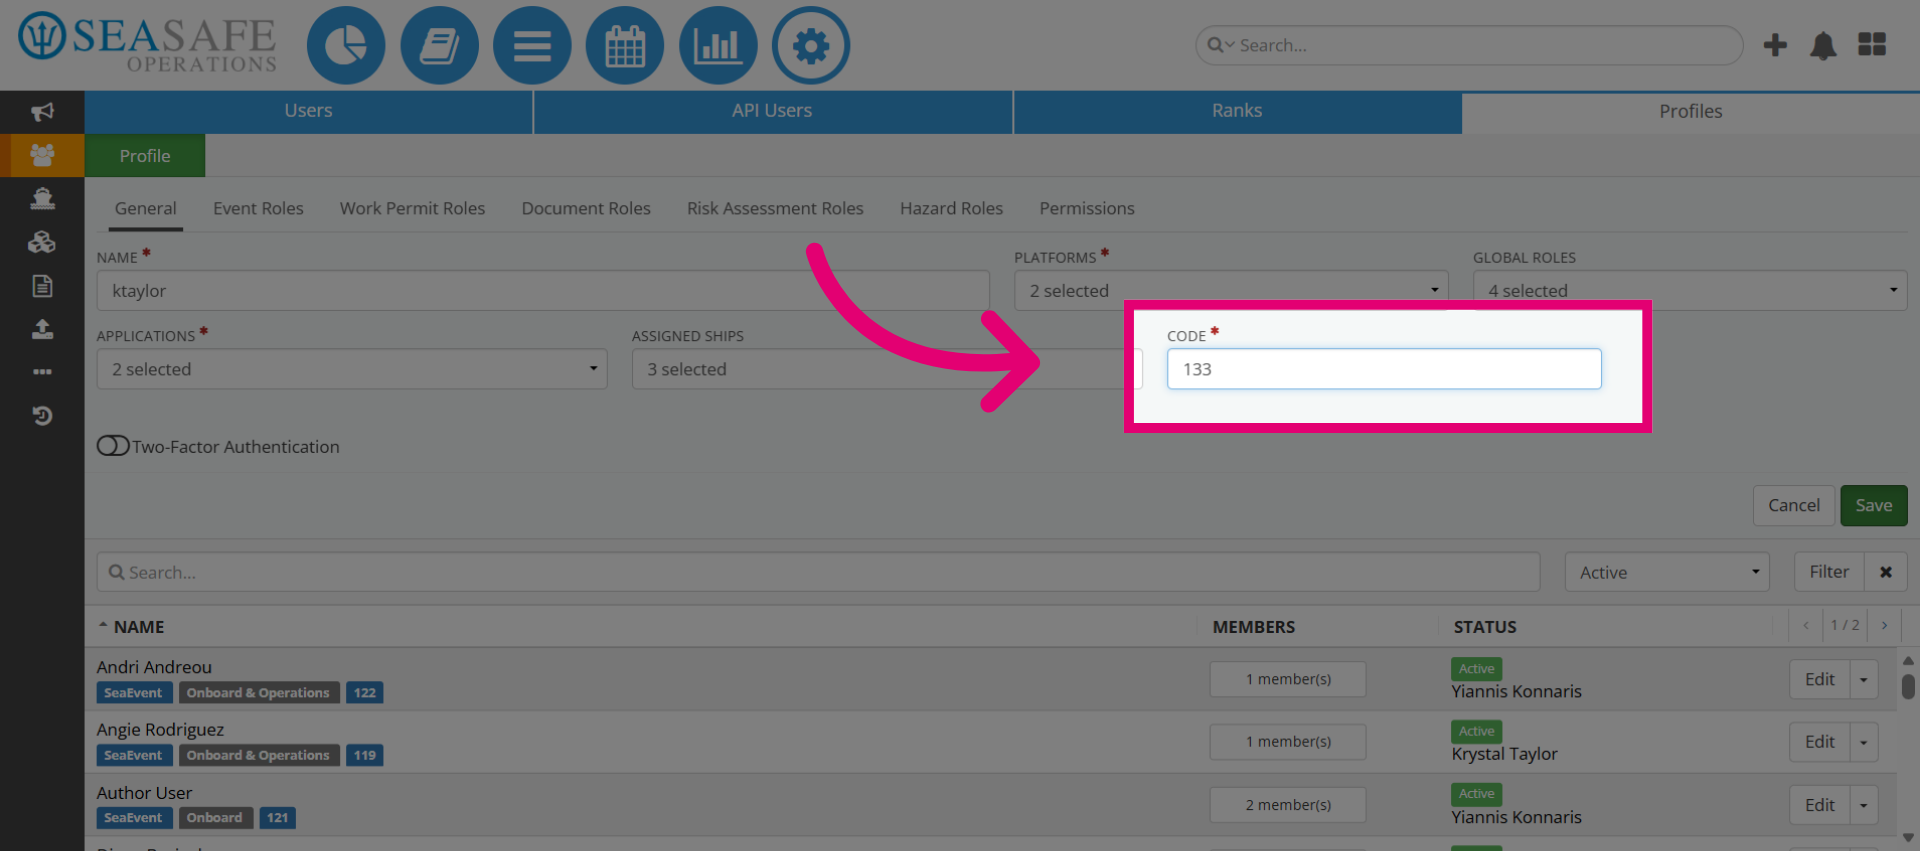
11. Enter a Code
Next enter a code. This code acts as an identifier for the profile within the system, ensuring that it can be referenced accurately in workflows, permissions, and reporting.
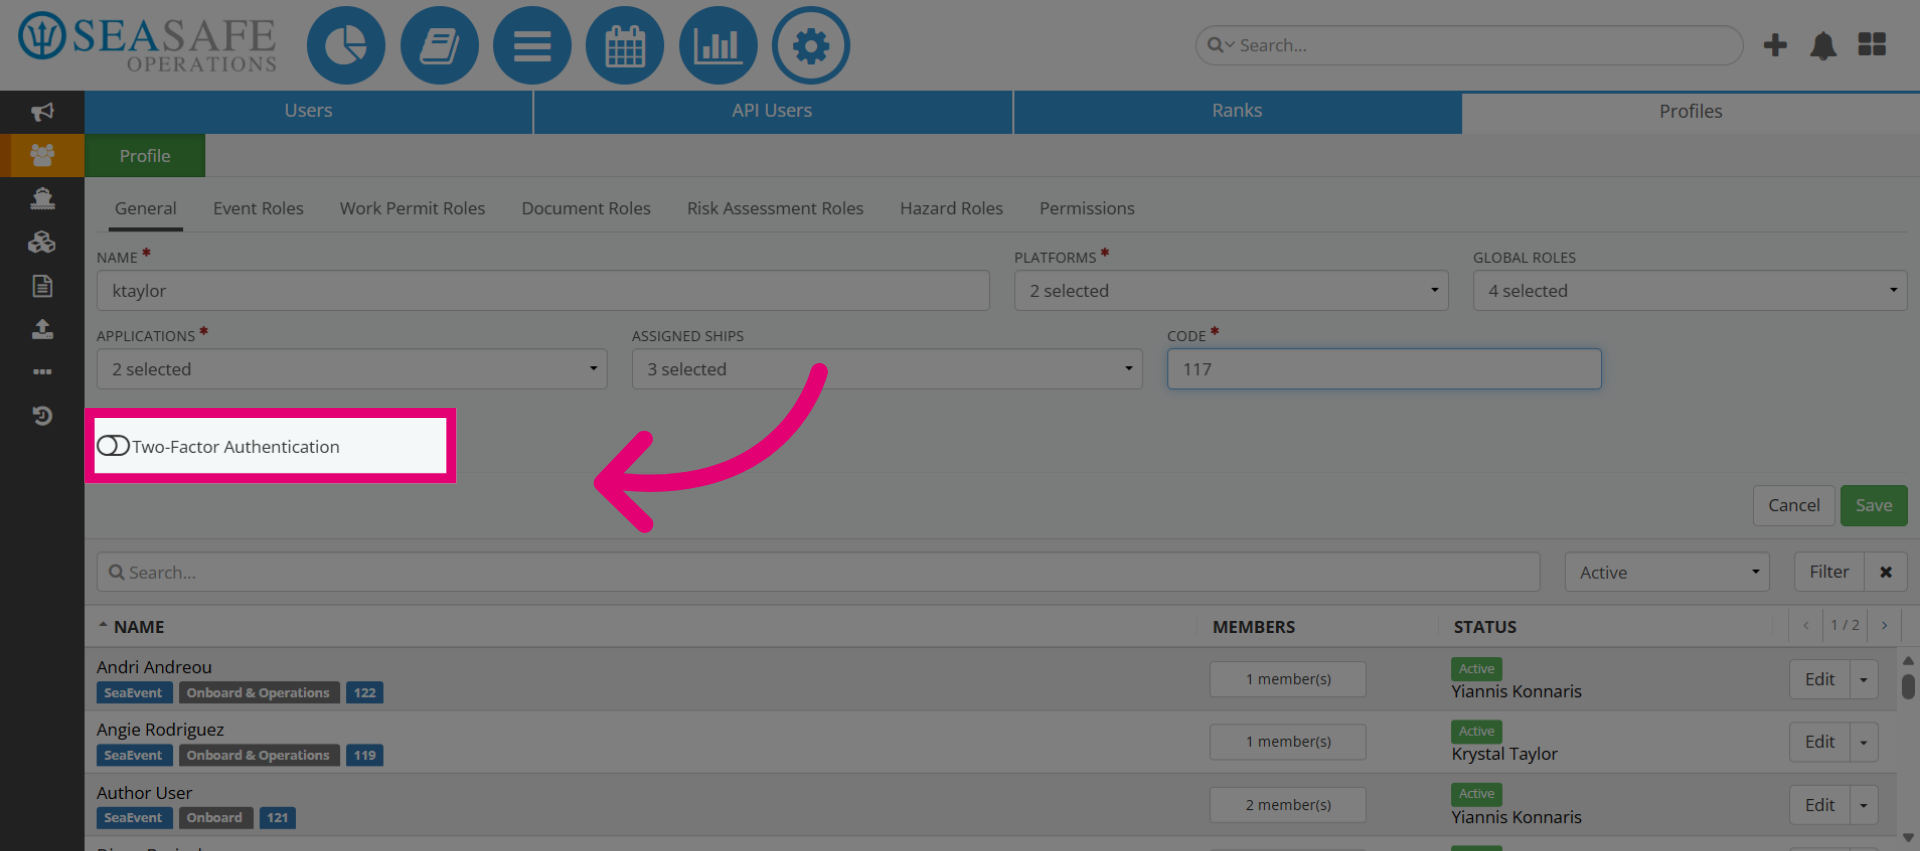
12. Two-Factor Authentication Option
Then, here you can decide to enable "Two-Factor Authentication".
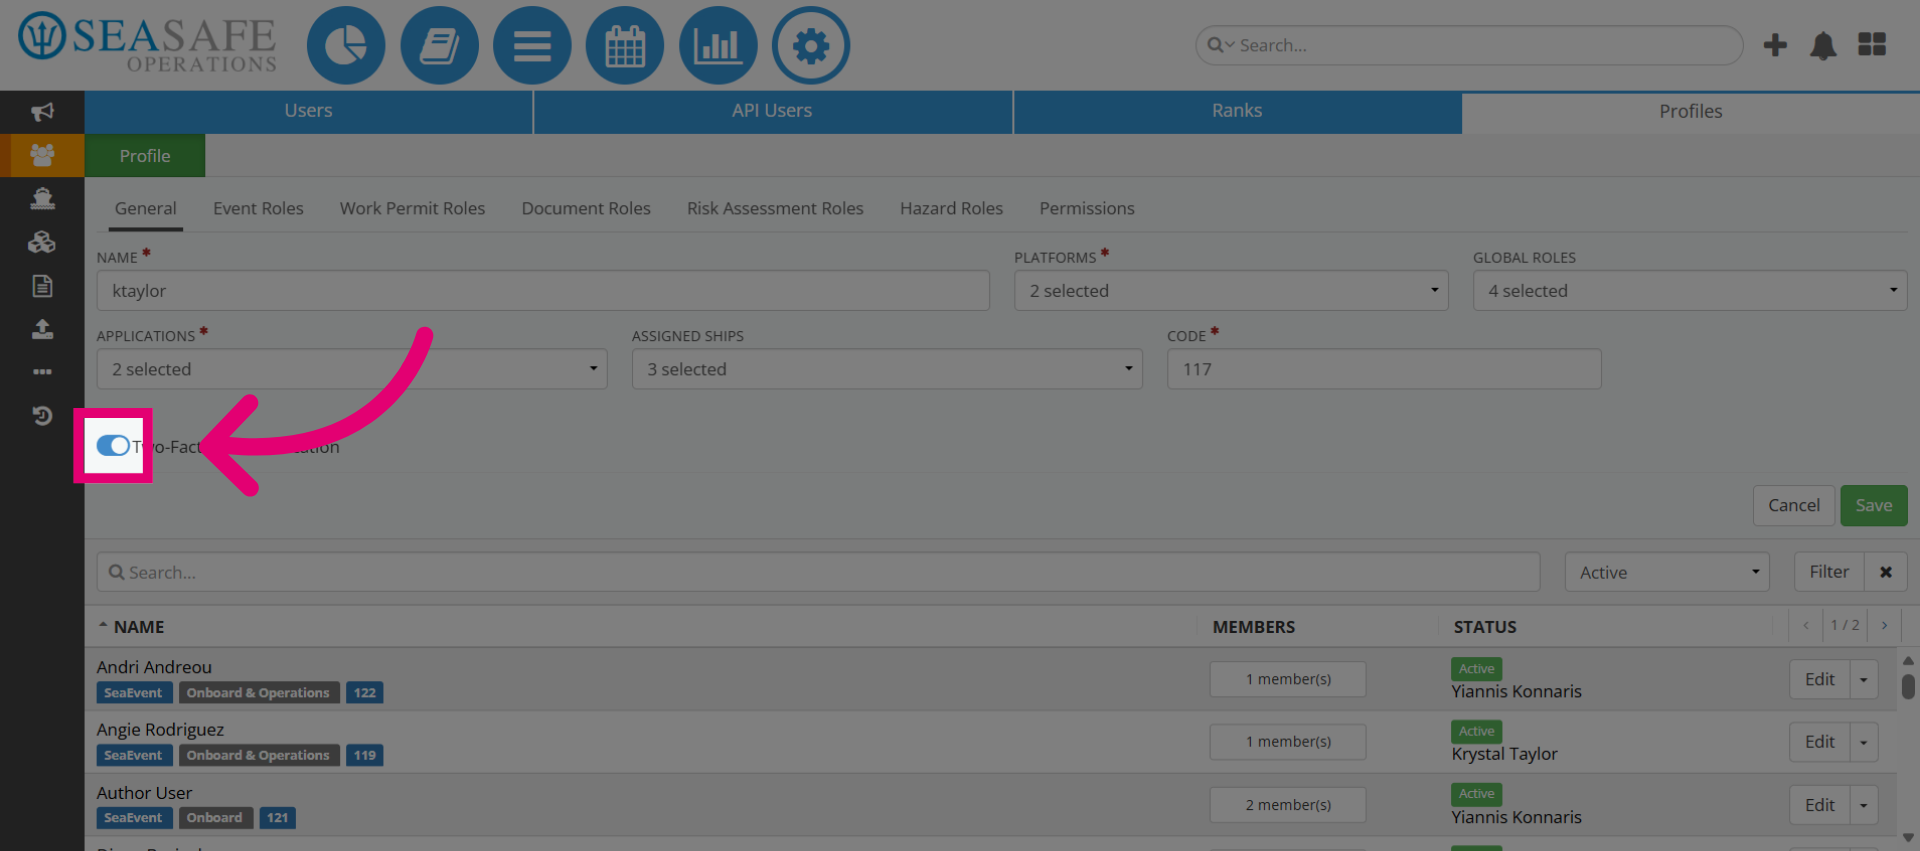
13. Enable Two-Factor Authentication
To do so, toggle on to enable Two-Factor Authentication, adding security by requiring verification to access the application. Or, you can choose to leave it off.
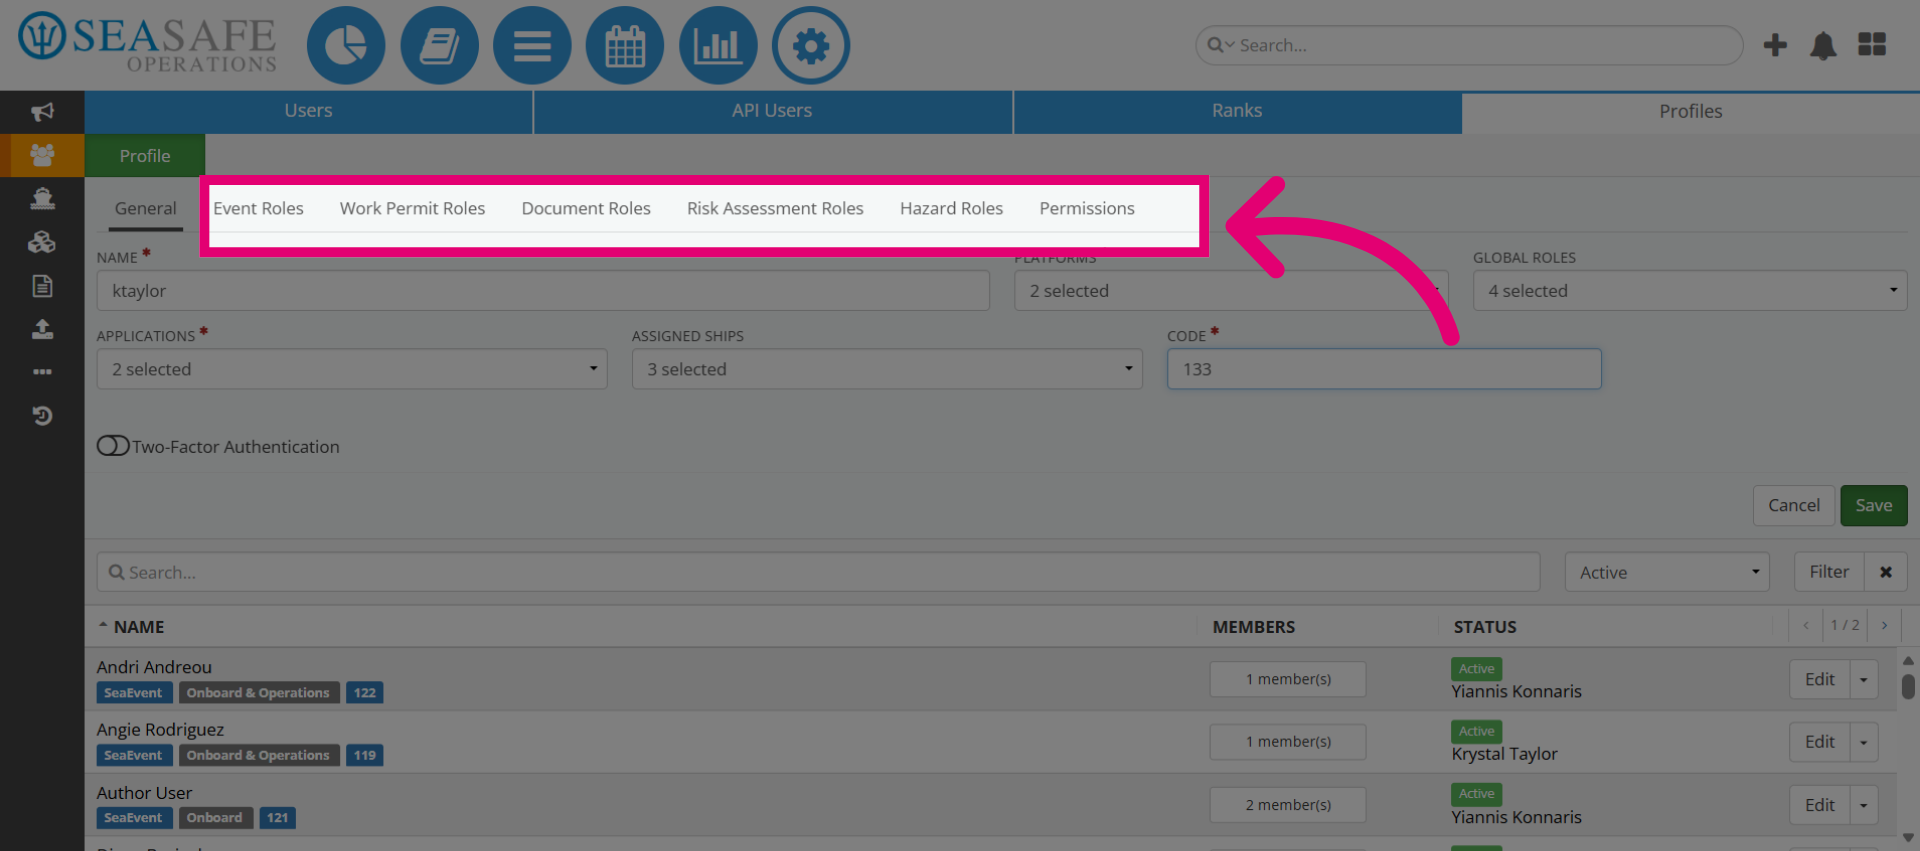
14. Assign "Class Roles" Permissions for the Profile
In Ideagen Maritime Management, you assign "Class" role permissions in user profiles to define actions for class modules like Events, Risk Assessments, Documents, Work Permits, and Hazards. These roles govern permissions such as viewing, creating, editing, approving, or closing records. Proper configuration ensures users have appropriate access aligned with their responsibilities.
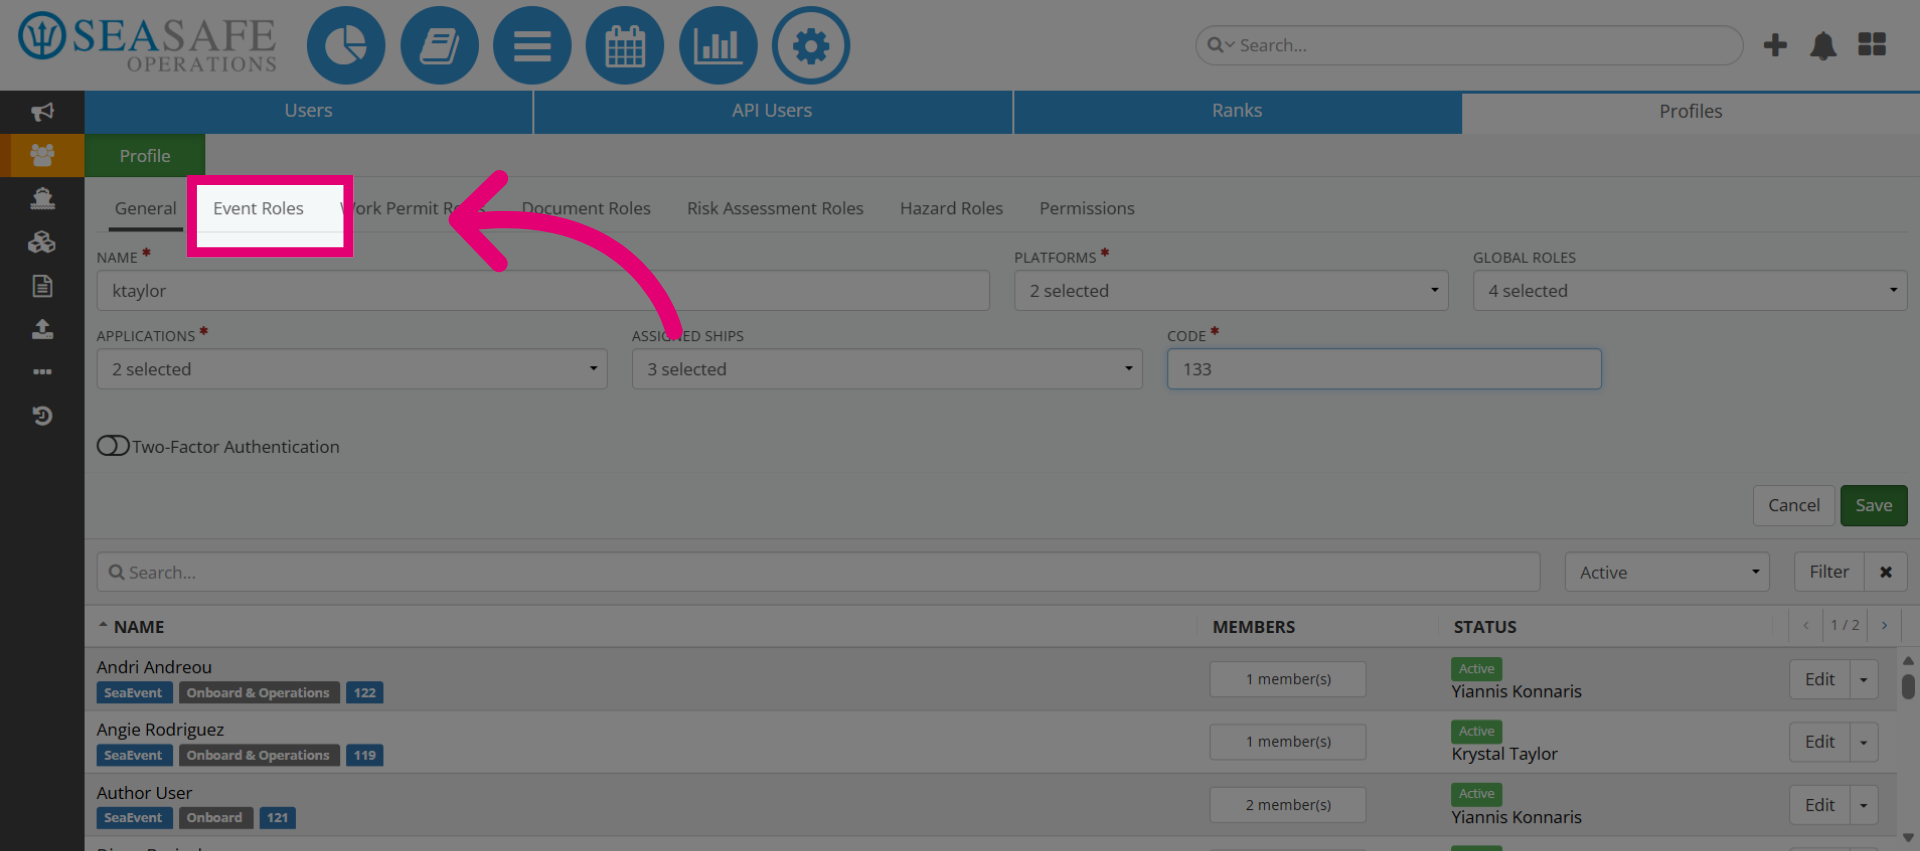
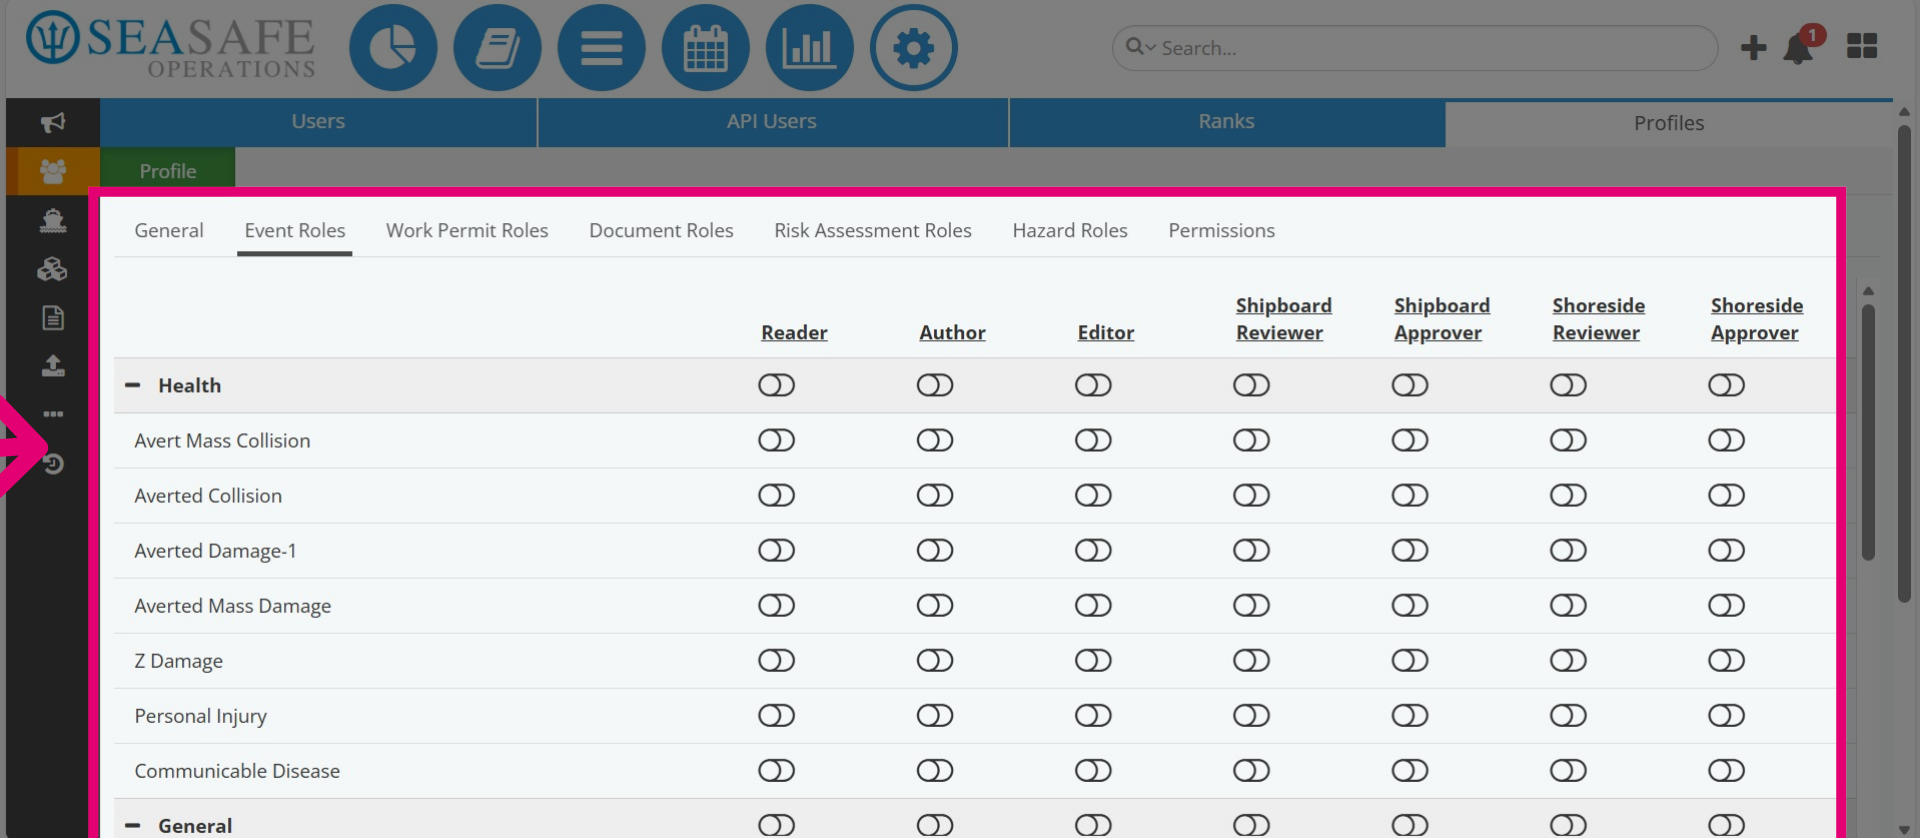
15. Assign "Event" Class Roles Permissions for the Profile
Let's start with Events, so select the "Event Role" tab. You will assign "Event" class roles for the profile.
16. Assign Role-Based Permissions
This includes assigning role-based permissions for each type of class record (Event, Hazards, etc.) and for each class record, you can enable roles such as Author, Editor, Reviewer, Approver, or Responsible Person. Though, you are assigned it to the types under the class categories.
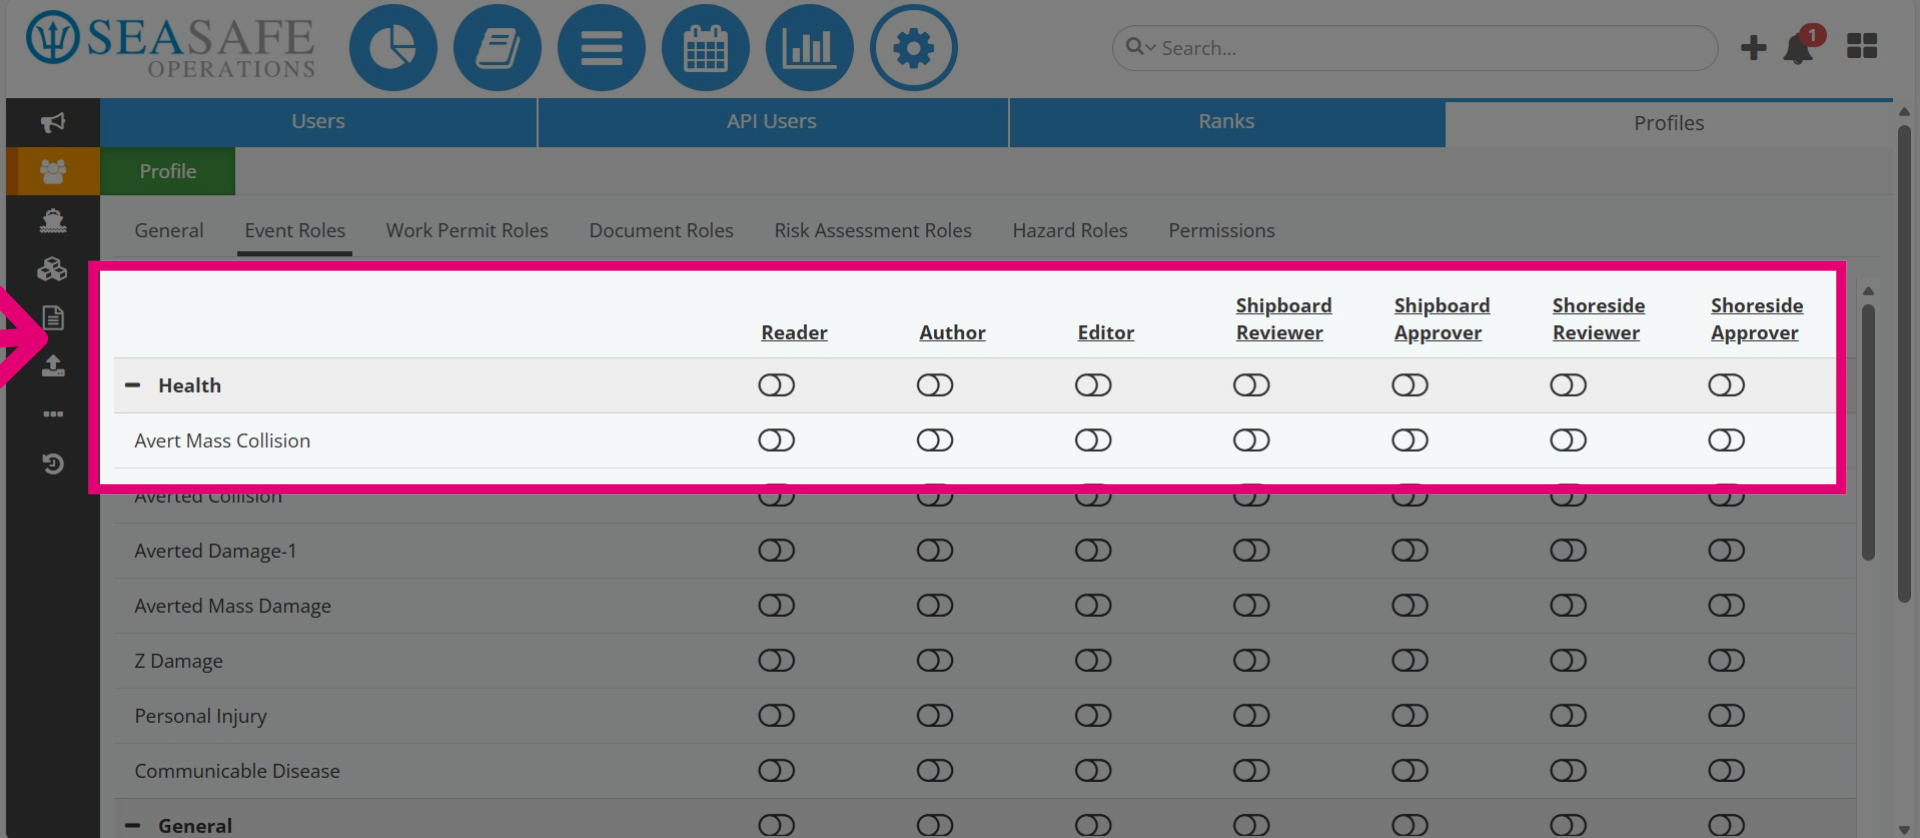
17. Assign a Role Per Type
This is how it works. For each type, you can enable roles such as Author, Editor, Reviewer, Approver, or Responsible Person.

18. Assign Roles Per Type
Assigning roles per event type ensures that responsibilities are clearly defined. For example, a shipboard officer might be an Author for “Avert Mass Collision” events, while a shoreside safety manager holds Approver rights to finalize the workflow.
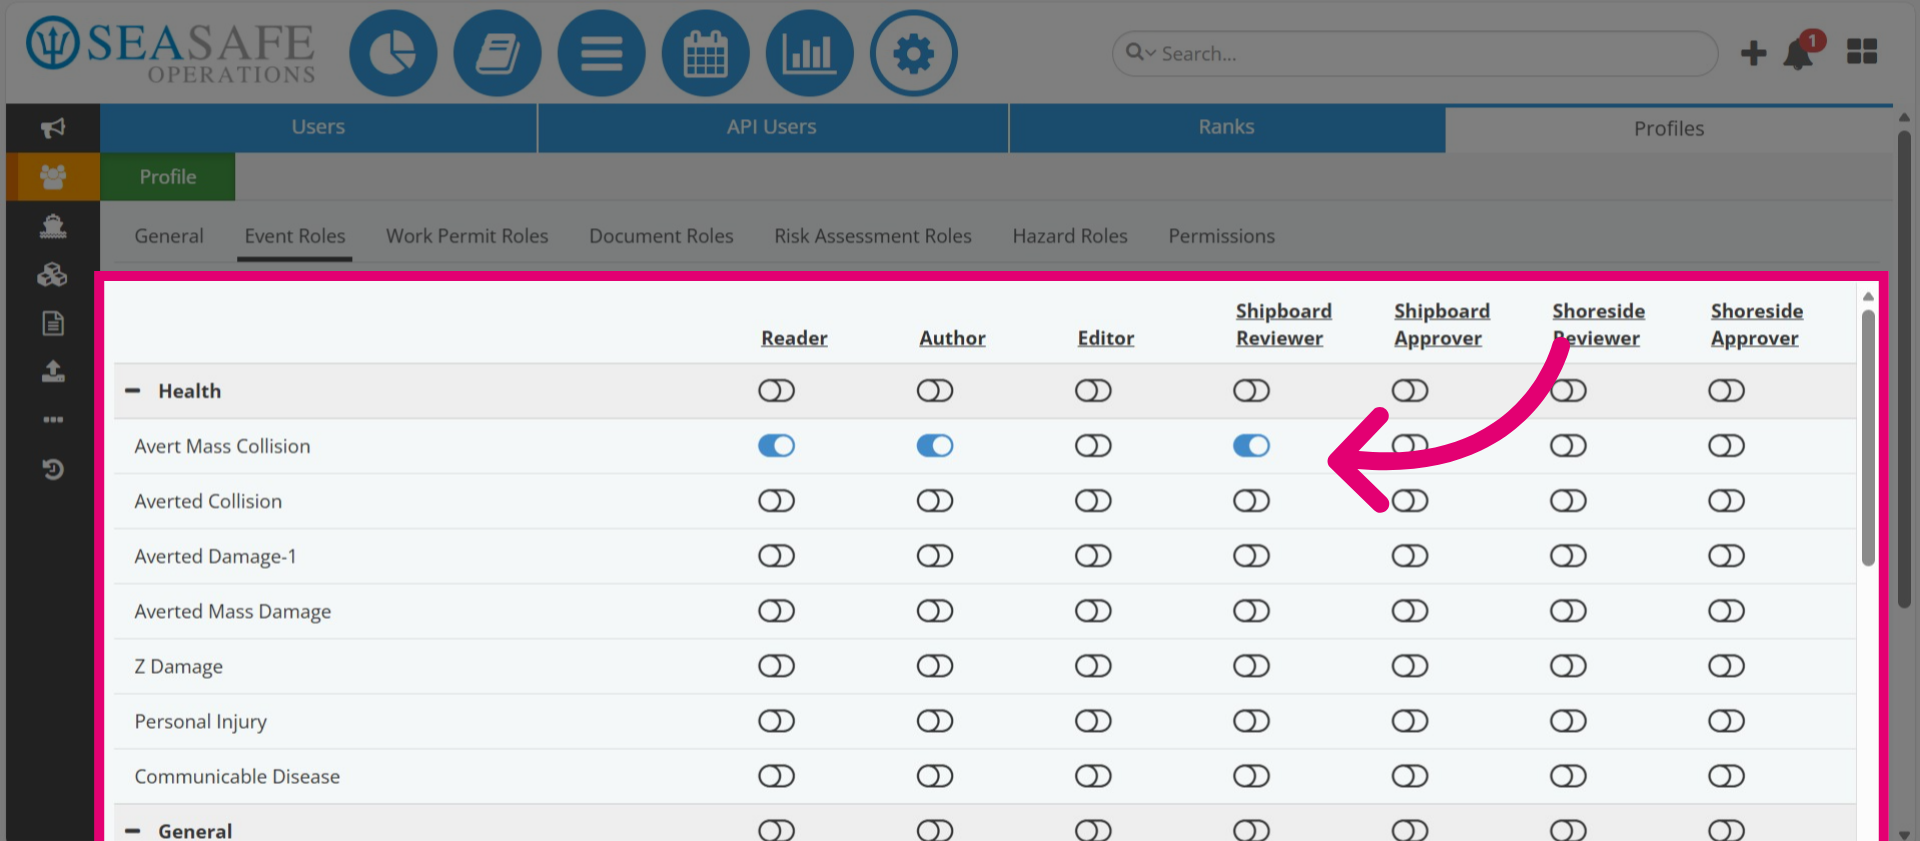
19. Select Roles Individually
You can select roles individually.
20. Assign by Category
Also, you can also select roles in bulk, as they are categorized into groups like Health, General, Environmental, Personal Injury, and more.
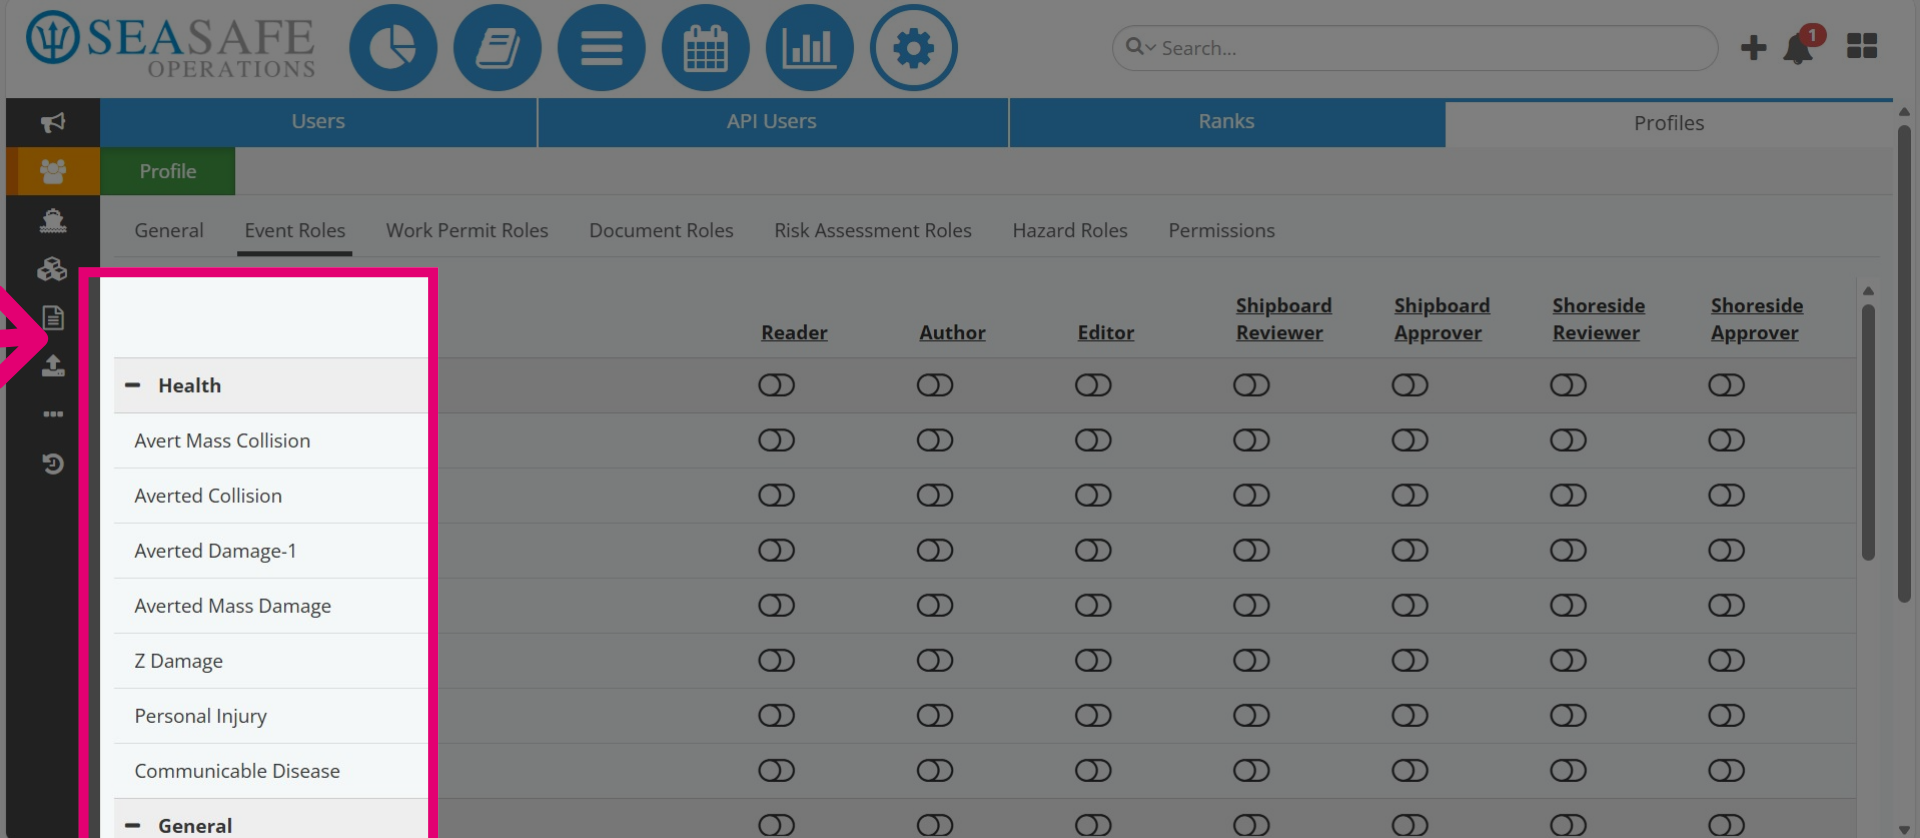
21. Click on Category and select Role
To assign by category, collapse the category by clicking the minus sign next to Health.
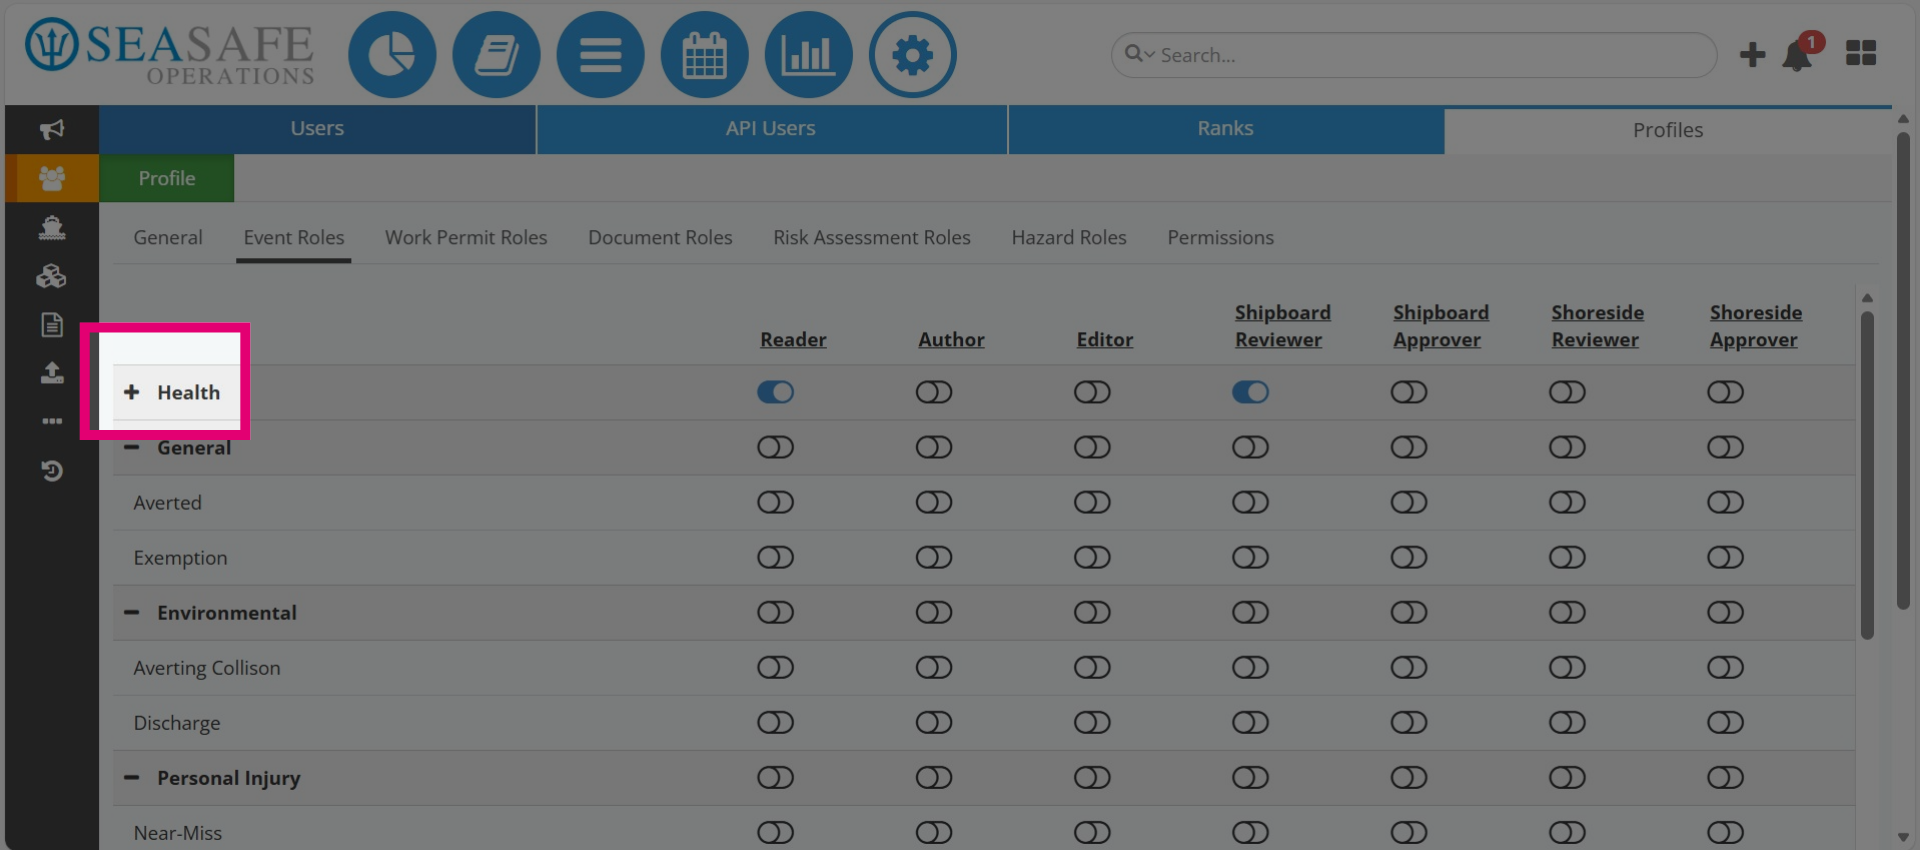
22. Click on the Roles
Next, select roles like Shipboard Reviewer, which automatically includes the Reader role as well.
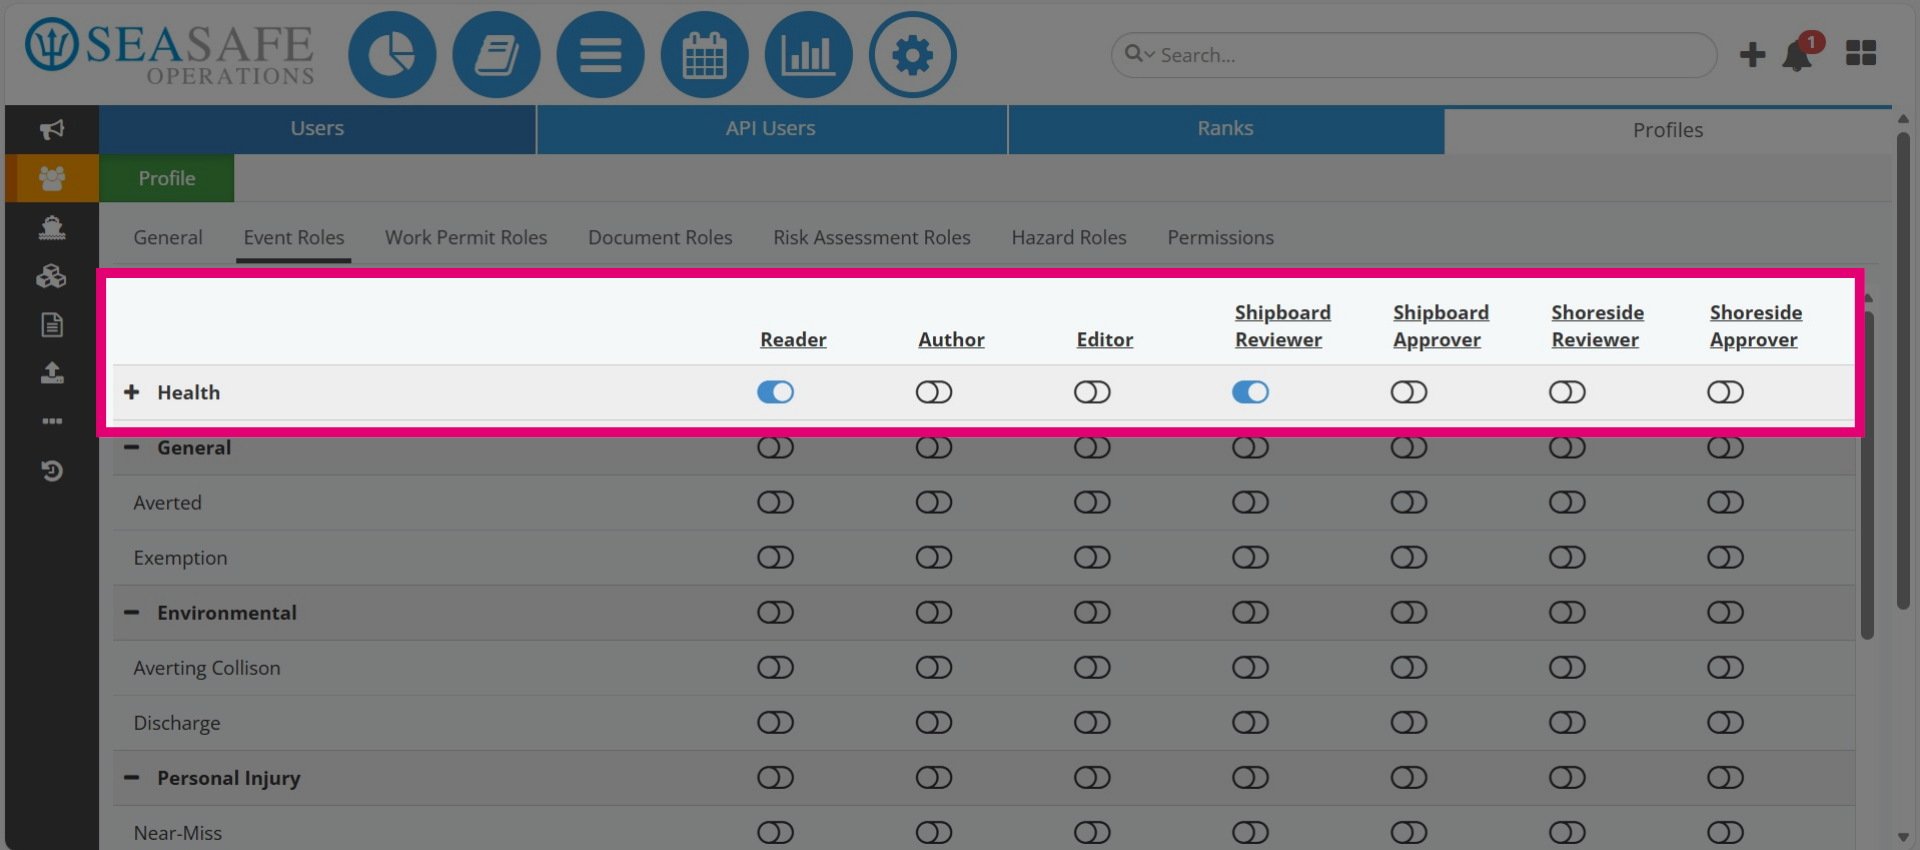
23. Role Applies to all Types in the Category
Then, xpand the category by clicking on the plus sign and all the types within that category inherit the role.

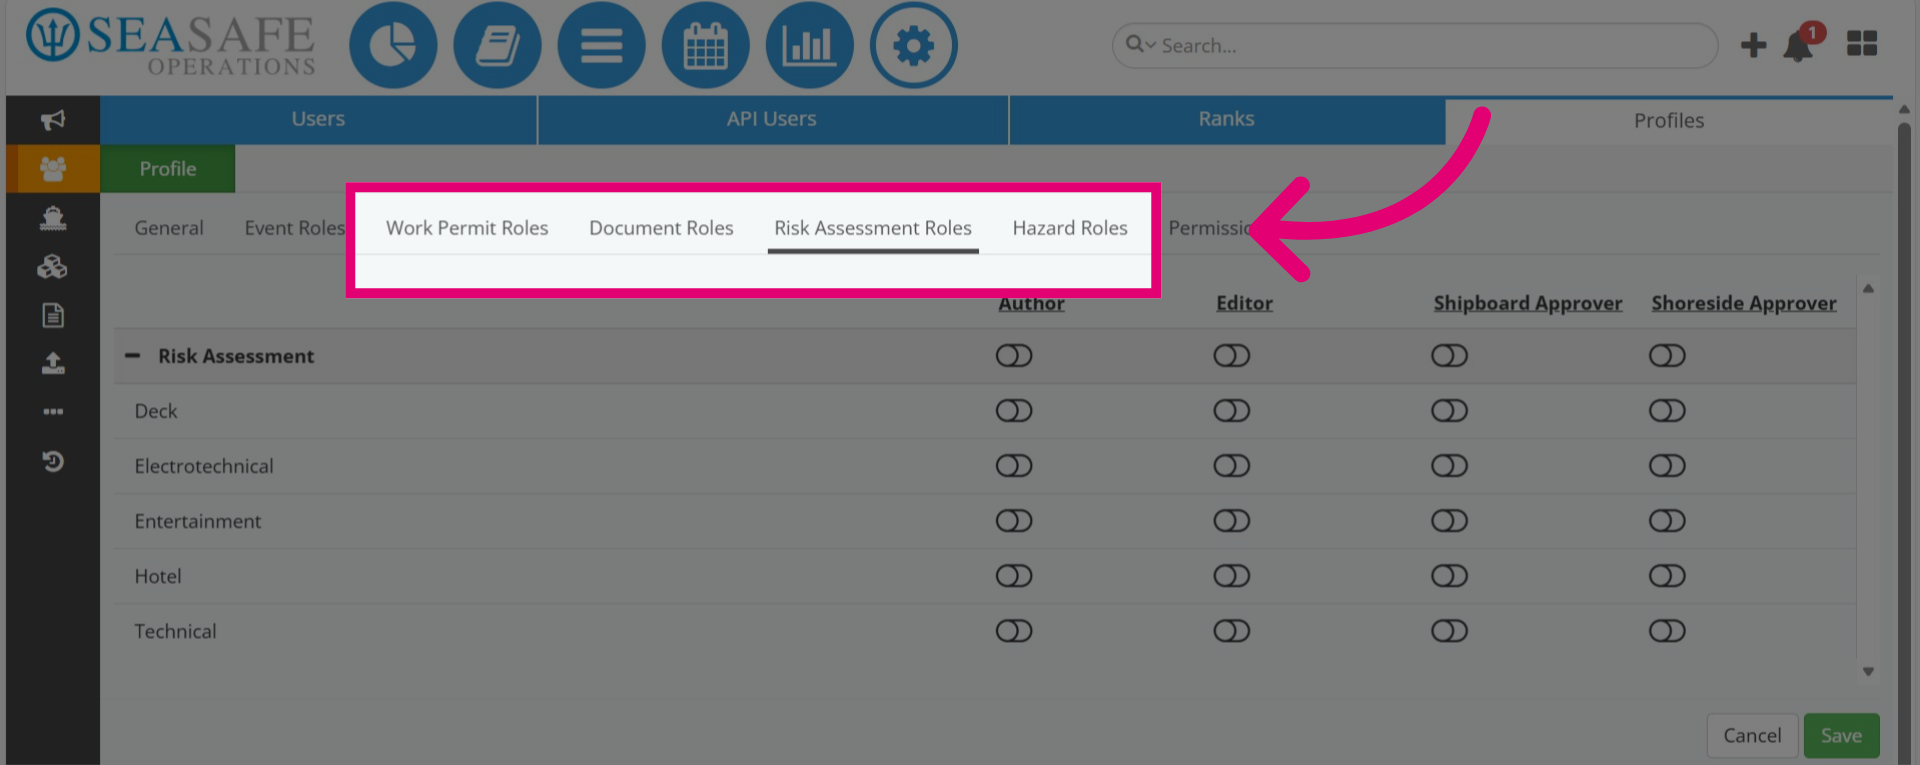
24. Enable Roles for Other Reports
Now, elect additional role tabs (for example, Work Permit, Document, Risk Assessment, Hazard) and follow the same steps to enable roles for specific types within those report categories.
25. Add Permissions
Then, you can select the "Permission" tab, and enable permission for actions done for Tasks, Events, Reports, Administration, etc.

26. Save Changes
Lastly, click "Save" to apply changes to the profile.