New article
Recently updated
Navigating the Ideagen Maritime Management Onboard View

This walkthrough provides an overview of how to navigate the key features of the Ideagen Maritime Management Onboard platform.
1. Introduction
You will learn how to access key sections such as the Workflow, documents, checklists, notifications, profile settings, and how to manage your tasks.
2. Access the "Workflow Module"
The default module is the "Workflow Module", which is the central hub for you to manage report workflows.

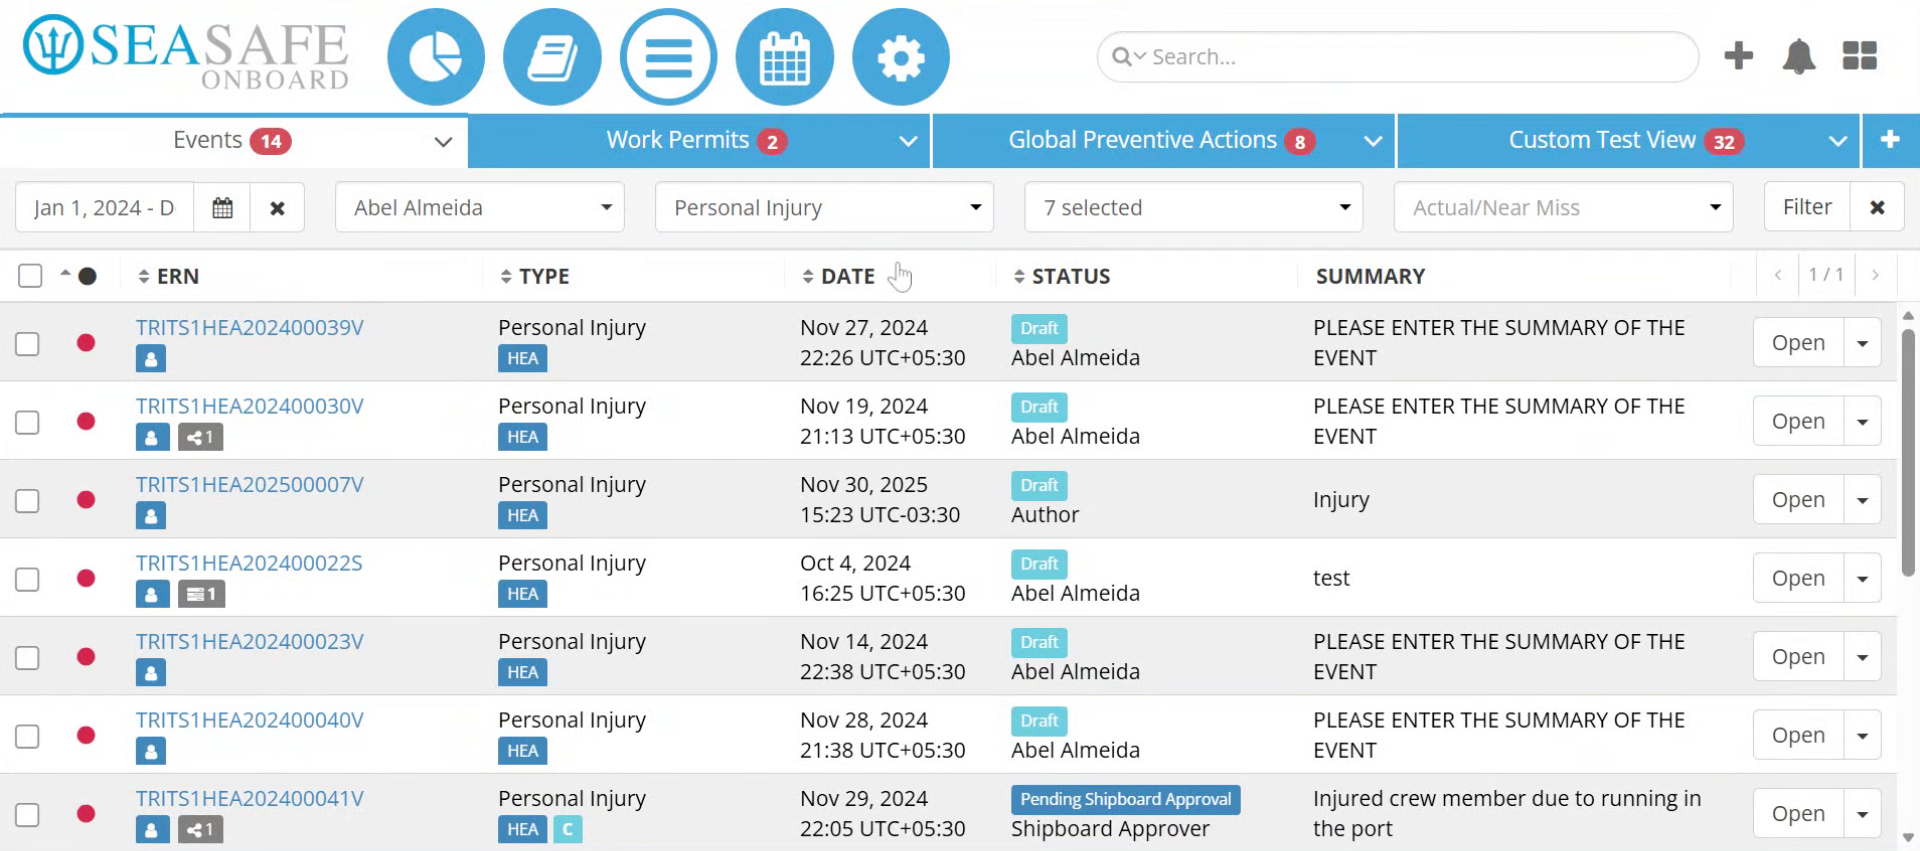
3. Access Reports
Access report types like "Events" or "Work Permits" in one place. Each tab allows easy switching and management.
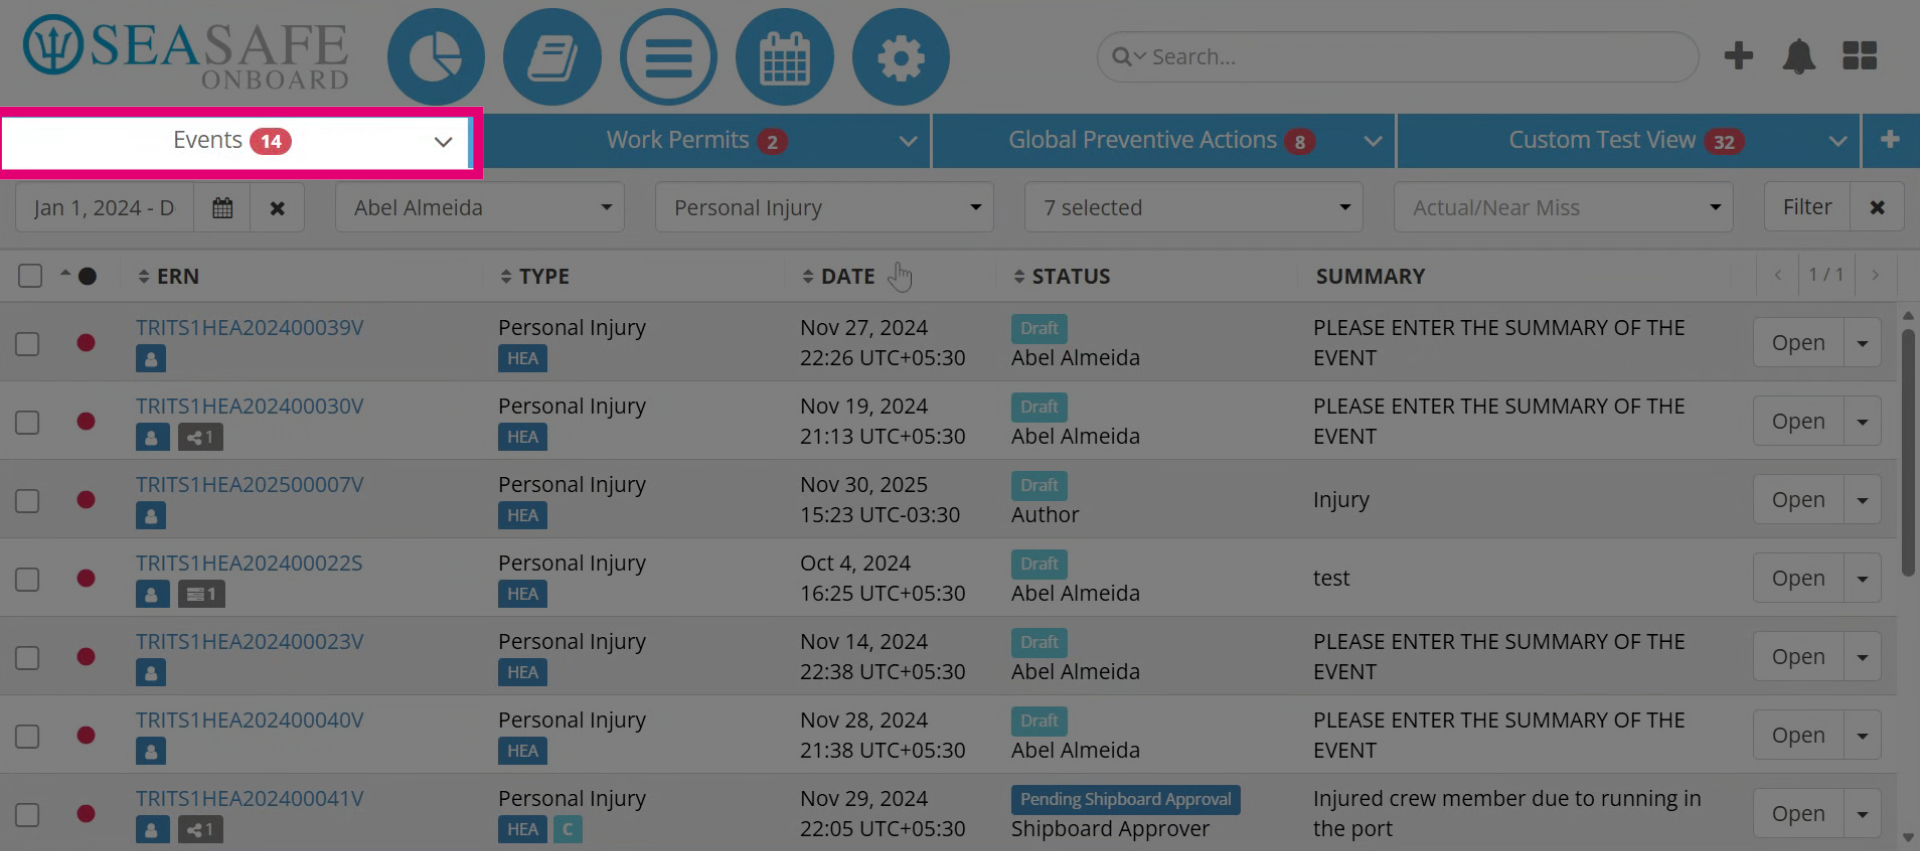
4. Access Event Reports
For example, here is a tab for all of your "Event" reports. Let’s take a closer look at what you can do.
5. Use Filters to Locate Specific Report(s)
You can use the filters to quickly locate specific reports. Filters allow you to search by: Date range, Assigned to you Event categories, Ship name, Status such as pending shipboard review, shoreside approval. Also select from Actual or Near Miss events. Once you’ve selected your criteria, click "Filter" to apply and use the "x" to reset the filters.
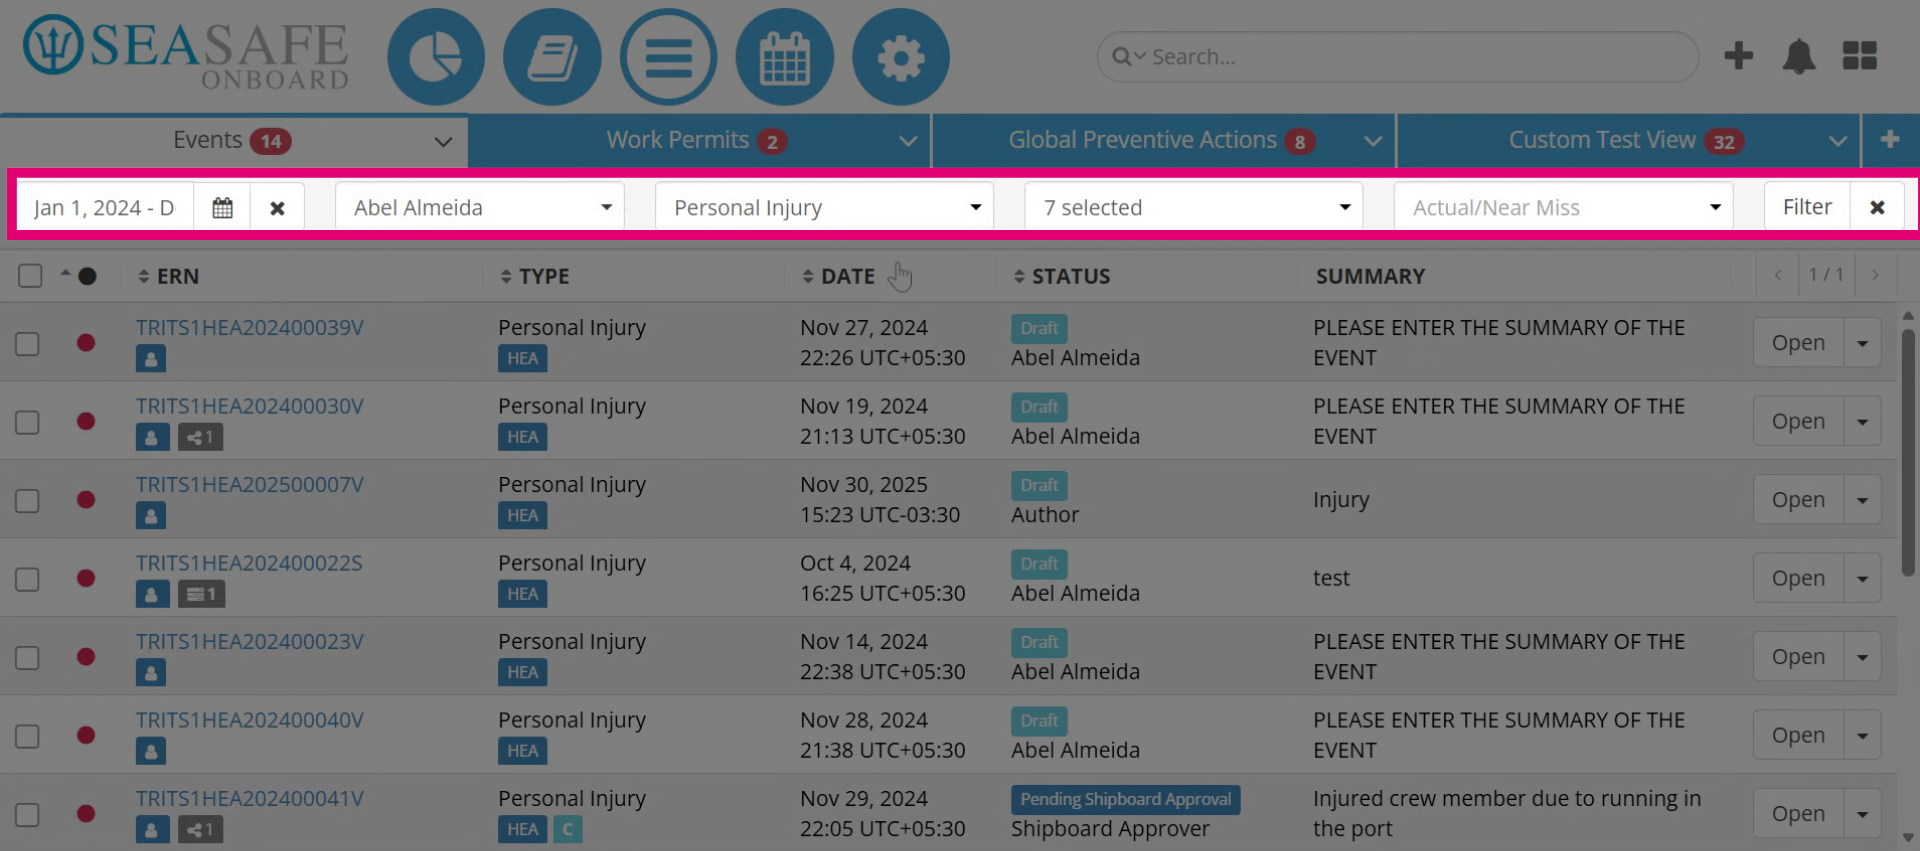
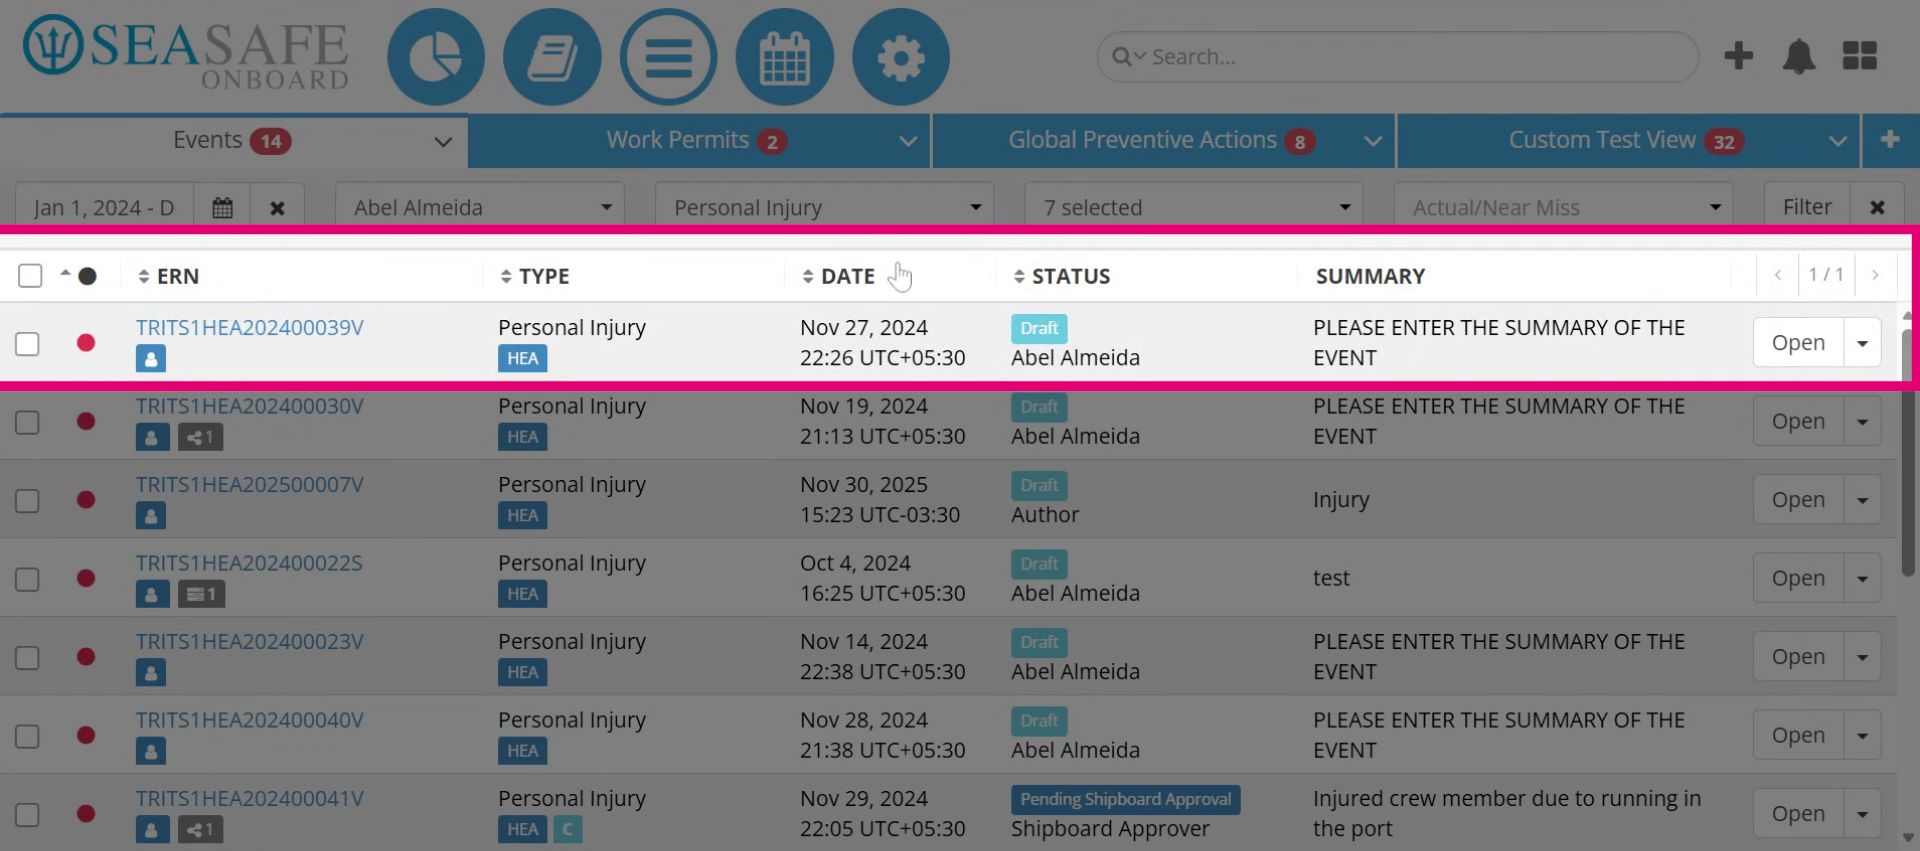
6. View Report Information
Here is the list of reports. You can click on the Event Report Number (E-R-N) to open a specific report and view its details. Each report displays key information such as: Type of report—for example, Personal Injury or Near Miss Date created, Current status—such as Draft, Pending Review, or Approved and a preview of the report Summary for quick reference.
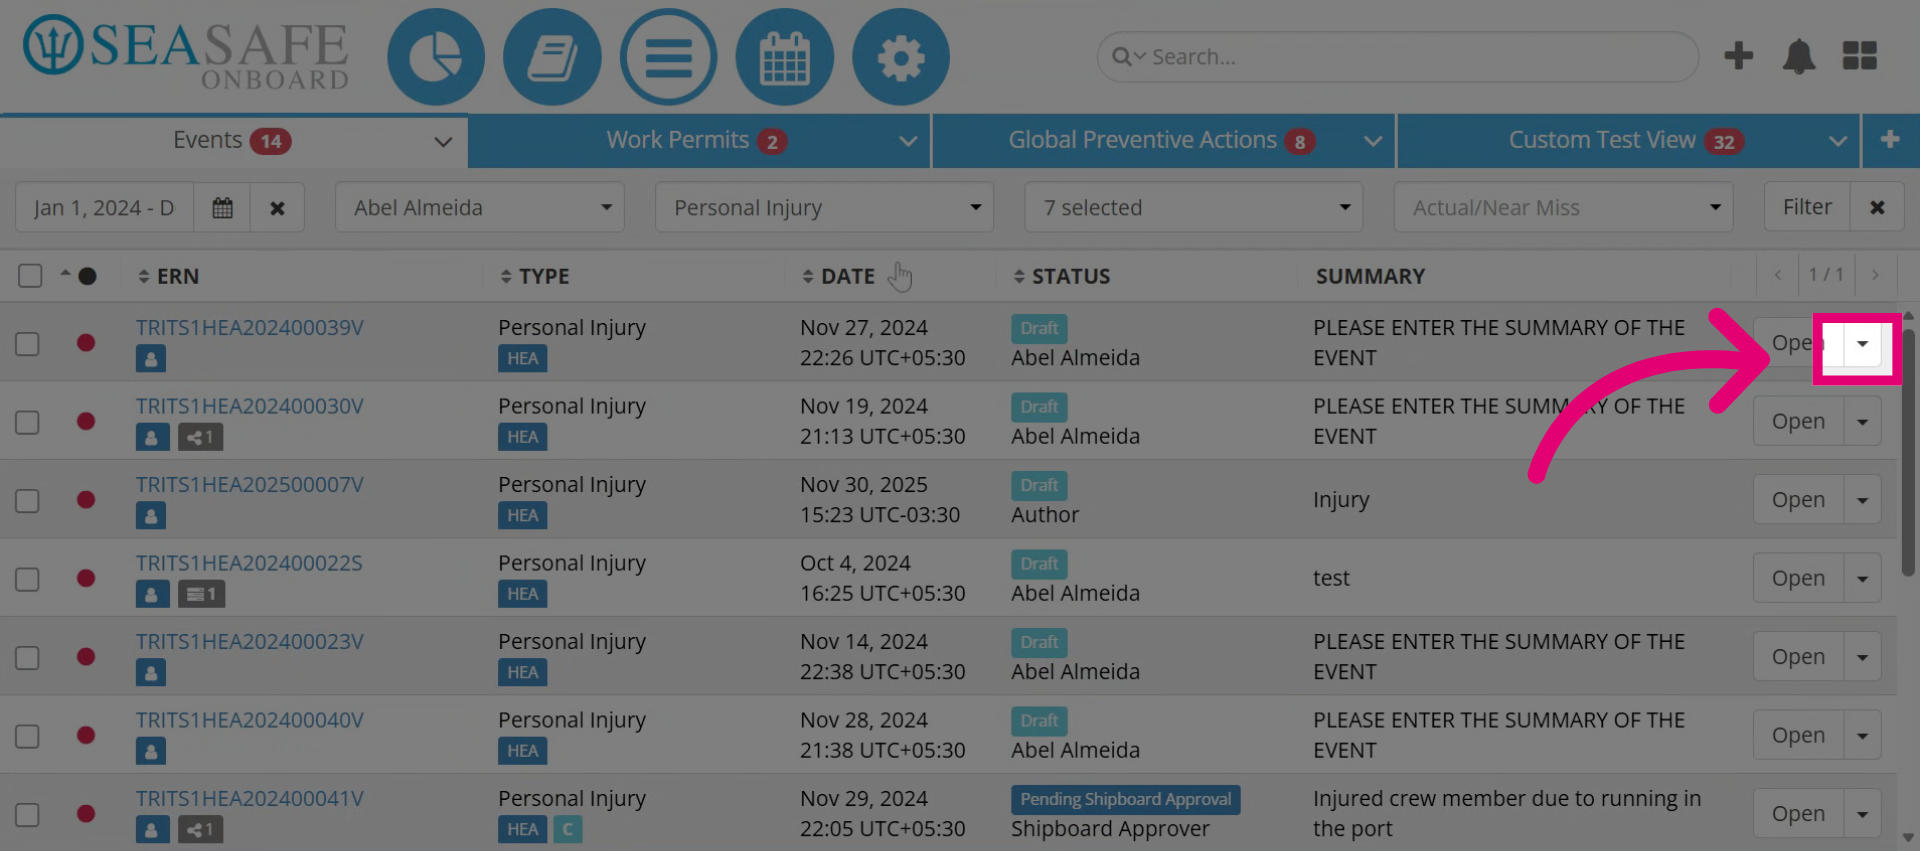
7. Access the "Actions Menu"
On the right, you will find the "Actions Menu". Click the dropdown arrow to access it.
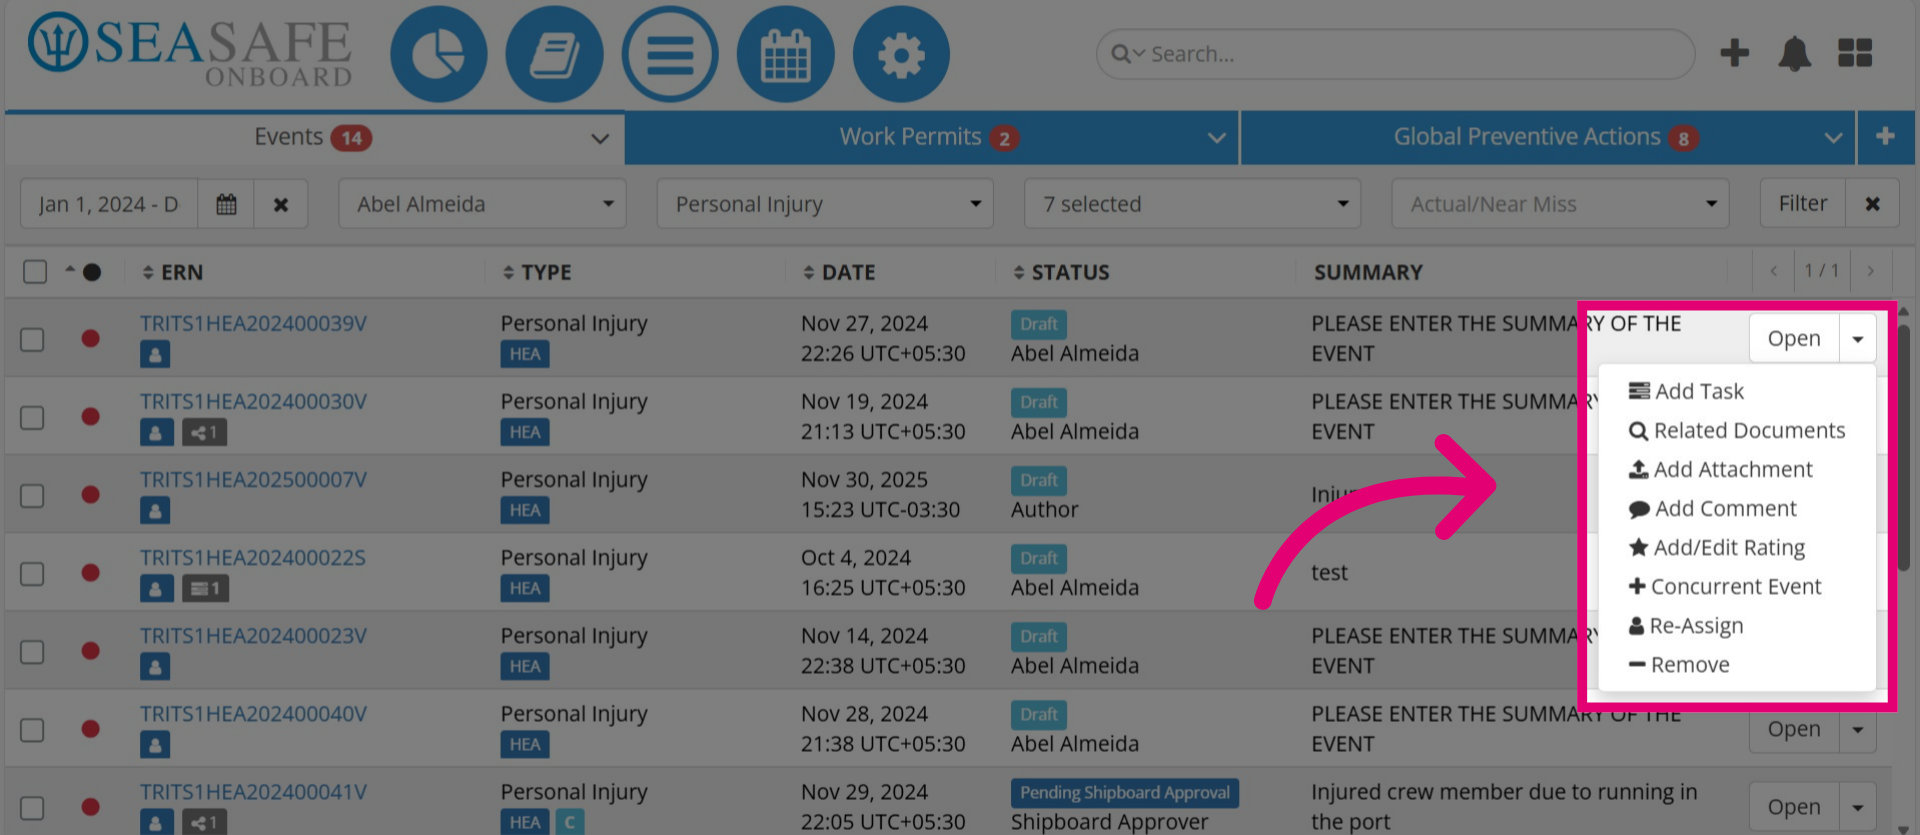
8. Manage Reports
Then, manage reports directly from the list without opening the report: - Add Tasks: By creating a follow-up task. - Add Related Documents: By linking associated documents to the event. - Add Attachments: By uploading supporting files. - Add Comments: To collaborate with notes. - Add/Edit Ratings: By updating severity or risk rating. - Add Concurrent Events: To link the event to another related event. - Re-Assign: To change the responsible person. - Remove: To delete the report if needed.
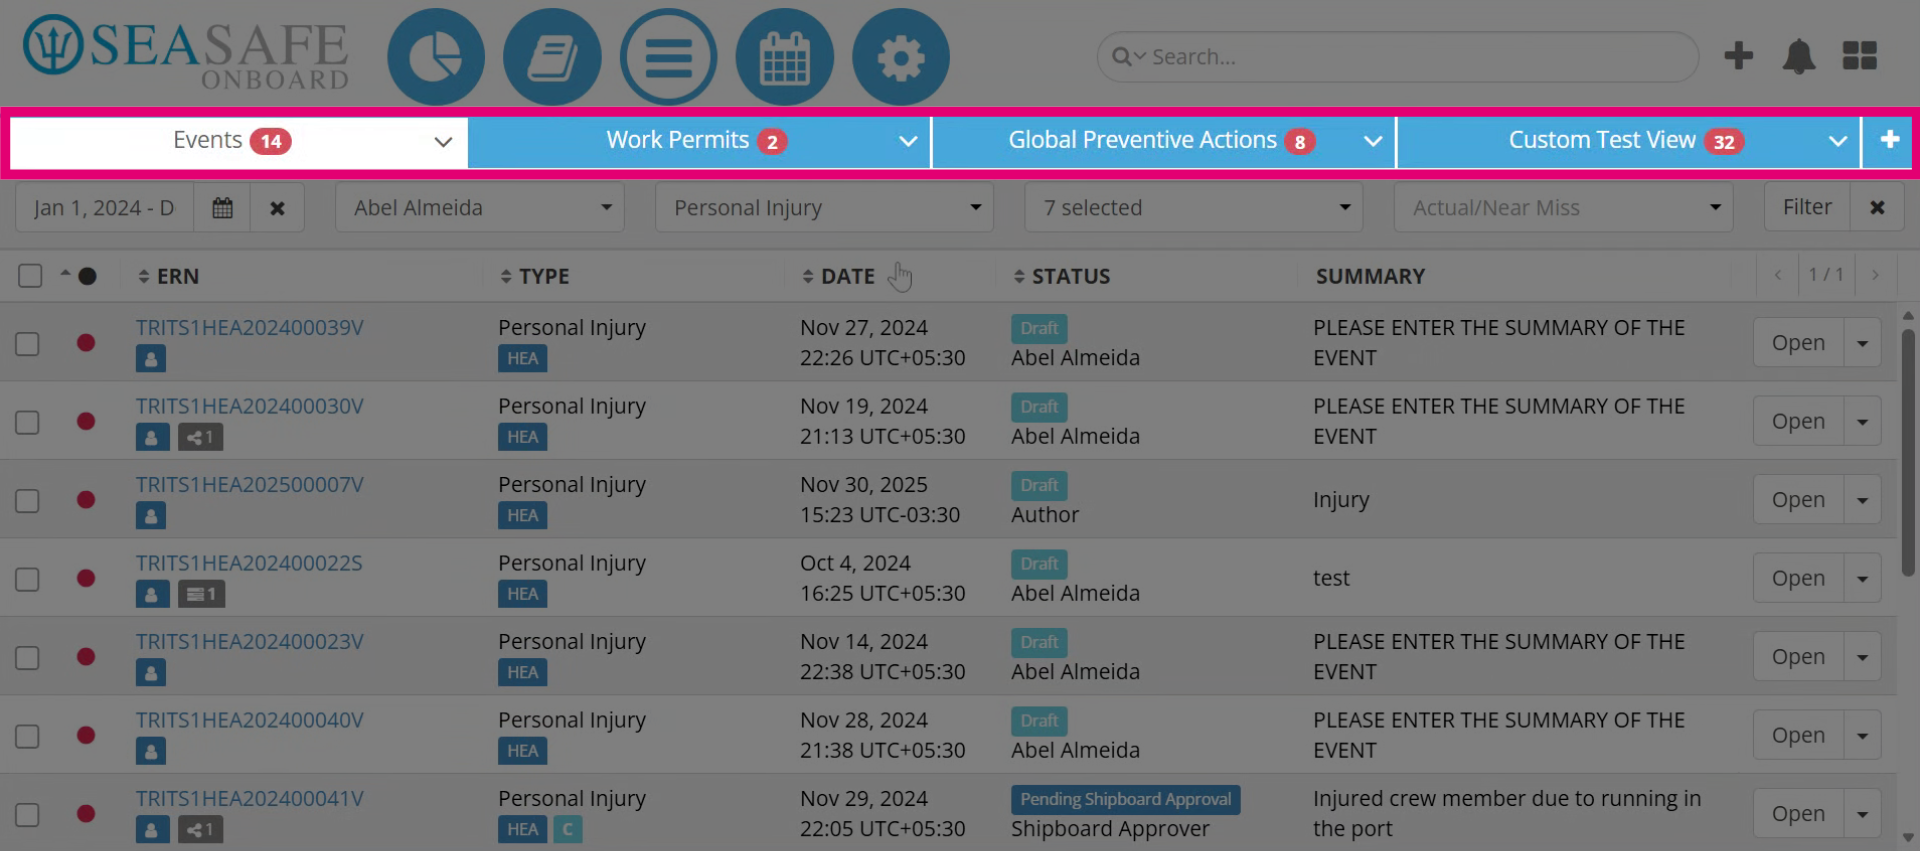
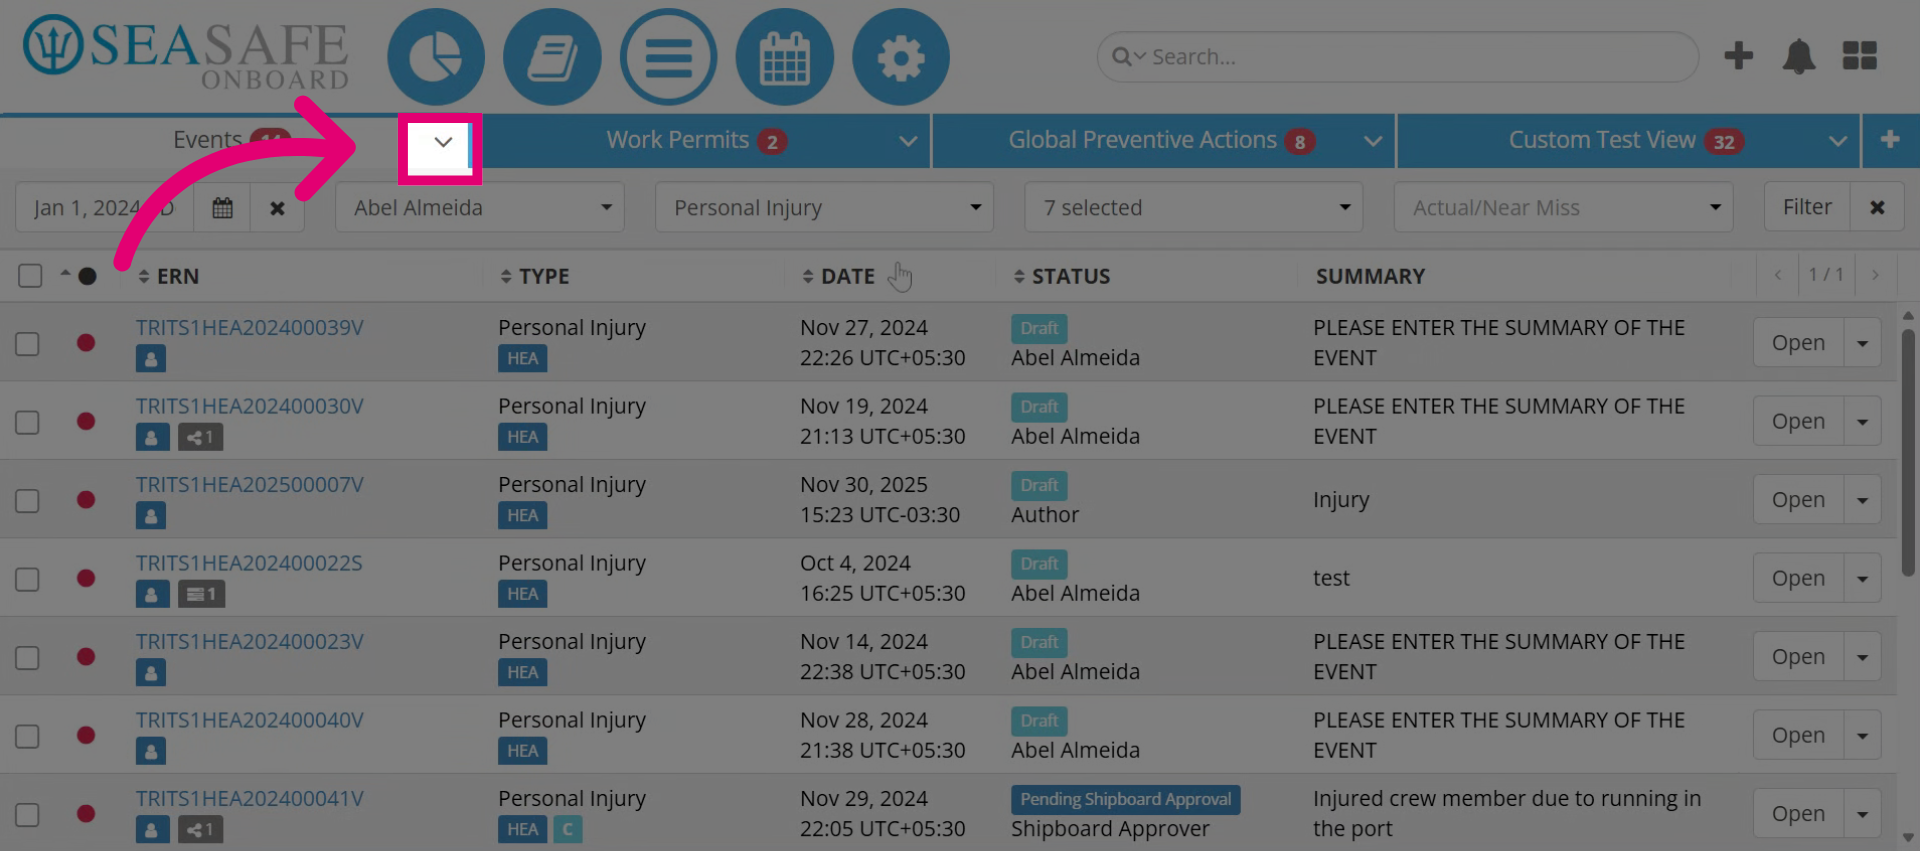
9. Open Report Dashboard Tabs
Click the dropdown arrow next to the Events tab to switch to other report type dashboards.
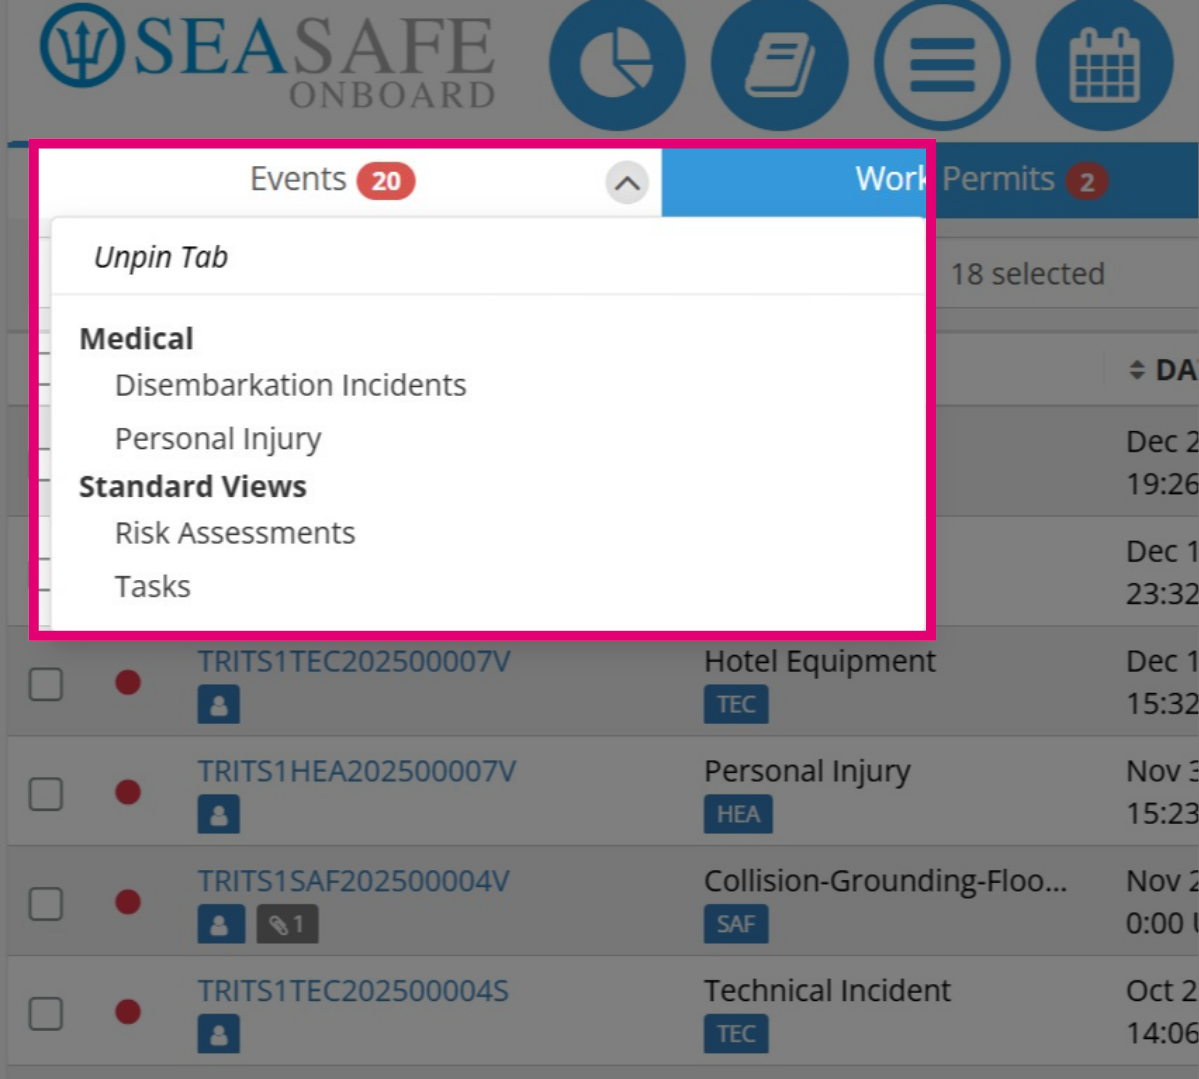
10. Manage other report dashboard tabs
Here you can unpin the current tab which removes this dashboard tab or switch to replace it with another report tab view from the list.
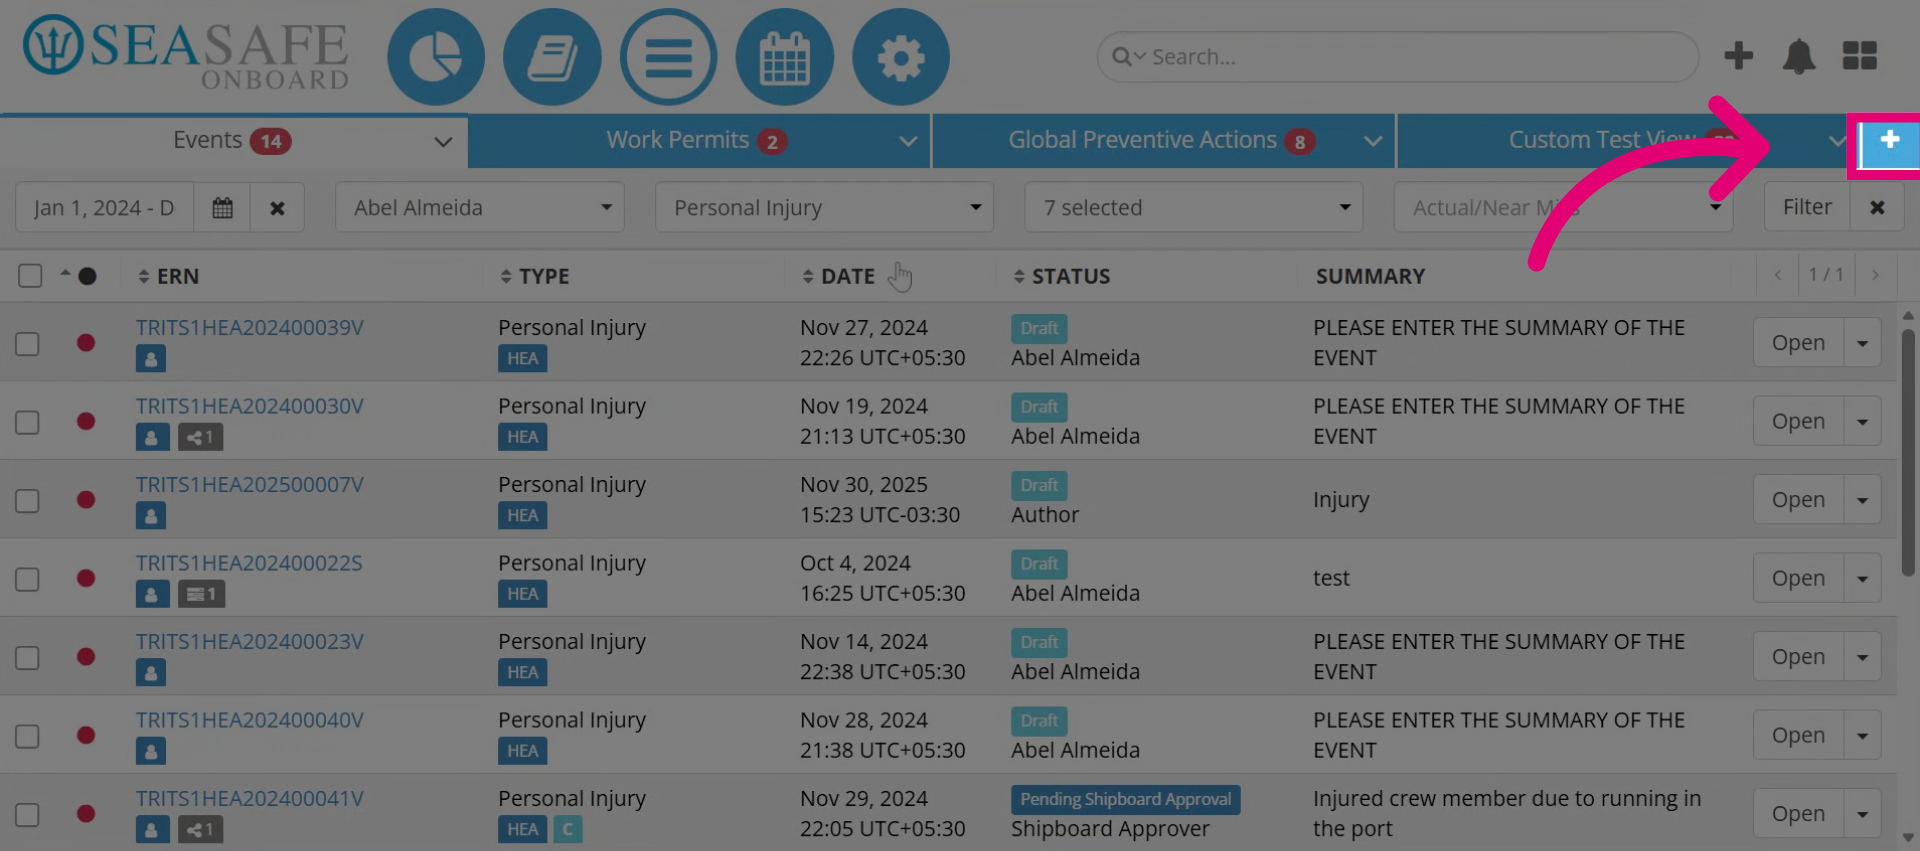
11. Add Another View
Click here on the plus sign to add another view.
12. Select a View
Select the view you want from the available options

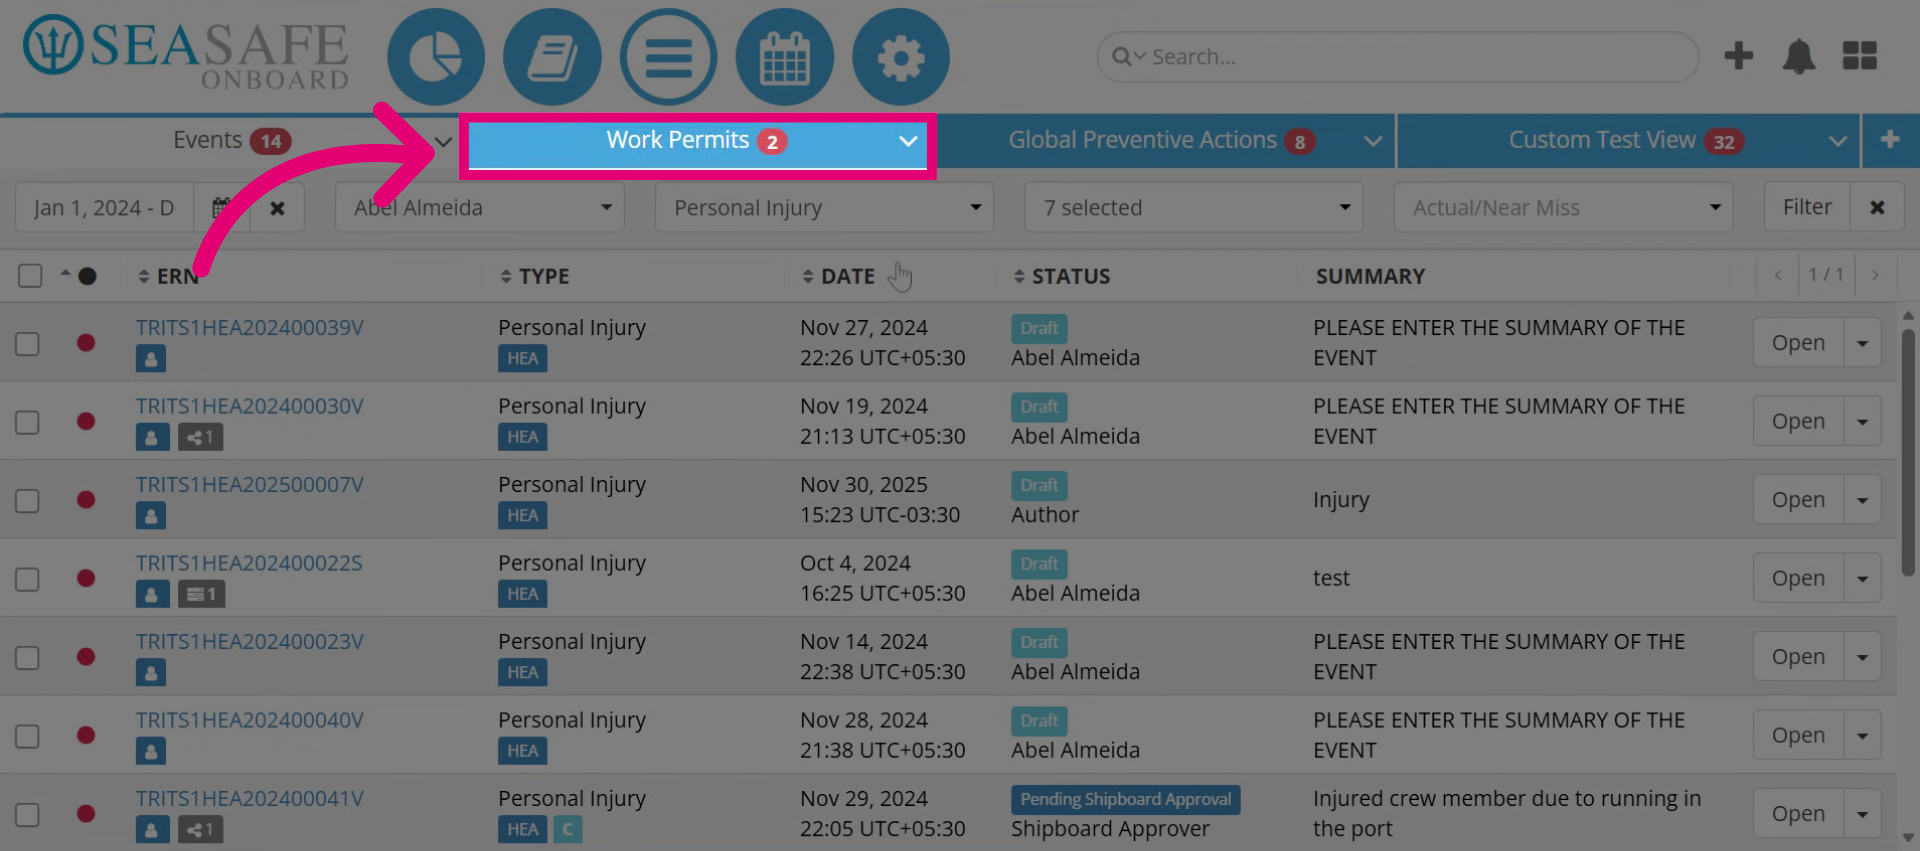
13. Access "Work Permits" Reports
Or, click on the existing tabs to open, for example, "Work Permits", to access these reports.
14. Manage Work Permits
Here, you can apply filters; however, please note that they differ from Event filters. Additionally, all other report filters are based on the report type.
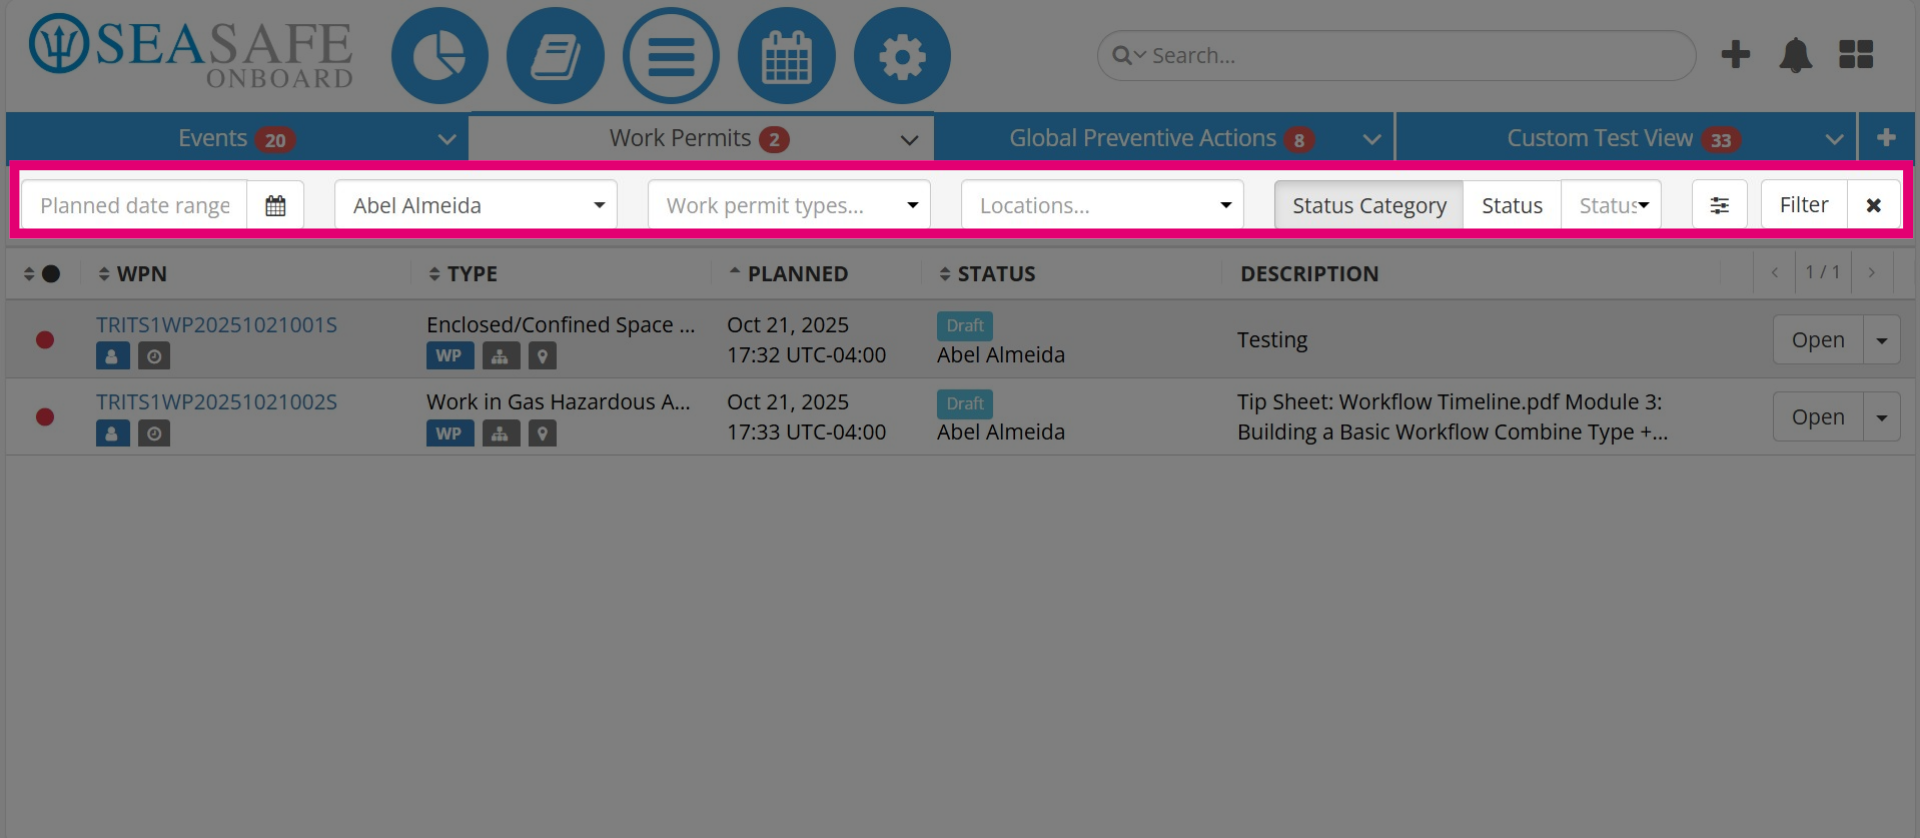
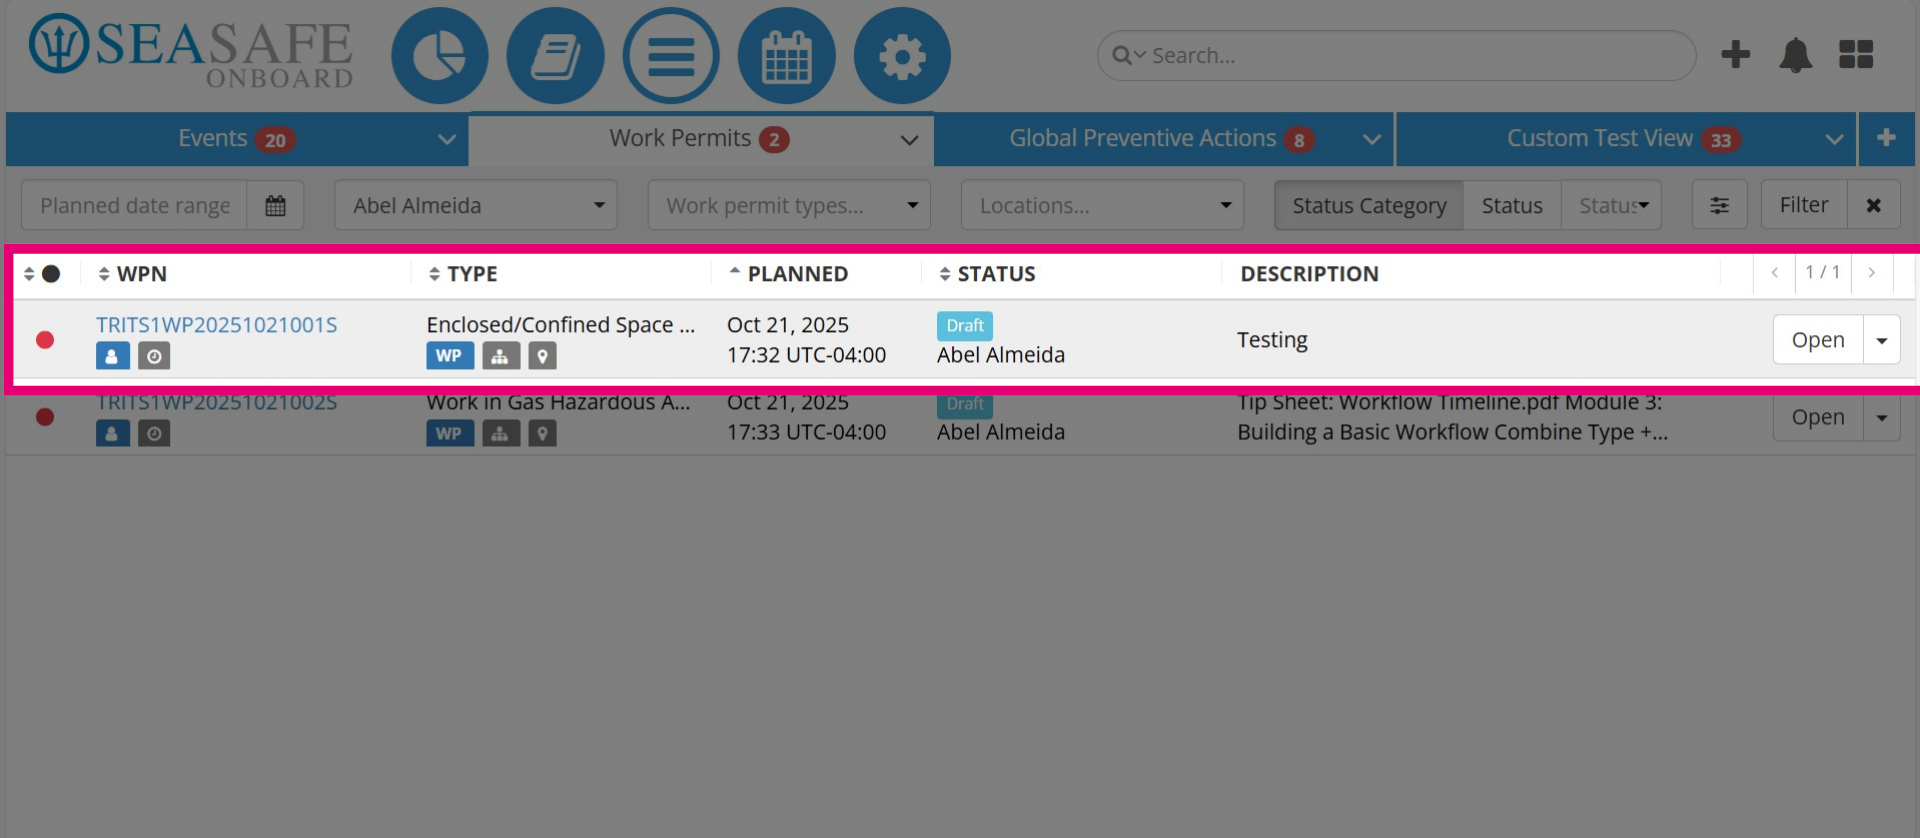
15. Work Permits List
The work permit list shows the work permit number (W-P-N), Type for example, "Confined Spaces Maintenance", Planned date/time, Status, and Description for quick reference.
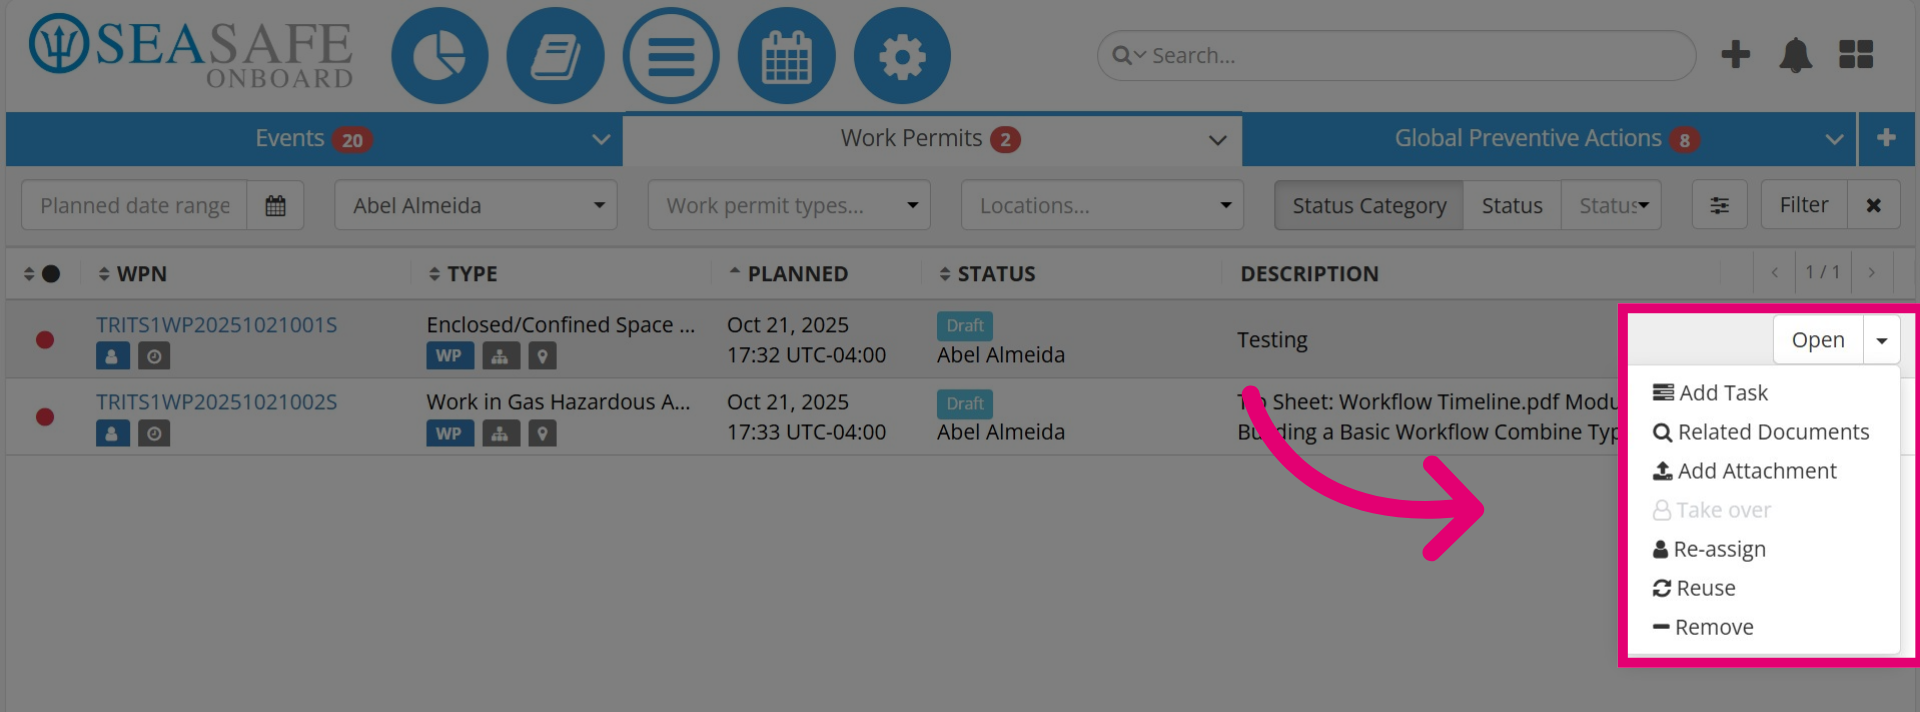
16. Complete Actions
Click on the "Actions Menu" to reveal Work Permit actions that allow users to add tasks, link related documents, attach files, reassign, reuse to duplicate the permit for similar work scenarios, or remove permits. This differs from Event actions that focus on incident management like adding concurrent events. Also, click "Open" here or on the work permit number link in the list to open the work permit to complete tasks in the workflow.
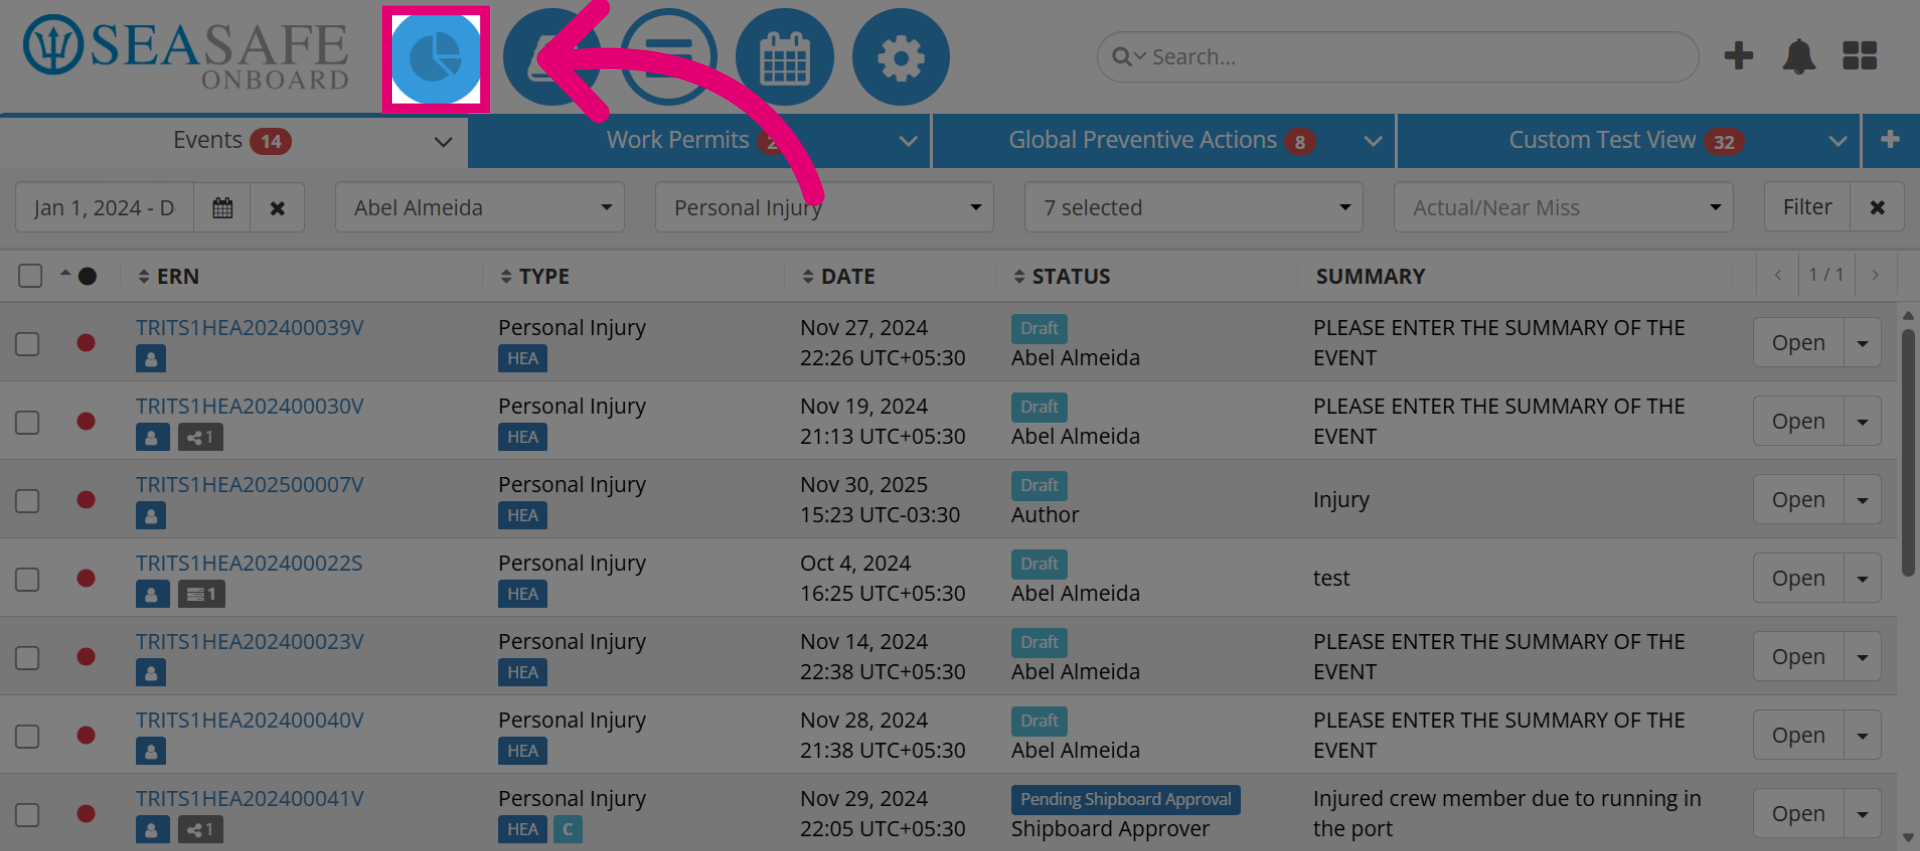
17. Access the "Dashboard Module"
Now, let's explore the other modules. Click here to access the "Dashboard Module".
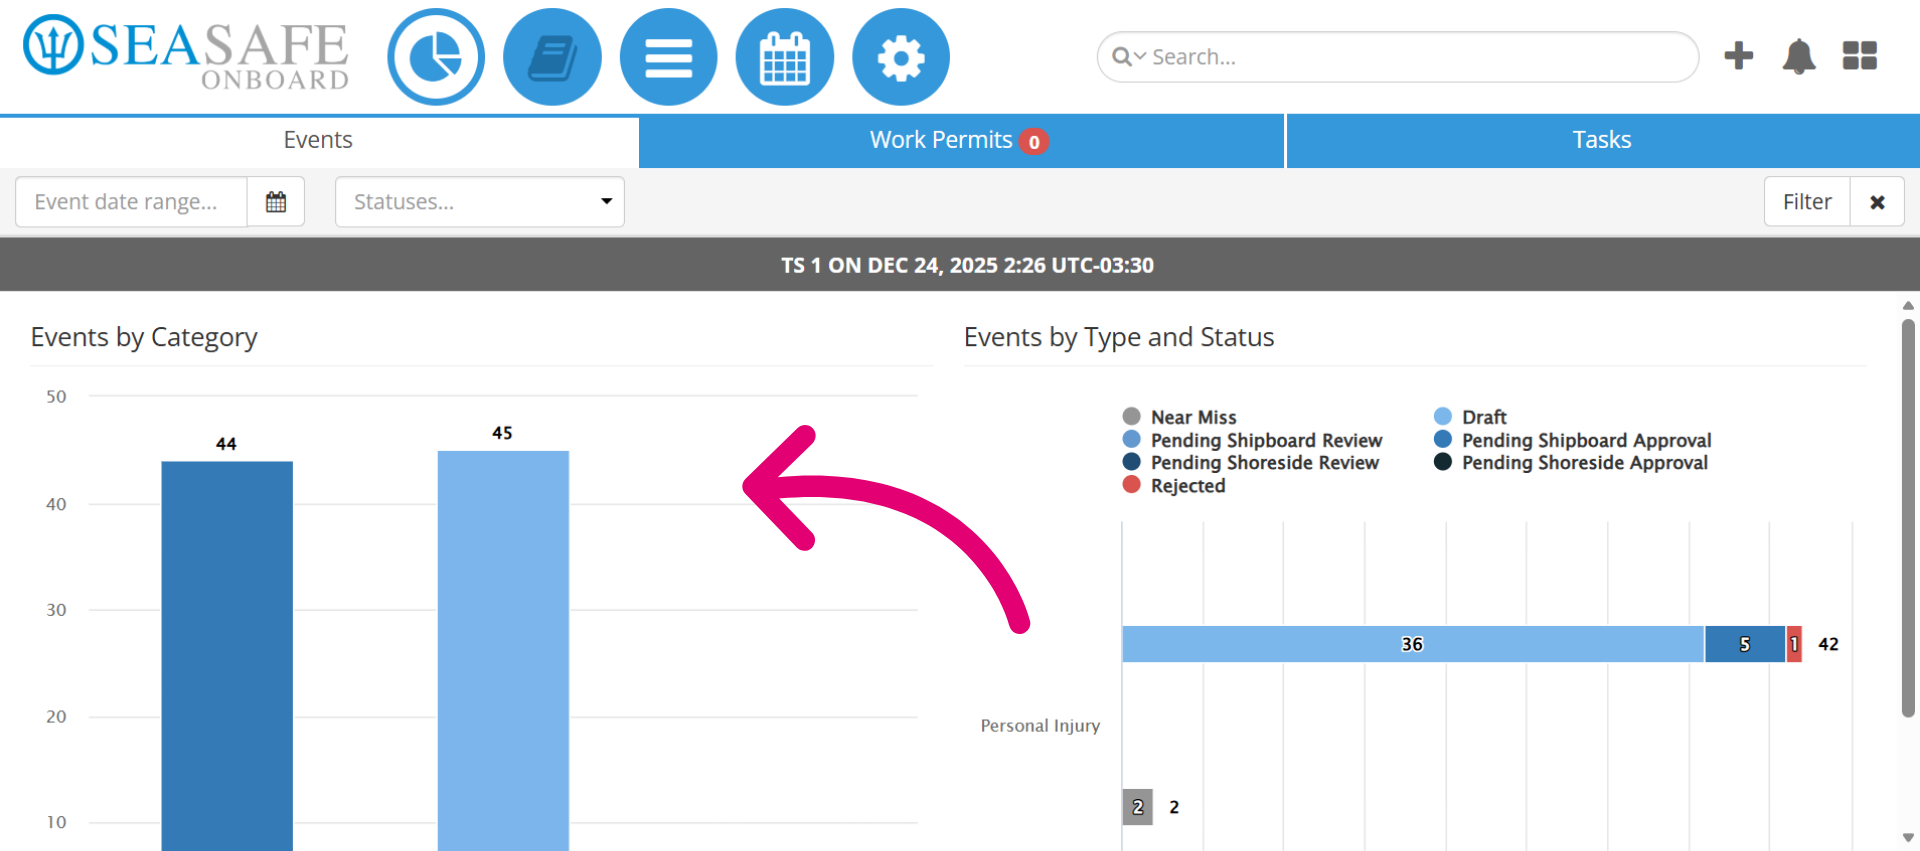
18. Dashboard Module
This module has custom charts from reports. View trends and analytics such as by "Events by Category". These charts offer insights into patterns, helping identify key issues and track performance. Note: Charts must be custom created.
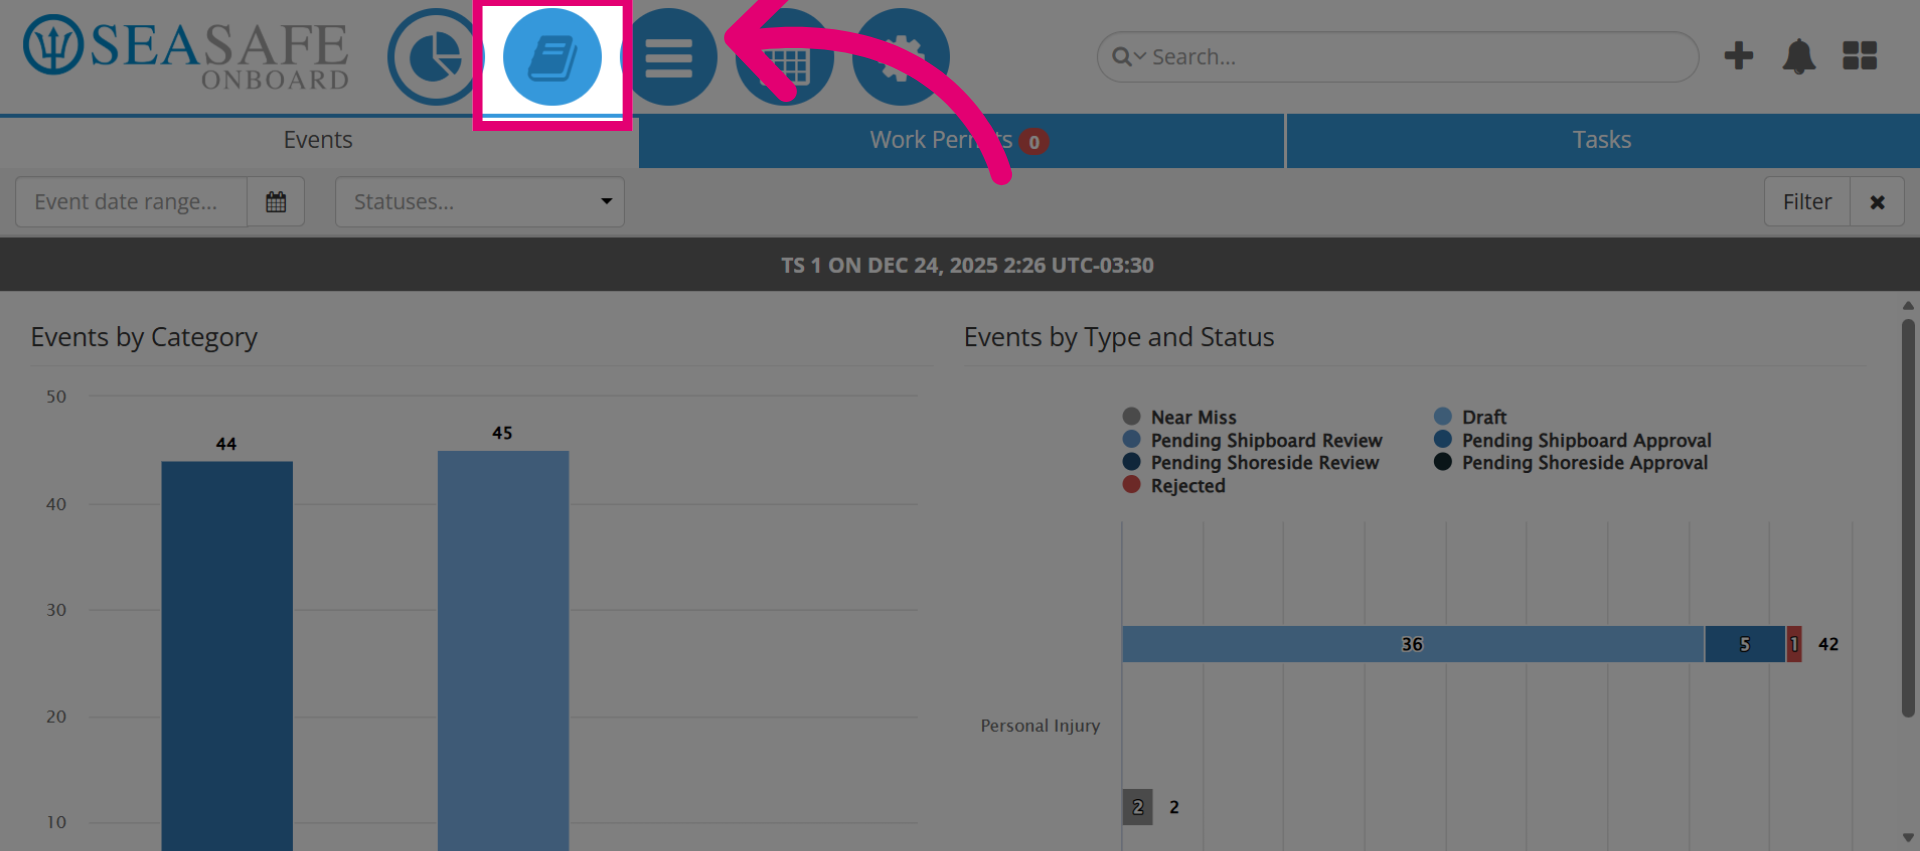
19. Select the "Library Module"
Next, let's review the "Library Module".
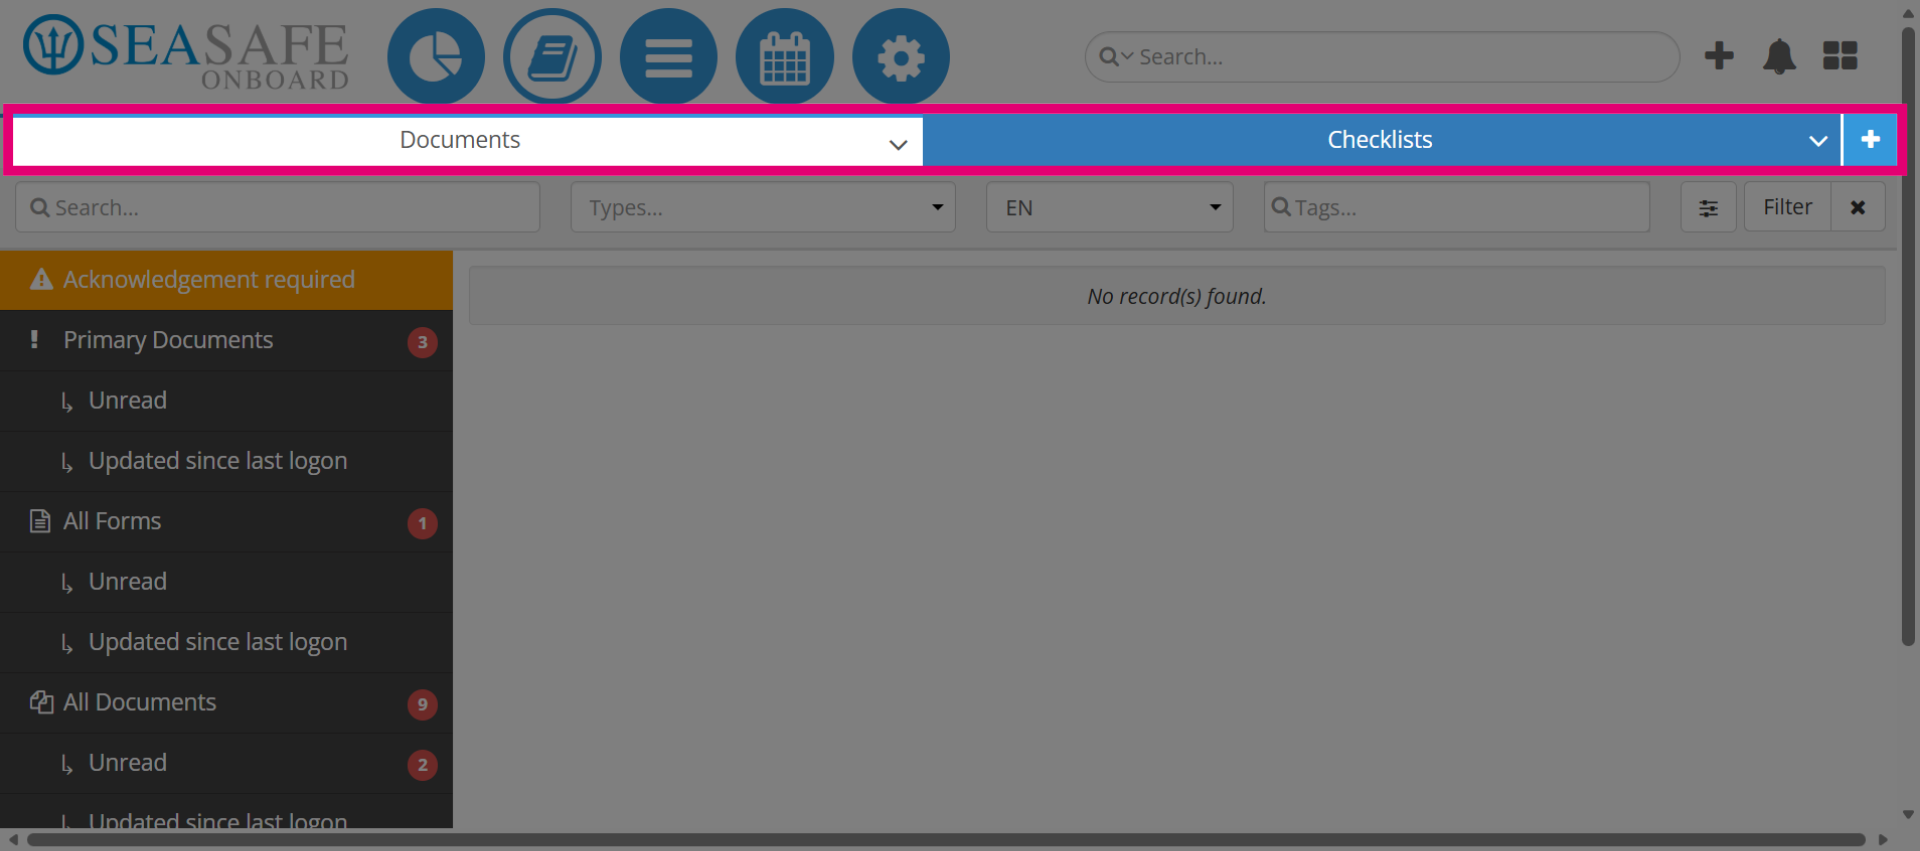
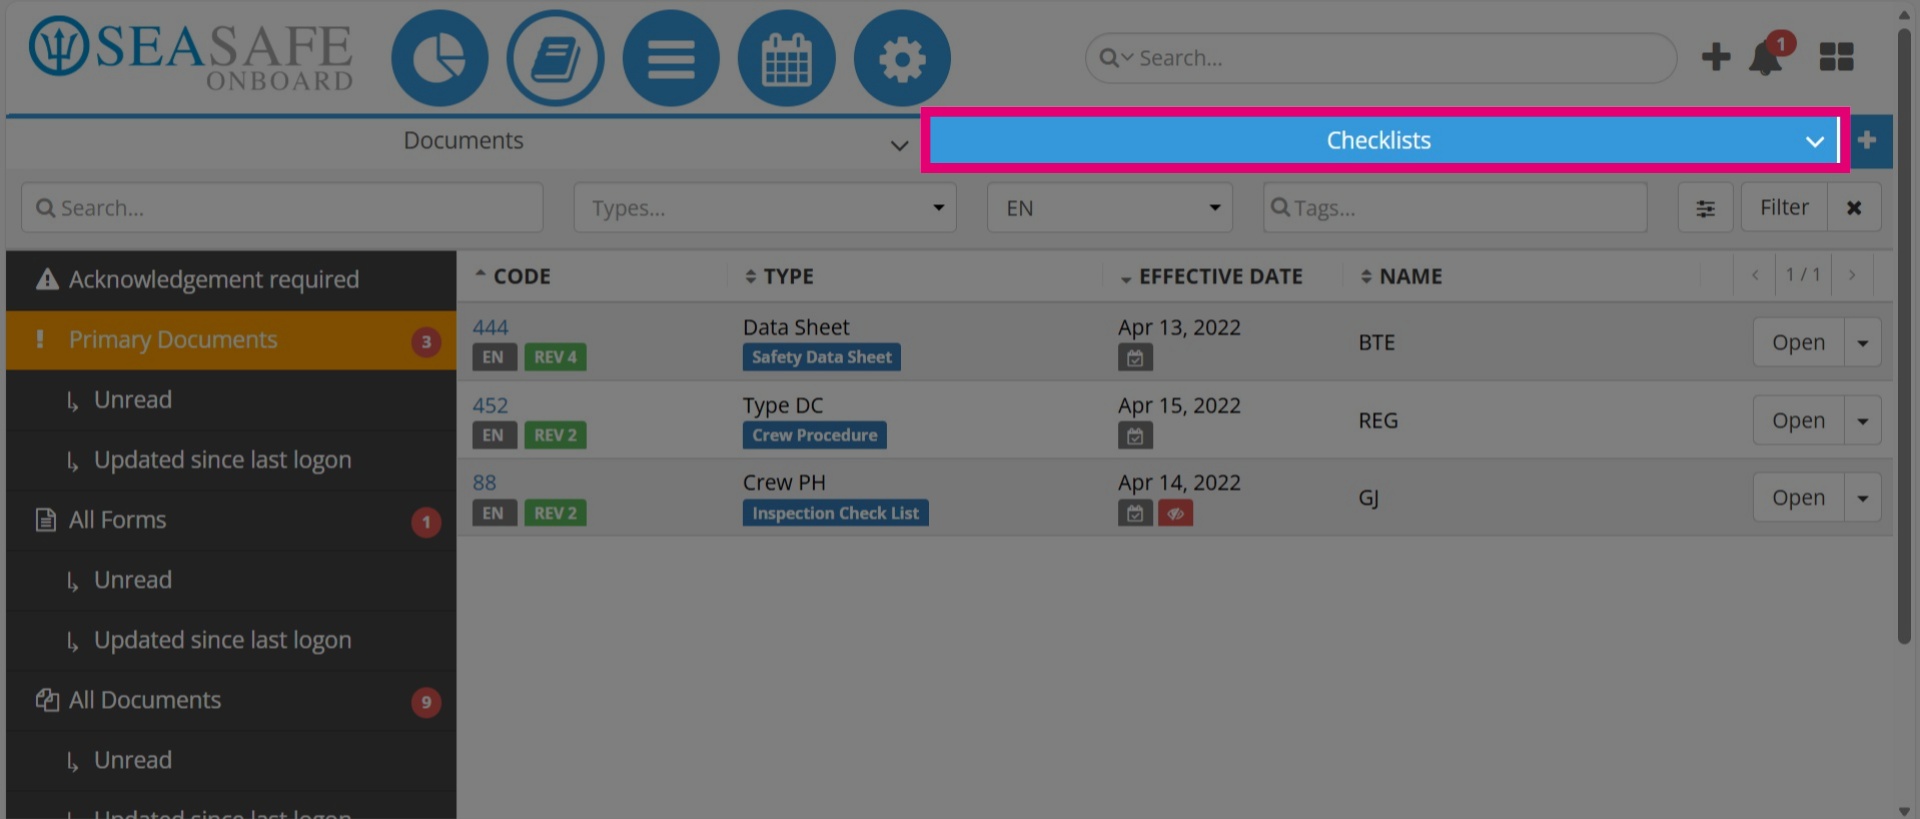
20. Access "Documents" and "Checklists"
Here you have "Documents" and "Checklists". This section helps you stay organized and compliant by managing important resources.
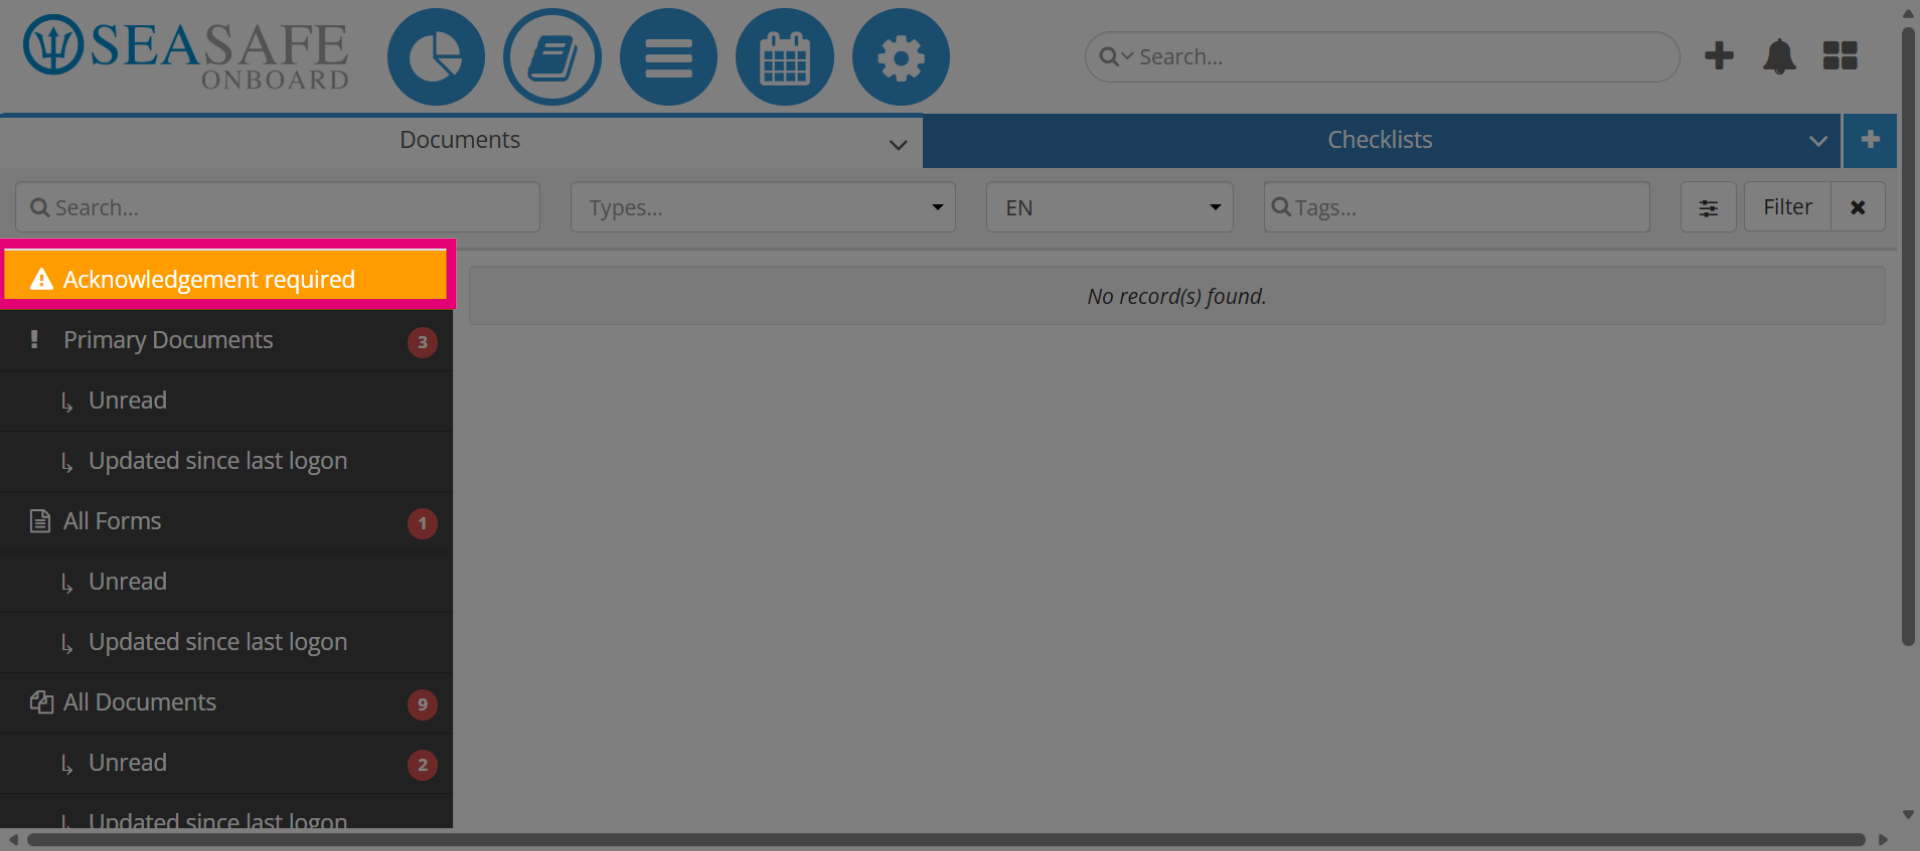
21. Access Document Acknowledgements
The "Documents" tab menu displays all document categories and status indicators for easy navigation. At the top, you’ll see "Acknowledgement Required", which highlights documents needing user confirmation.
22. Documents Tab Menu
Below are three main sections: "Primary Documents" for key compliance documents like policies, procedures, and the "Forms" section includes interactive forms for reporting and workflows. The "All Documents" section offers the full library. Each section shows items marked as "Unread" or "Updated since your last logon" for prompt review.
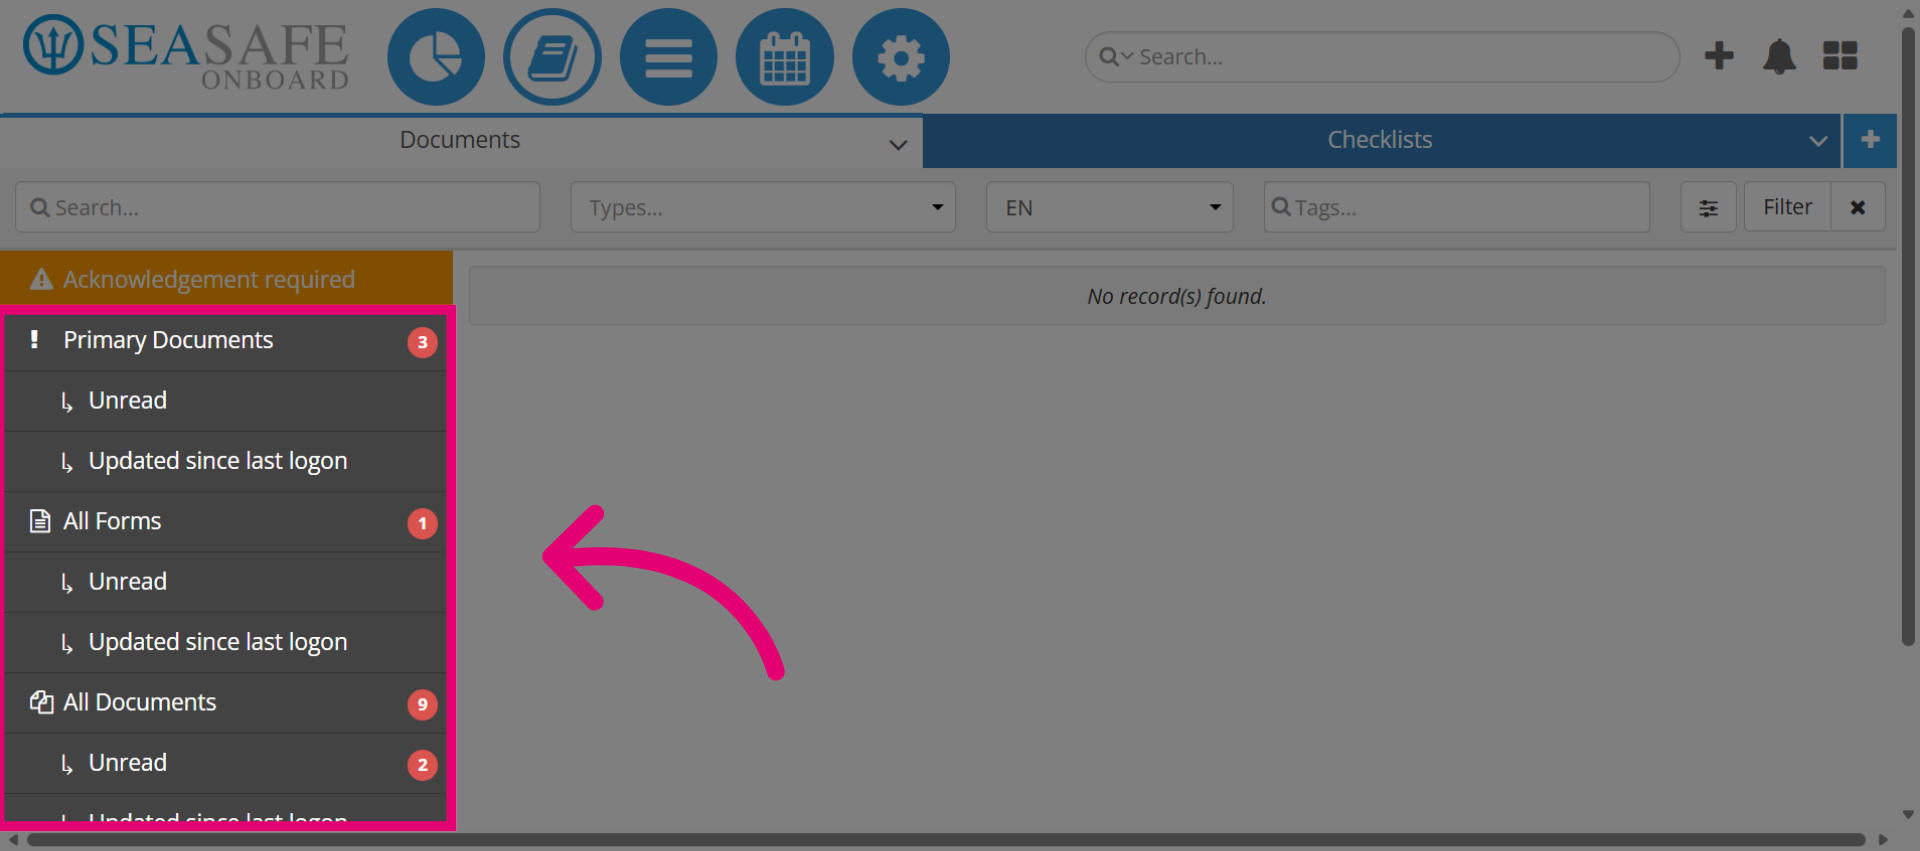
23. Select "Primary Documents"
Select "Primary Documents" for a closer look
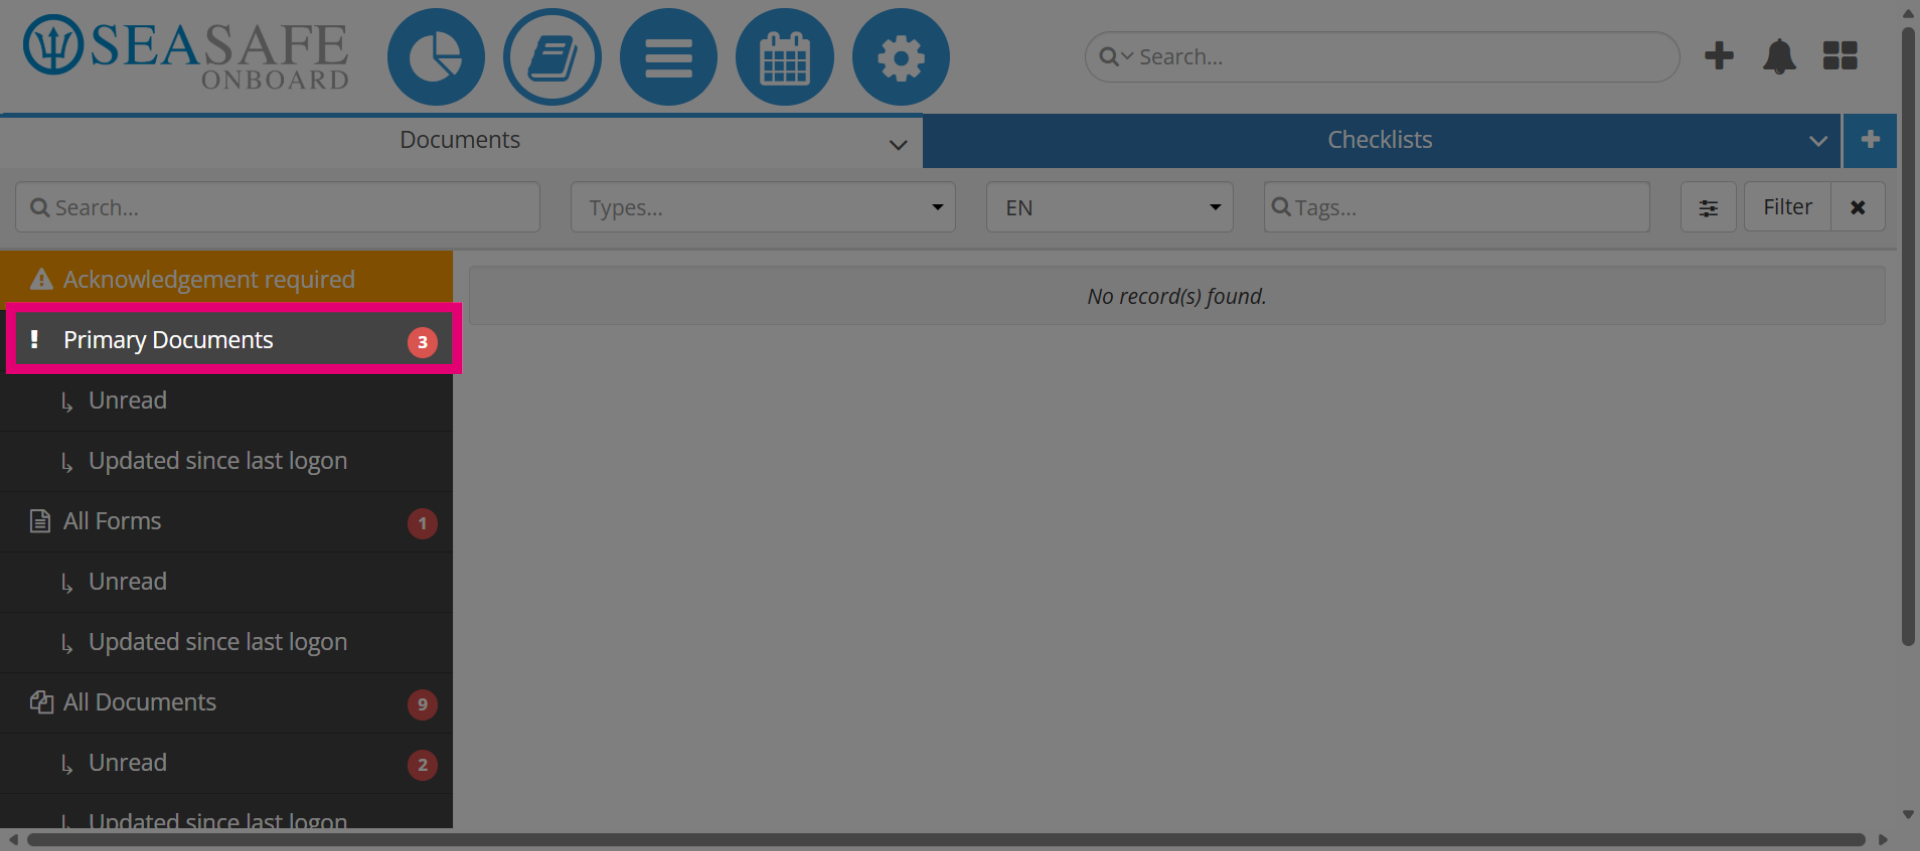
24. View the "Primary Documents" section
This section contains critical documents used in workflows, forms, and news.

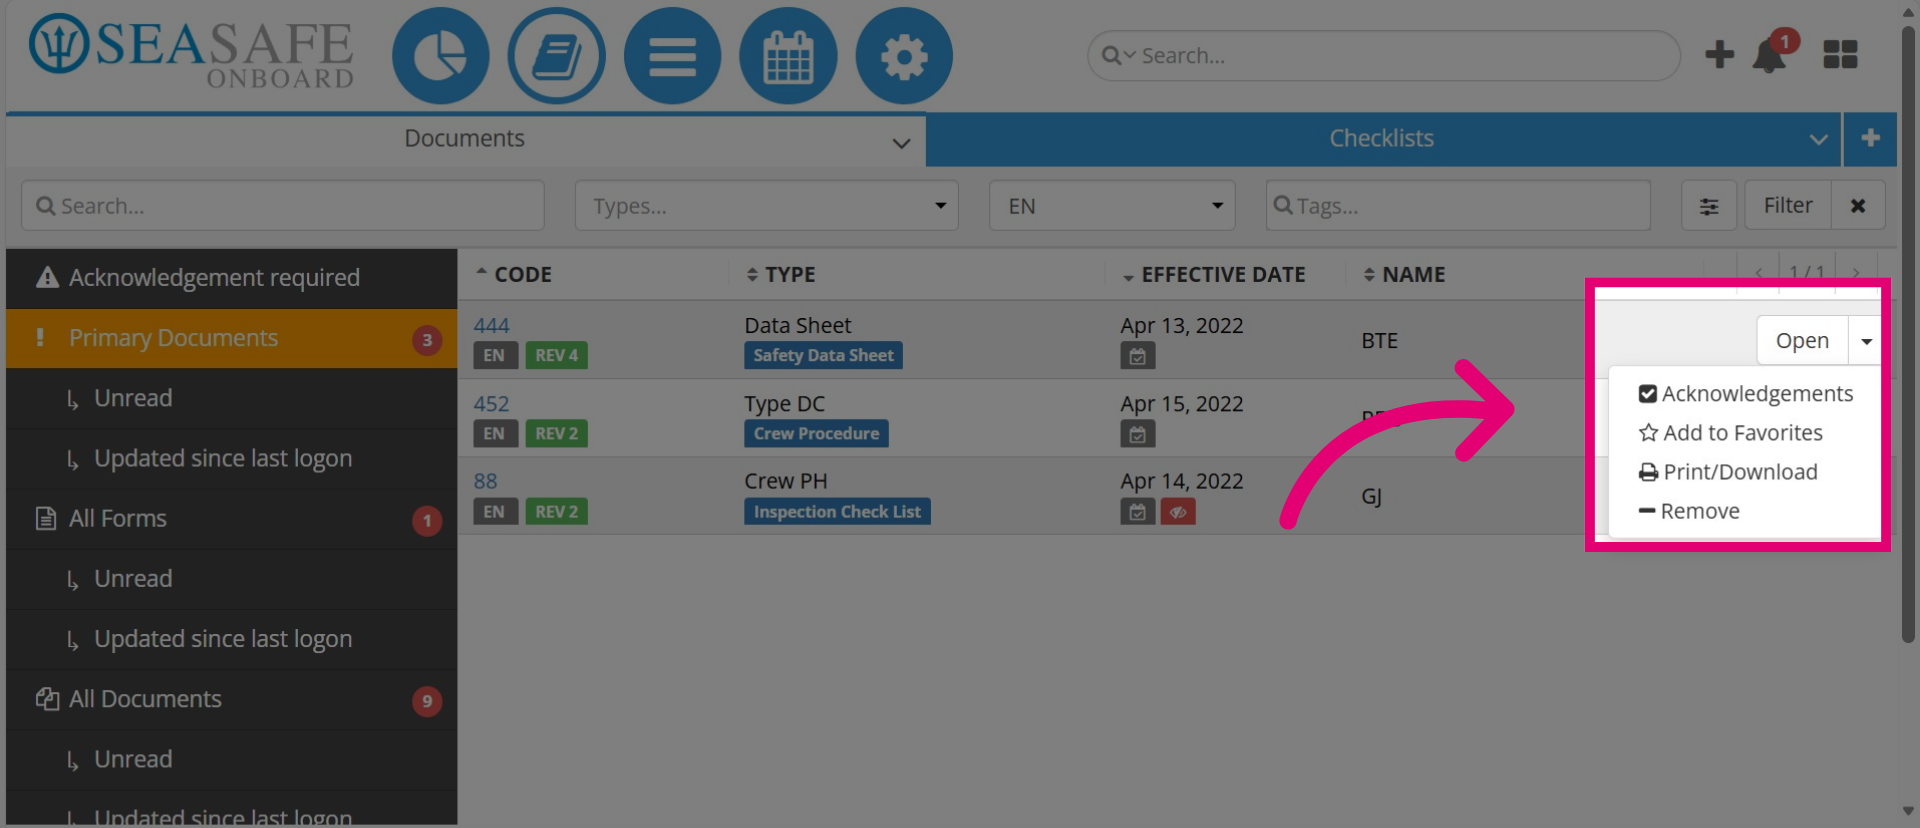
25. Access Document "Actions" and "Acknowledgement"
Click the Actions menu to access options such as "Document Acknowledgements", Open, Add to Favorites, Print, or Download. To acknowledge a document, select "Acknowledgements" from the menu to review.
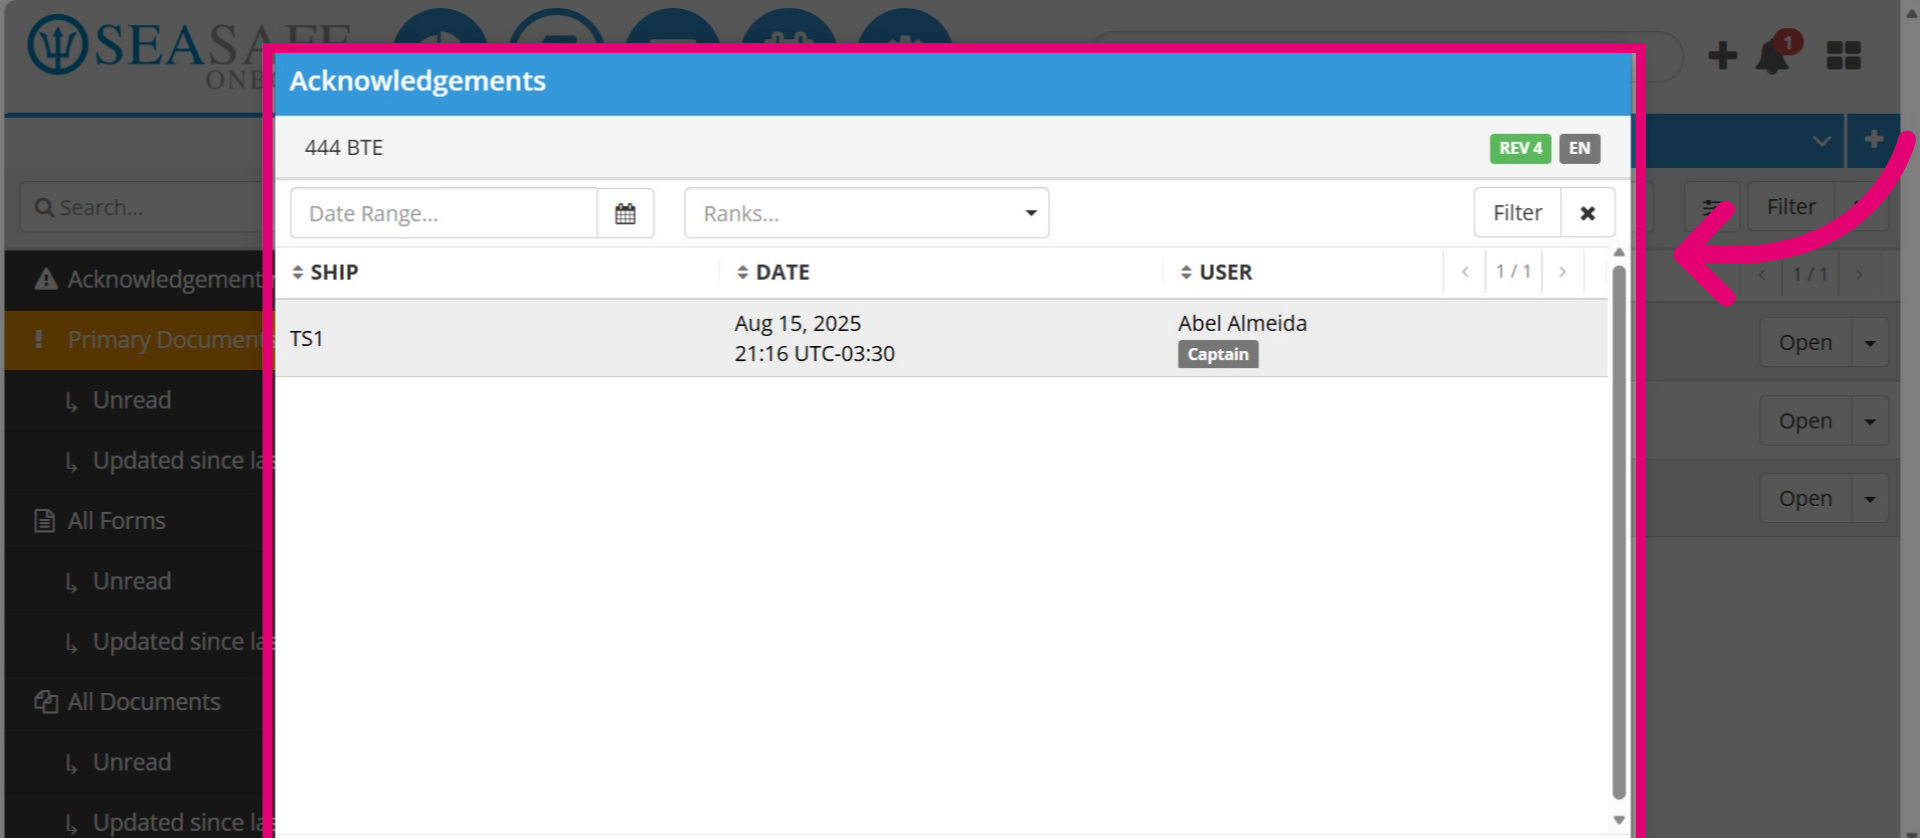
26. Document Acknowledgement
Here are document acknowledgements, confirming read receipt and understanding for what was read ensuring compliance and accountability.
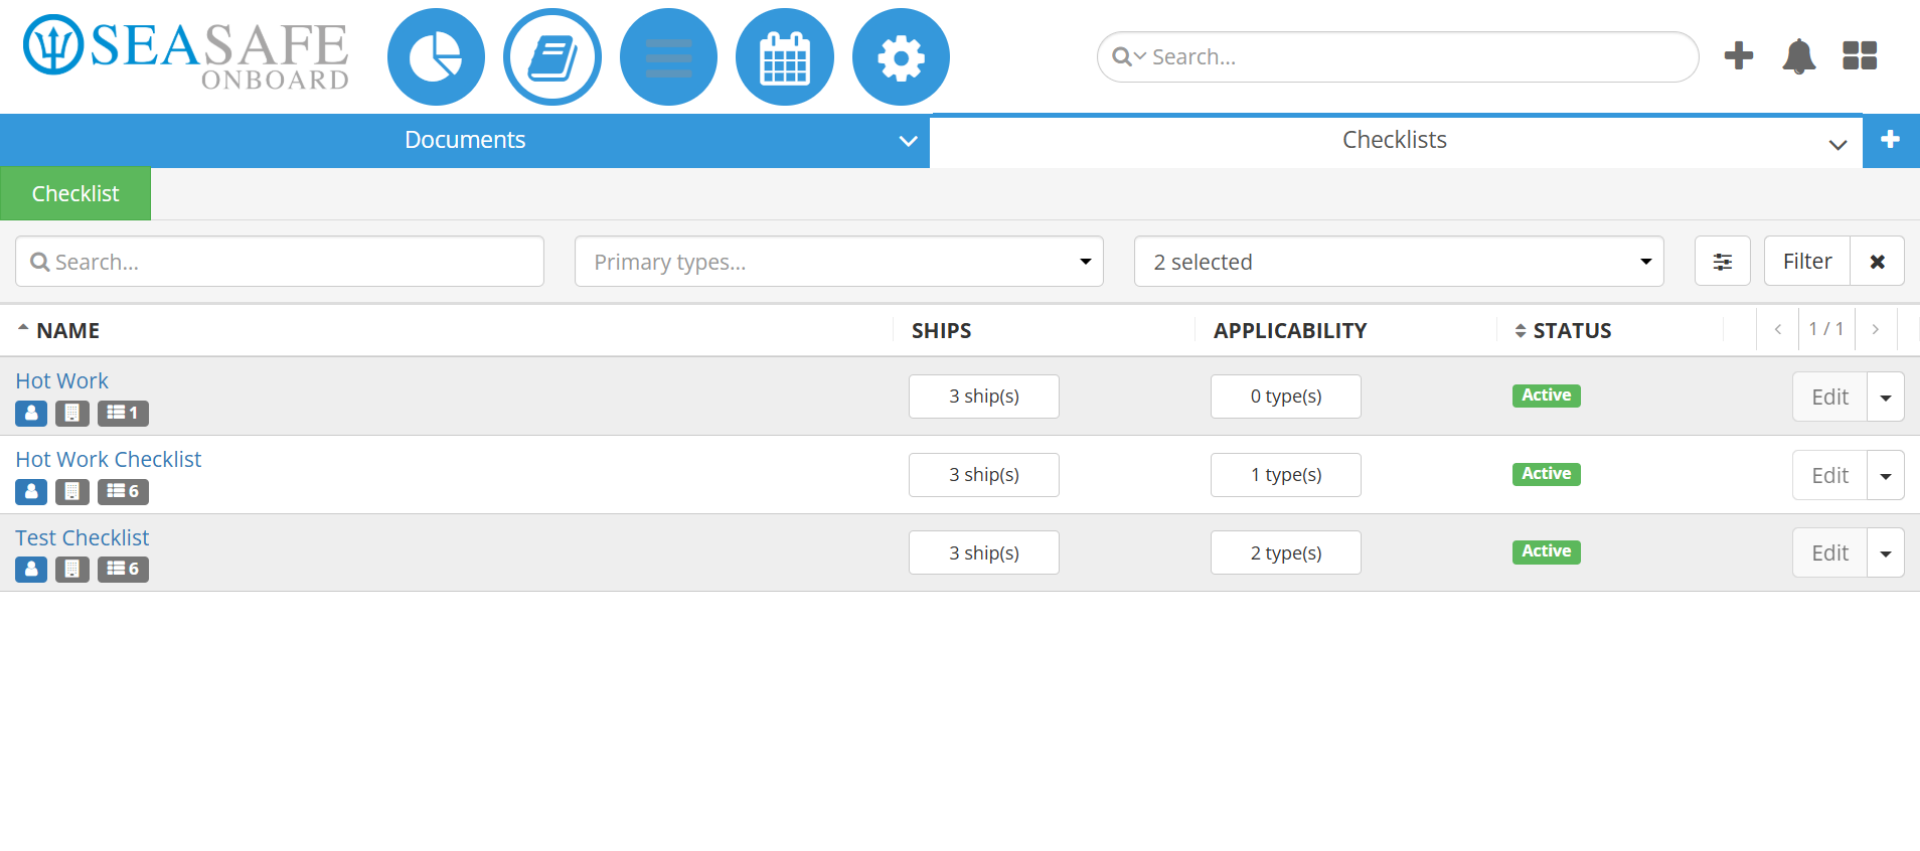
27. Select "Checklists" section
Now select the "Checklists" section. This section contains critical documents used in workflows, forms, and news.
28. View the Checklist tab
"Checklists" serve as step-by-step guides for high-risk activities such as Hot Work, Diving Operations, or Equipment Maintenance. They help verify that all safety measures like conducting a Job Safety Review, completing Lockout forms, and establishing communication protocols are followed before work begins.
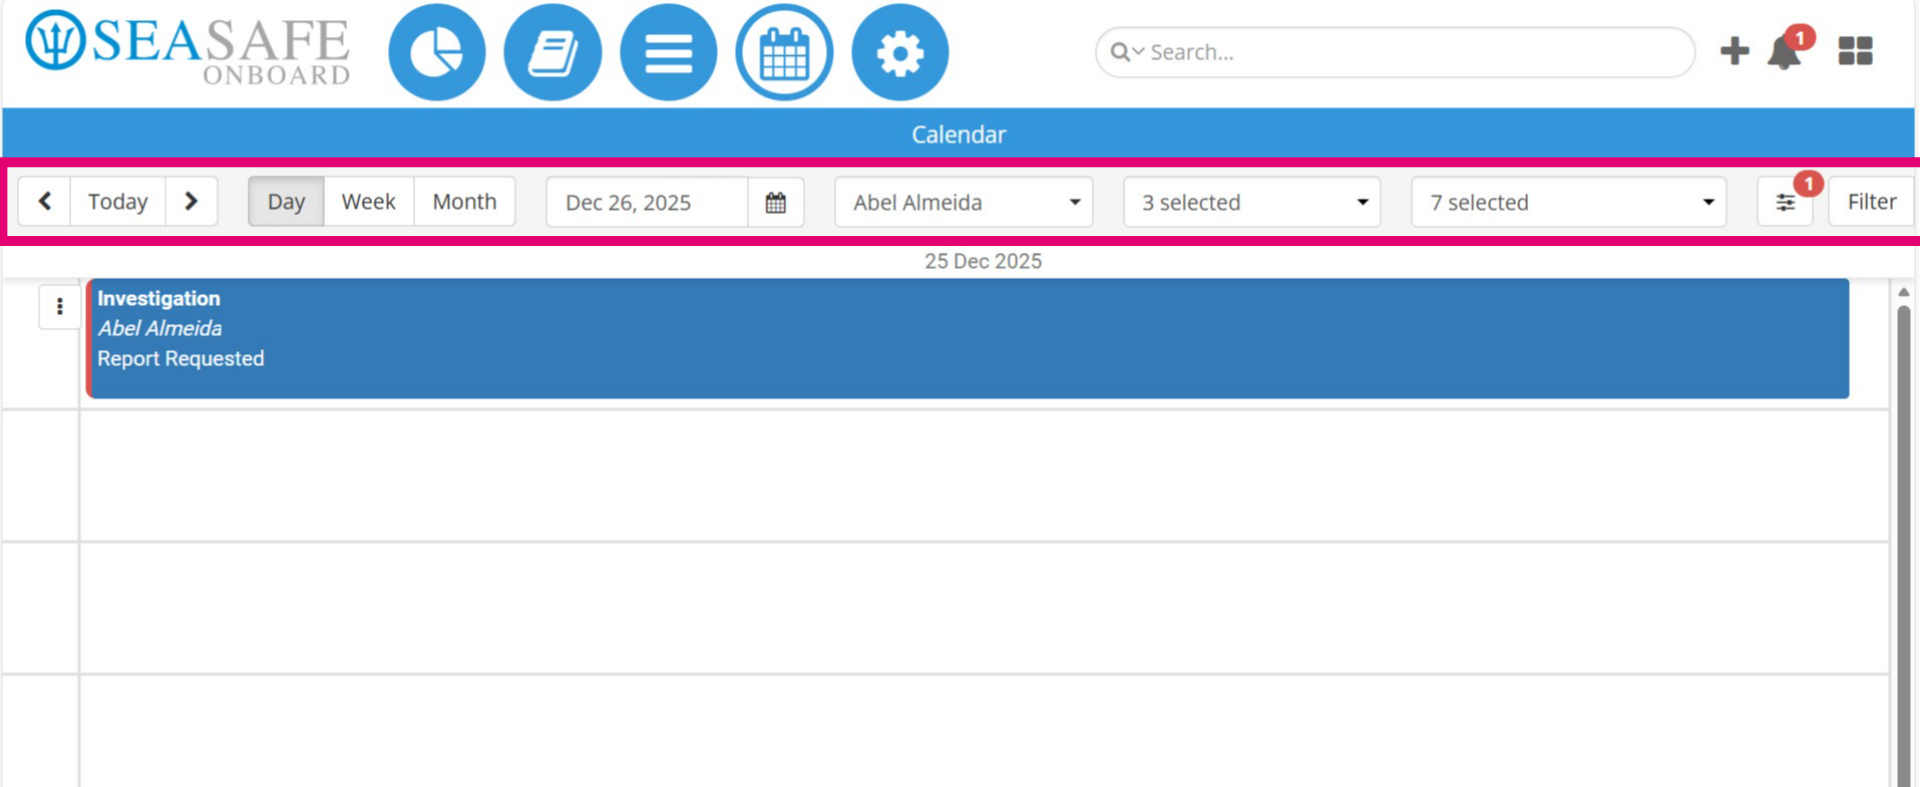
29. Go to the "Calendar Module"
Next, let's go to the "Calendar Module".

30. View and Manage Tasks
In the "Calendar Module", you can manage tasks assigned to you. You can view task by date, of the day, week or month and complete them from here. They become visible on the calendar.
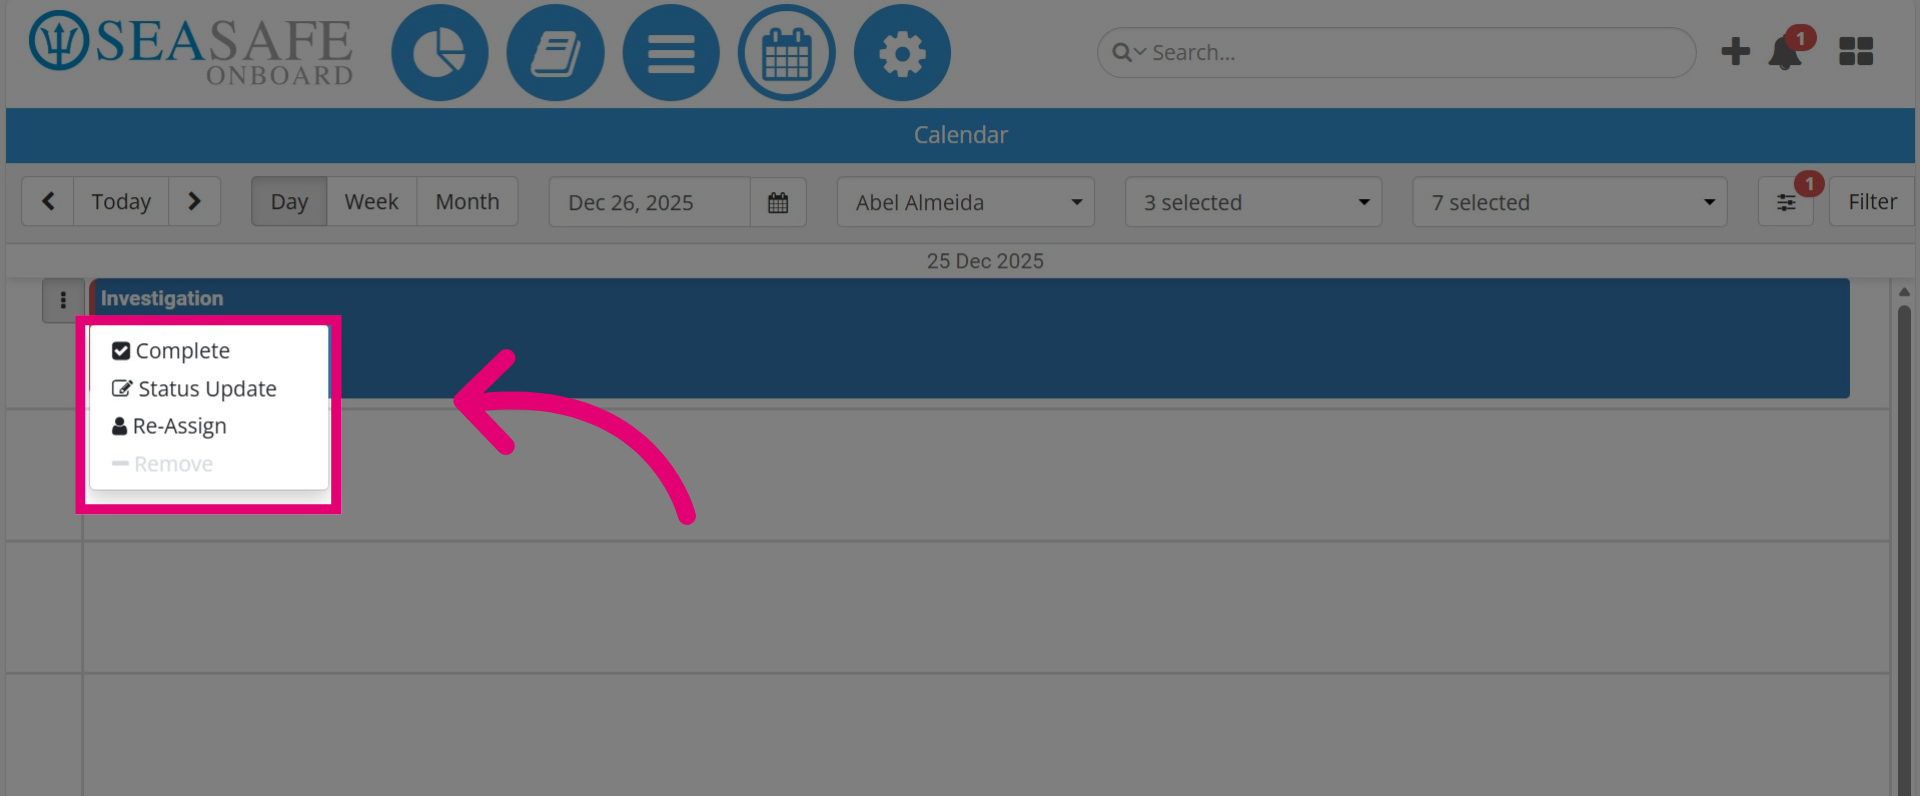
31. Complete Tasks
Click on a "Task" from the calendar to make an update or to complete it. Select "Update Status" and enter the details to update tasks when you want to document information. If you need to reassign a task, select "Re-assign" to assign to another user. When you are ready to record completing the task, select "Complete Tasks" to enter the details and save them.
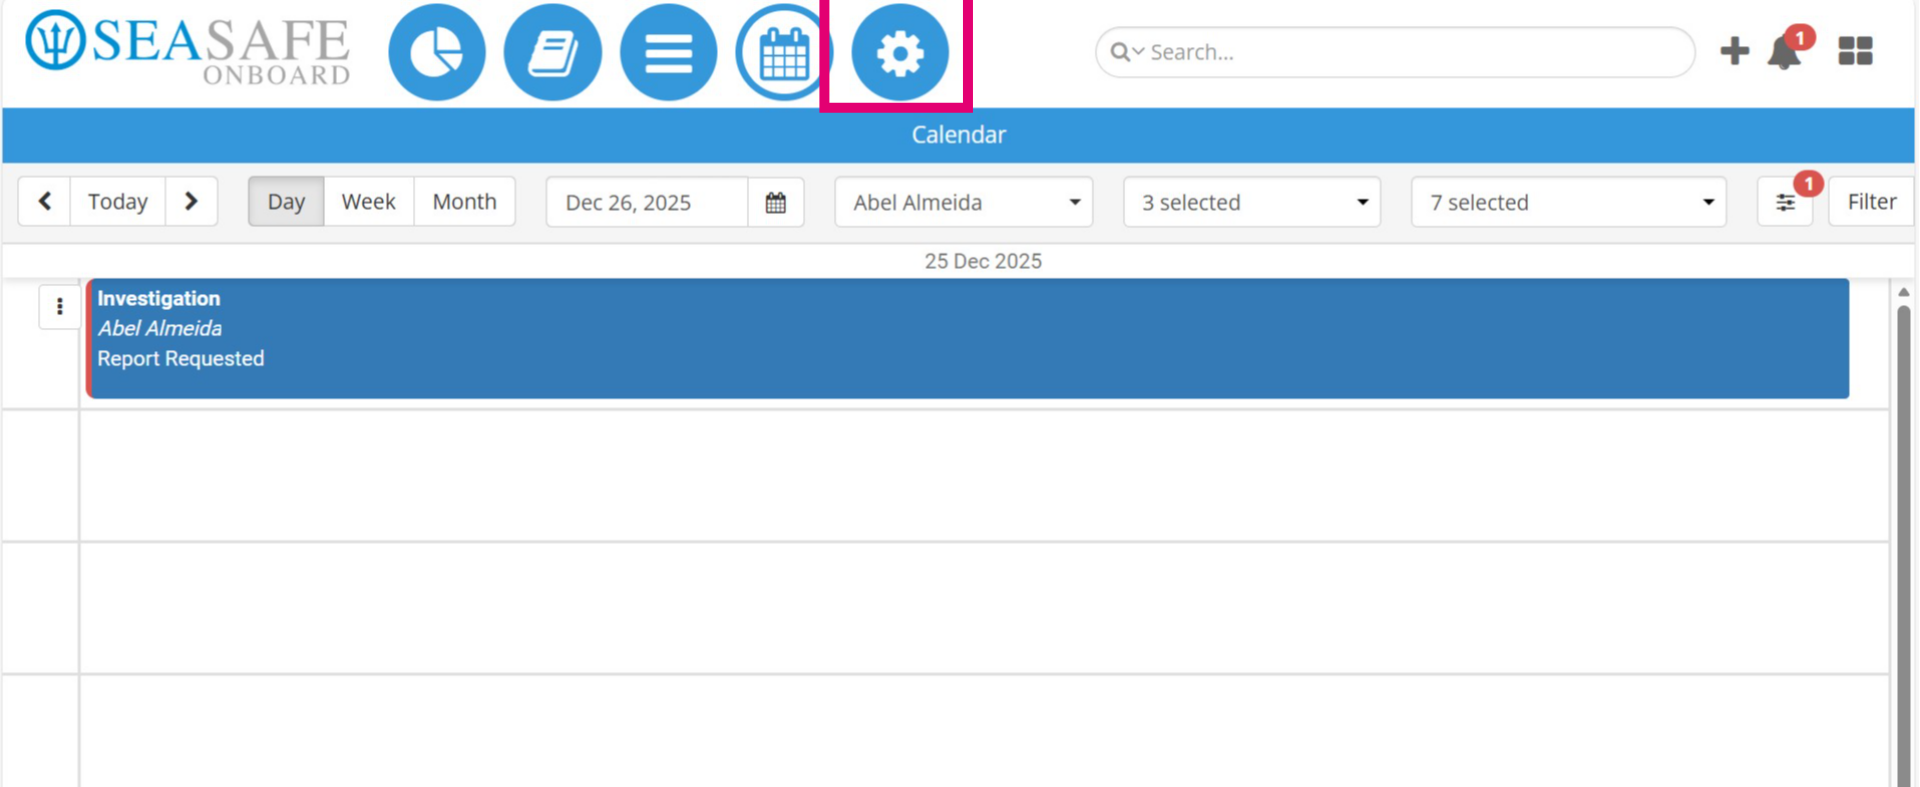
32. Go to the "Admin Menu"
Now, let's click to go to the "Admin Menu".
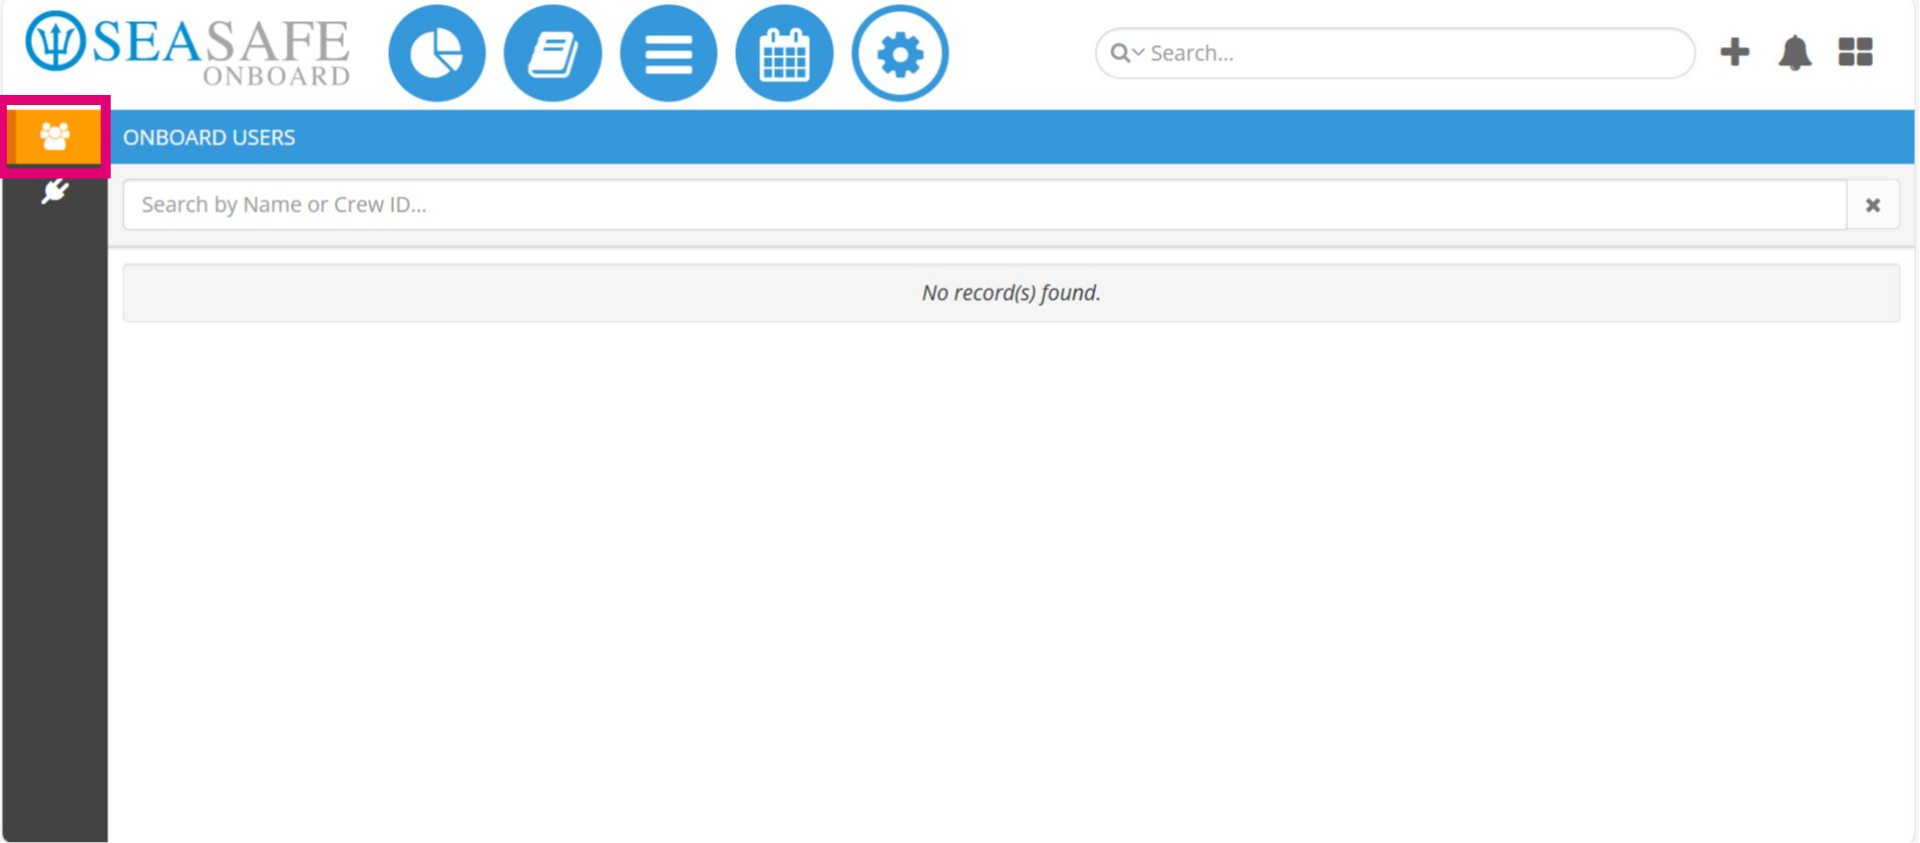
33. Locate Onboard Users
This is the onboard Admin module and there are not many actions an onboard admin can perform aside from light user management.
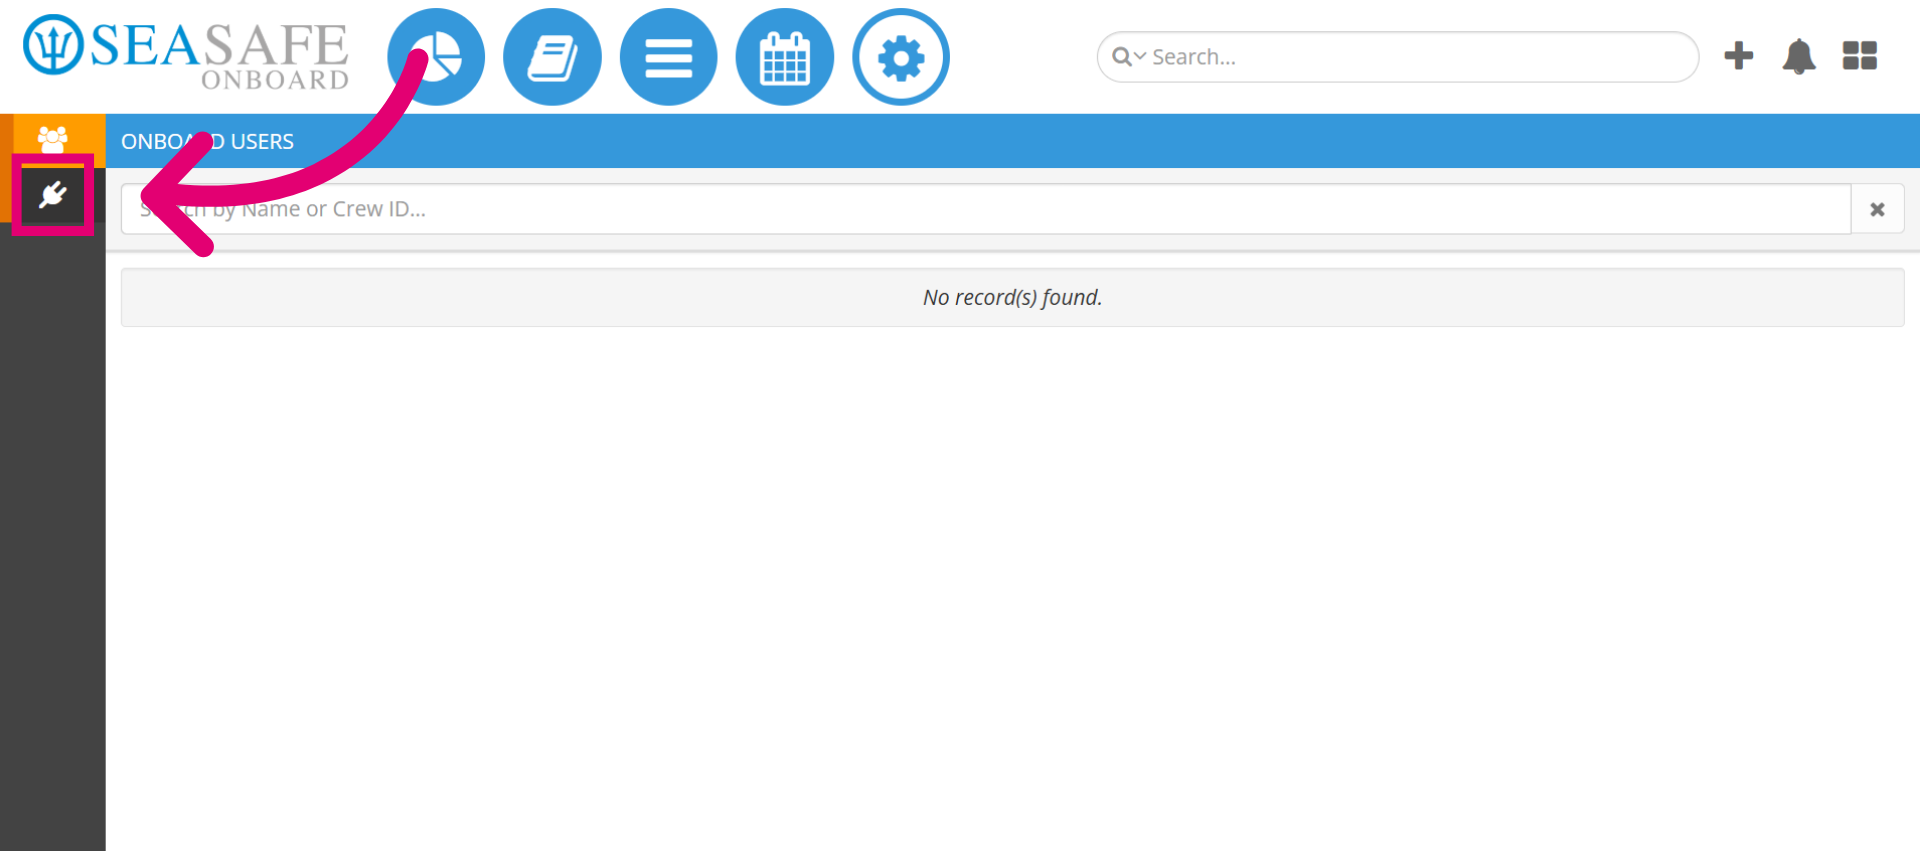
34. Access Integrations
Also, admin users manage the "Integrations" section to monitor system service connectivity.
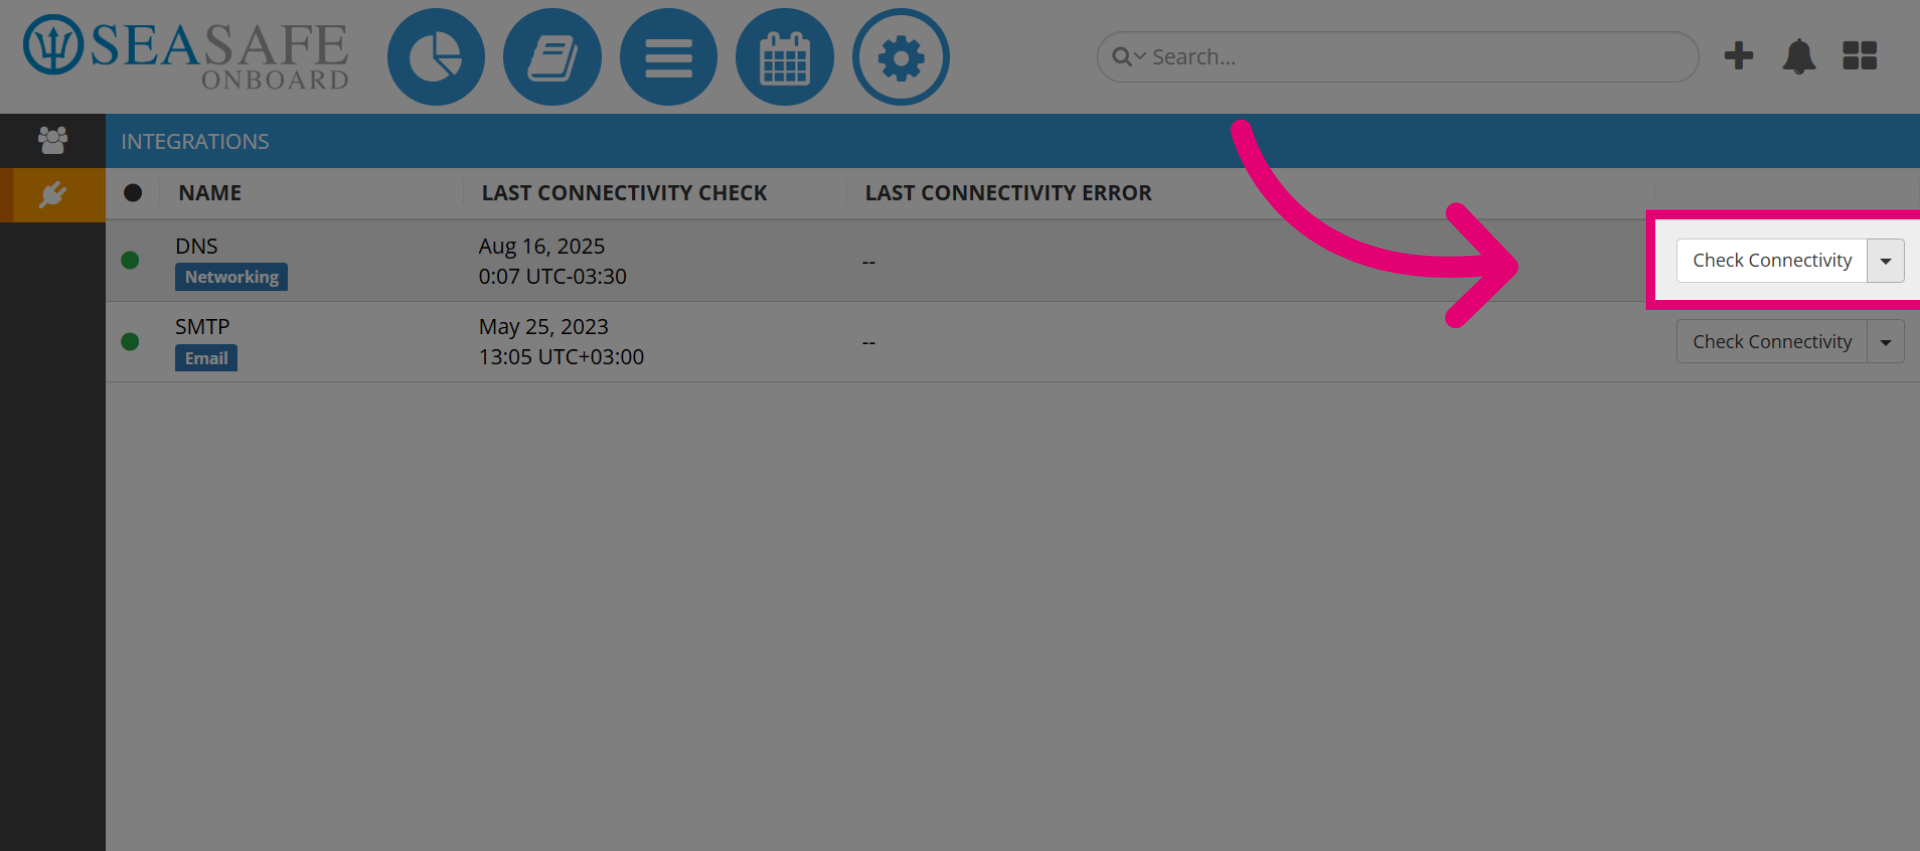
35. Manage Integrations Onboard
View integrations with a colored status indicator: a green dot means connected. Check the "Last Connectivity Check" date and any "Last Connectivity Error."

36. Perform a Manual Connectivity Check
To verify connectivity, click the "Check Connectivity" button next to the integration you want to test. After the check, the status indicator and last connectivity details will update.
37. Perform a Manual Connectivity Check
At the top right menu, you have additional actions.
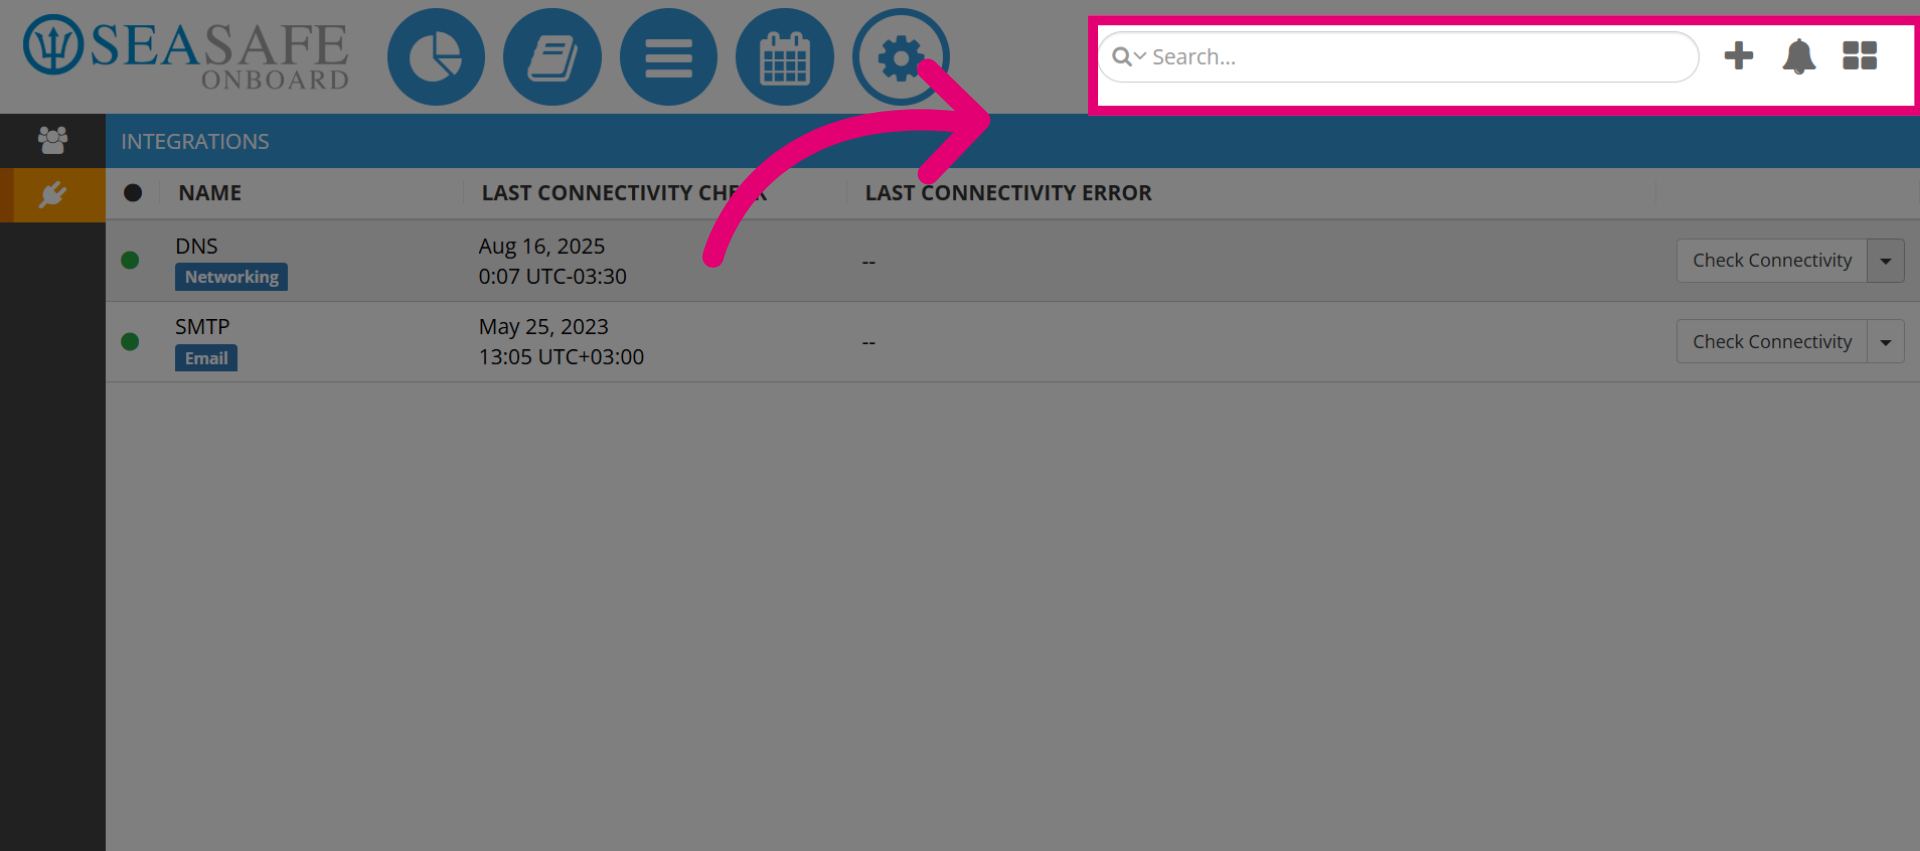
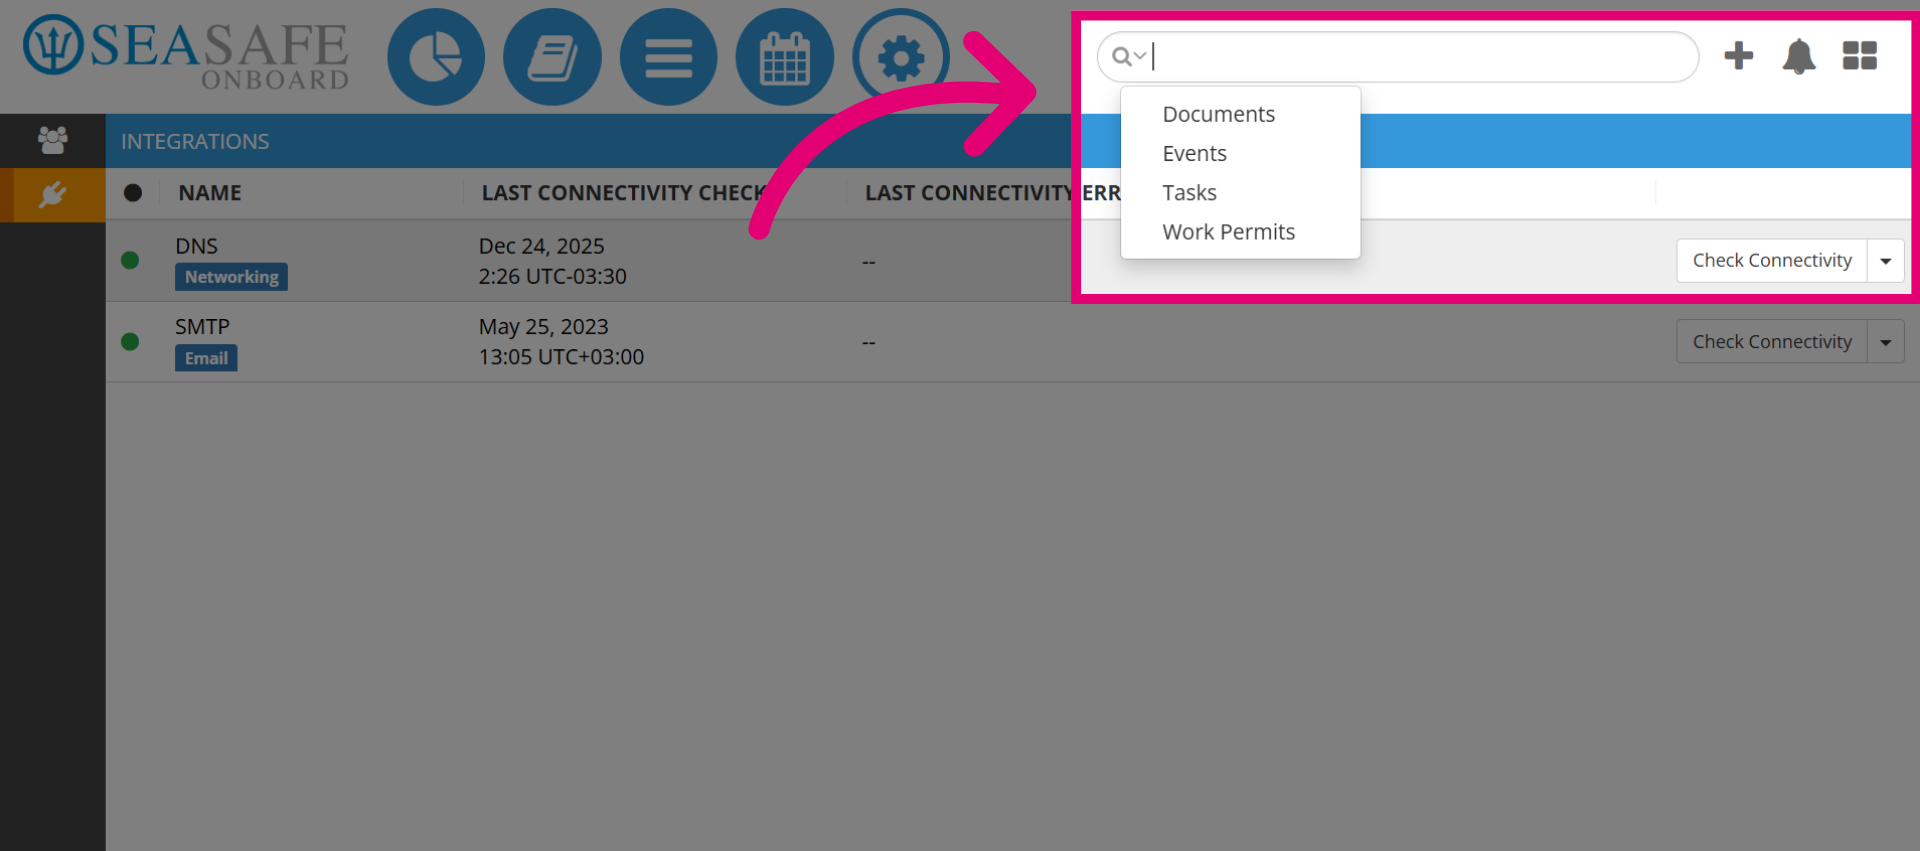
38. Use "Global Search"
Perform a global search using the report number or key words such as 'loss'. You can search in the different report areas-classes such as: Documents, Events, Tasks and Work Permits.
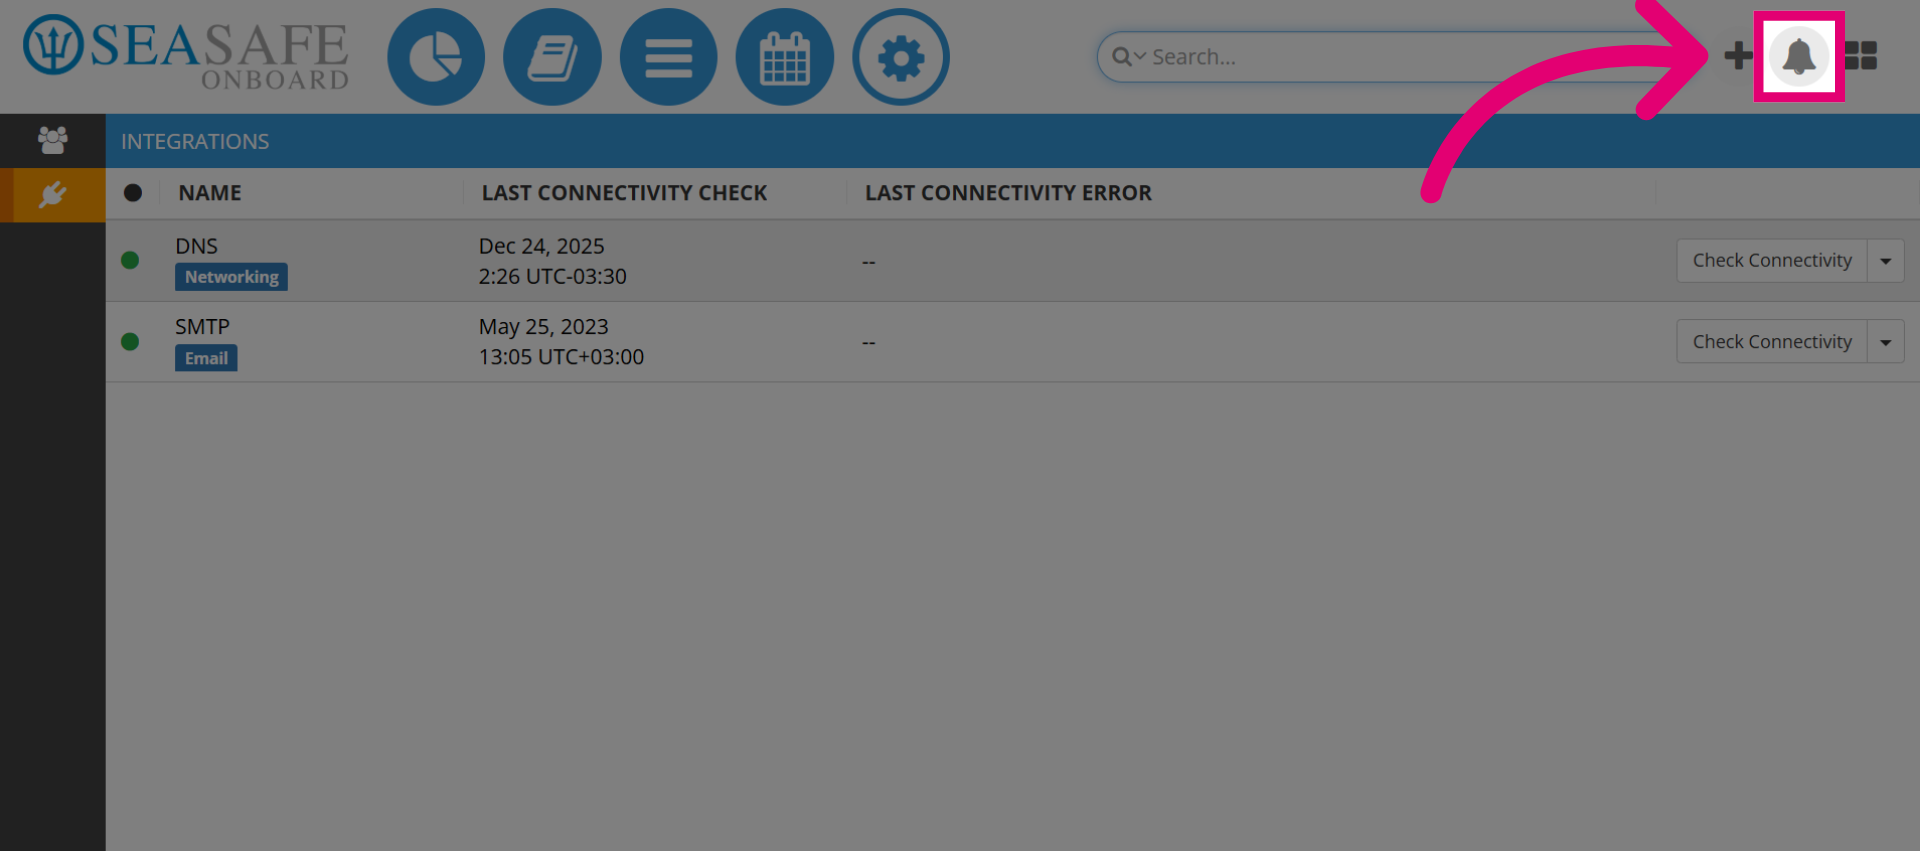
39. Select to view "Notifications"
Next, click here to access "Notifications".
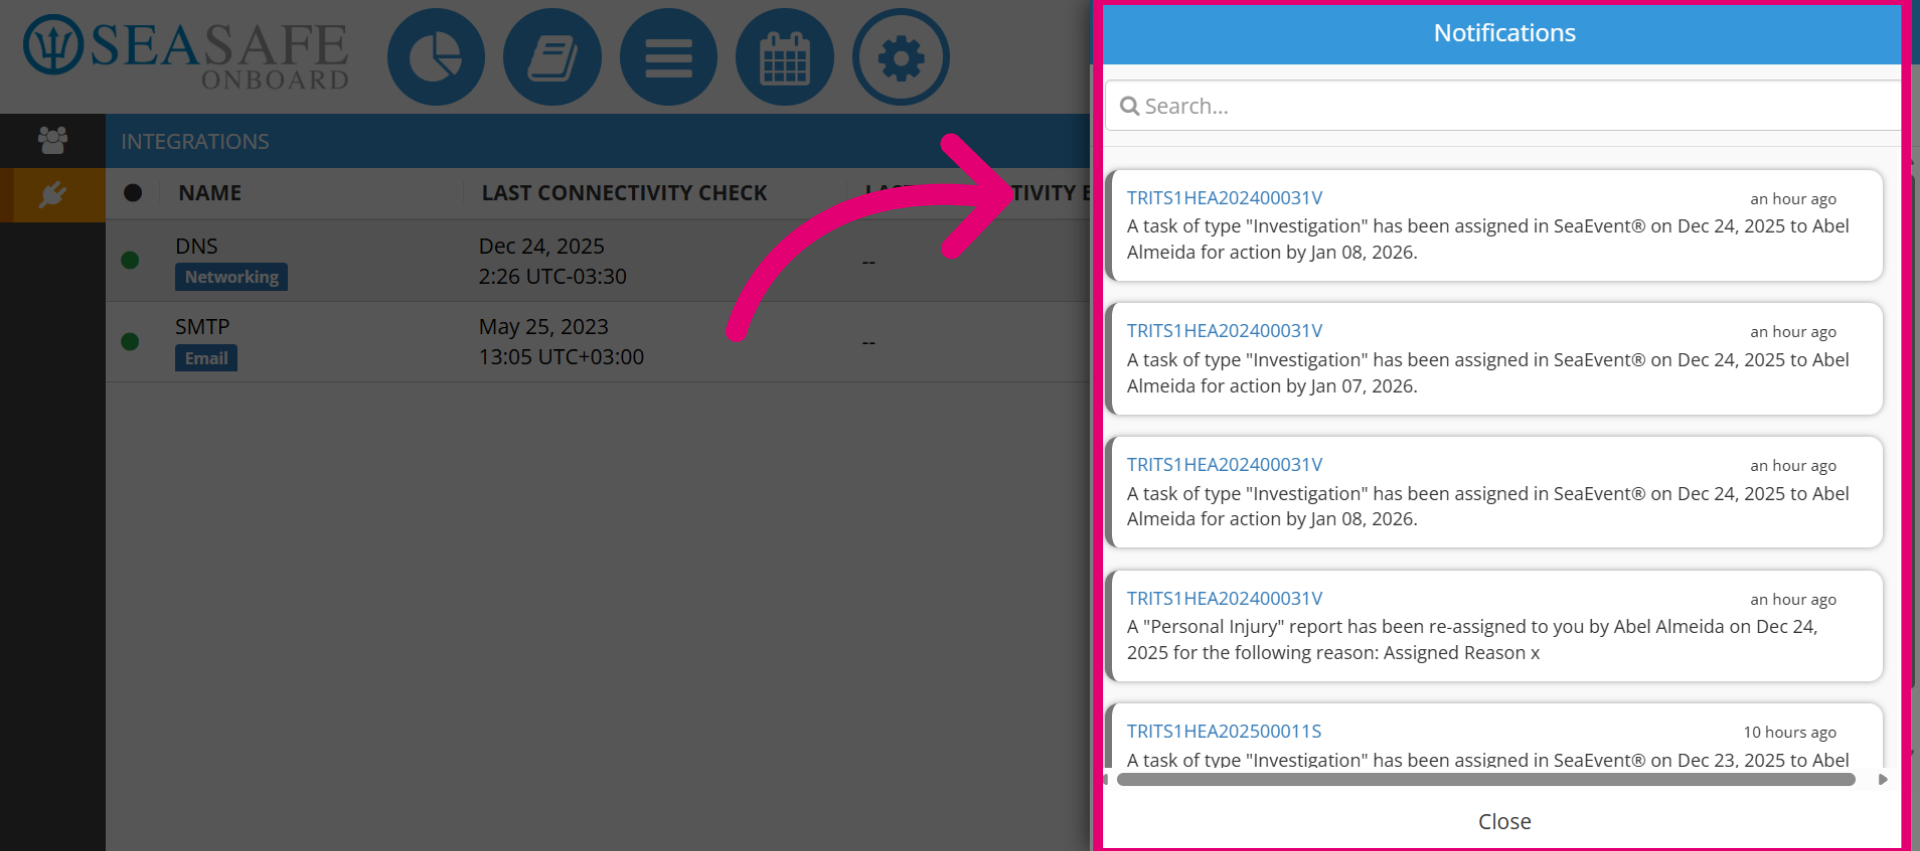
40. Open Notifications Section
Then, view your alerts and communication within the platform.
41. Access User Account Information
Click the "Main Menu" section to access your user account information
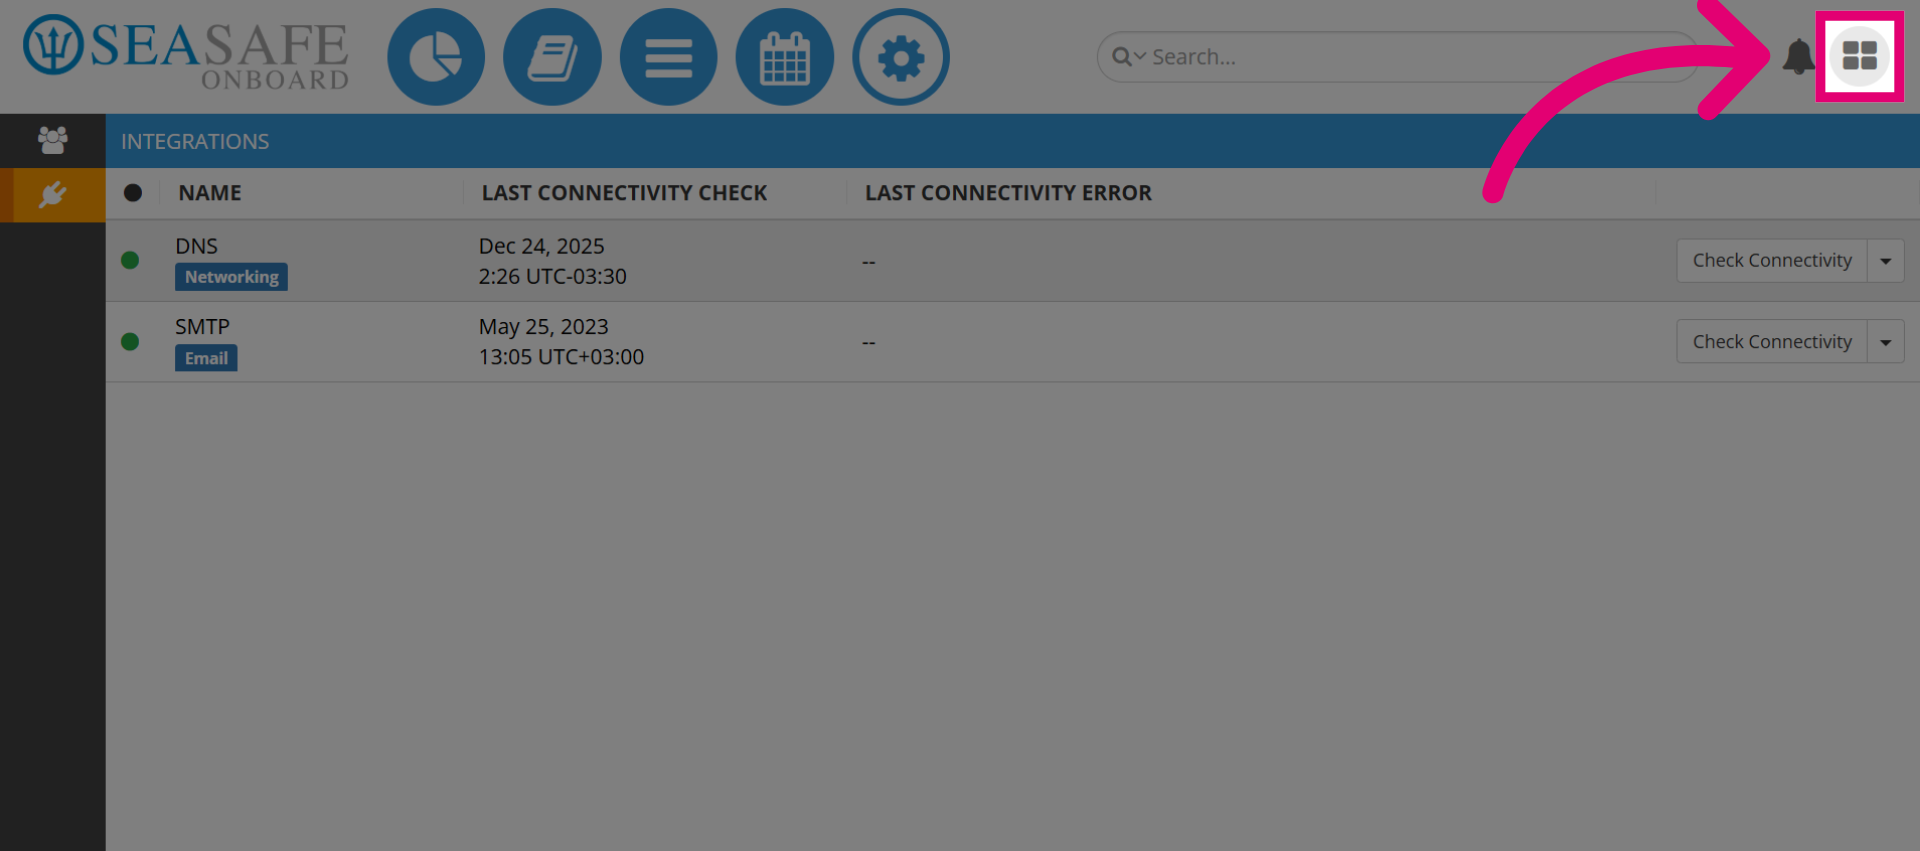
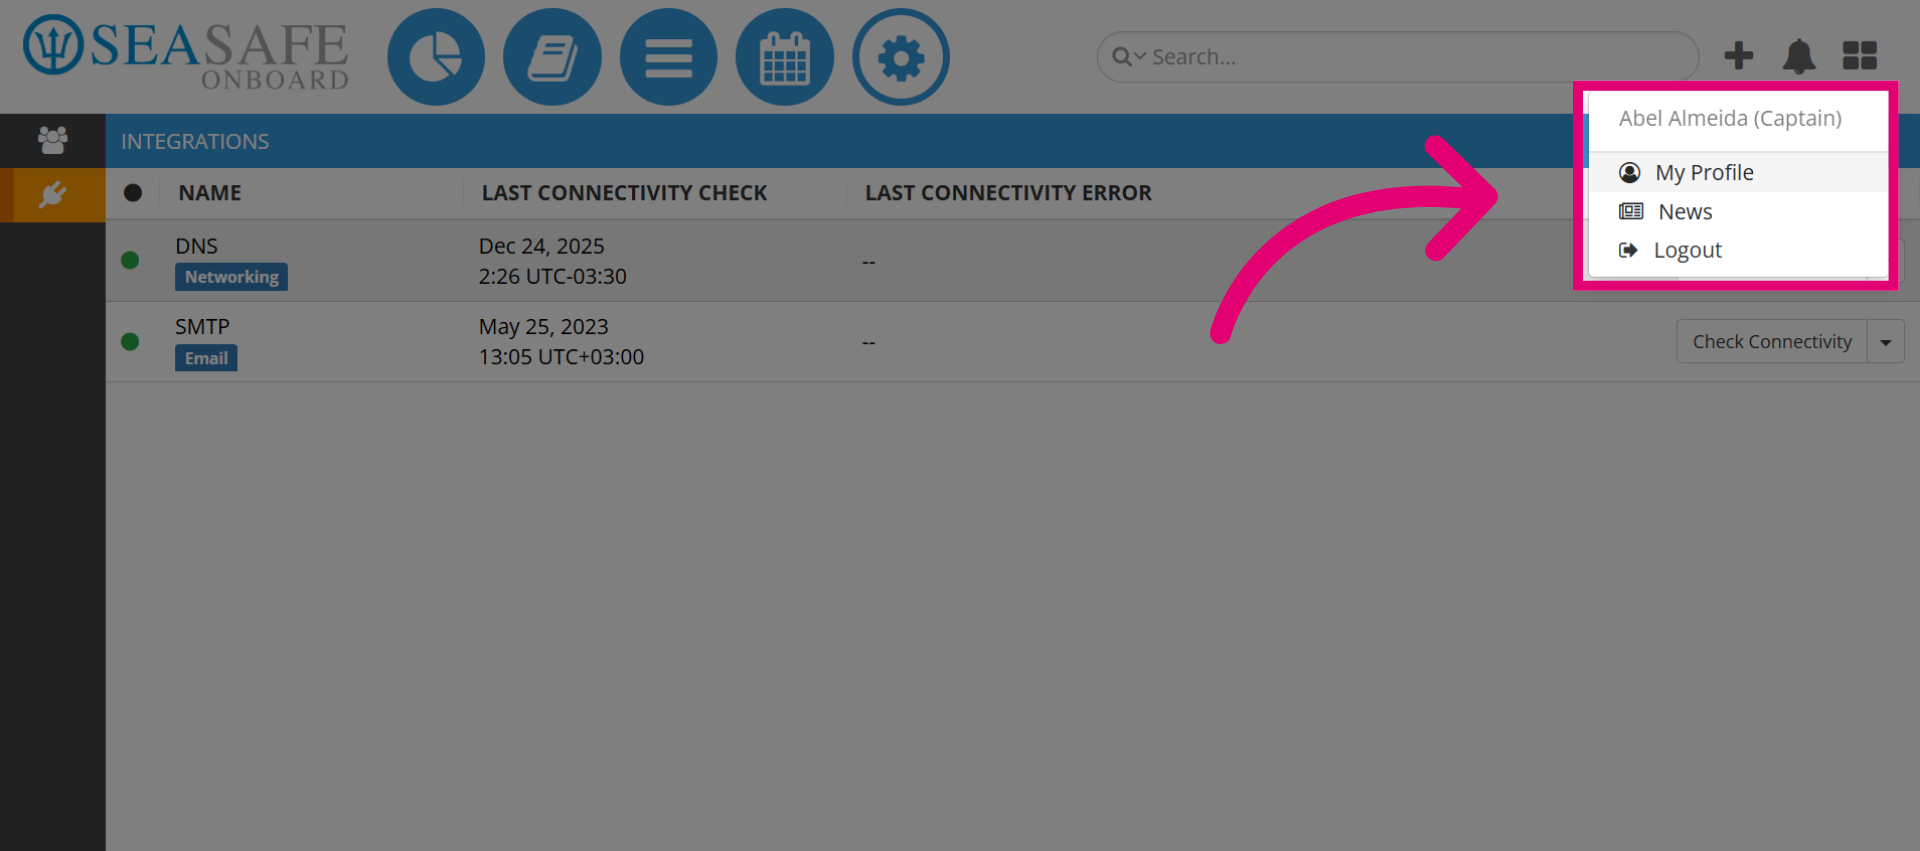
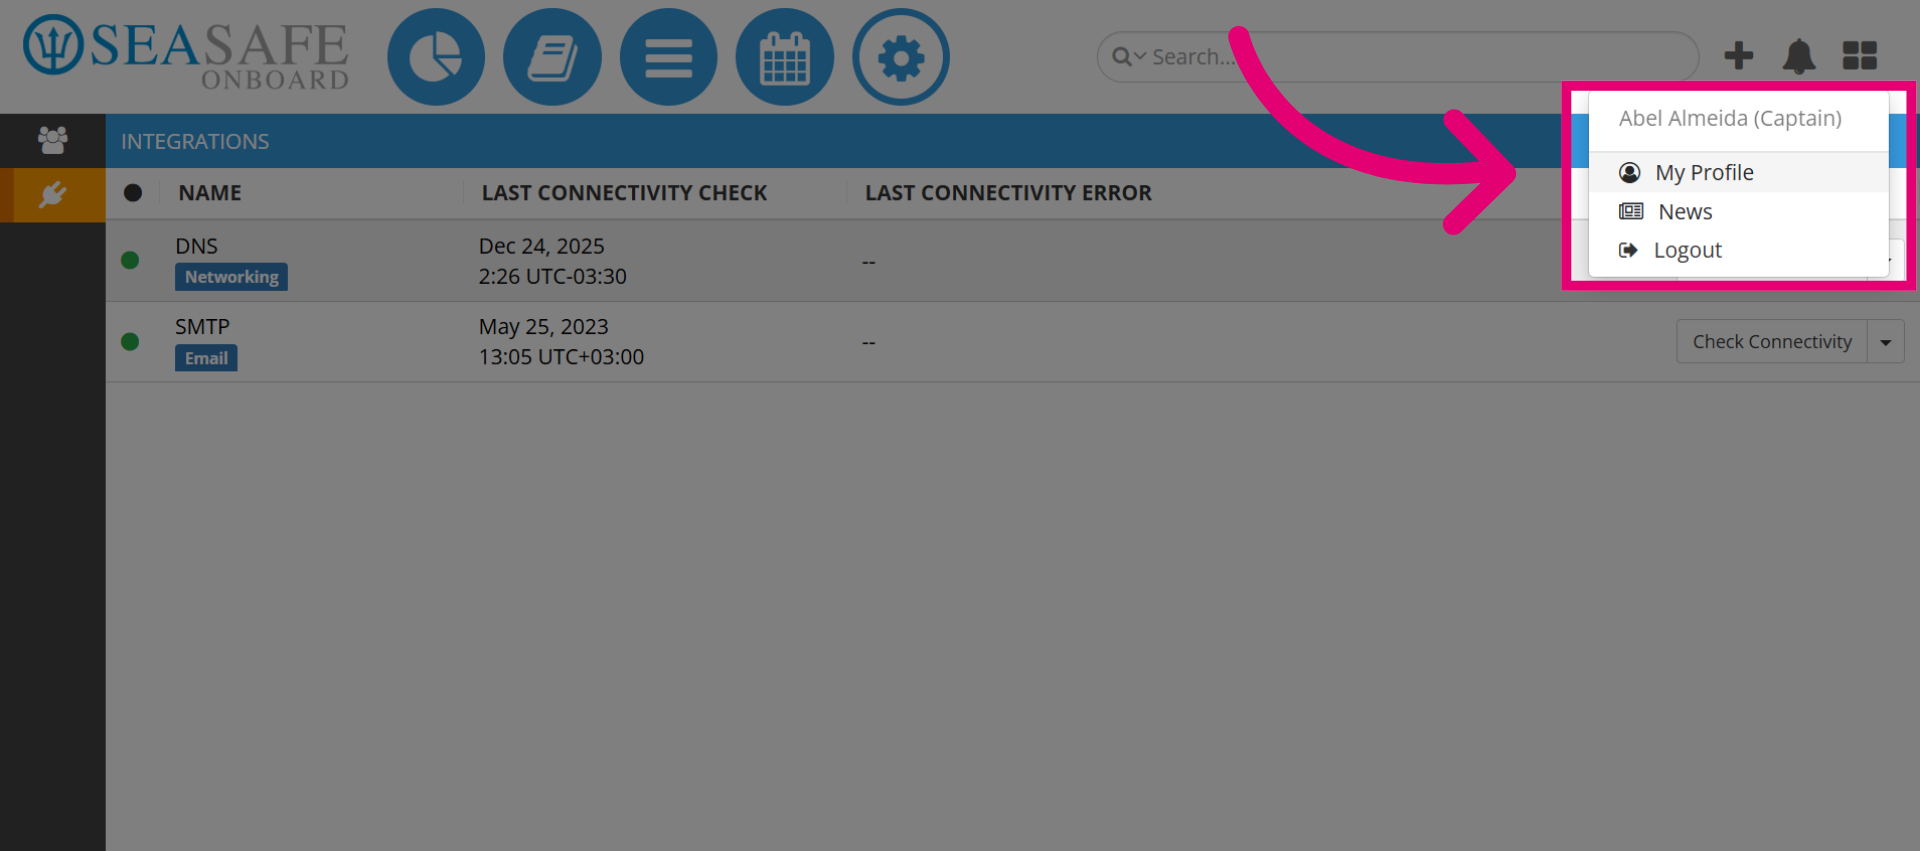
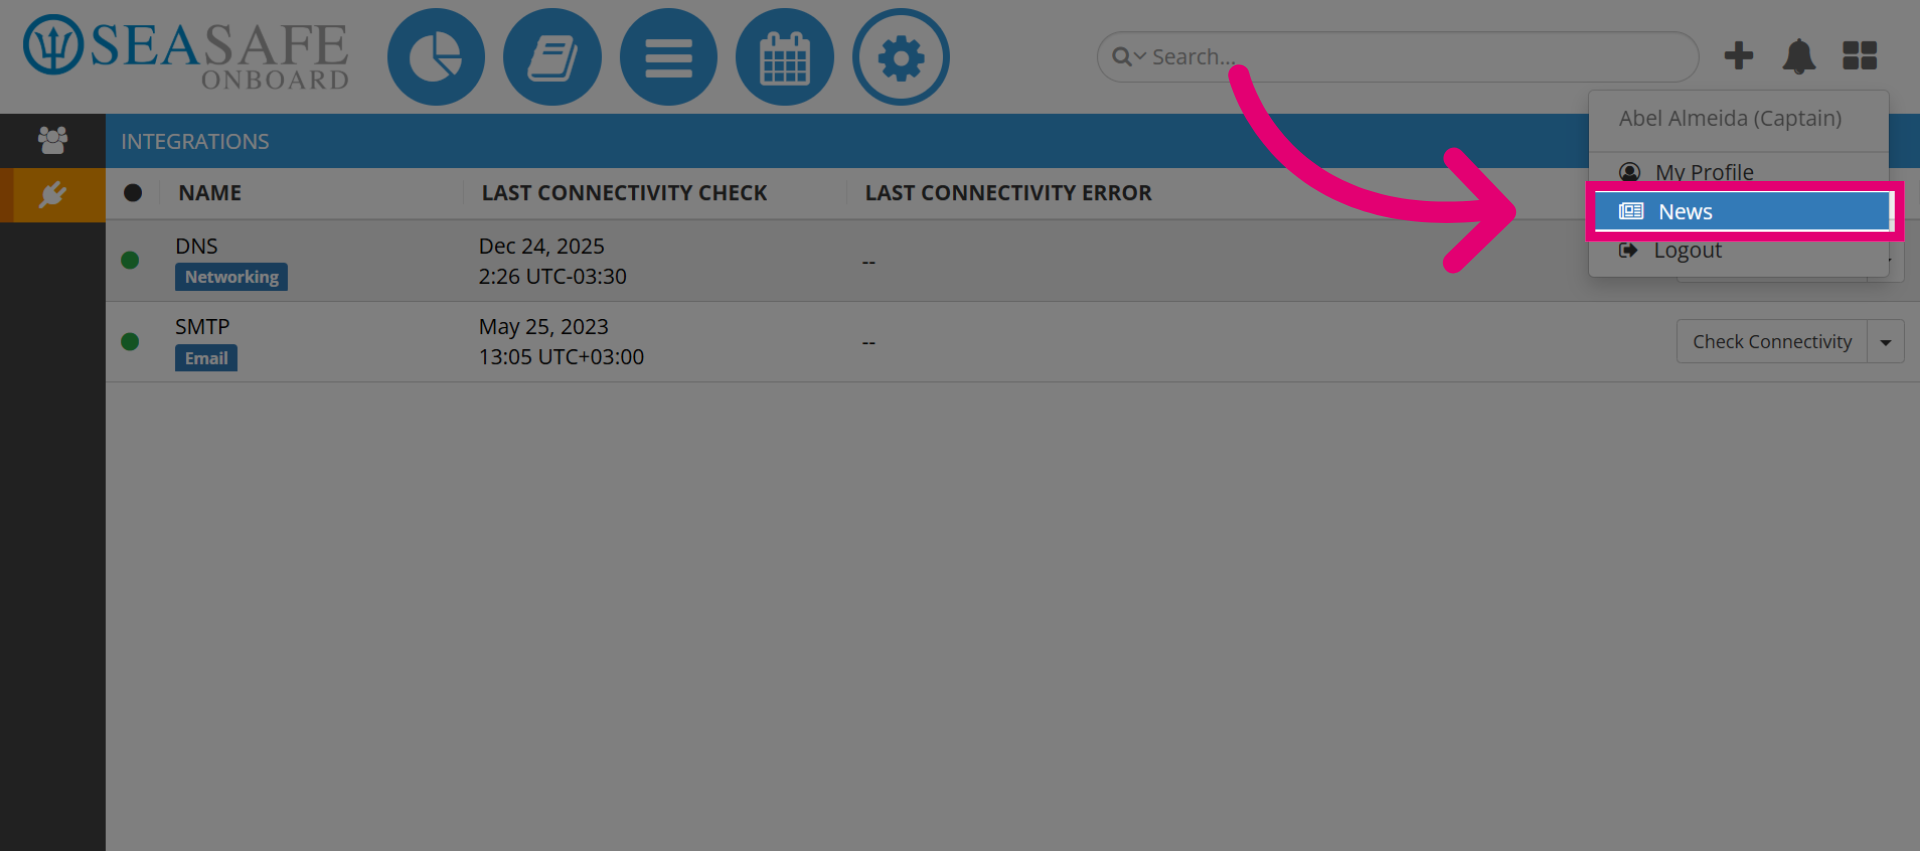
42. Account Access Options
You can access your "My Profile" settings, "News" and "Logout" from here. You can also check that your rank or position is accurate for example, "Captain".
43. Open User Profile
Click on "My Profile" to open your profile settings.
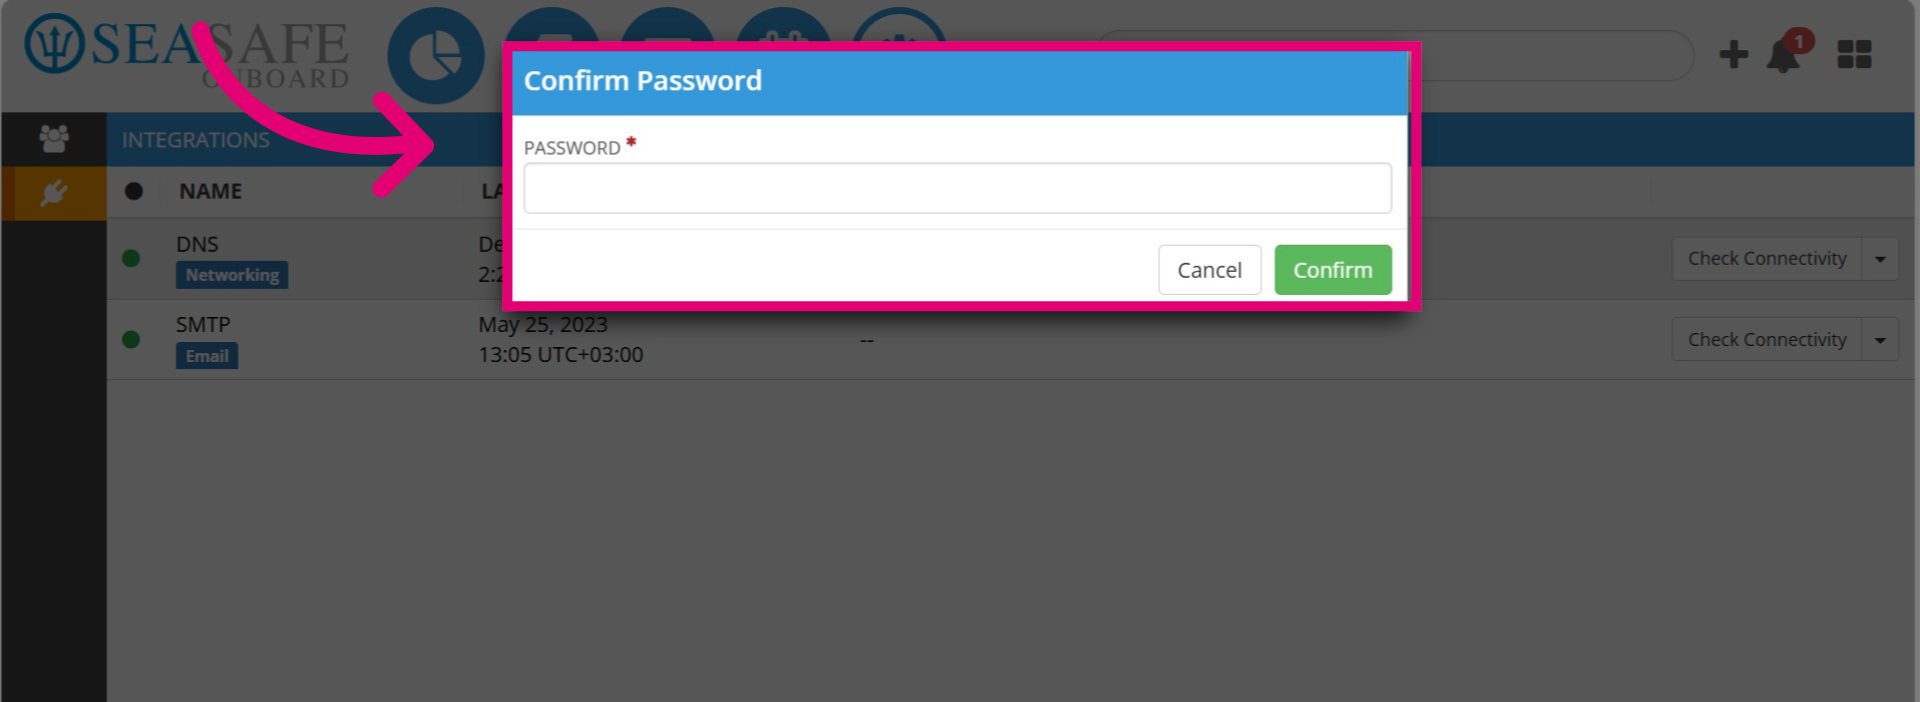
44. Re-enter password
Re-enter your password to re-authenticate your account.
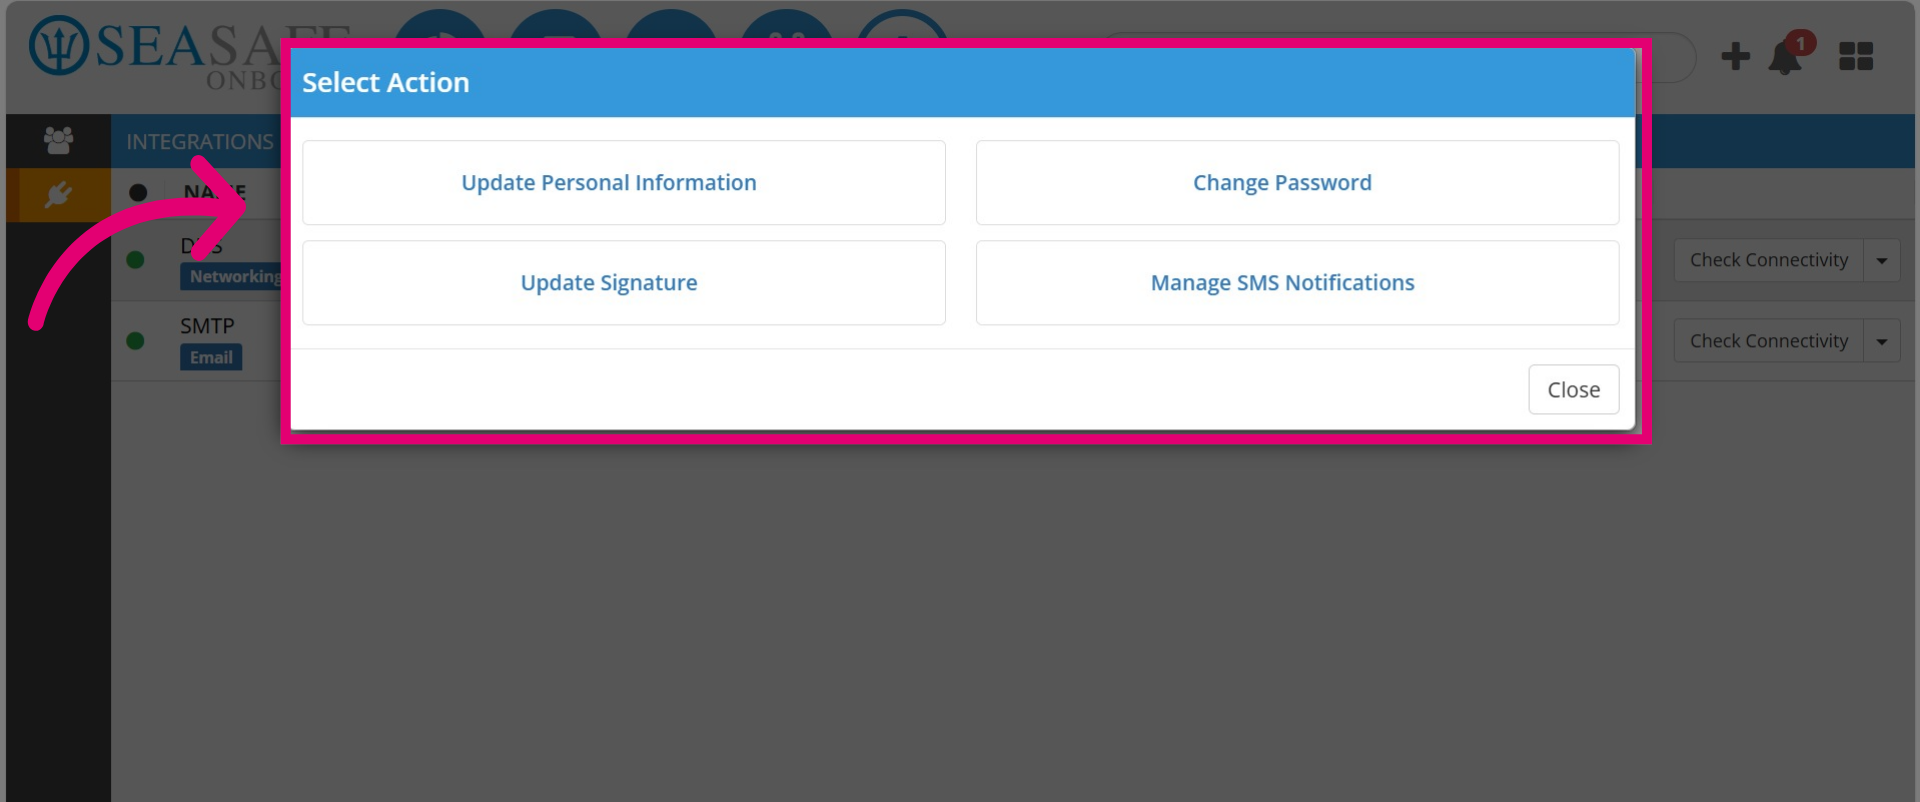
45. Manage Profile Settings
Here, manage your profile settings to update personal info, change your password, update signature and SMS notifications.
46. Open News Section
Click "News" to access the latest updates and announcements relevant to your tasks.
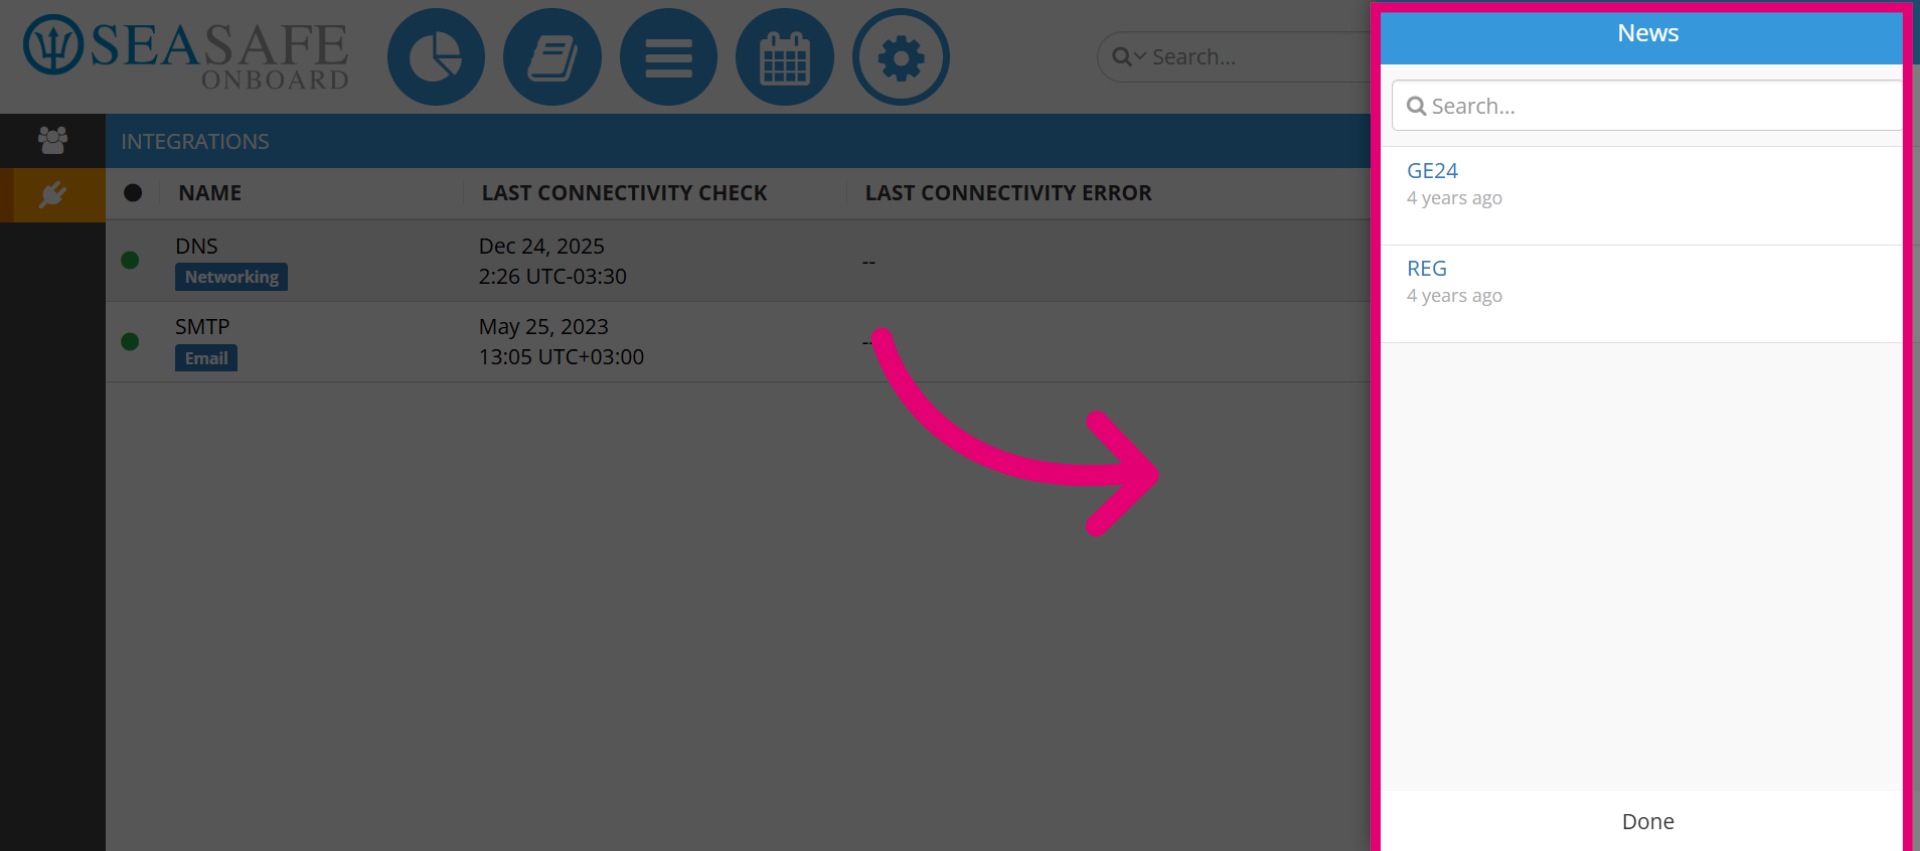
47. View "News" Updates
You will be able to access updates of detailed news articles and important information.
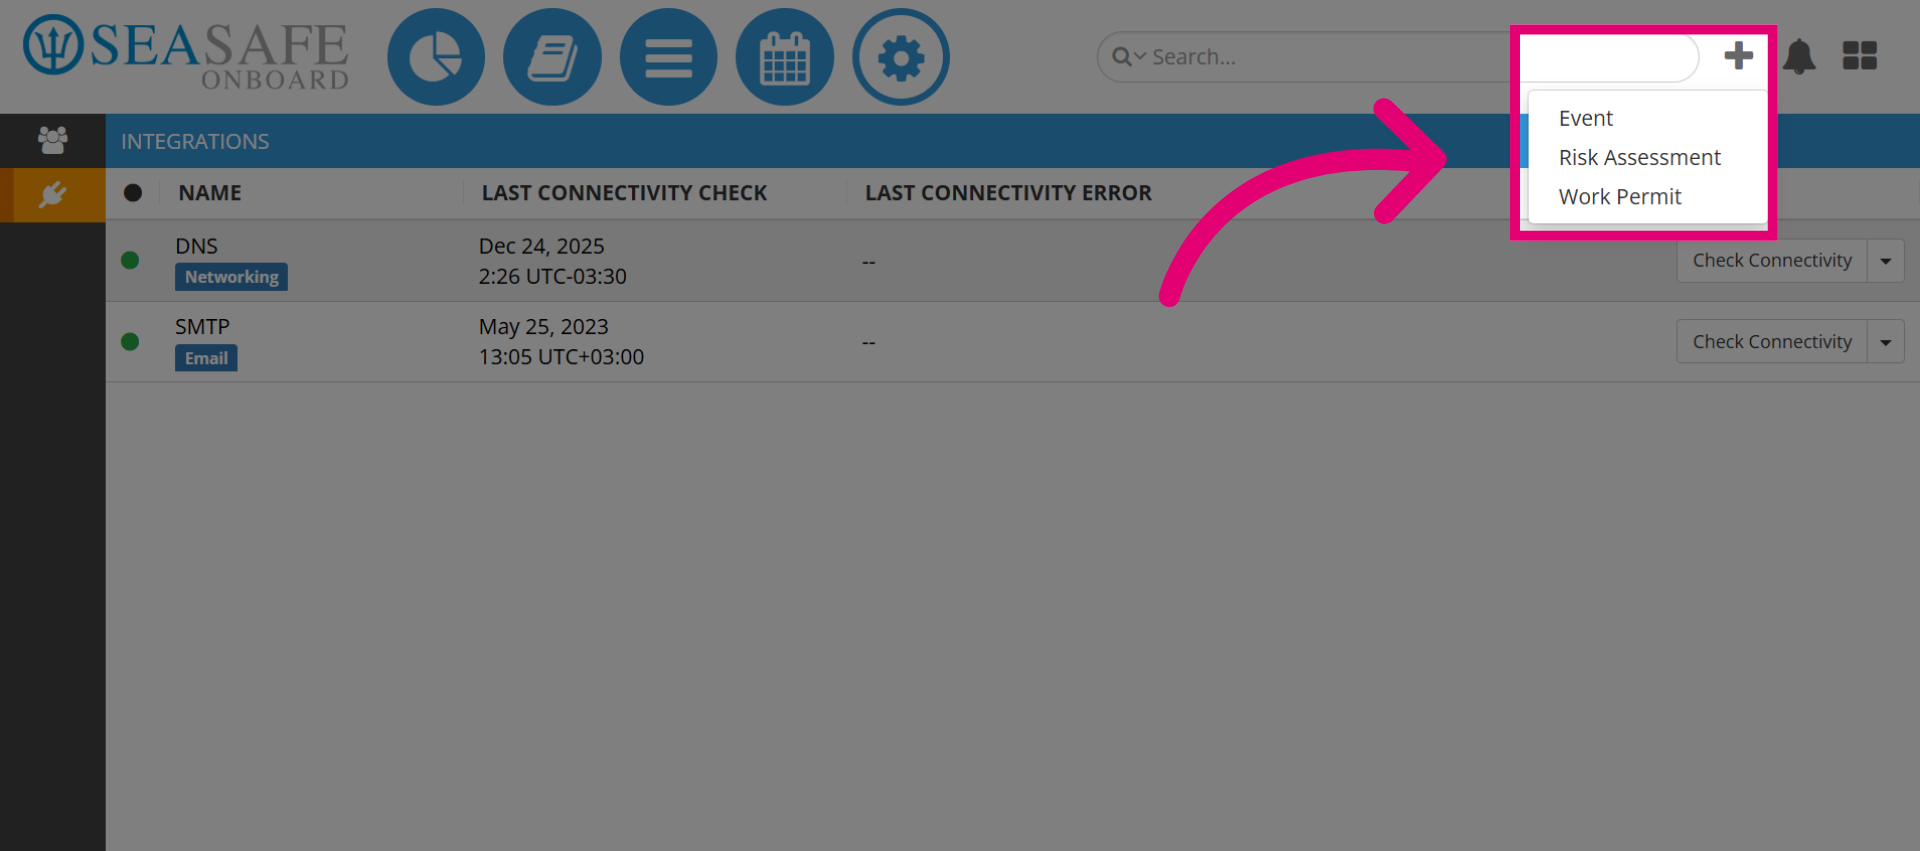
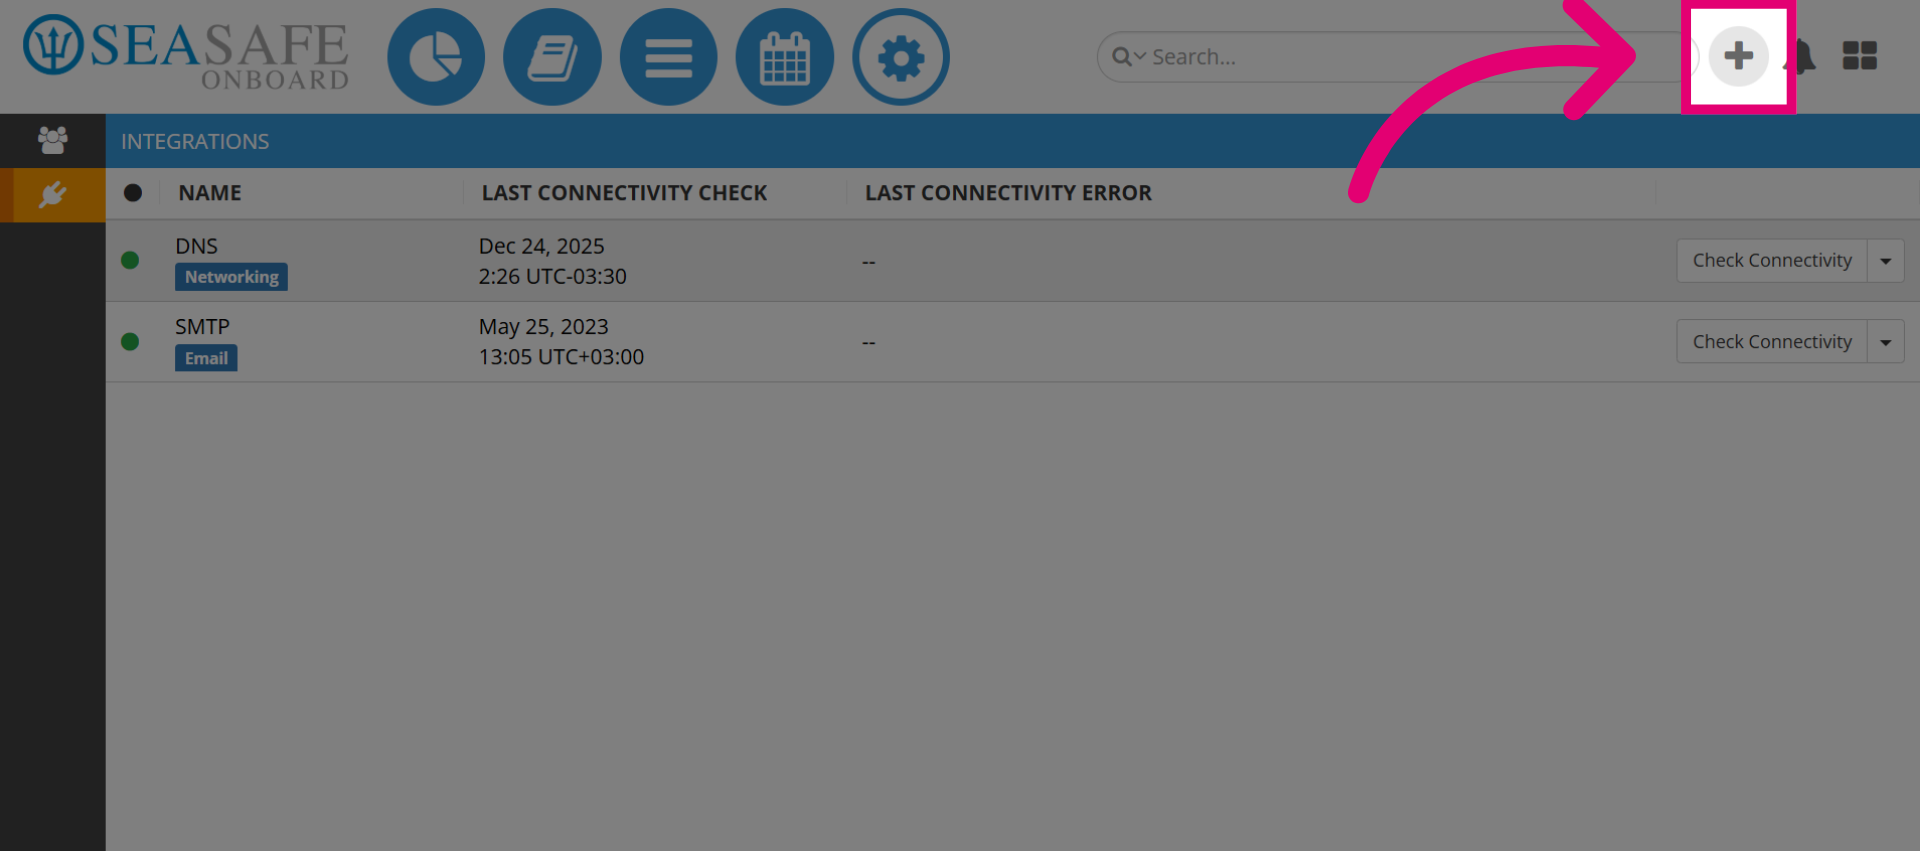
48. Start Reports
Here is where you start all reports to create a new workflow record. Start by selecting the plus sign.
49. Create a new Report Record
This open to the reports section and choose from the report classes, such as Event, Risk Assessment or Work Permit to create new records. This starts the process for a report workflow.