
New article
Recently updated
Save and Activate a Workflow

This walkthrough provides instructions on how to review your workflow, as well as how to save and activate a workflow using the Workflow Editor.
1. Introduction
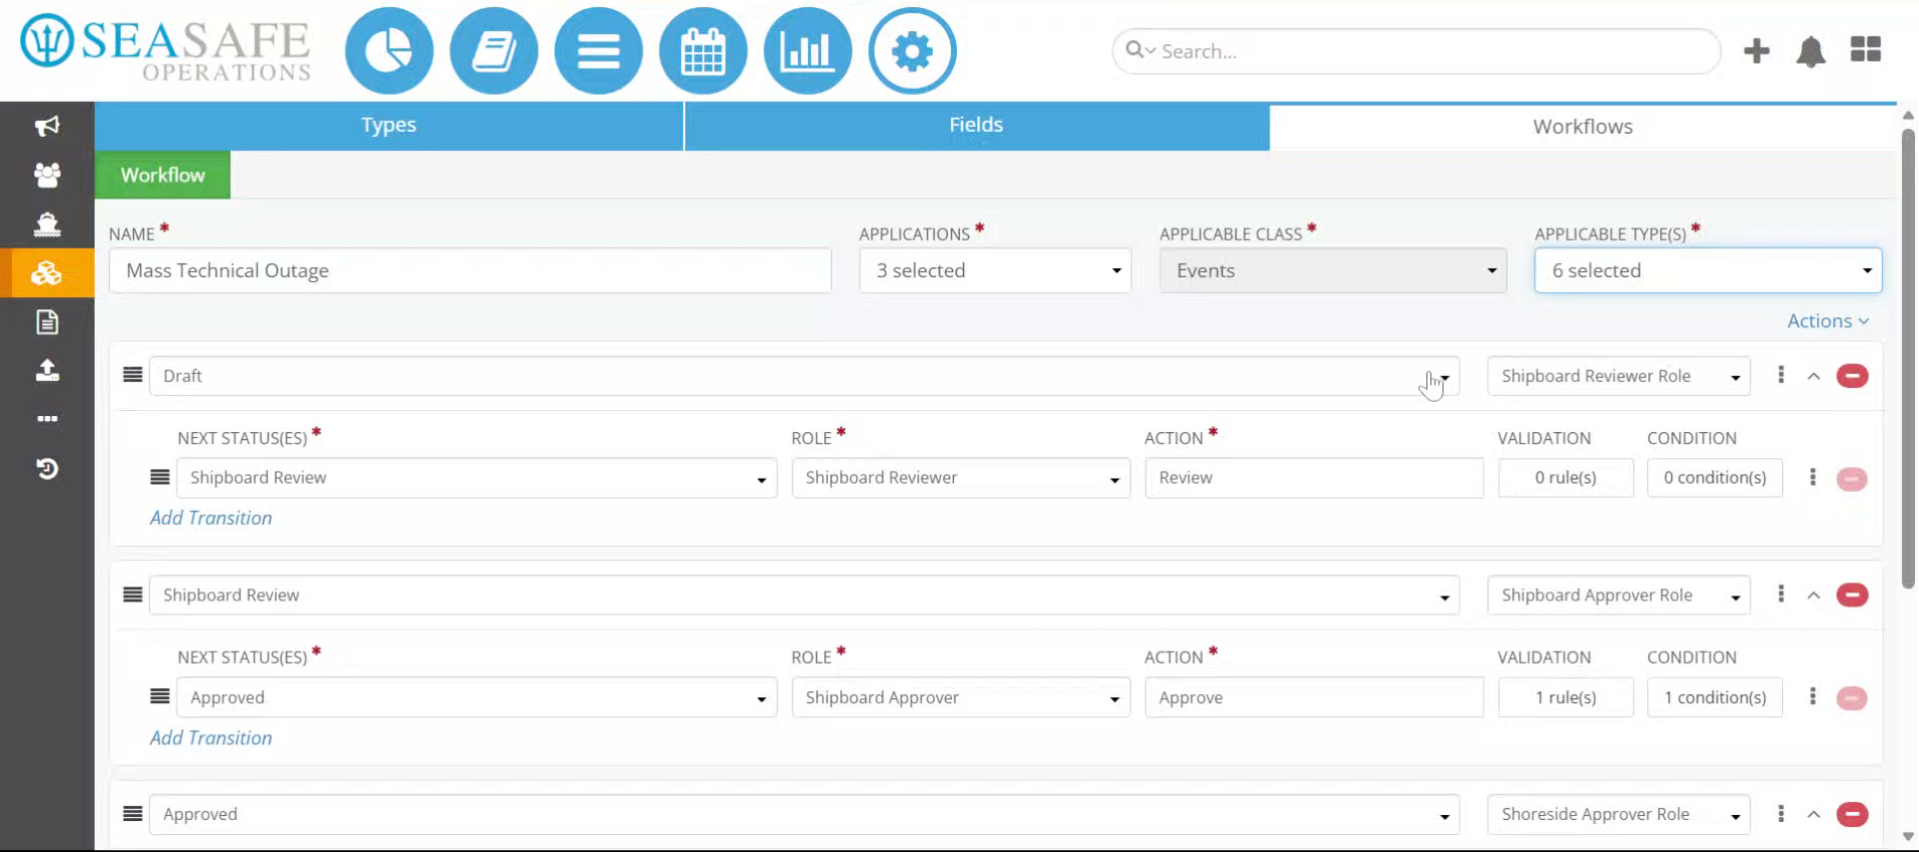
You will learn the necessary steps to review transitions, rules, conditions, and types effectively then activate the workflow.
2. Click Save And Close
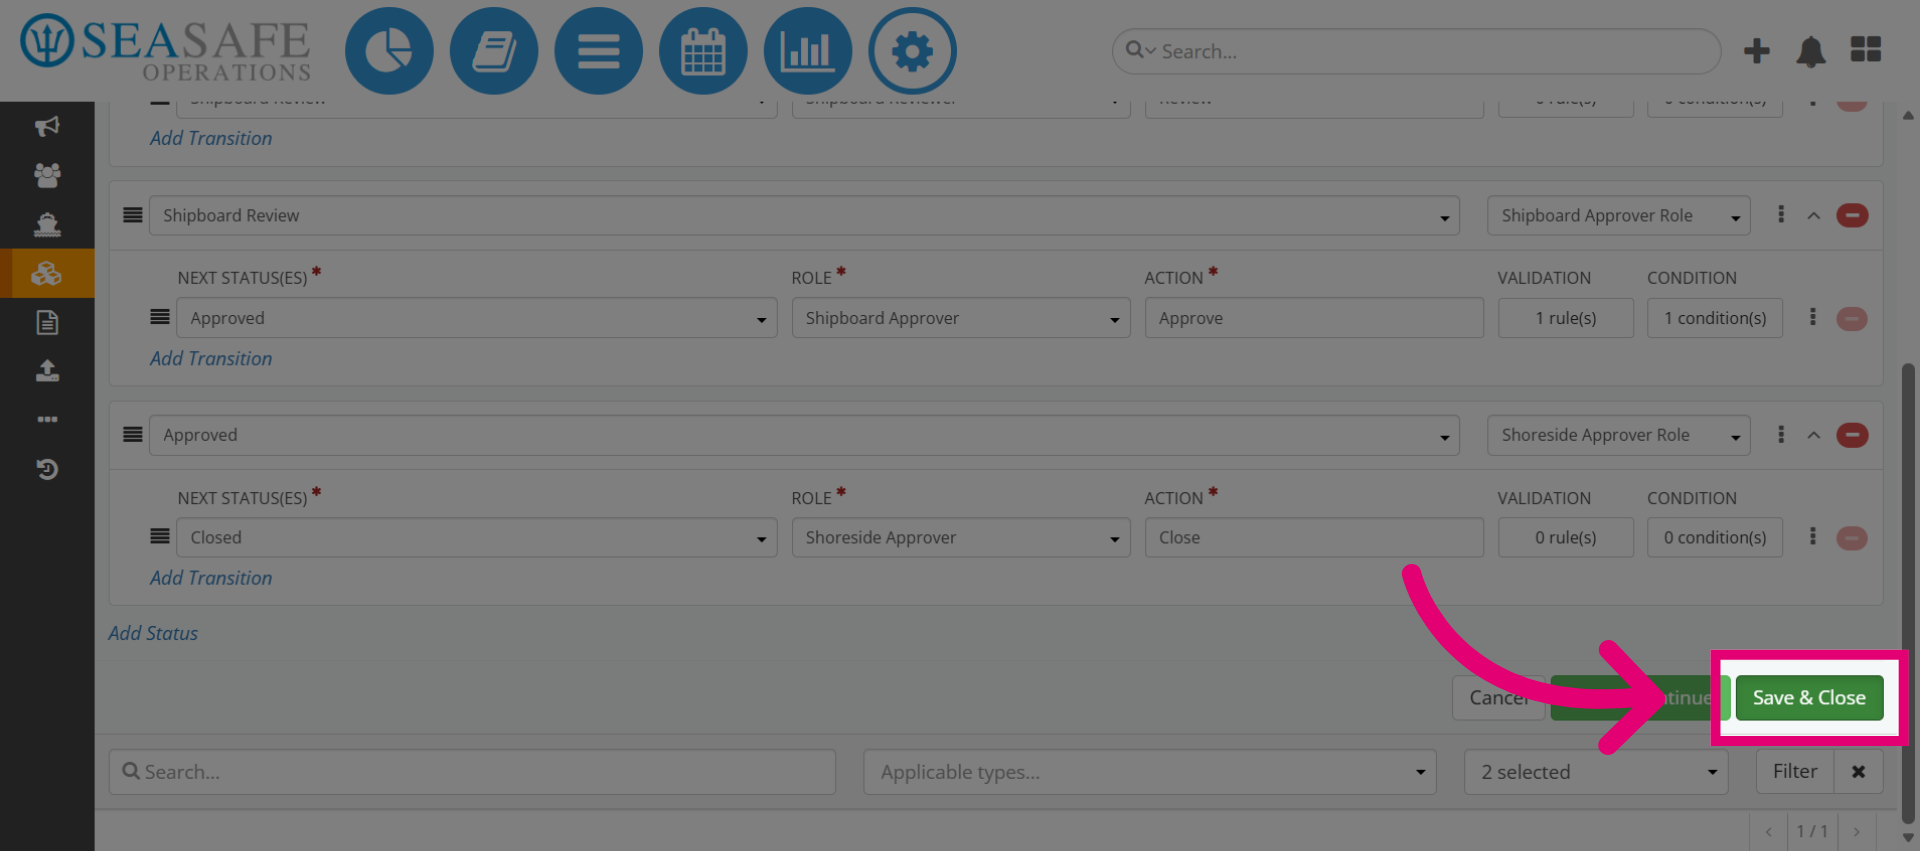
Once you have completed adding and applying transitions, rules, conditions, and types, click "Save & Close" to save your current workflow changes and exit the editor.
3. Workflow in Pending Status
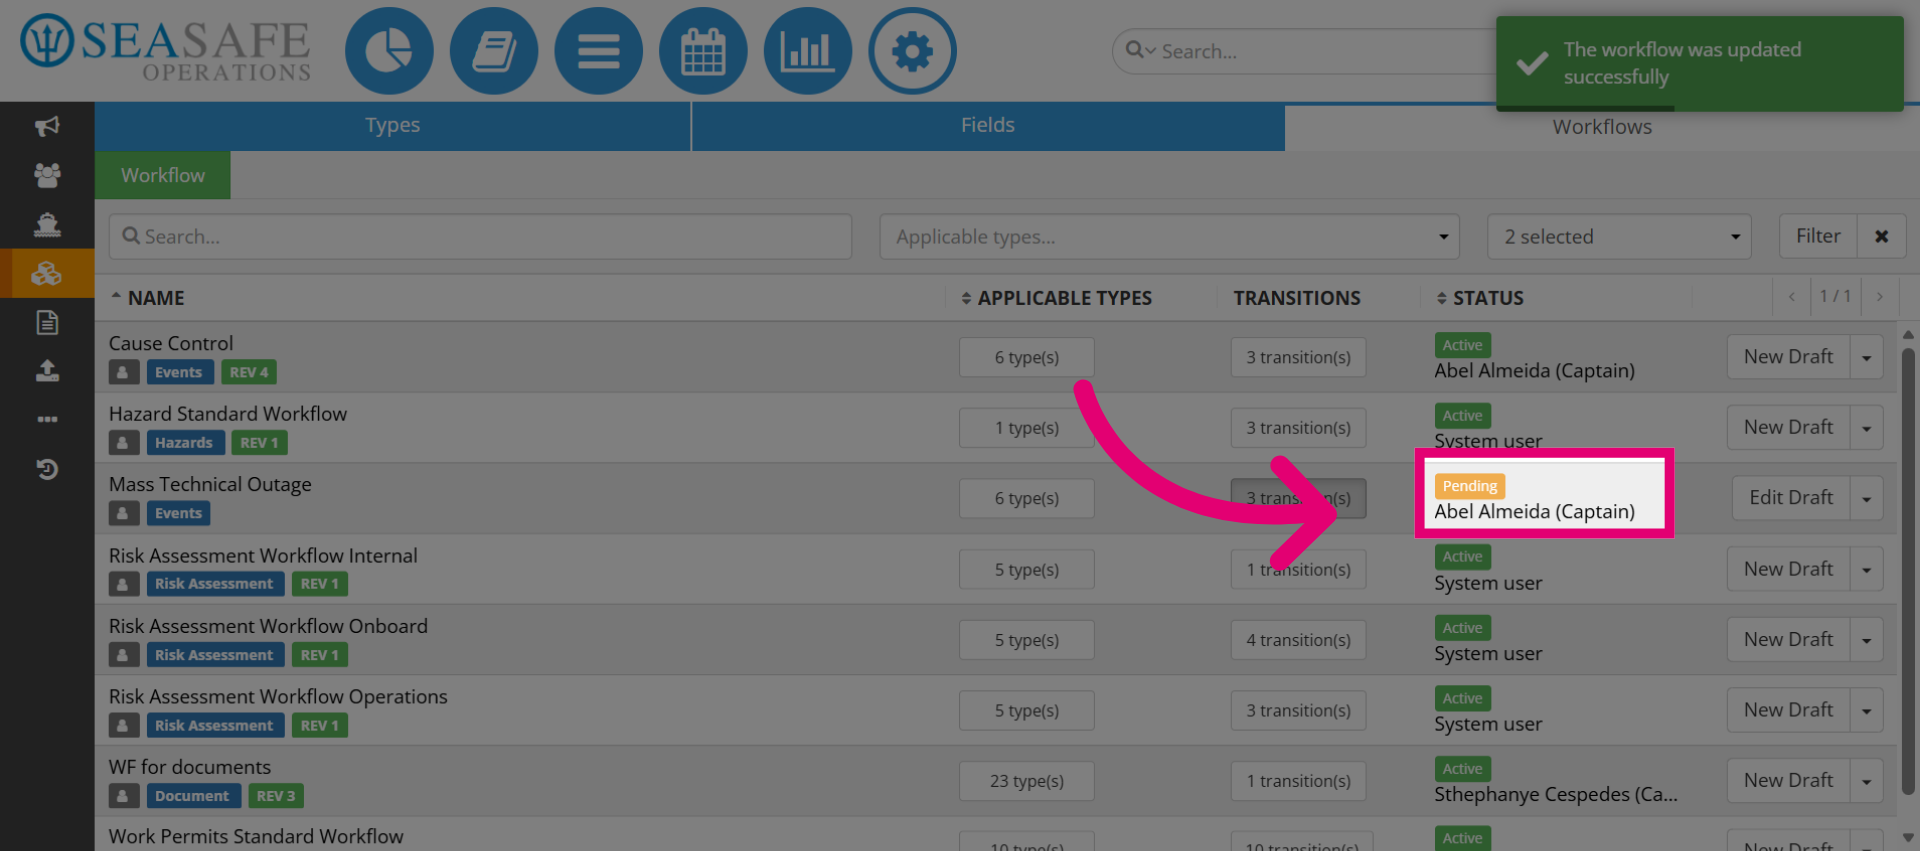
The workflow will be marked as "Pending", indicating that it has not yet been activated. So before activating, let's review it.
4. Open Workflow Transitions
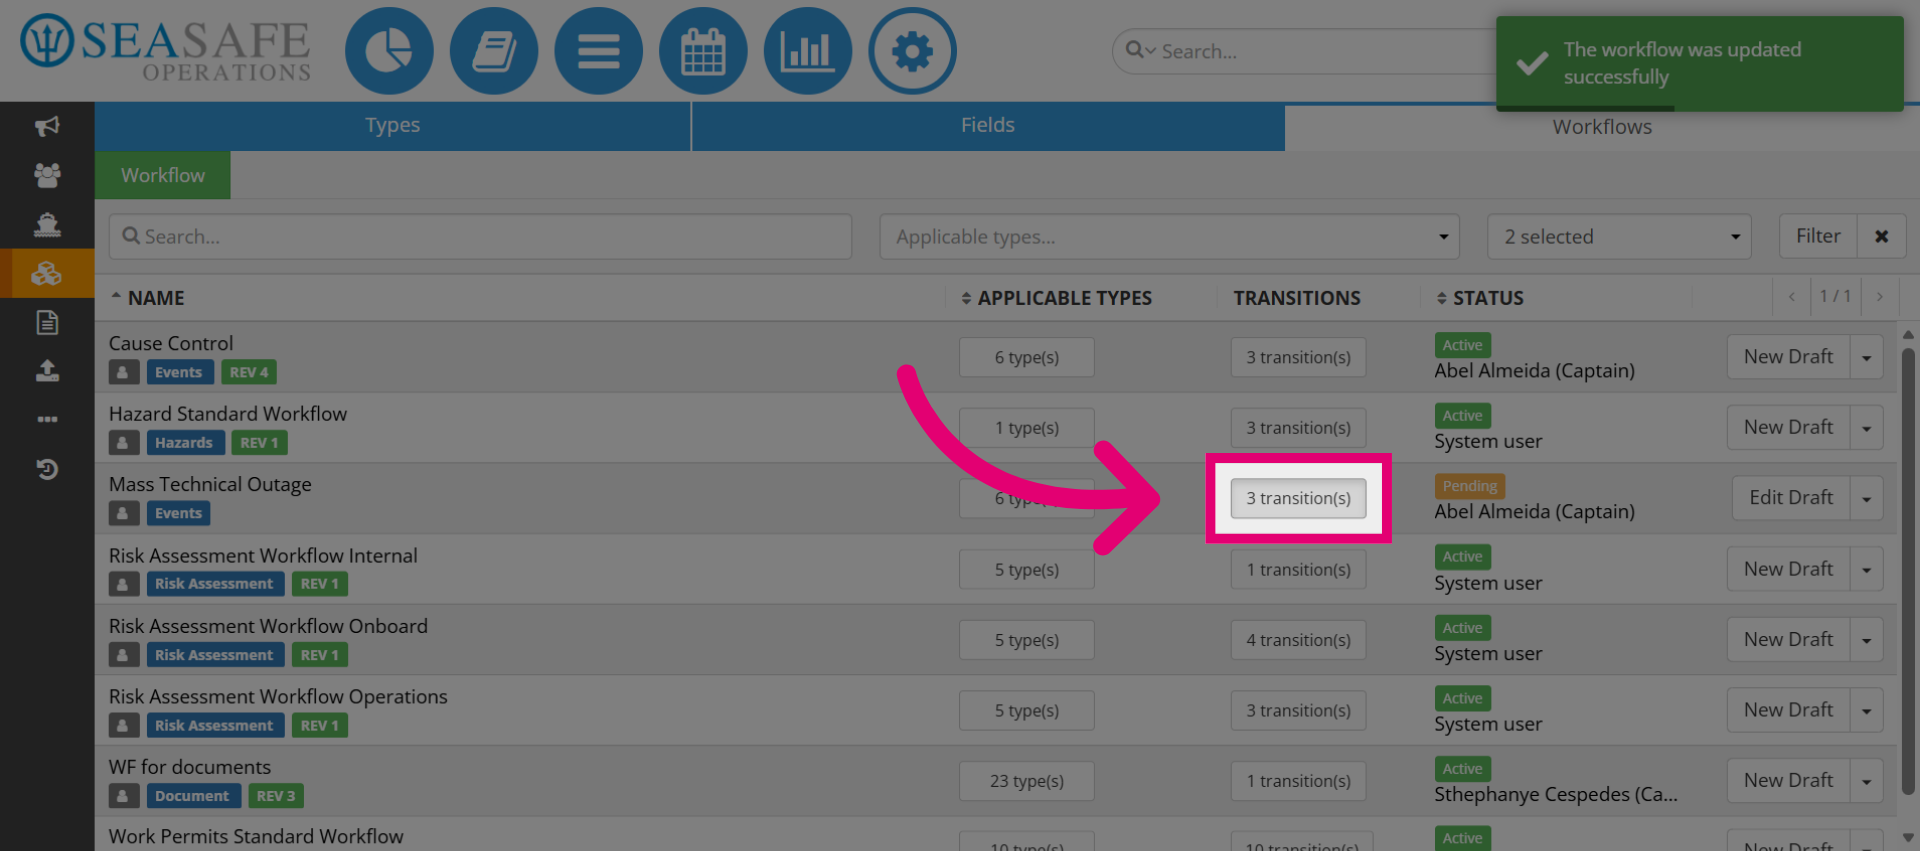
You'll be able to review the number of transitions, which is displayed at 3 here. Let's click on "transitions" to open and view the configured transitions for this workflow.
5. Access Transition Details
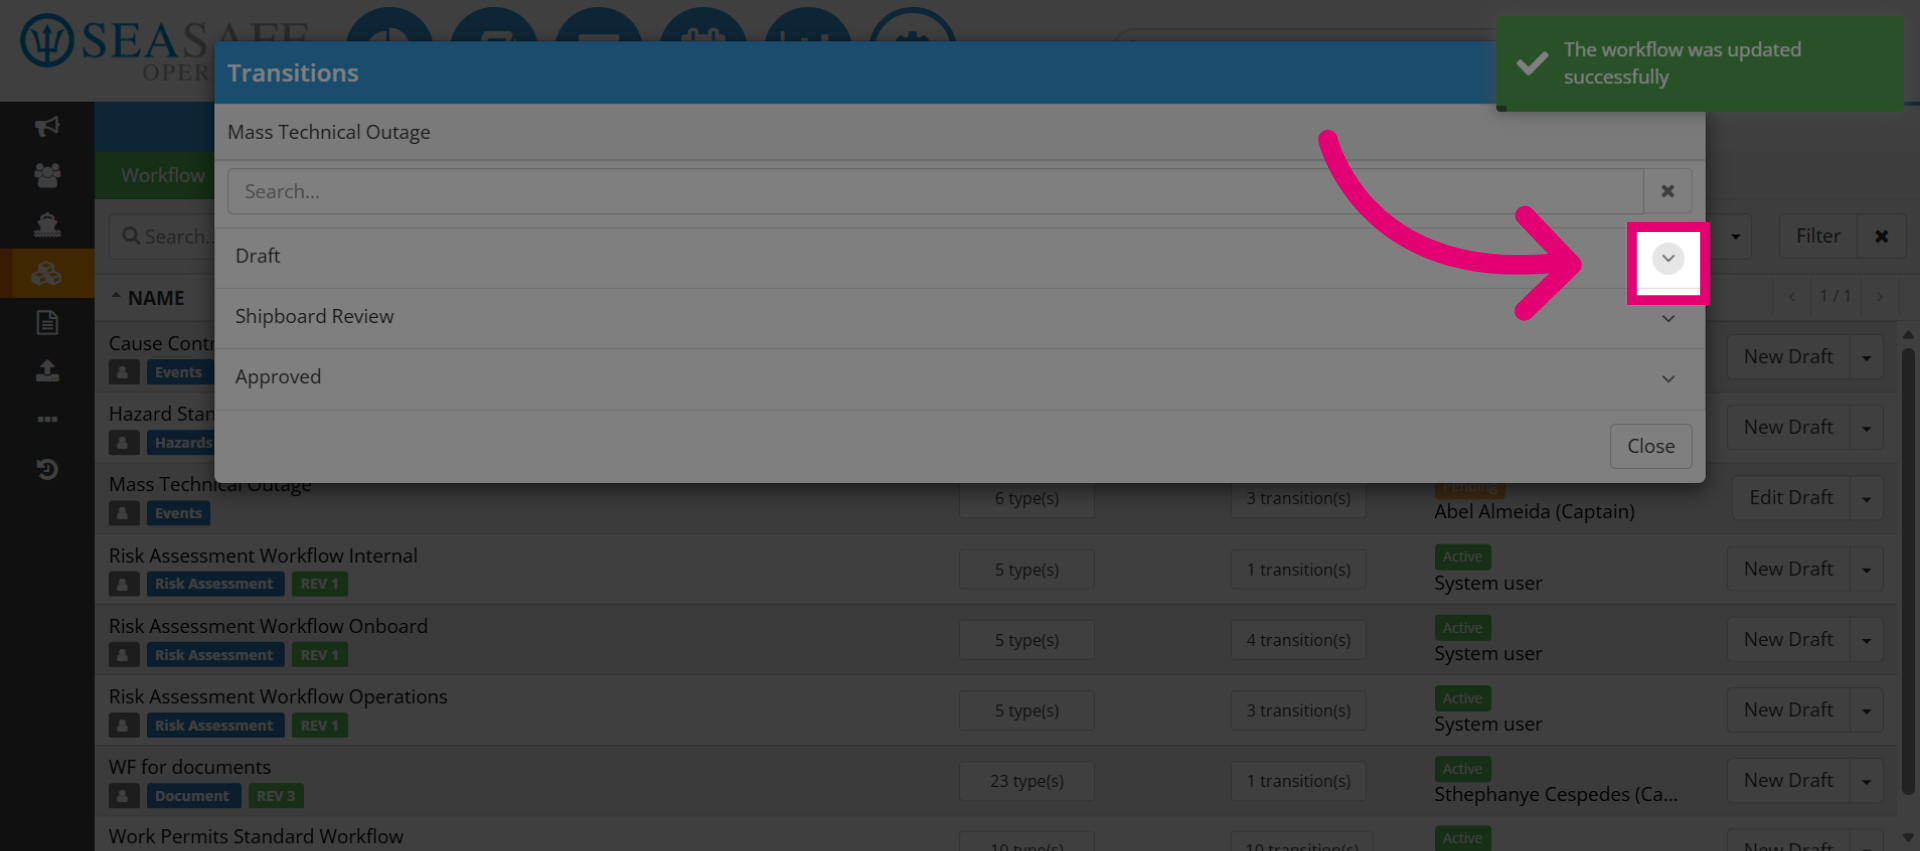
You'll have the transitions for the workflow. Click here to open the details of the first transition in the list.
6. Open Additional Transition
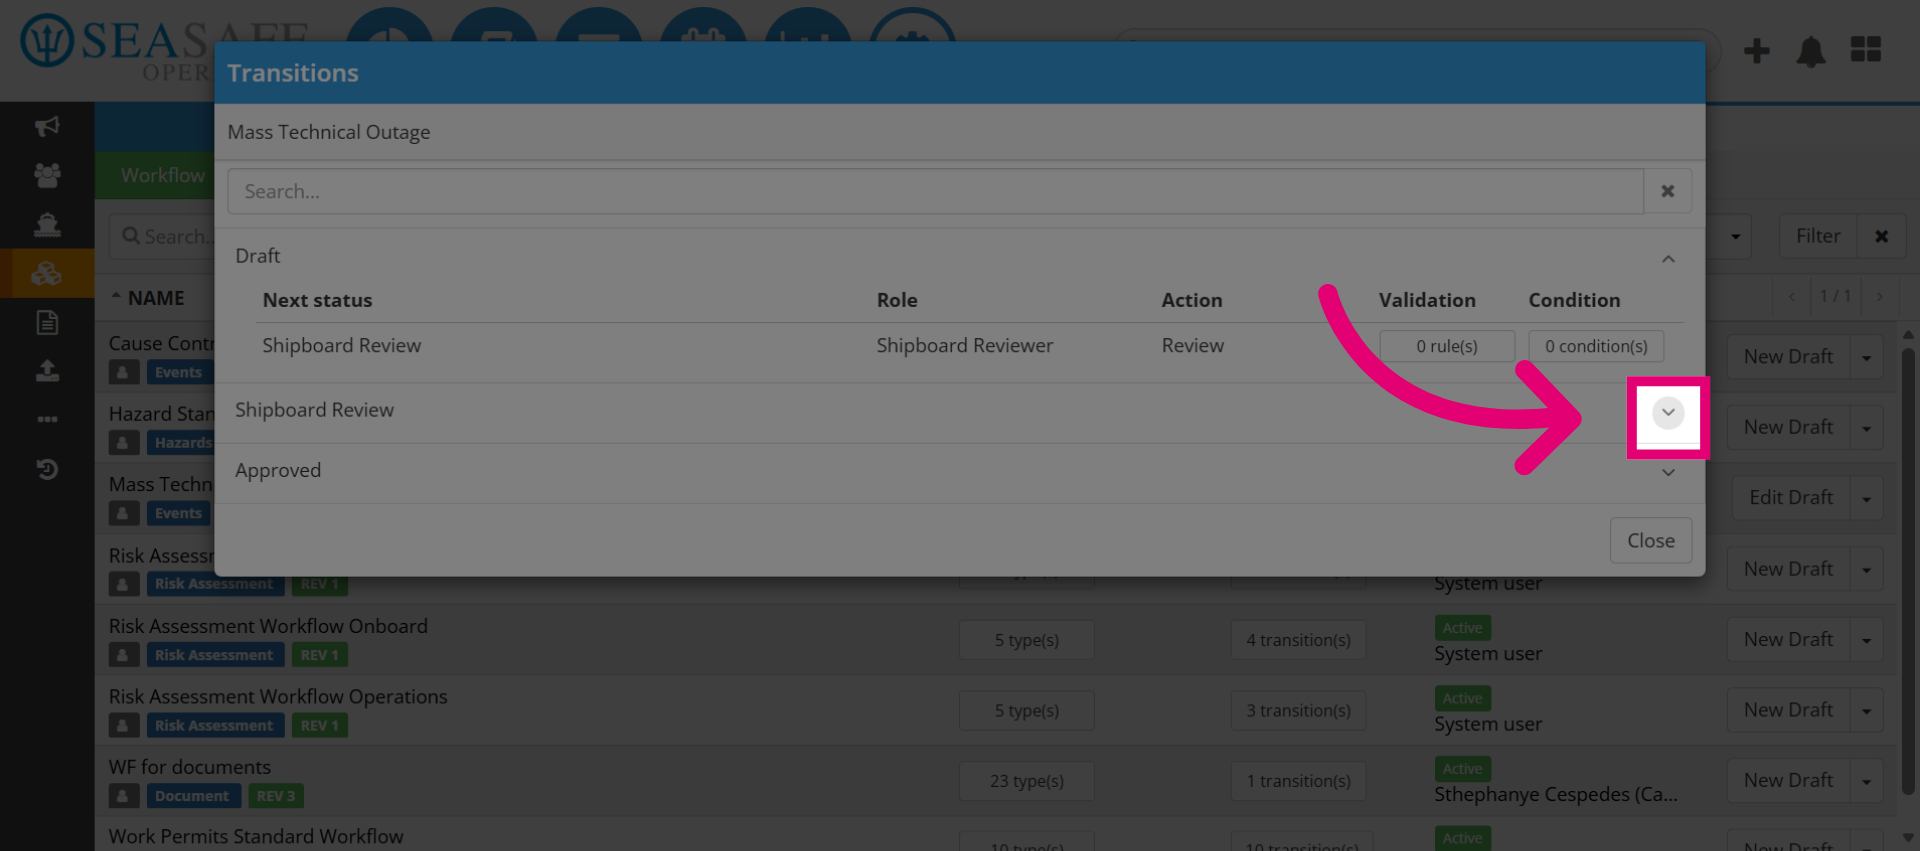
Next, click here to access the next transition's settings for review.
7. View Workflow Configurations
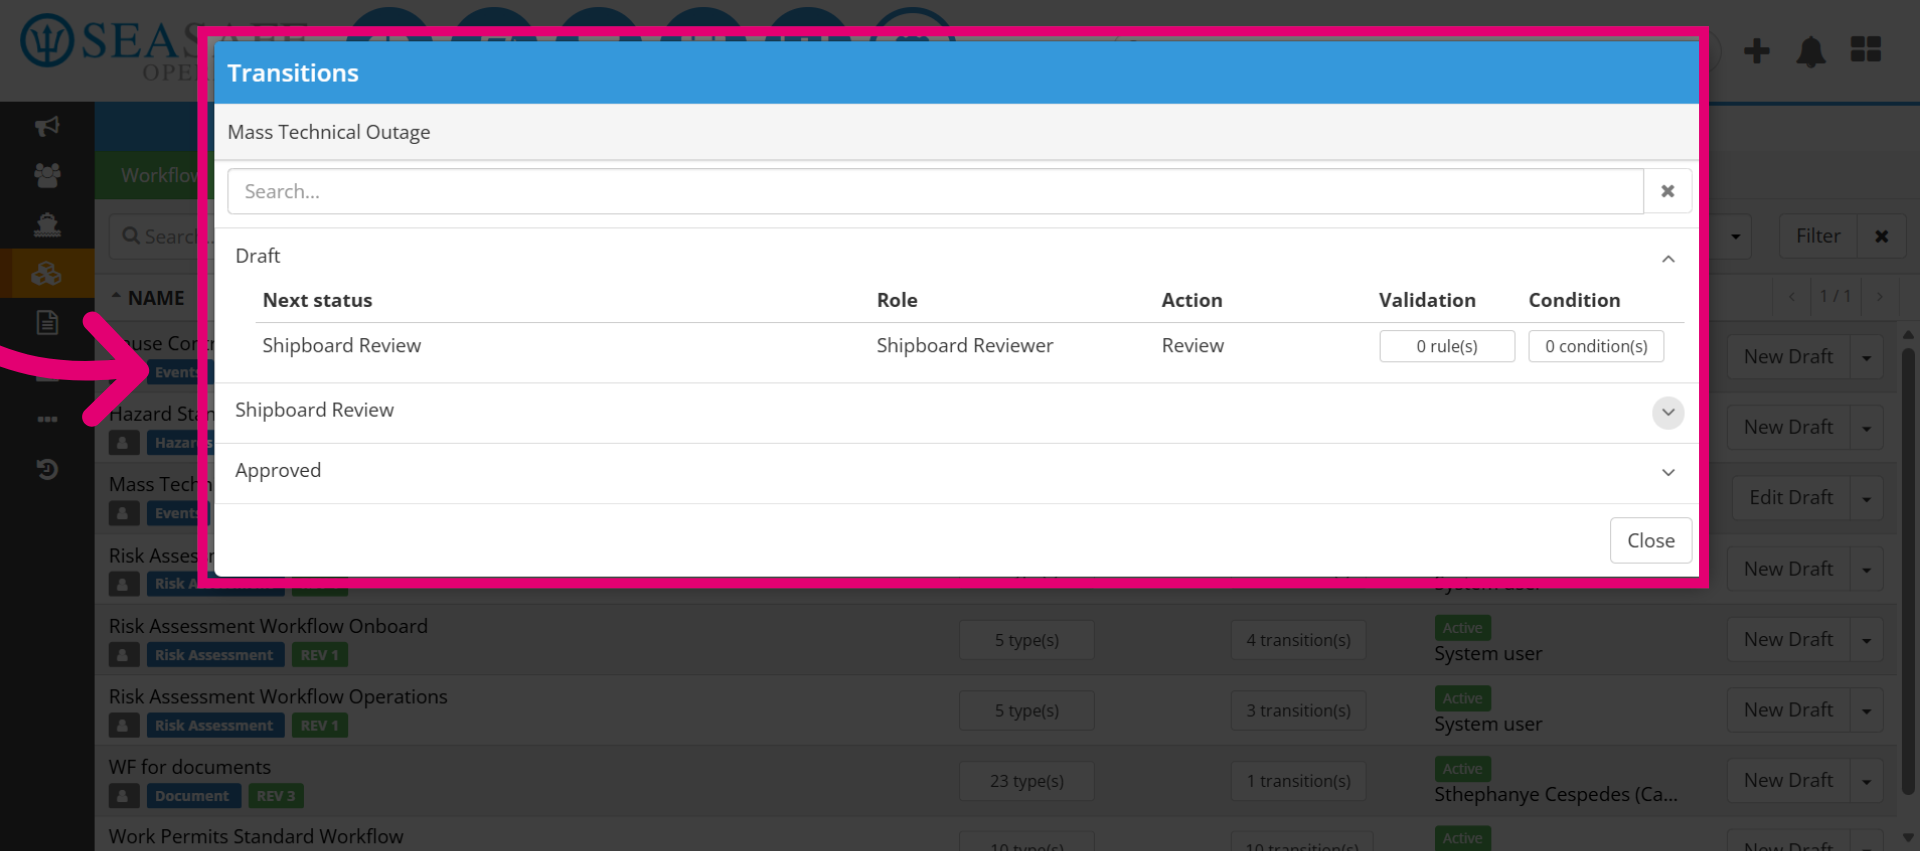
Now, let's also review other workflow configurations such as the Statuses, Roles, and more at a glance, along with transitions.
8. Select Another Transition
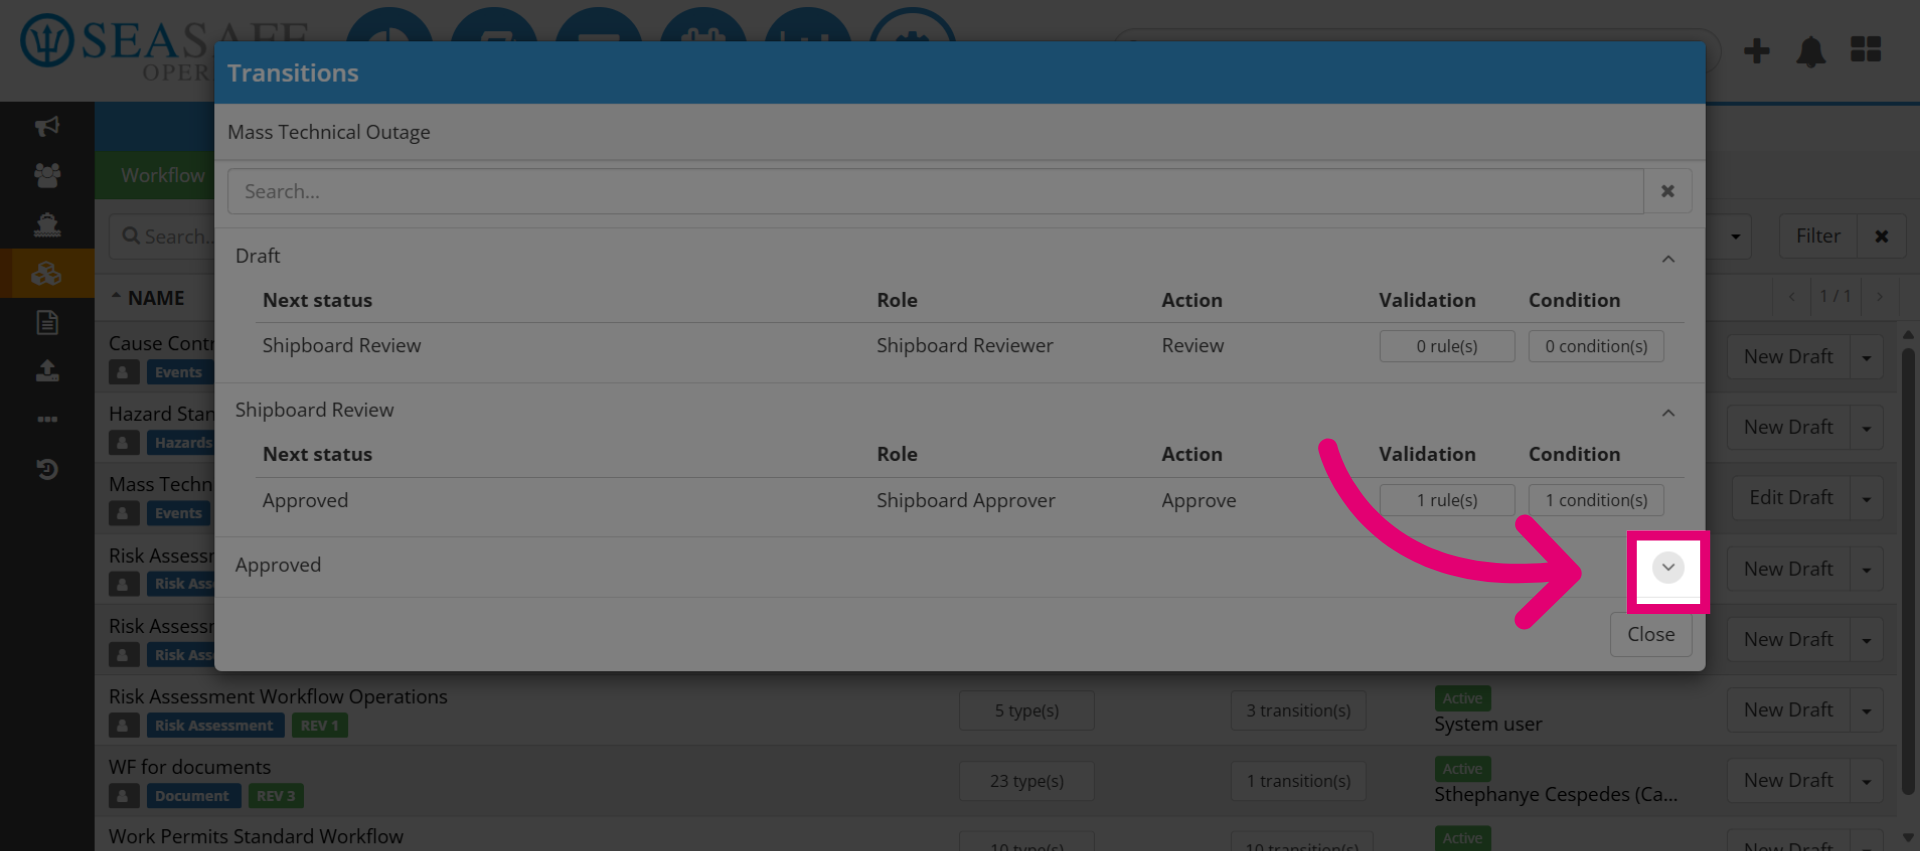
Next, click here to open the third transition's configuration options.
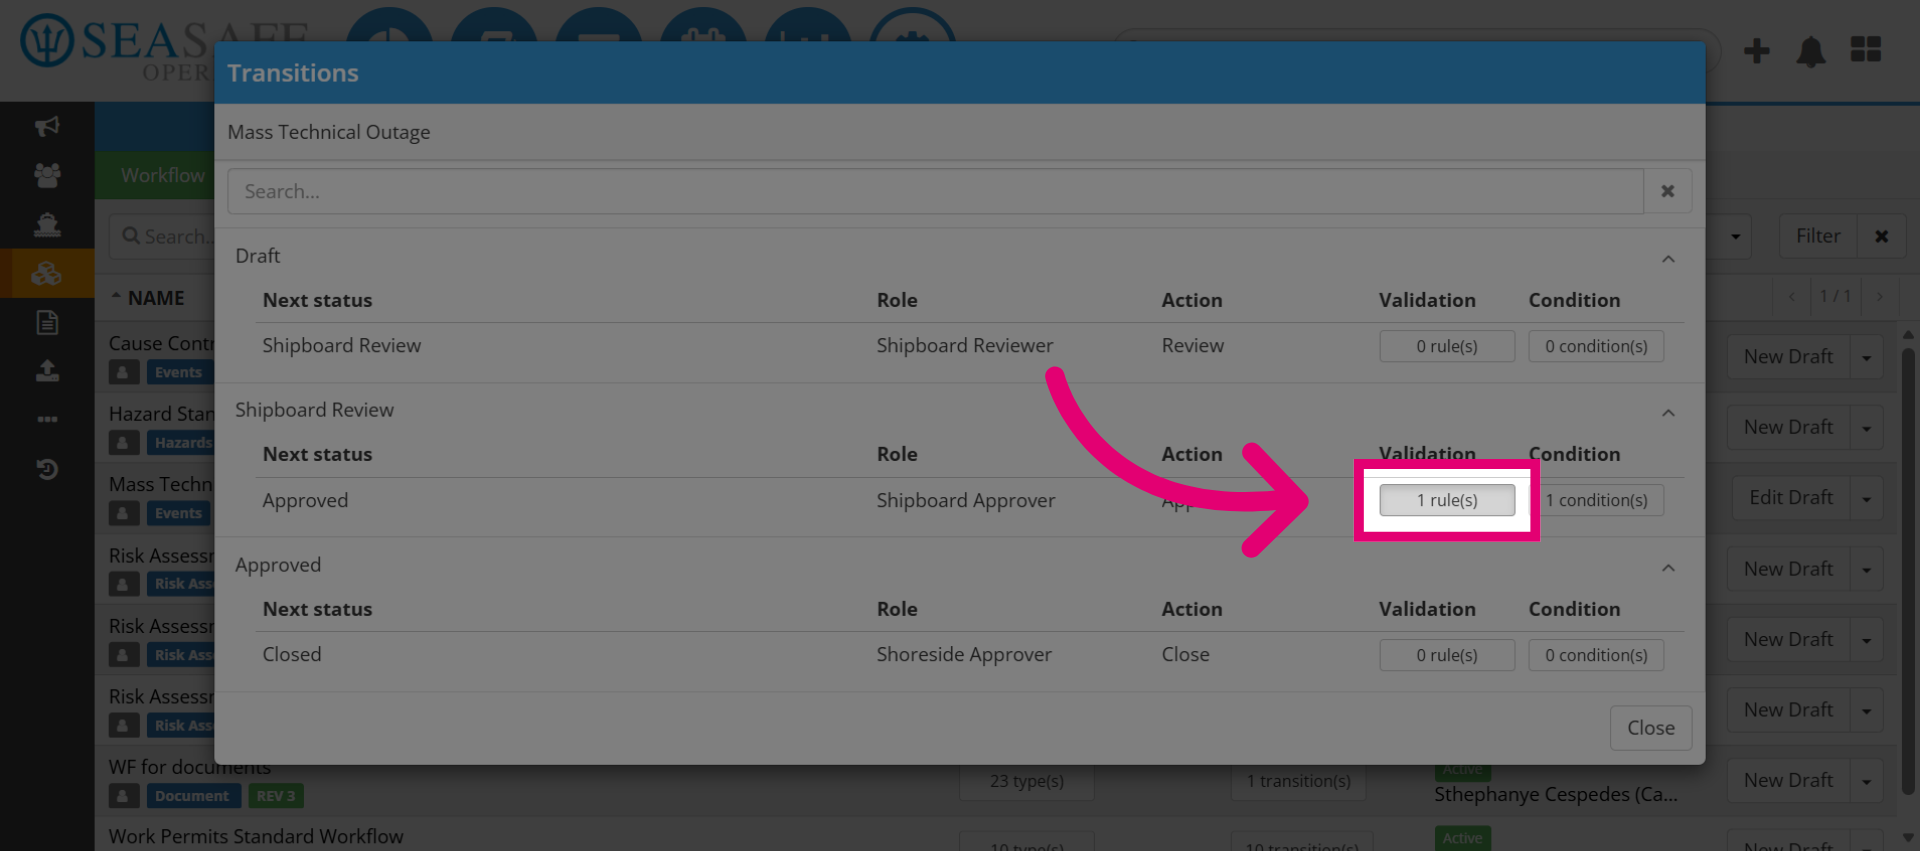
9. Select "rules" for Review
Then, elect "rule" to examine the rules applied within the workflow transitions.
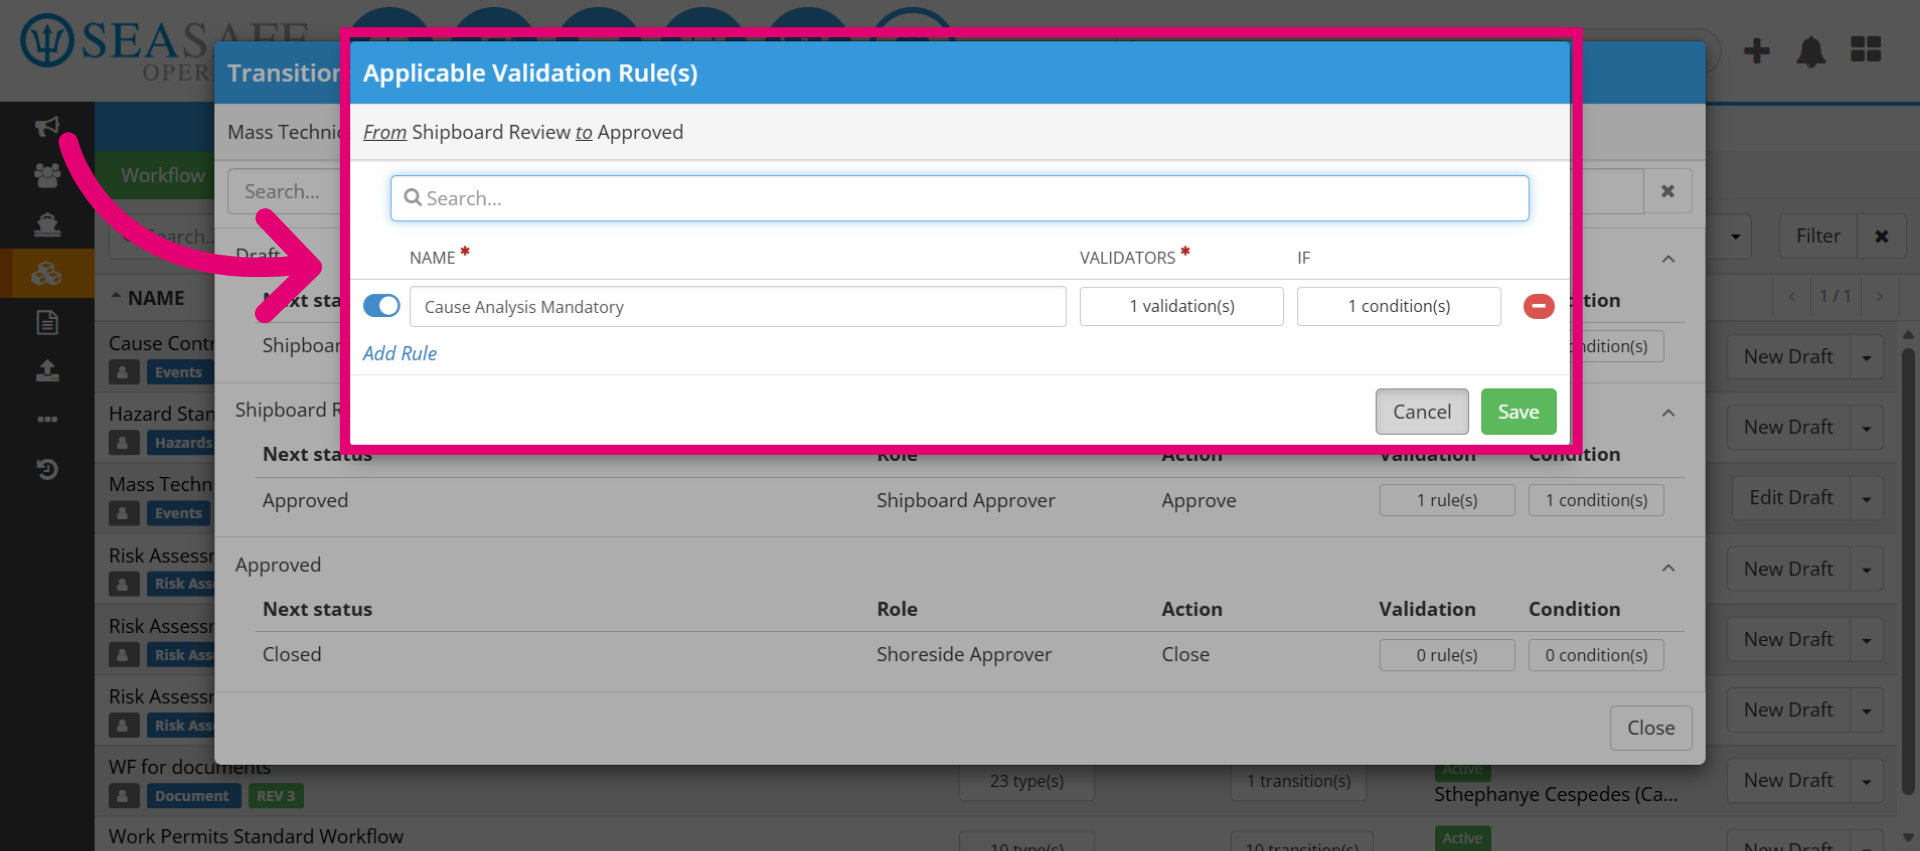
10. Review "Validation Rule(s)"
Here you can review the "Applicable Validation Rule(s) to ensure accuracy. Click cancel to exit without making changes.
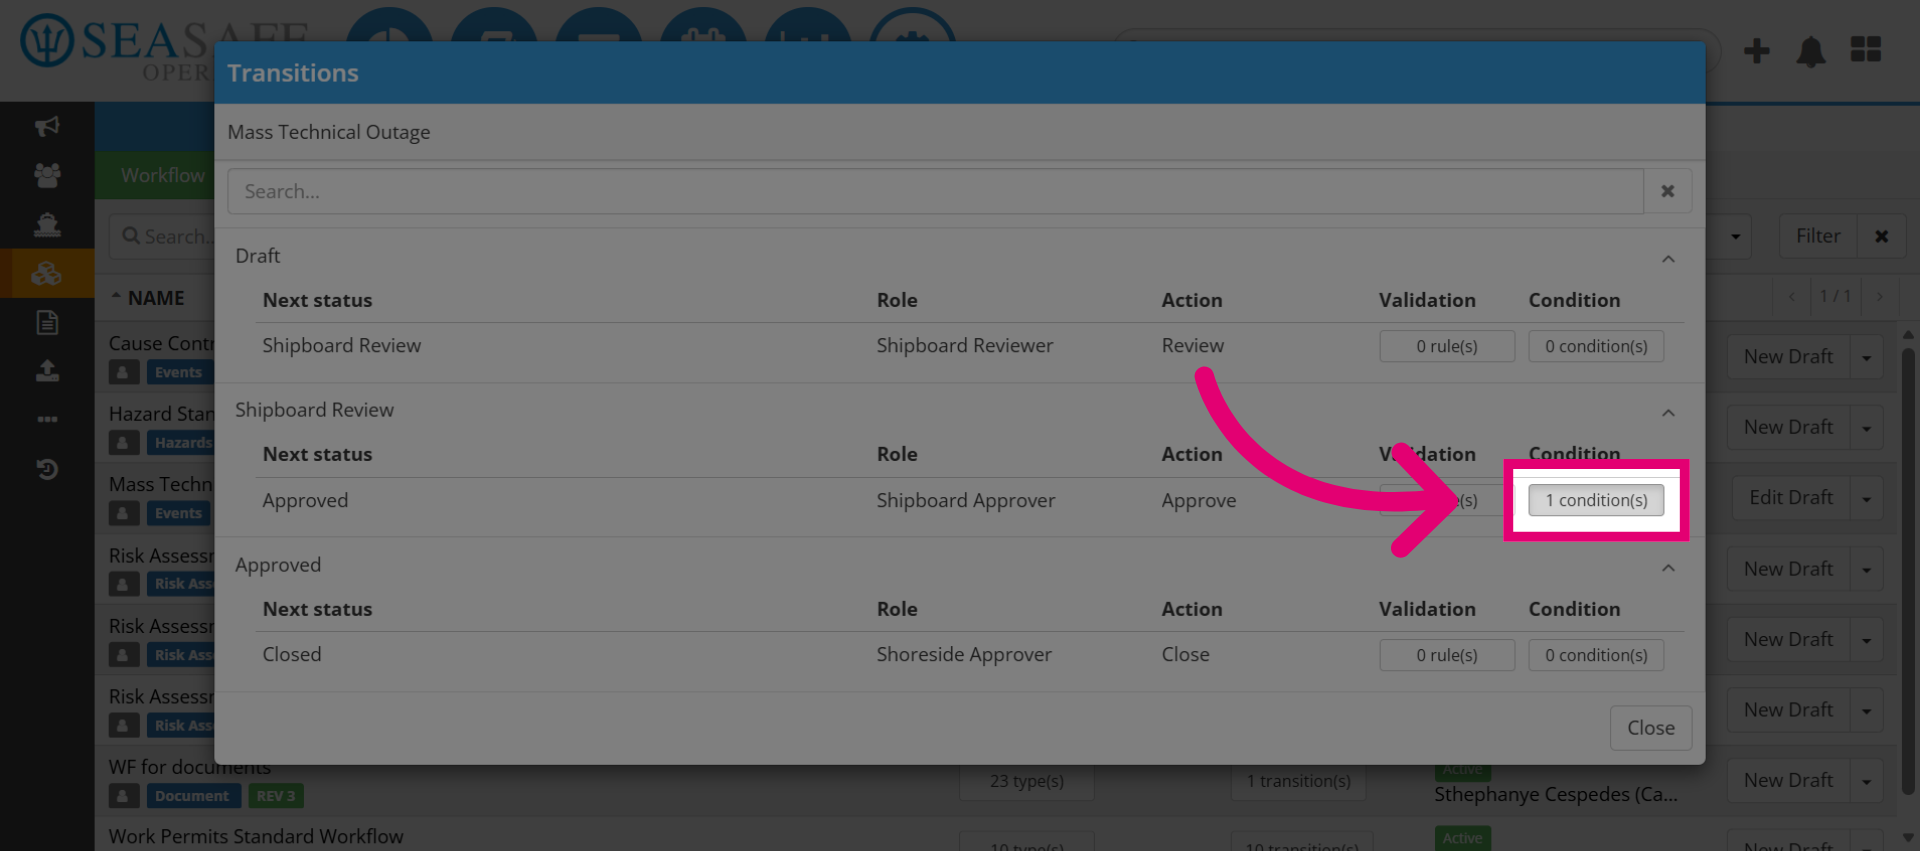
11. Open Workflow Conditions
Then, click "condition" to review the conditions set for workflow execution.
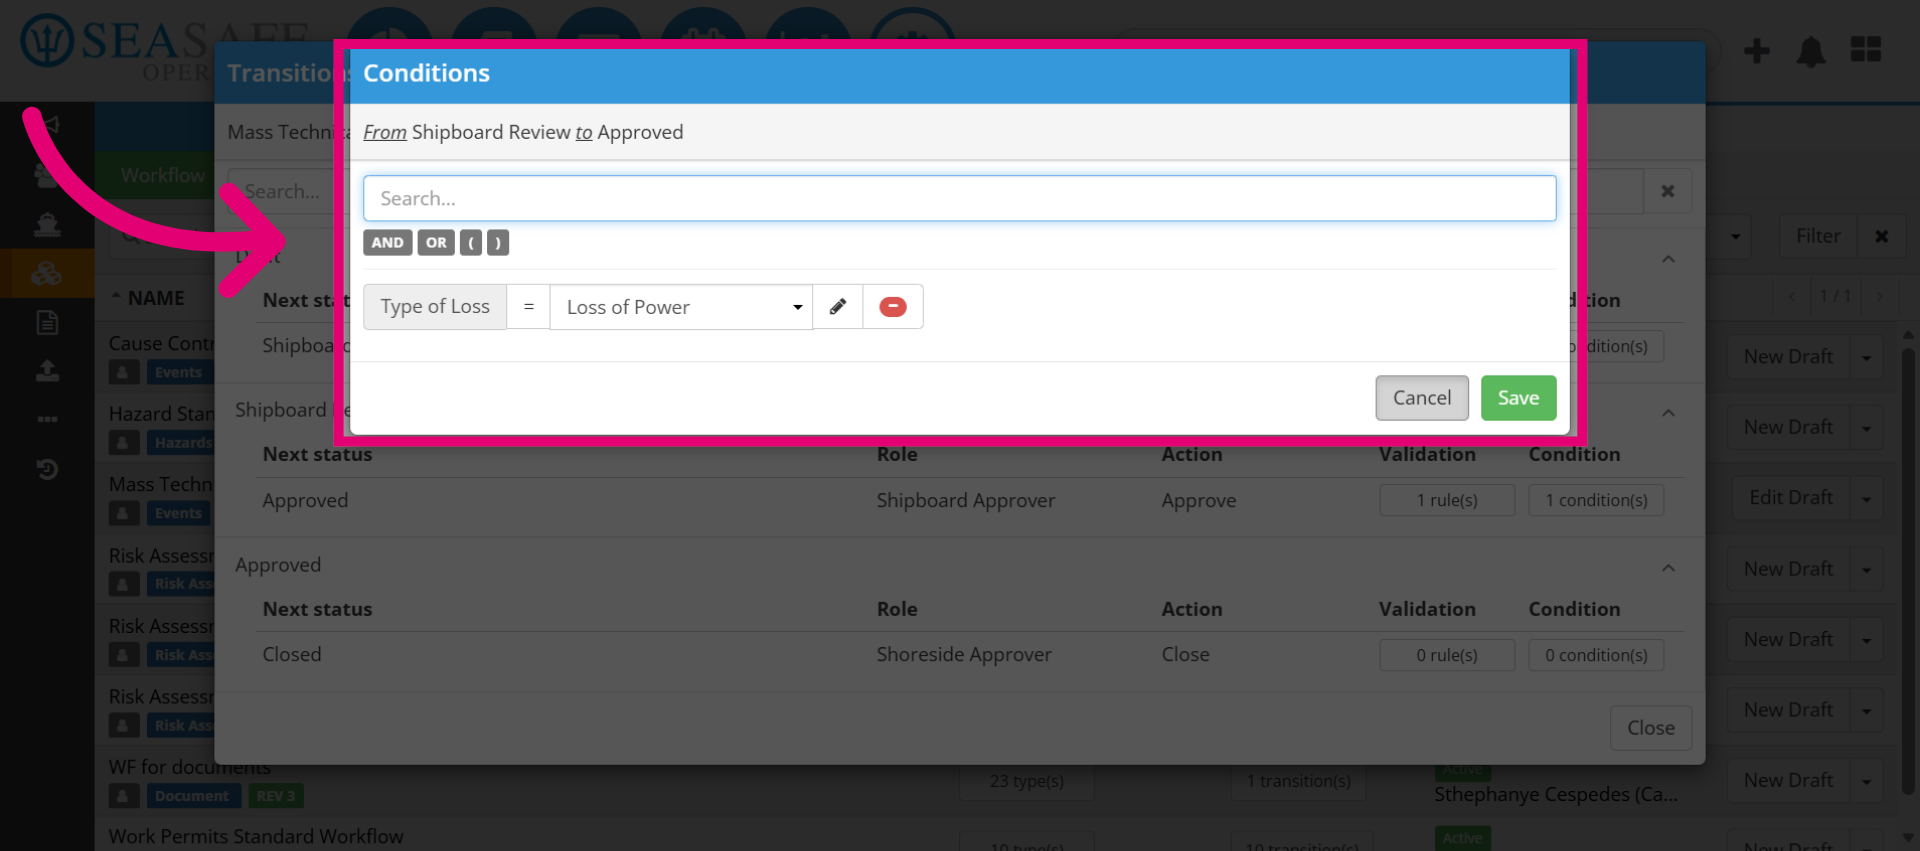
12. Review the Conditions
Review the "Condition(s)" added to the workflow to ensure accurac. Then, hit "Cancel" to close the condition editor without applying any changes.
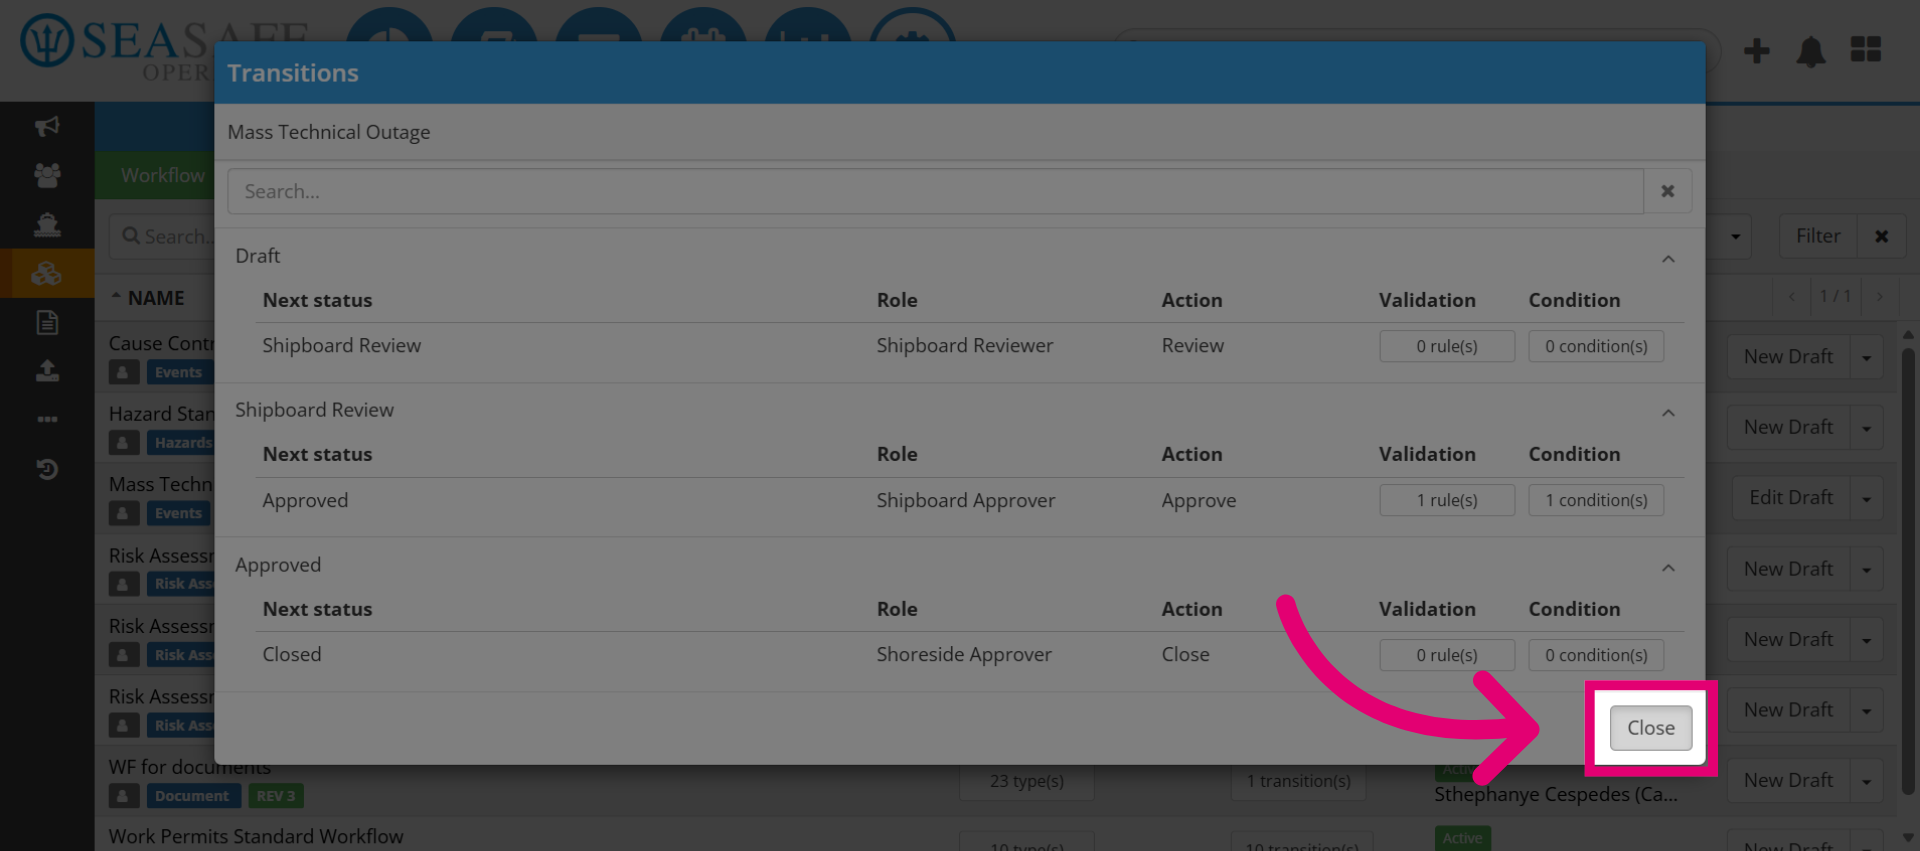
13. Close Workflow Editor
Then, click "Close" to exit the workflow editor and return to the main workflow list.
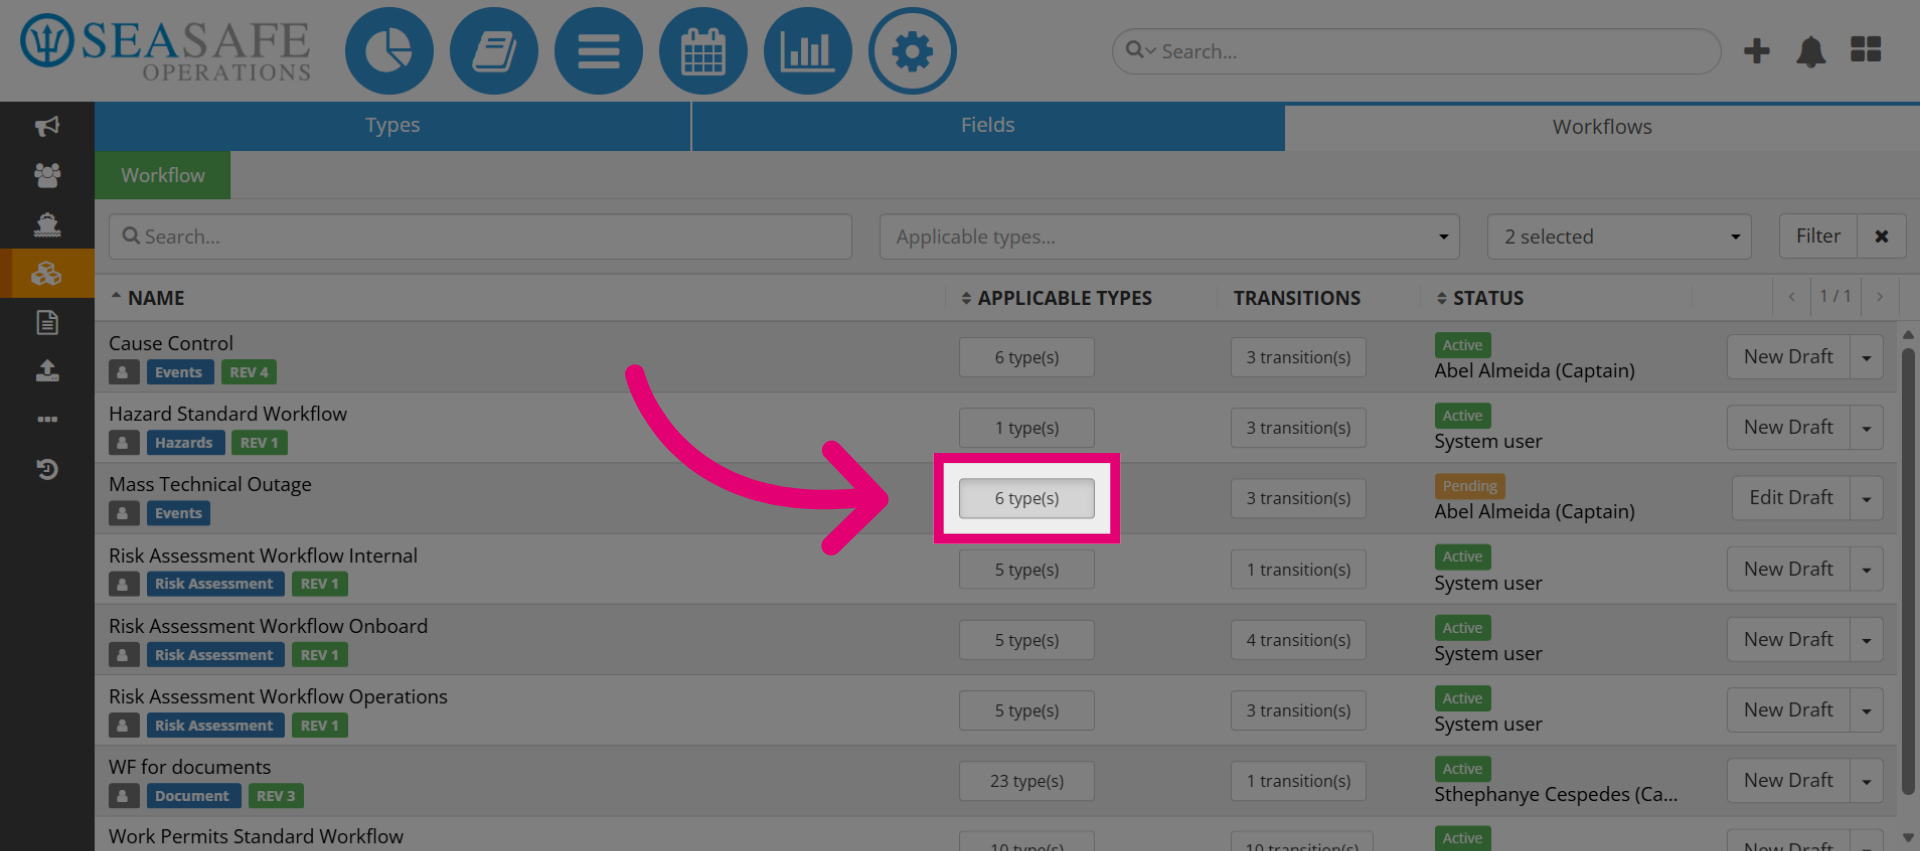
14. View Workflow Types
Next, select "types" to see the different workflow types associated with this workflow. As you can see the number of types is listed also such as "6" here where the workflow applies.
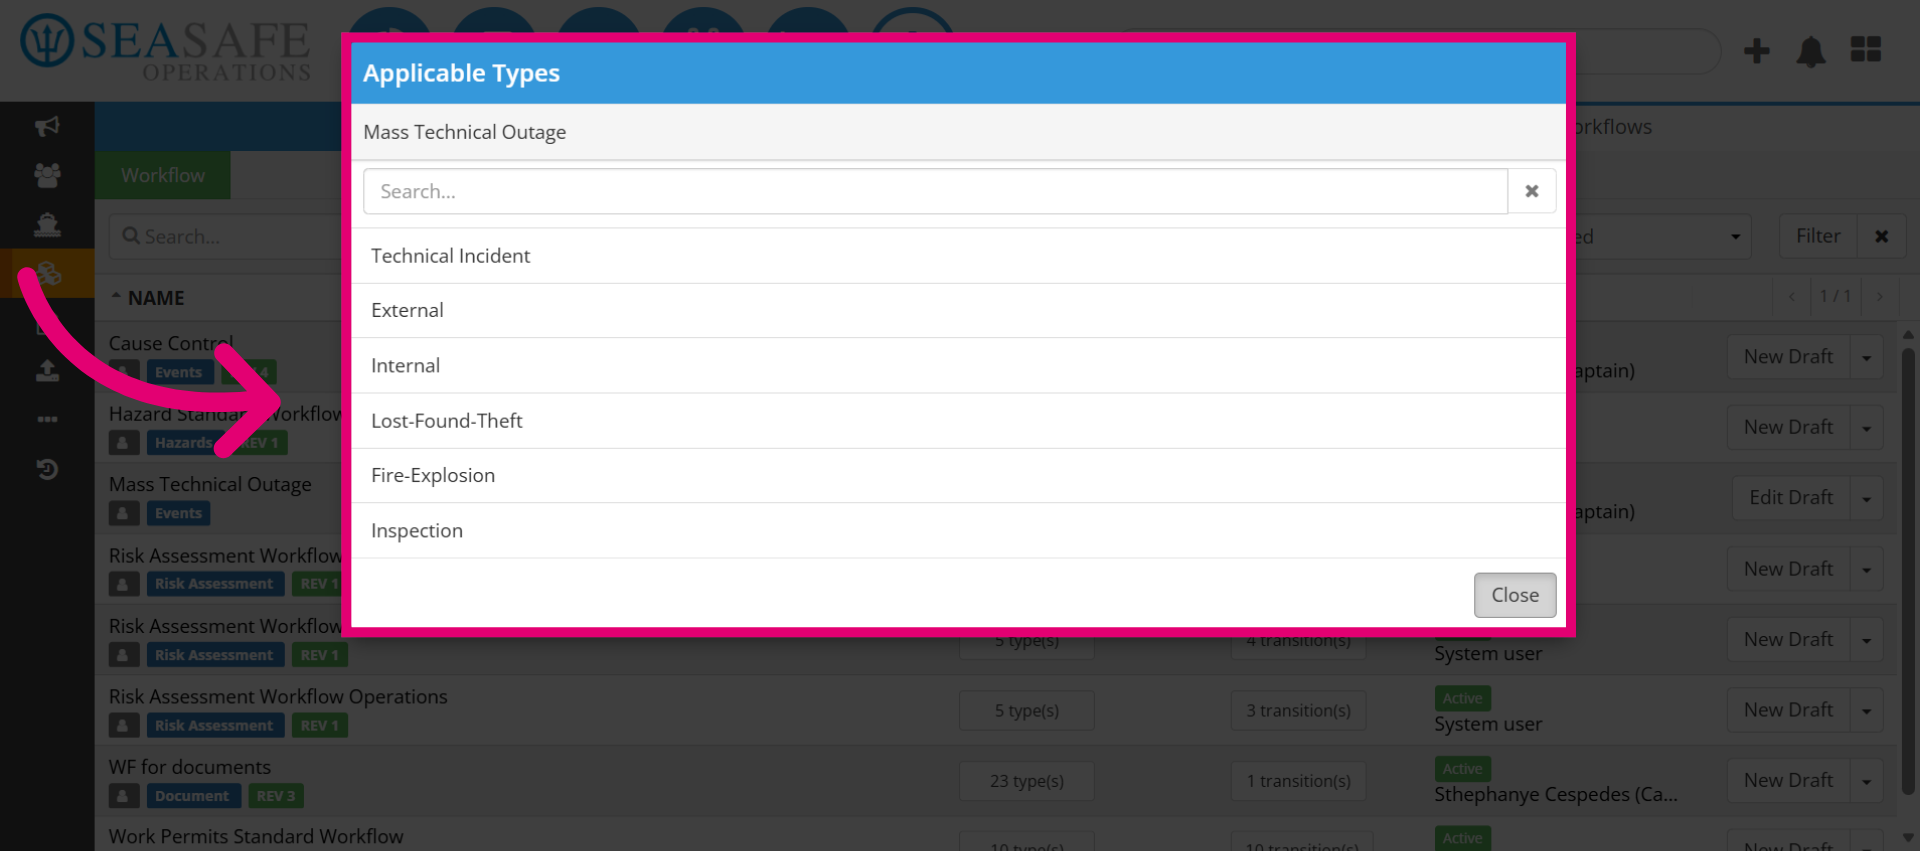
15. Review the "Applicable Type(s)"
Then, review the "Applicable Types" to ensure accuracy. Click "Close" to close the workflow types window and return to the previous screen.
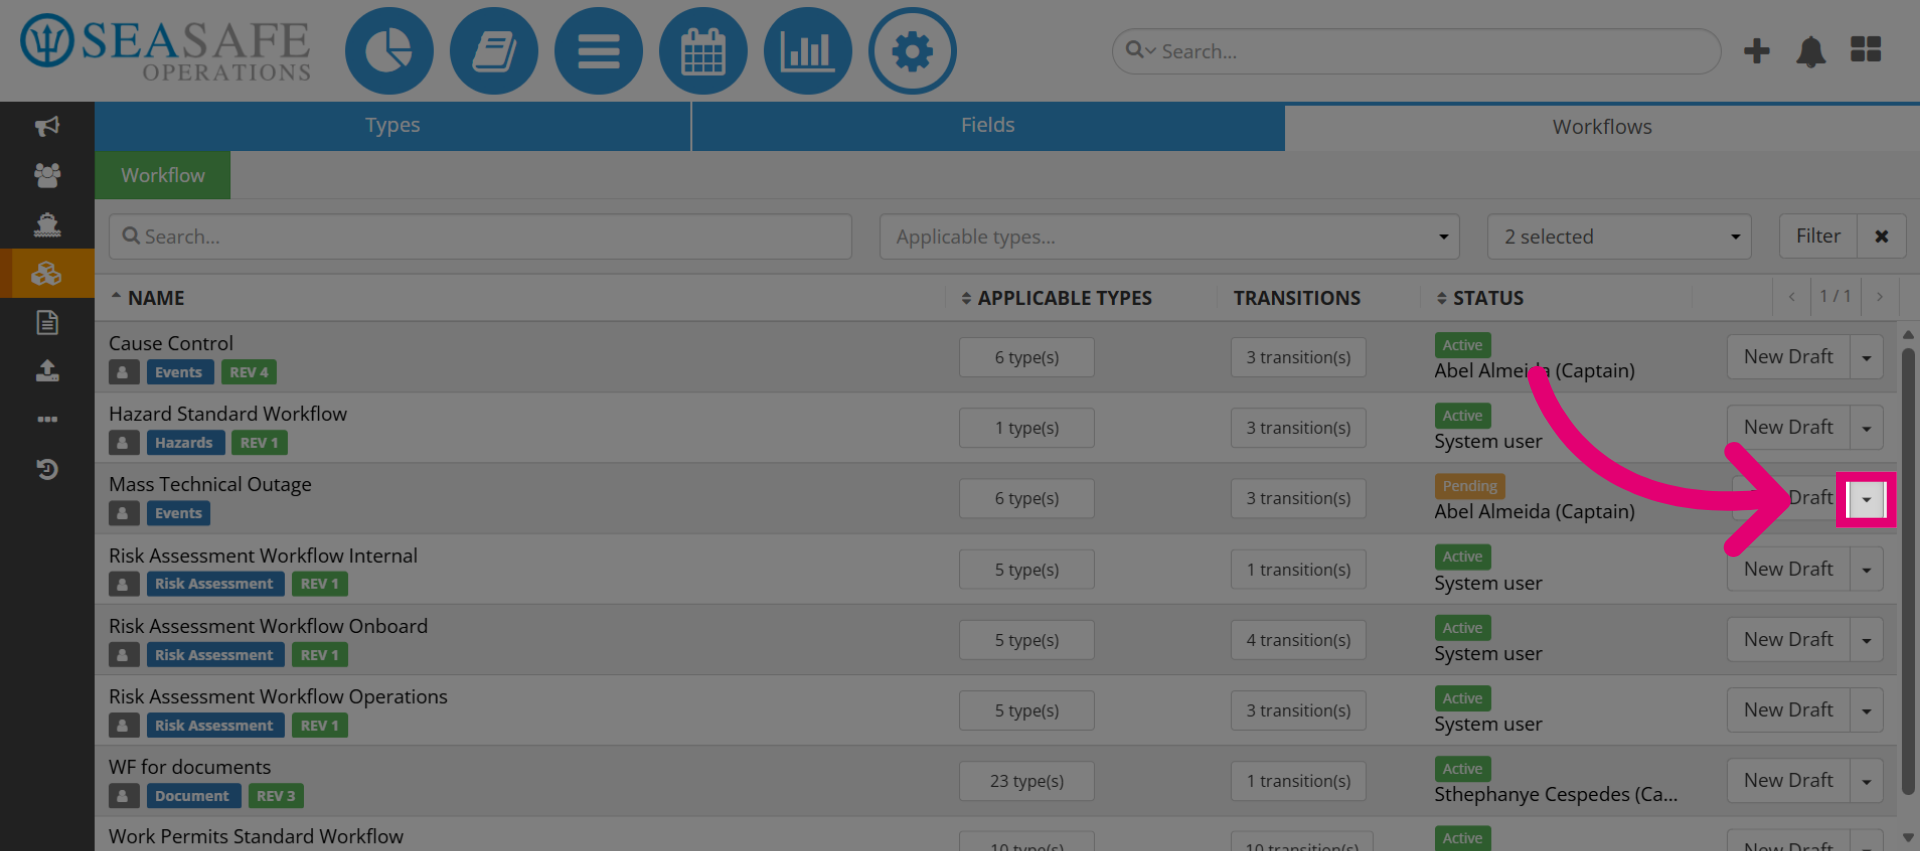
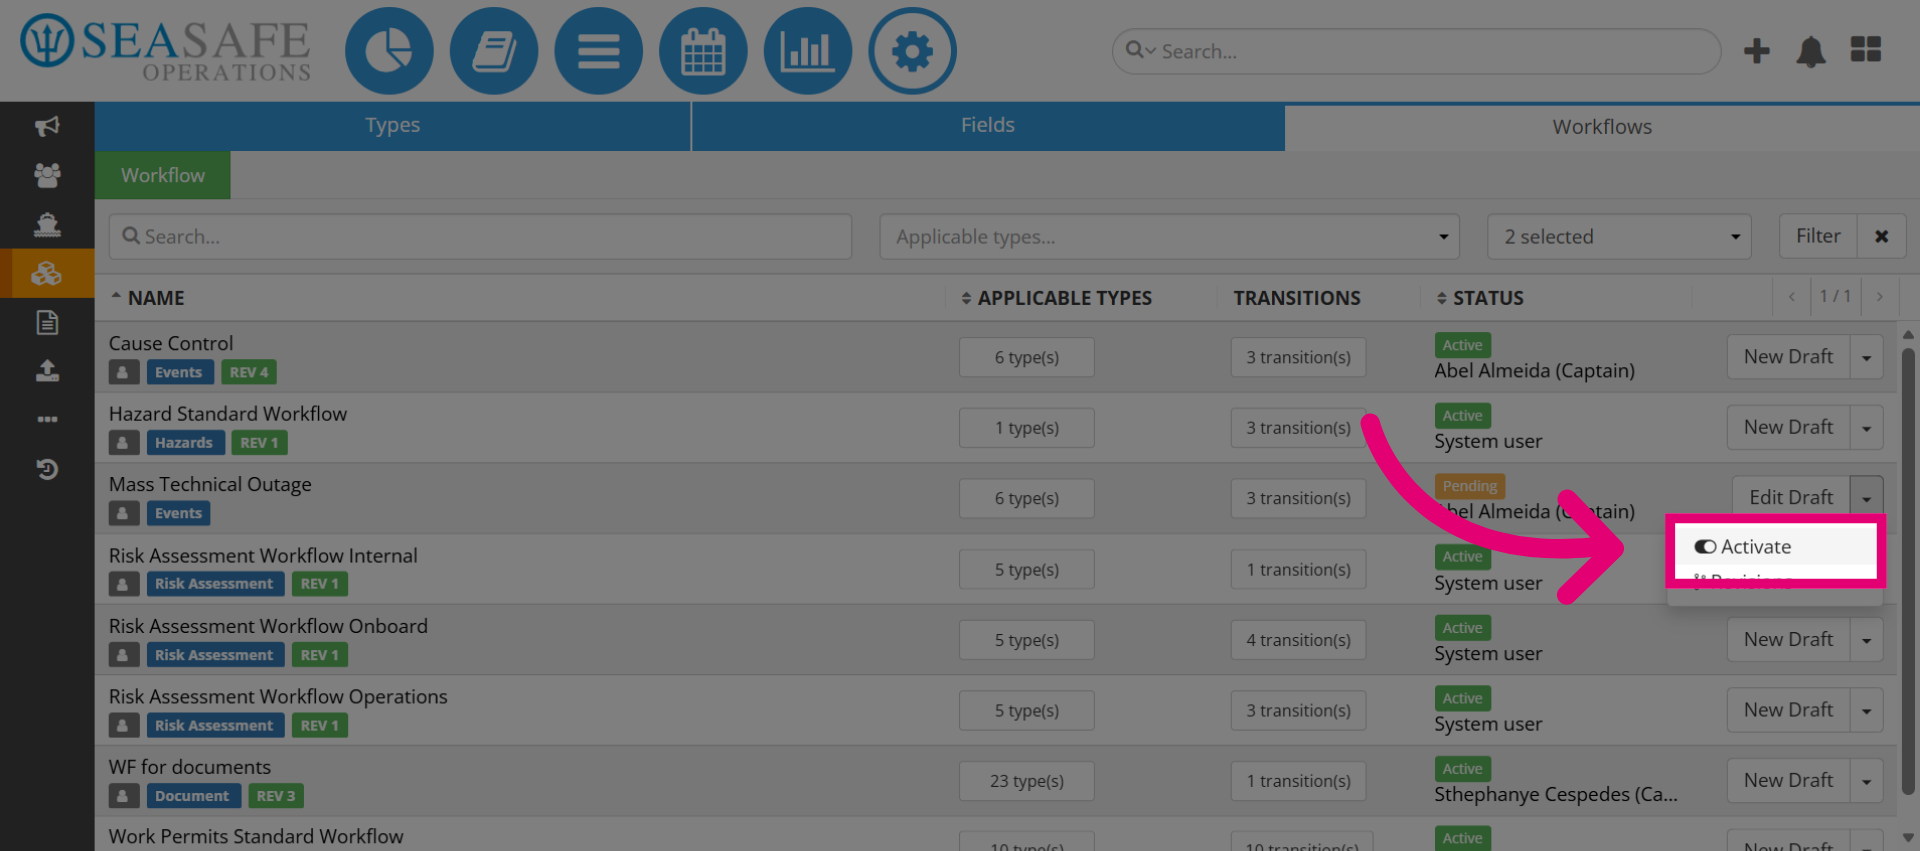
16. Open Activation Option
Next, click here to access the workflow activation settings.
17. Confirm Activation
Then, click here to proceed with activating the workflow after reviewing the settings.
18. Confirm Workflow Activation
Lastly, select "Yes" to confirm and activate the workflow, making it finalized.
