New article
Recently updated
Add Validations to a Workflow in Ideagen Maritime Management

This walkthrough shows how to add validations in the Workflow Editor for data integrity. Validations enforce rules like mandatory fields or specific logic before transitions, preventing incomplete submissions and ensuring accurate workflows.
1. Introduction
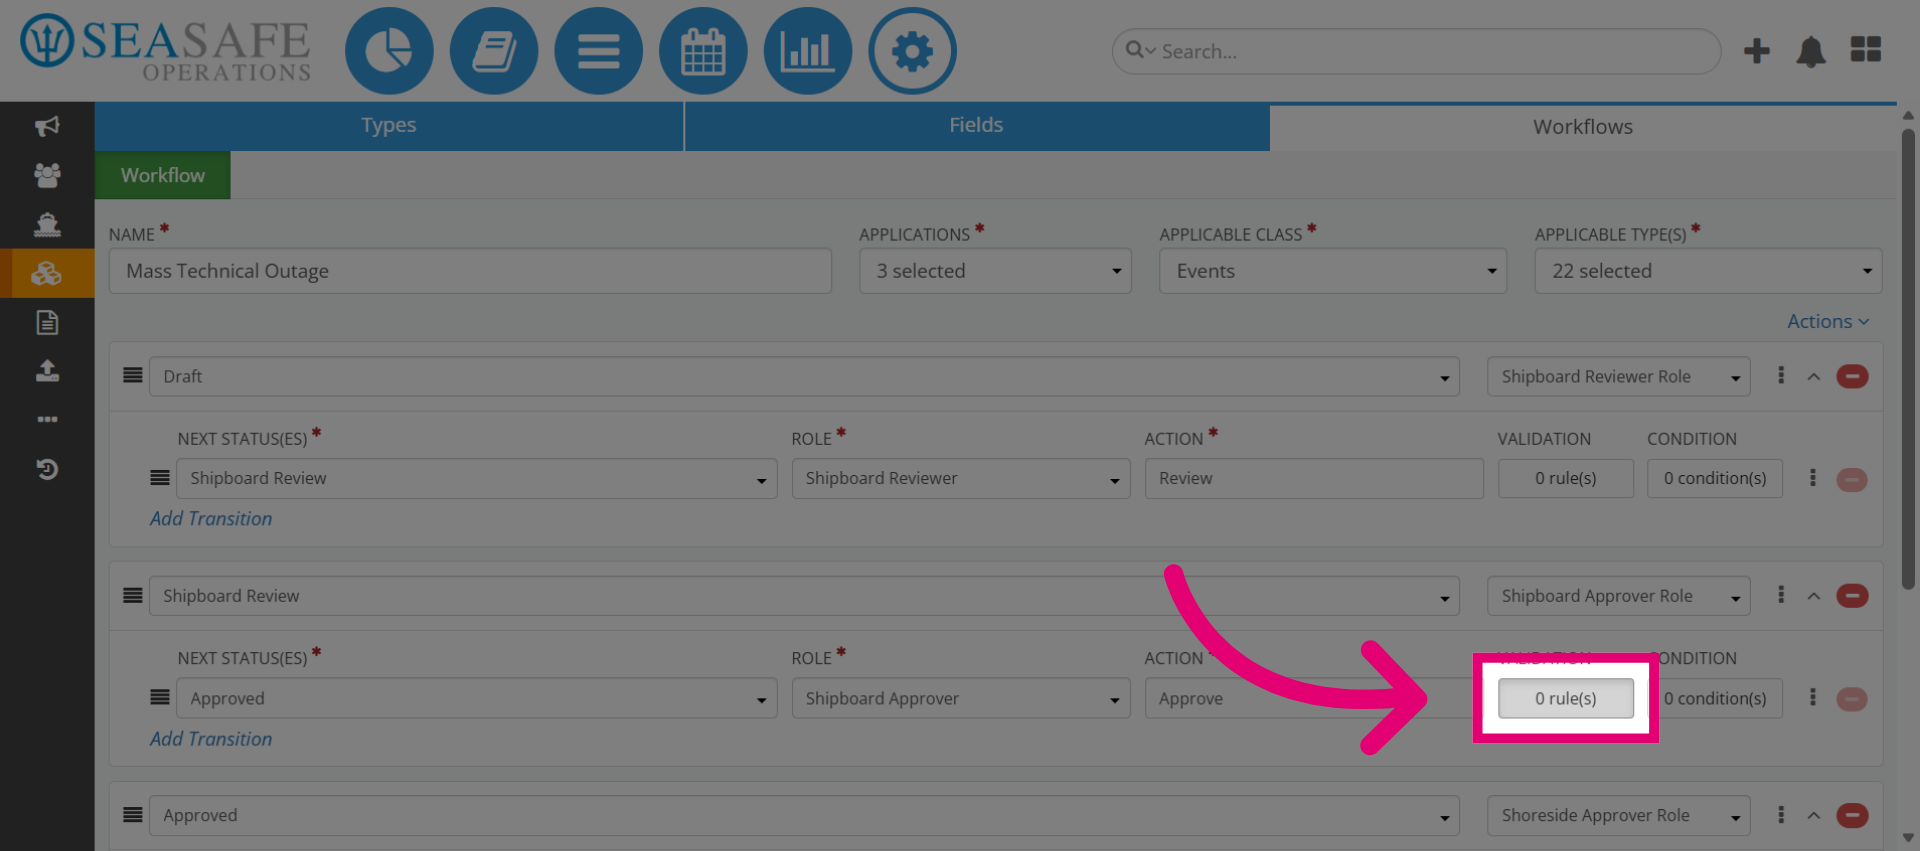
Start in the Workflow tab under the "Types, Fields, and Workflow" in the shoreside "Admin Menu". Click "Validations" to open the rules section in the Workflow Editor. This is where you define logic that applies across workflow transitions.

2. Open Rules Section
Select "Validations" to open the rules section in the Workflow Editor. This is where you define logic that applies across workflow transitions.
3. Add New Rule
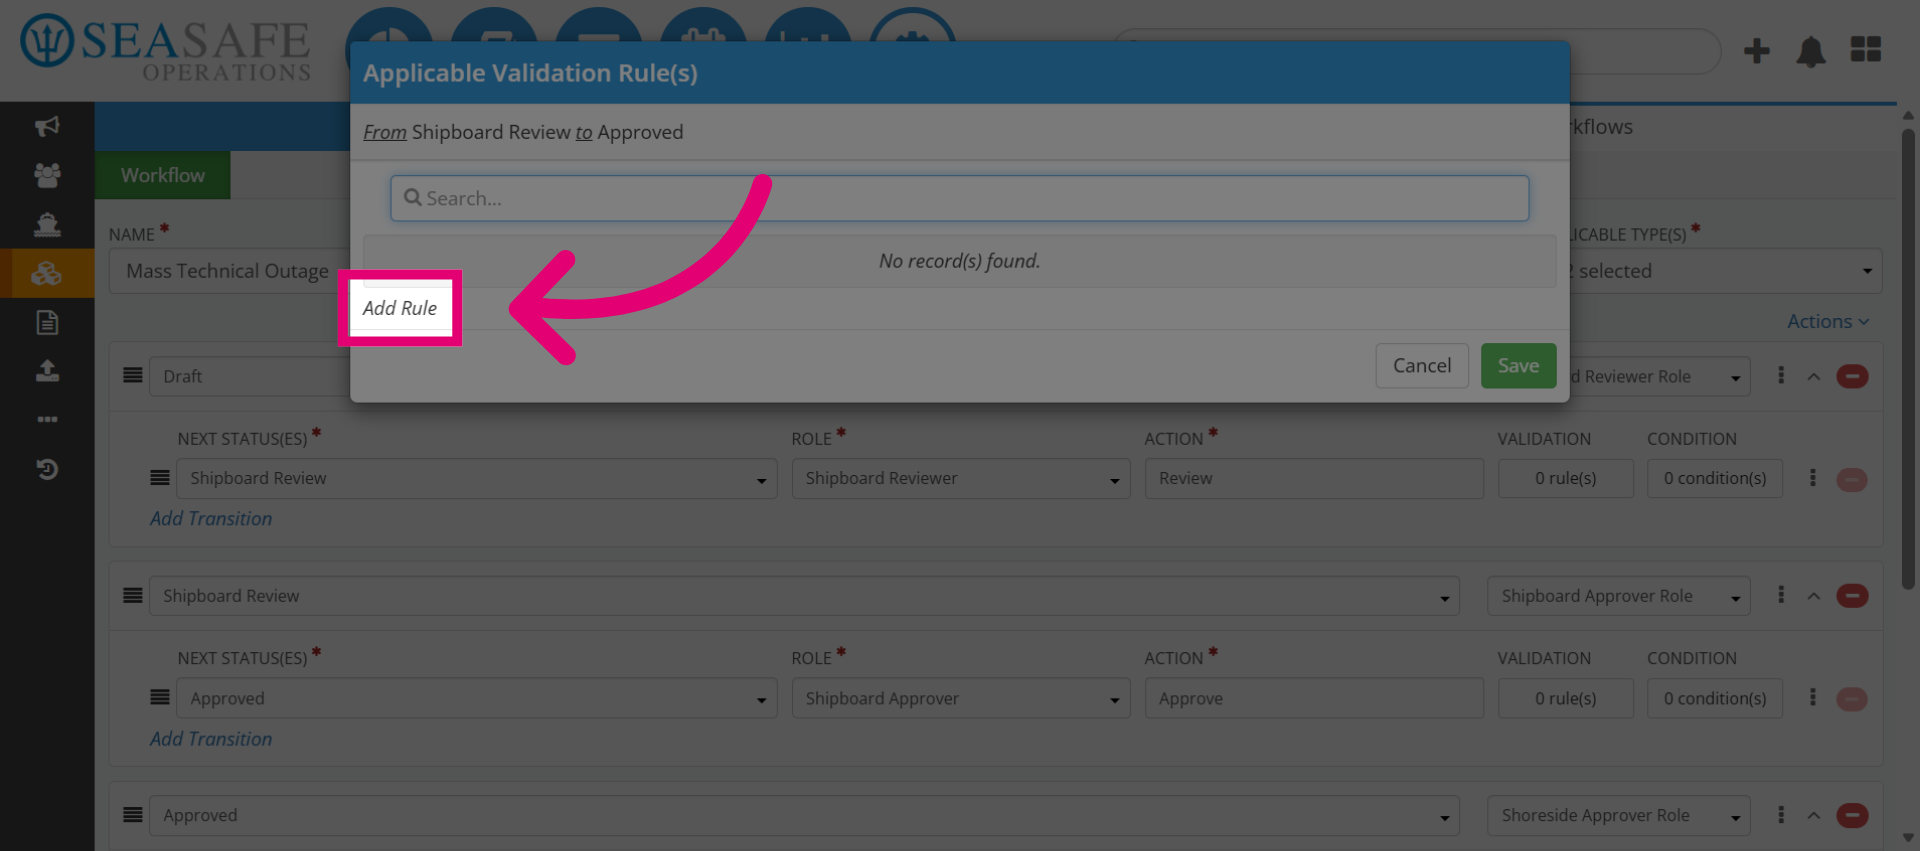
Then, click on "Add Rule" to create a new validation rule. This is because Rules group validations together for easier management and reporting.
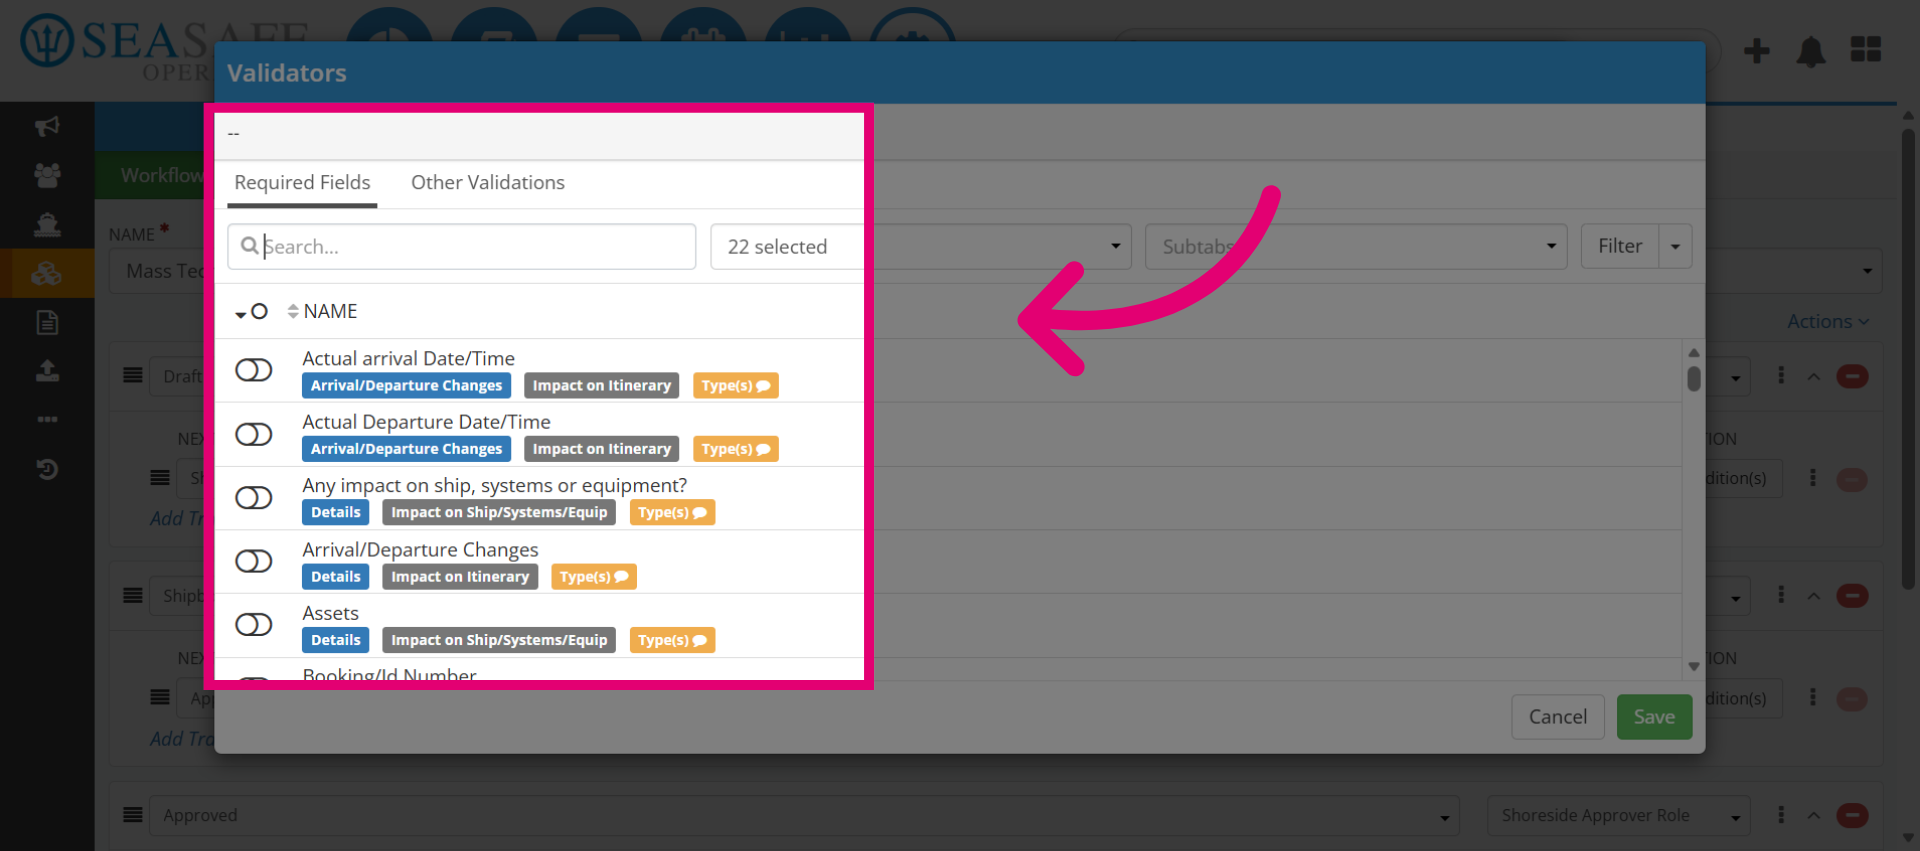
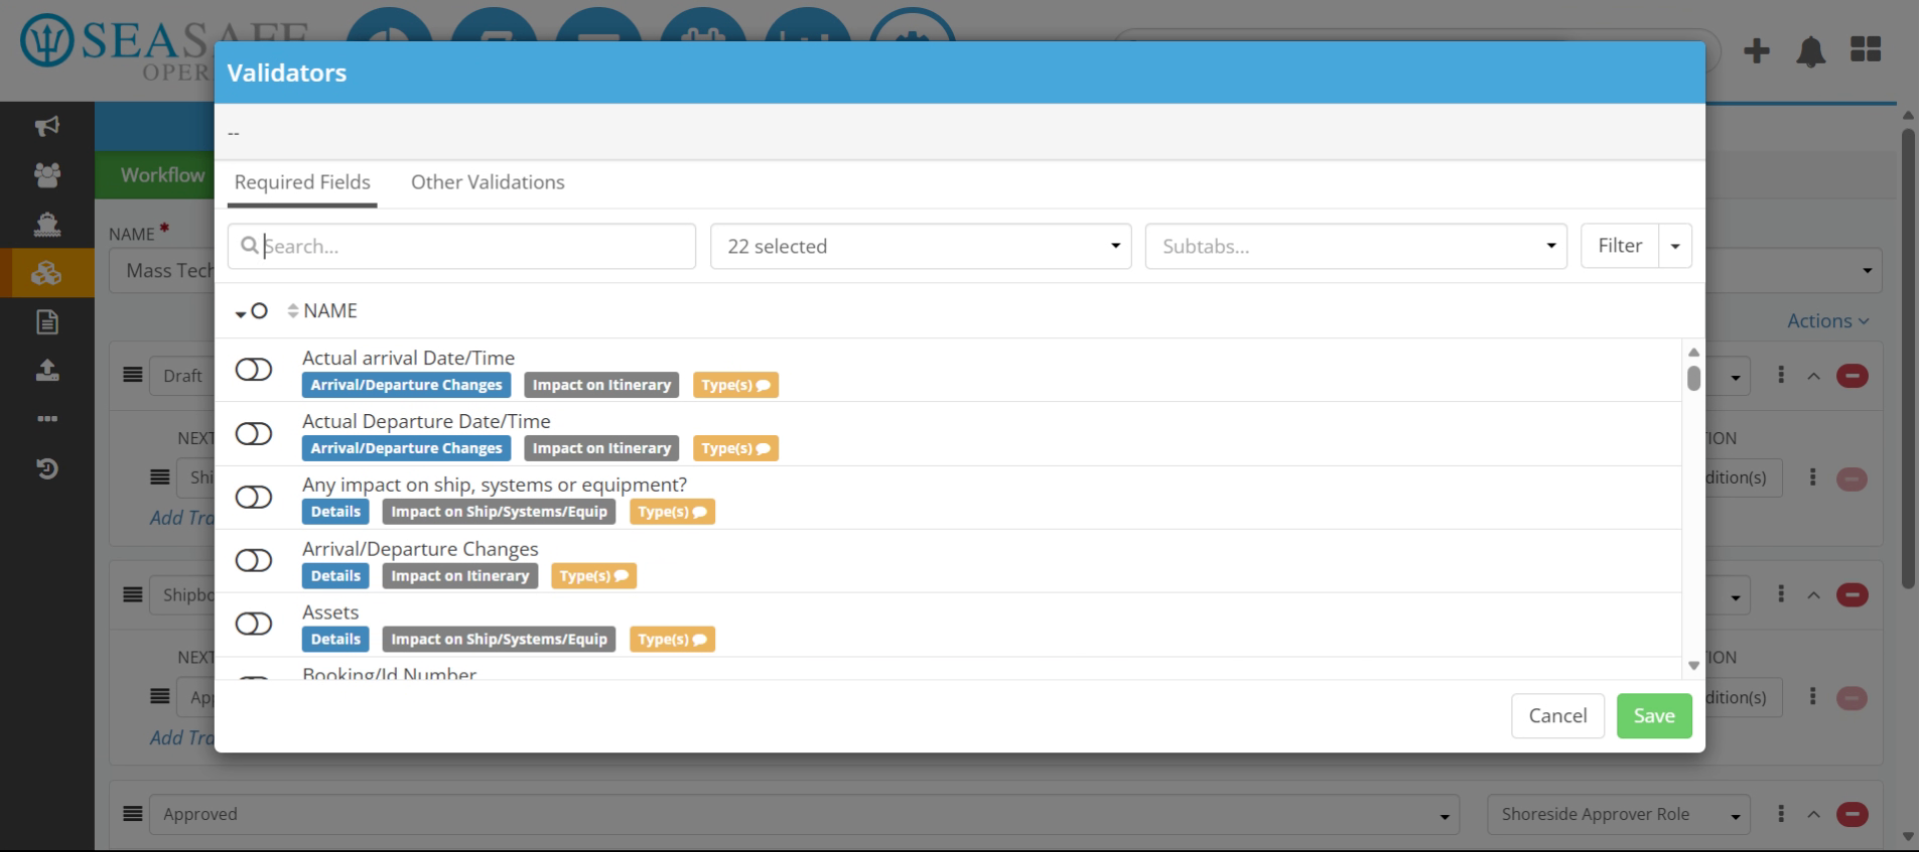
4. Define the Validators
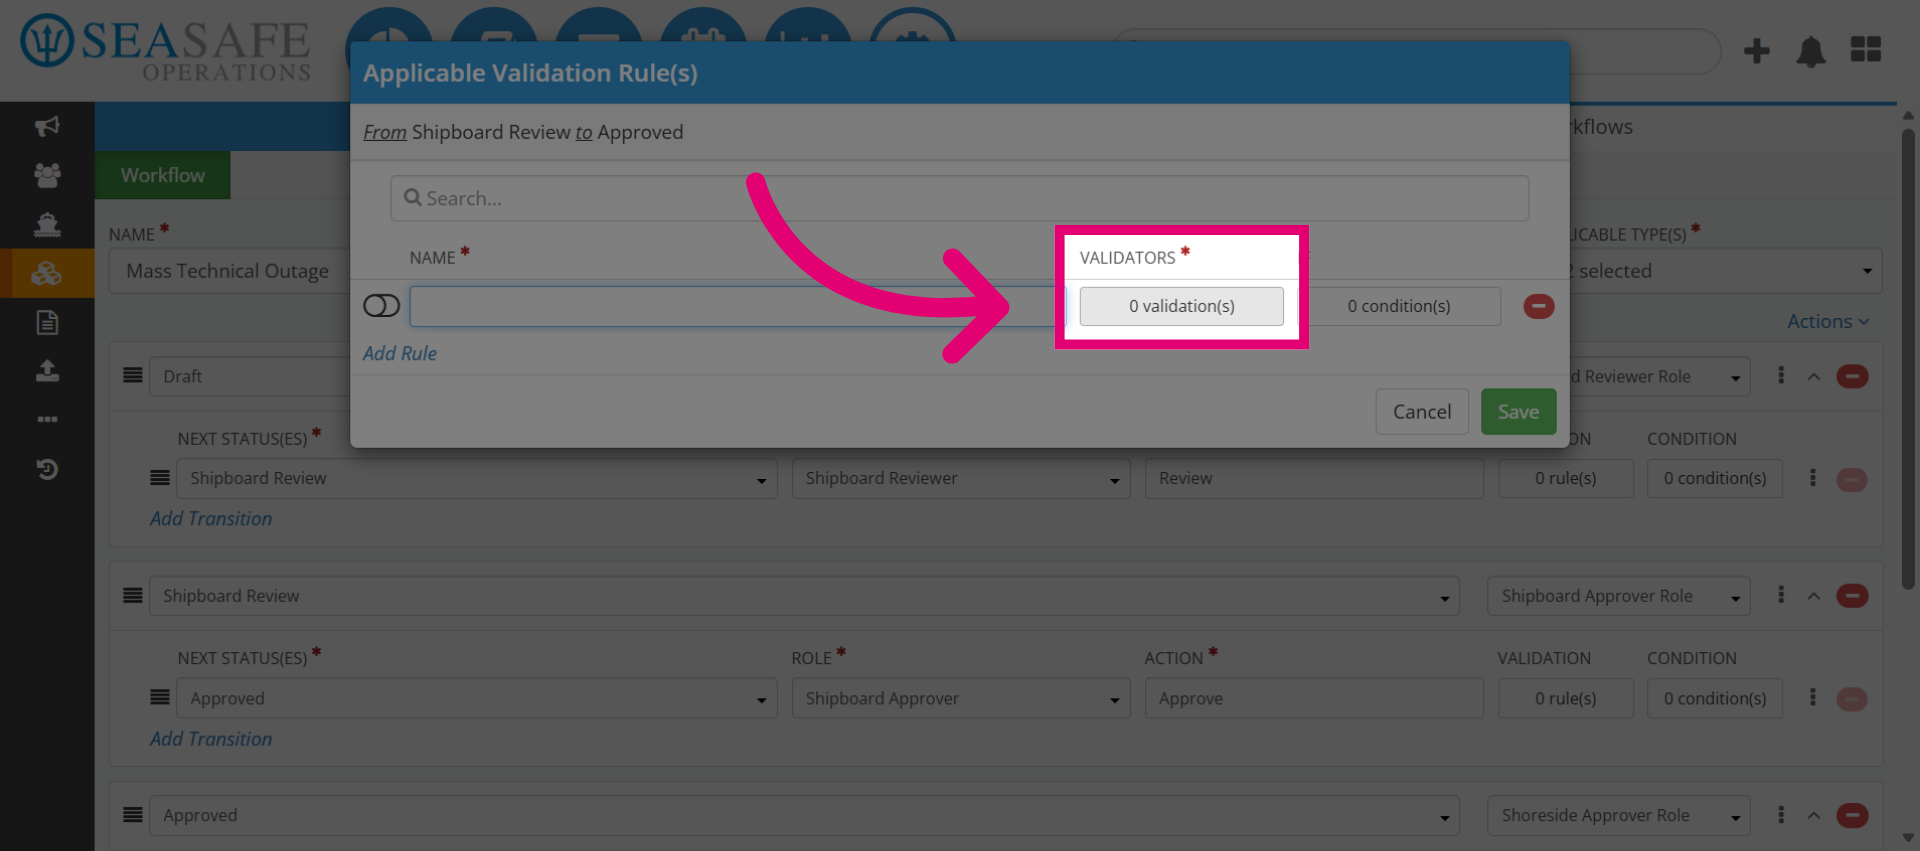
Next, define the "Validators" by selecting the validation(s) to manage validations that will be linked to the rule. Why: This step lets you attach specific field-level requirements to the rule.
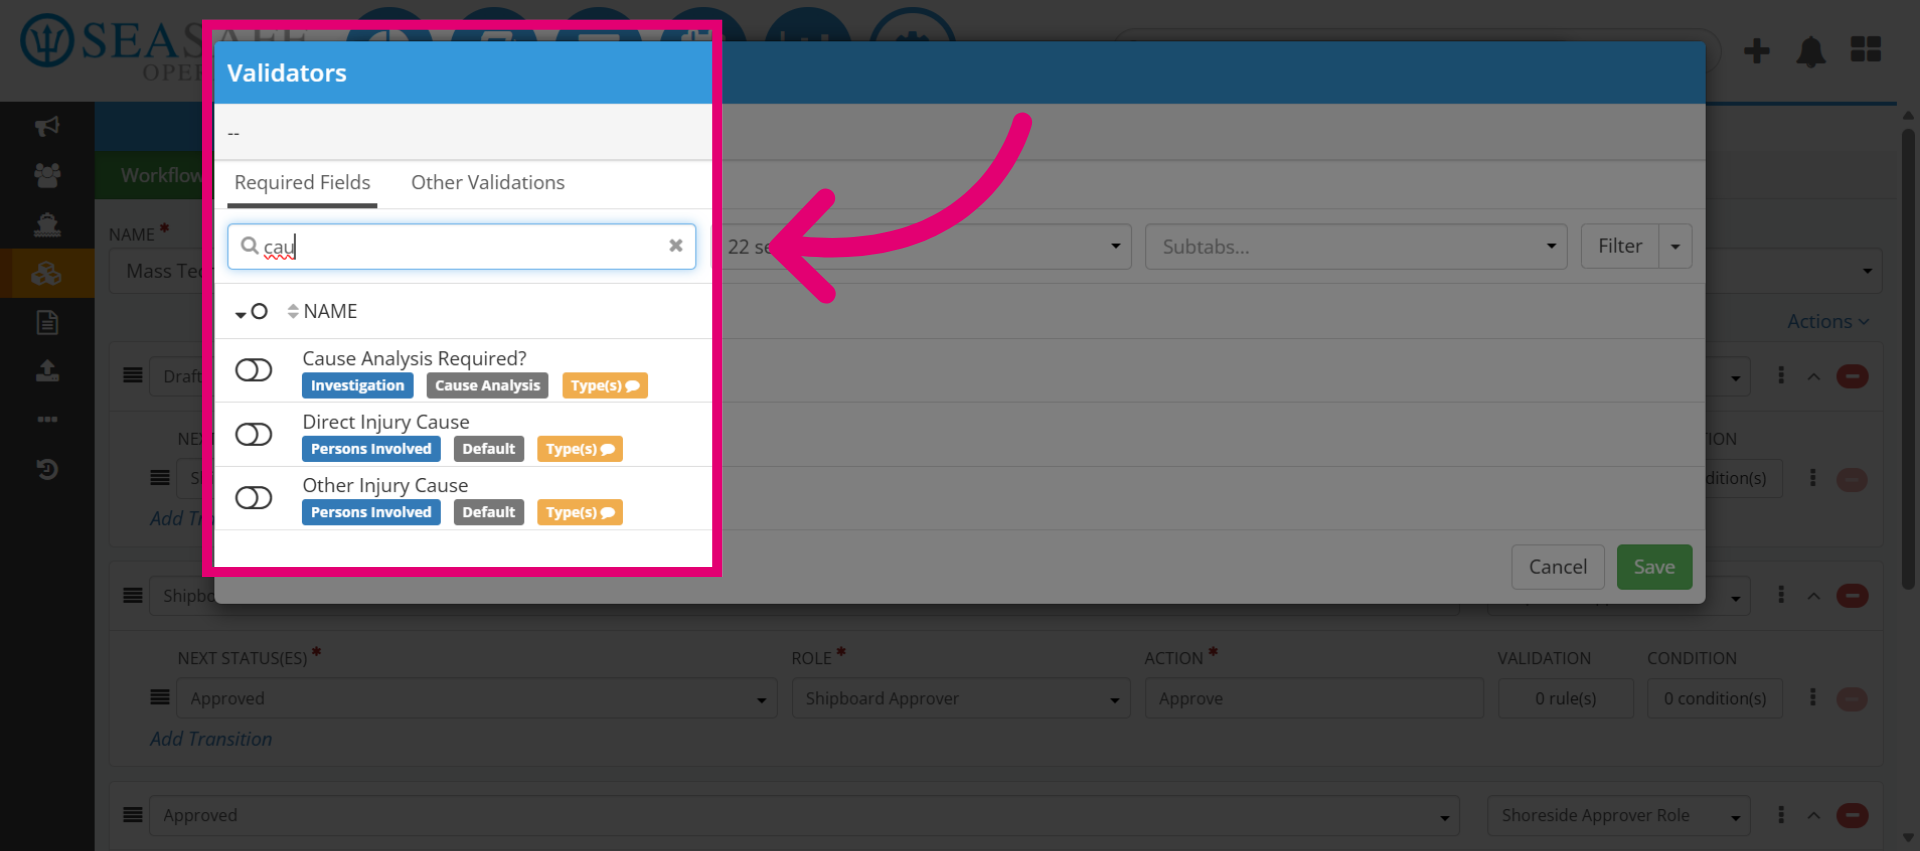
5. Use Search Field
Then, use the smart search bar to find validations (for example., type “cau” for "Cause Analysis"). This way of searching speeds up configuration in complex workflows.
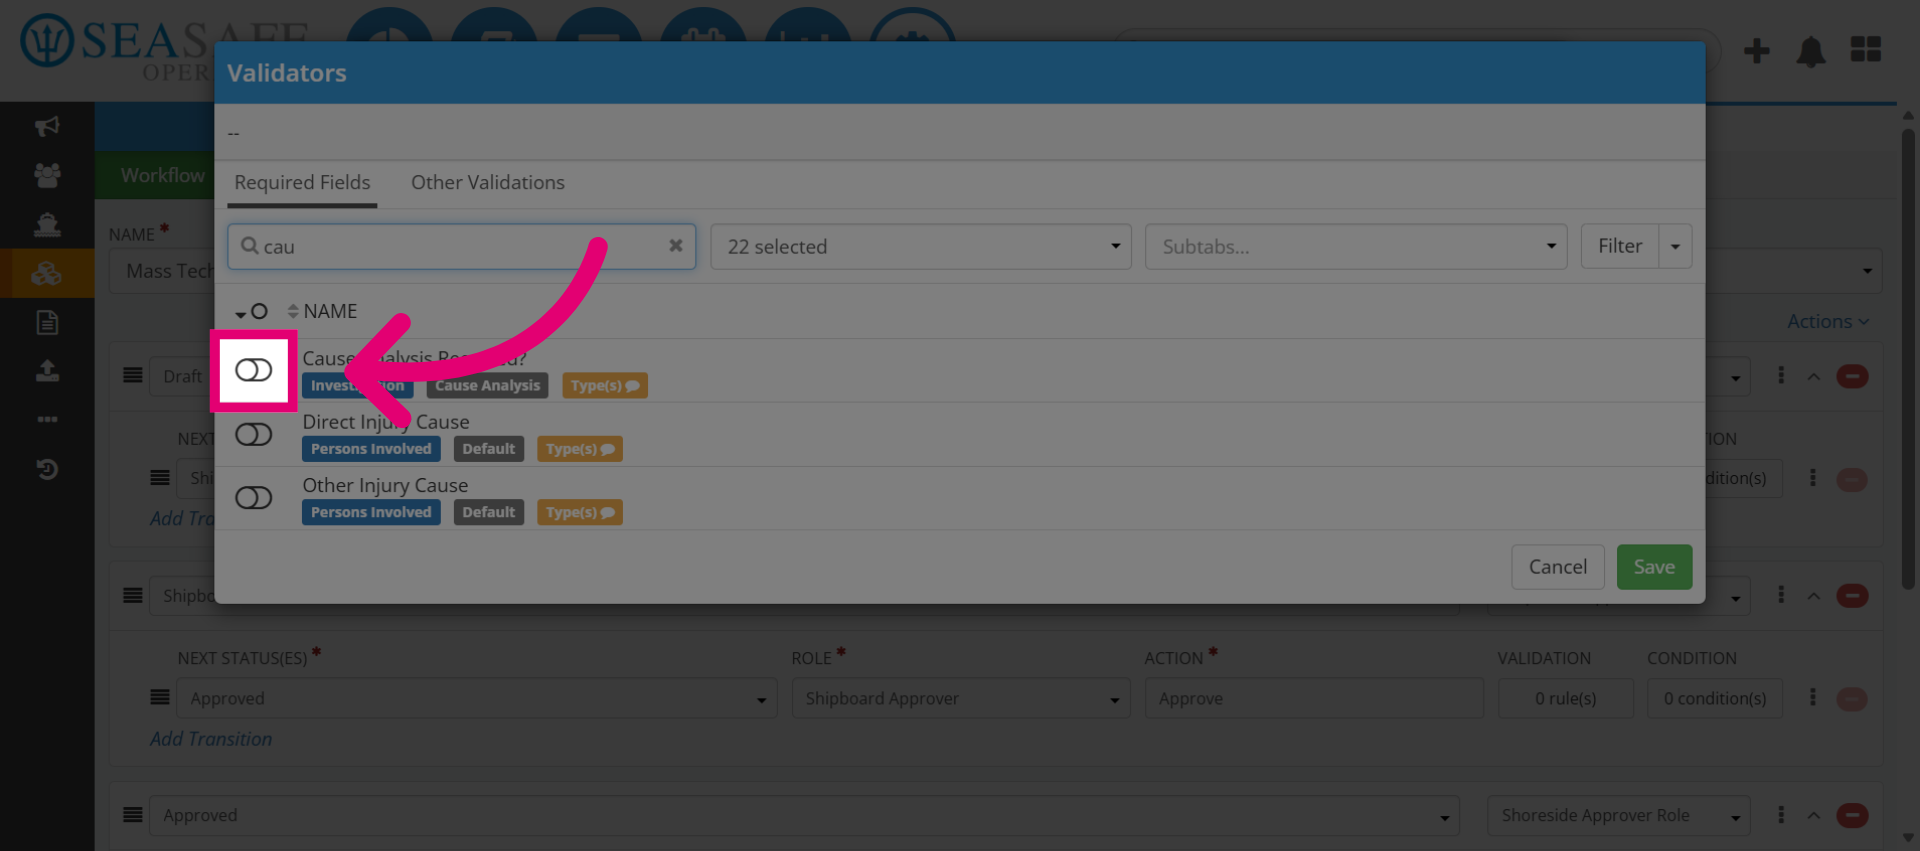
6. Enter Search Term
Next, toggle on the desired validation. For example, the "Required Cause Analysis" validation. This ensures the field becomes mandatory before the workflow can proceed.
7. Navigate To Validation
Go to the location where the desired validation appears in the search results.
8. Select Validation
Then, select the appropriate validation from the search results to proceed by toggling it on for configuration.
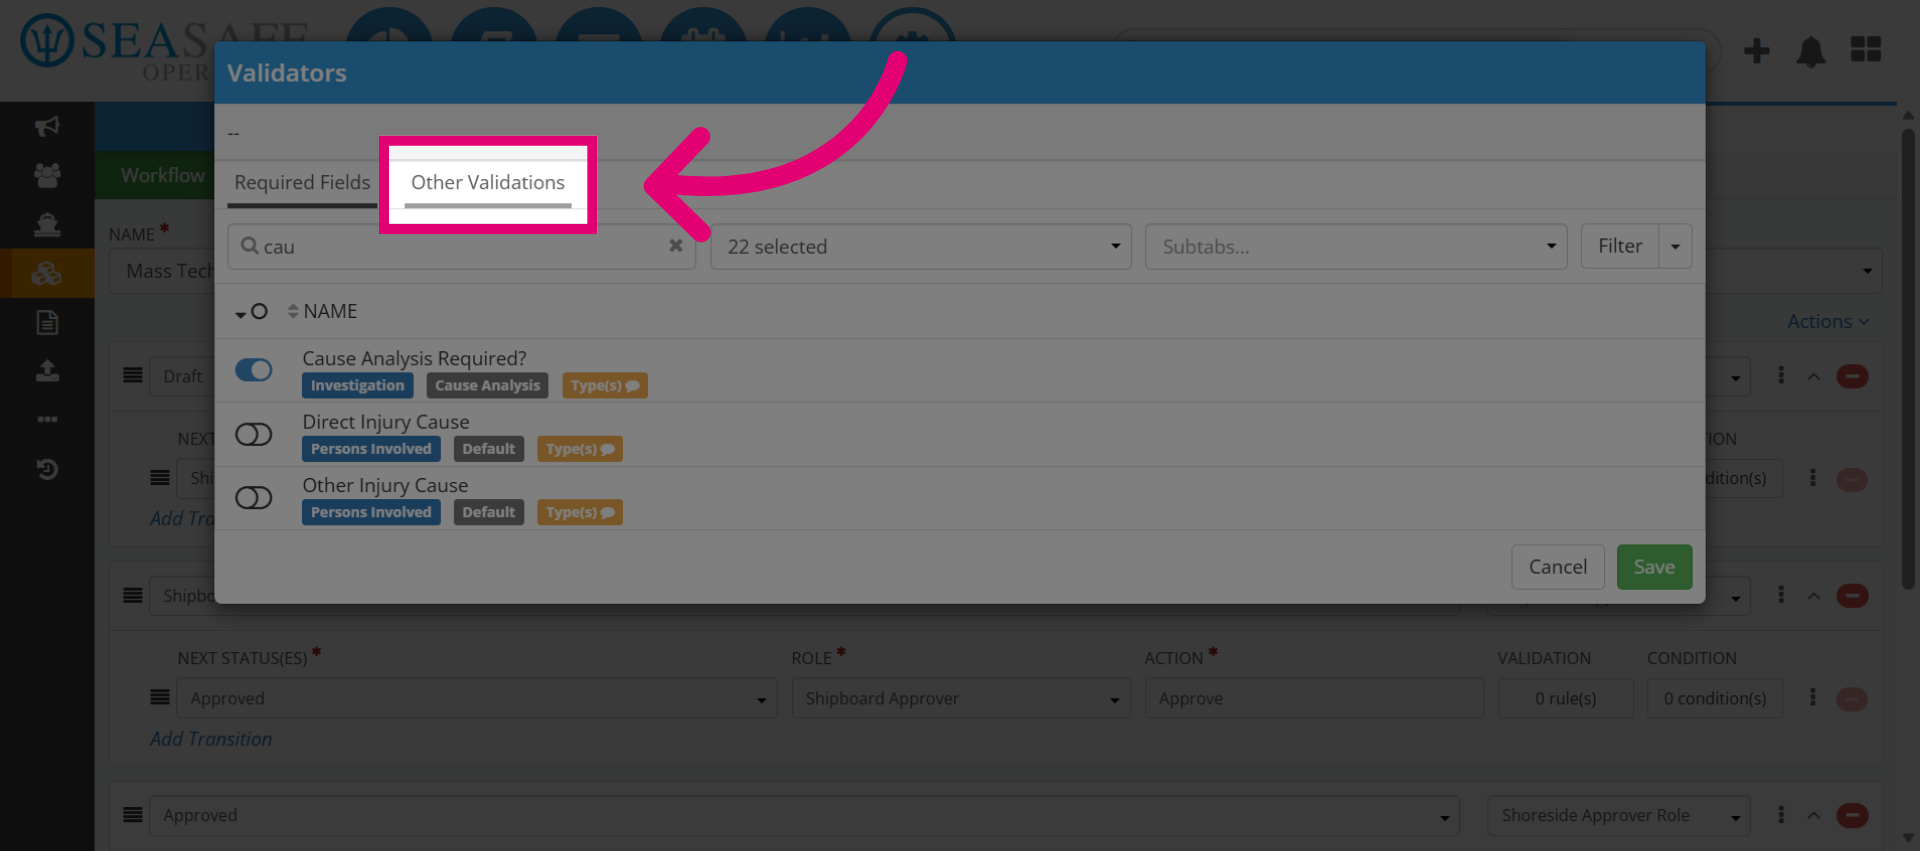
9. Open Other Validations
Let's take a look at more validation options. Click "Other Validations" to explore them.
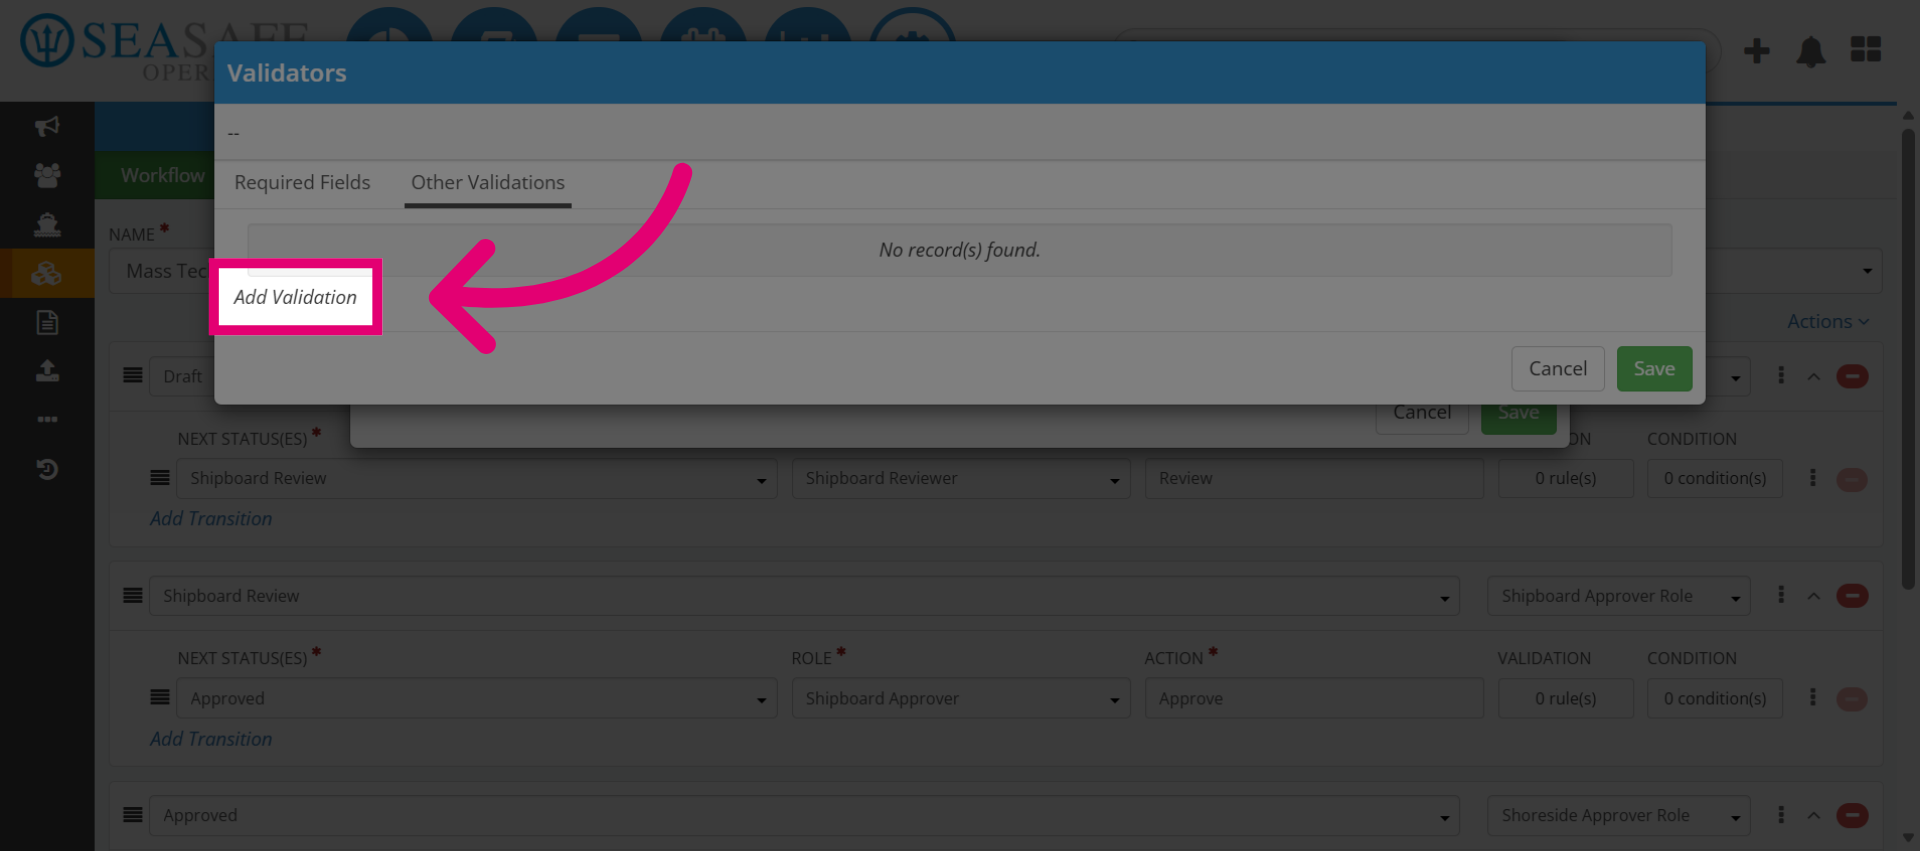
10. Add Validation
Here, you would click "Add Validation" to include a new validation to your rule. Combining multiple validations strengthens compliance.
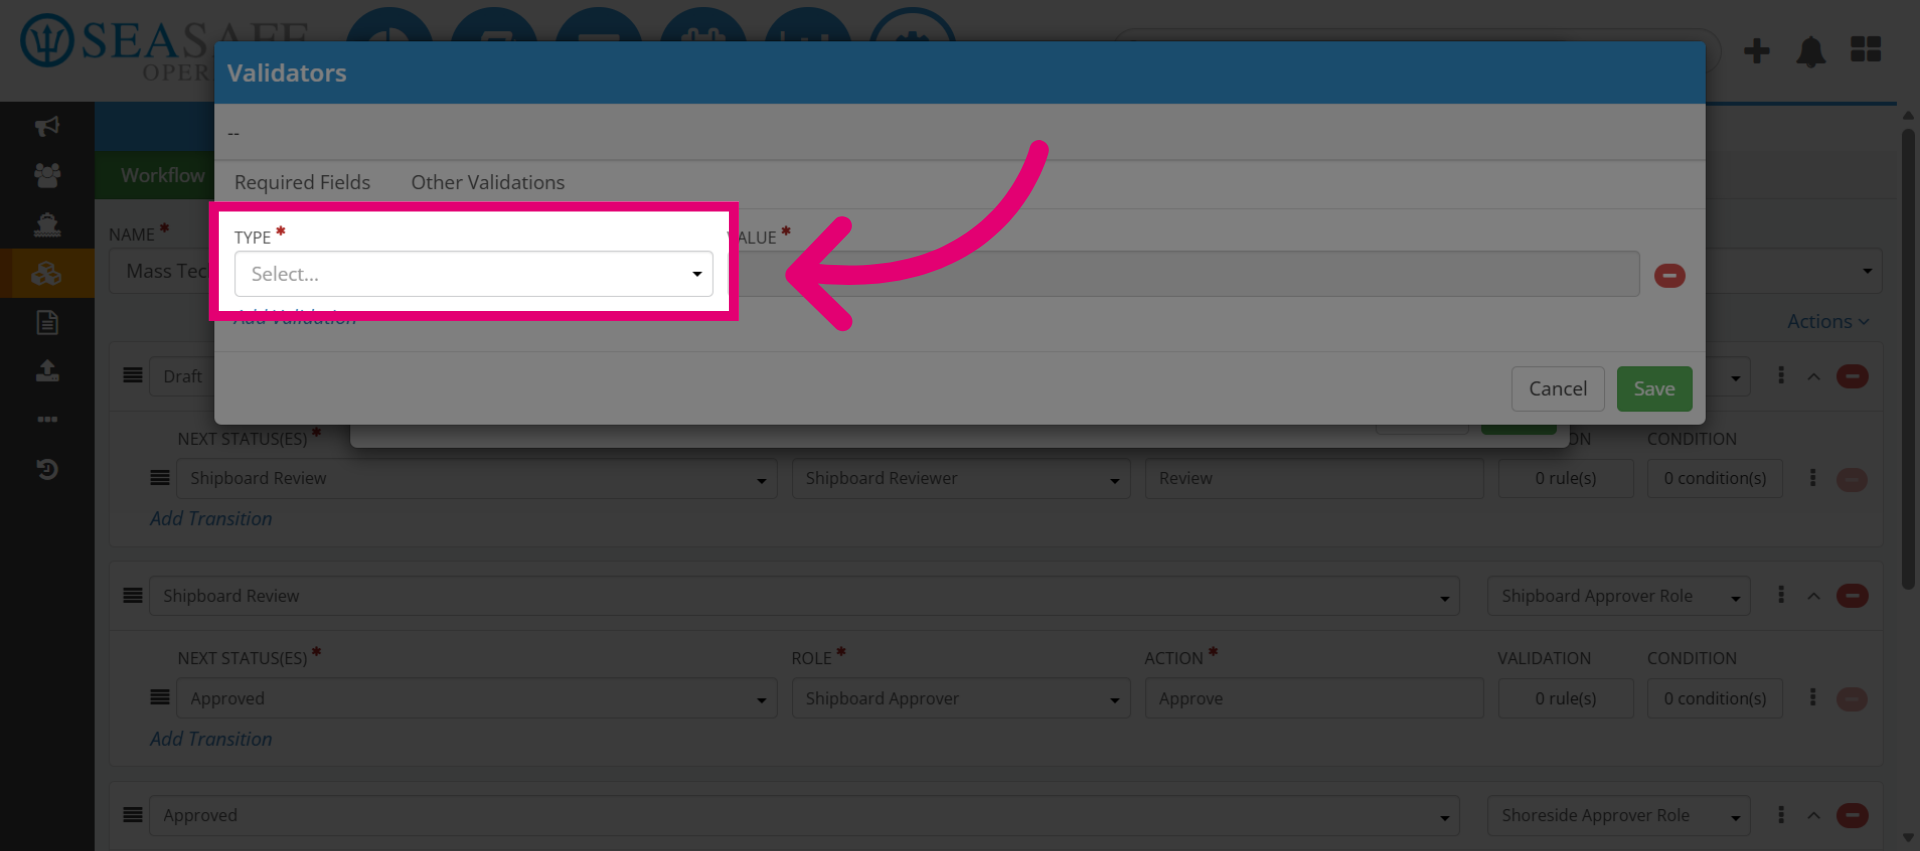
11. Choose the Validation "Type"
Then, choose the specific validation type to apply.
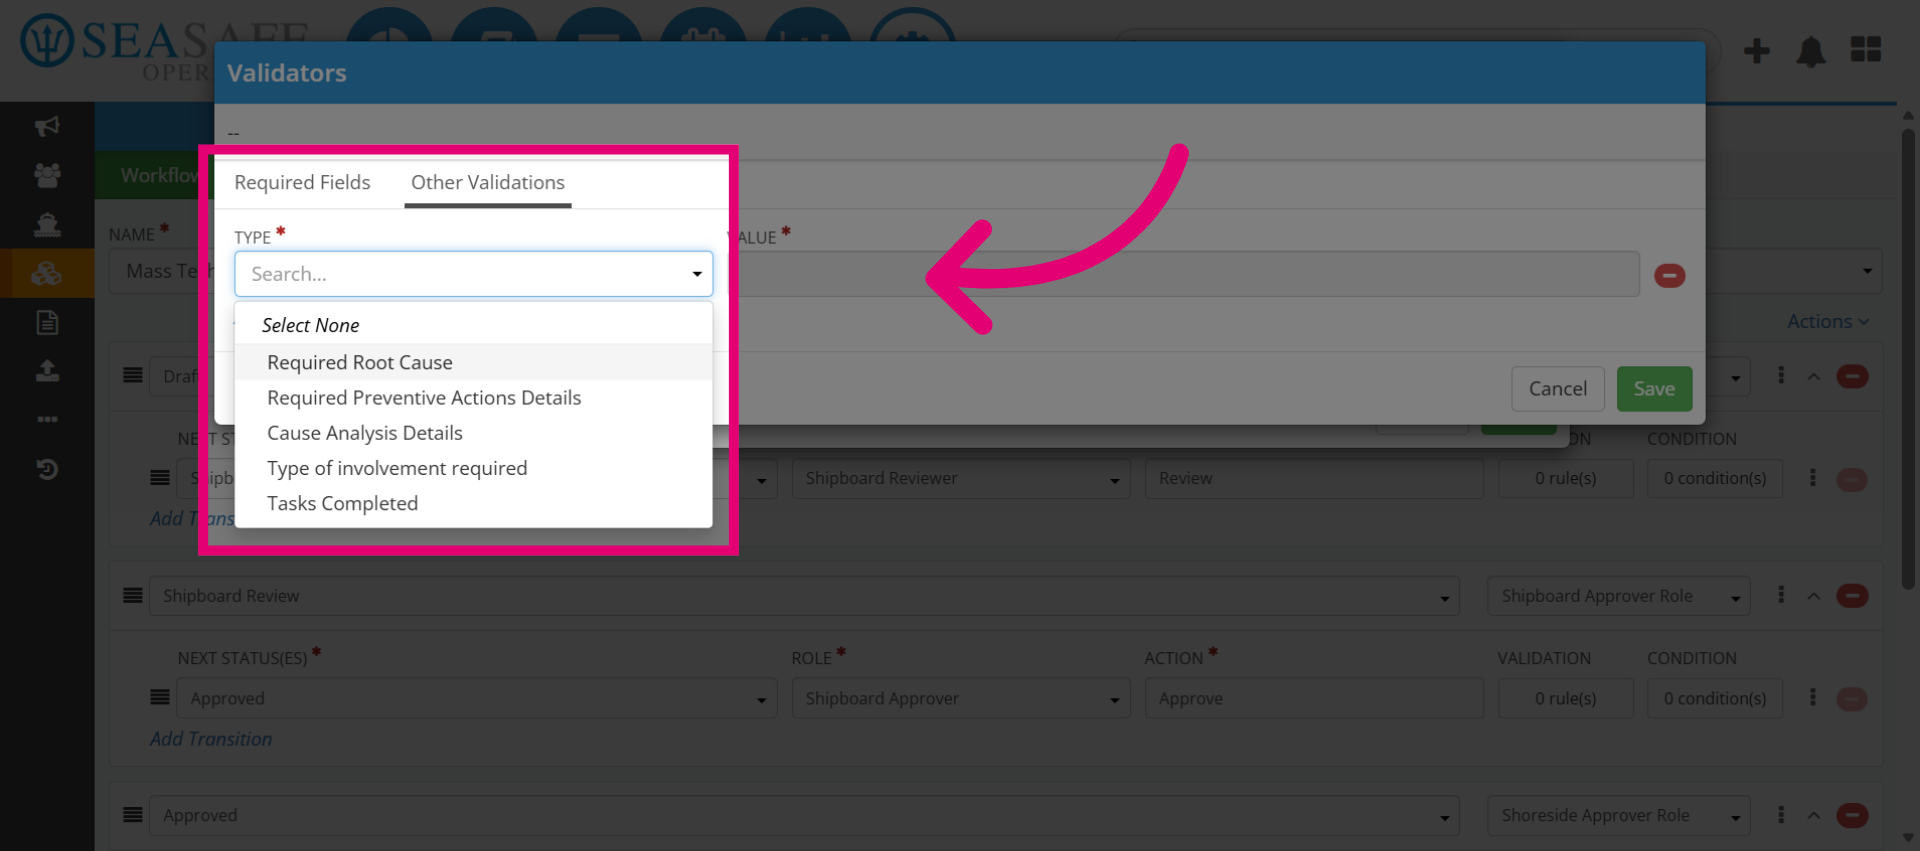
12. Choose Required Root Cause
Here are the other options to select this validation for your workflow including Required Root Cause and Types of investigation required.
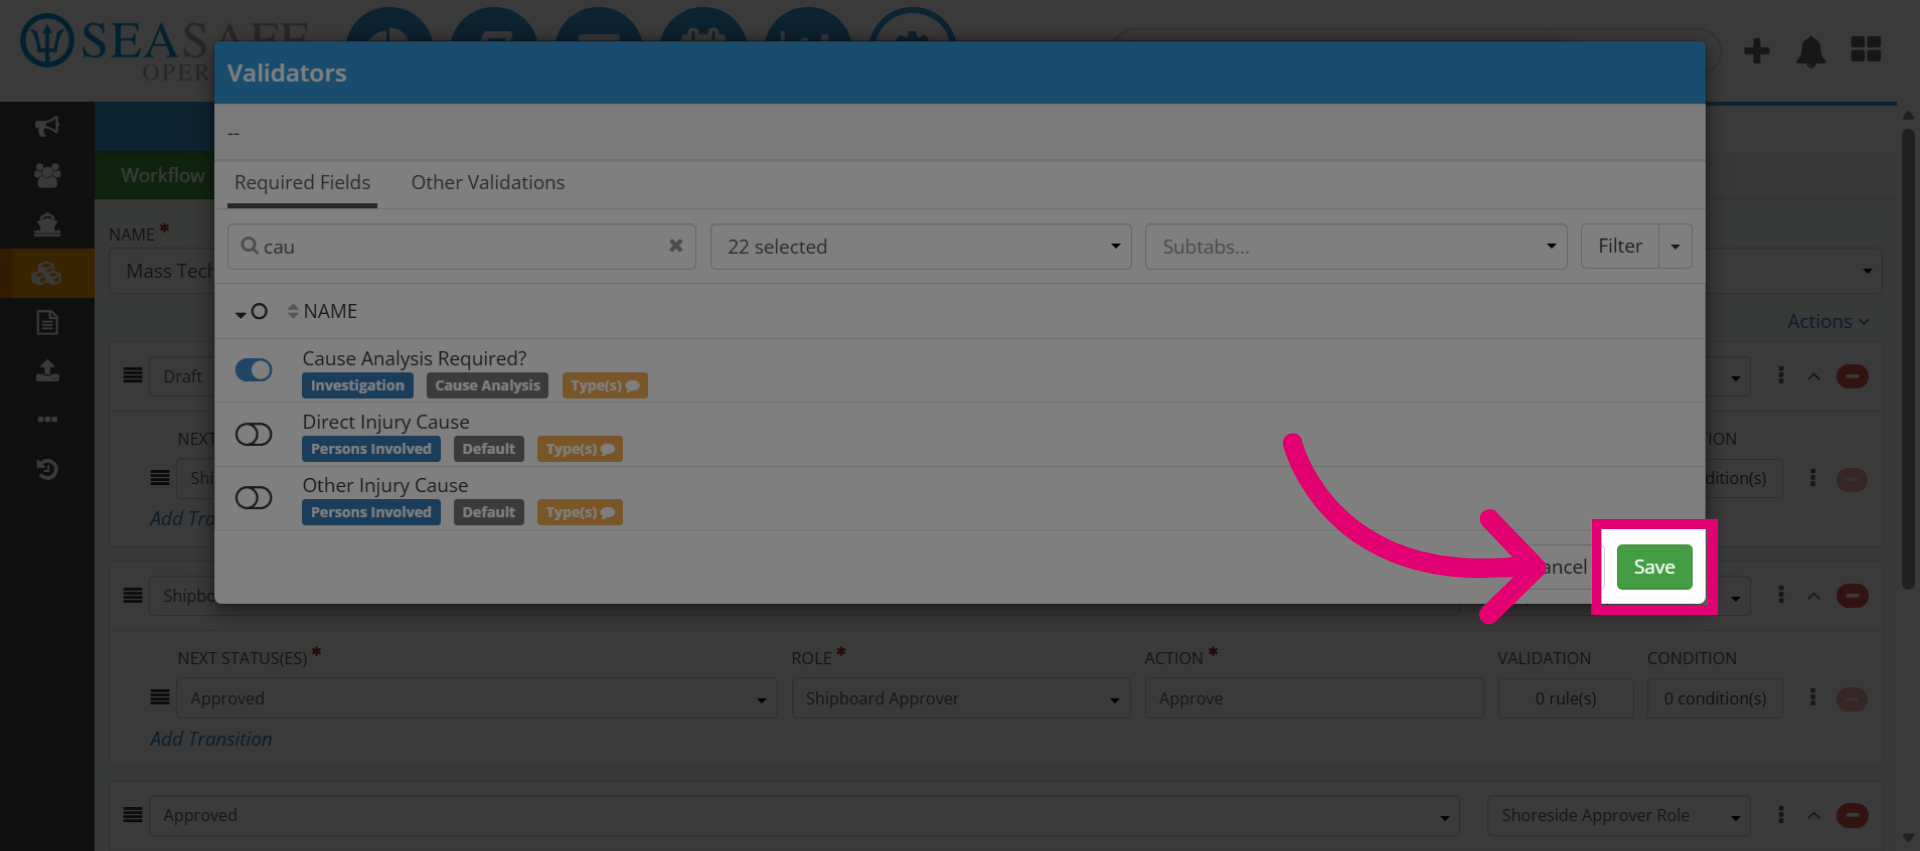
13. Save Validation
If no other validations are being added, close the window and click "Save" to apply the validation settings to your rule.
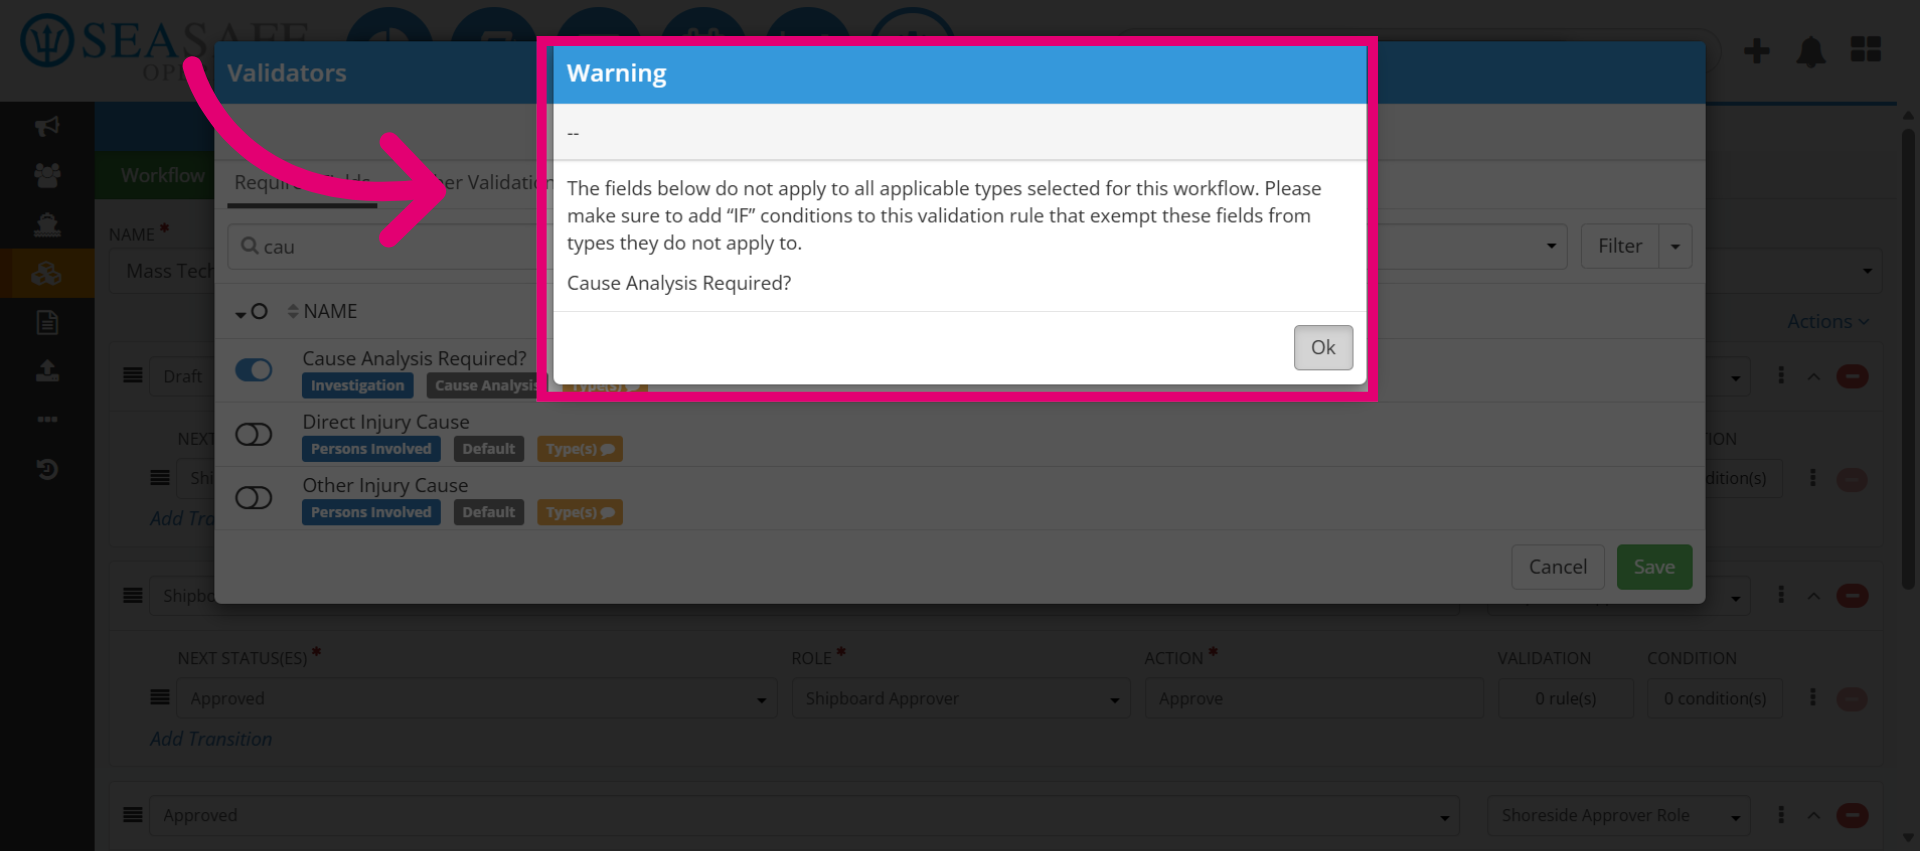
14. Confirm Save
An alert message may appear if types attached to this field may have logic that does fit with this validation logic. You can still proceed. Click "Ok" and confirm any alerts about logic conflicts.
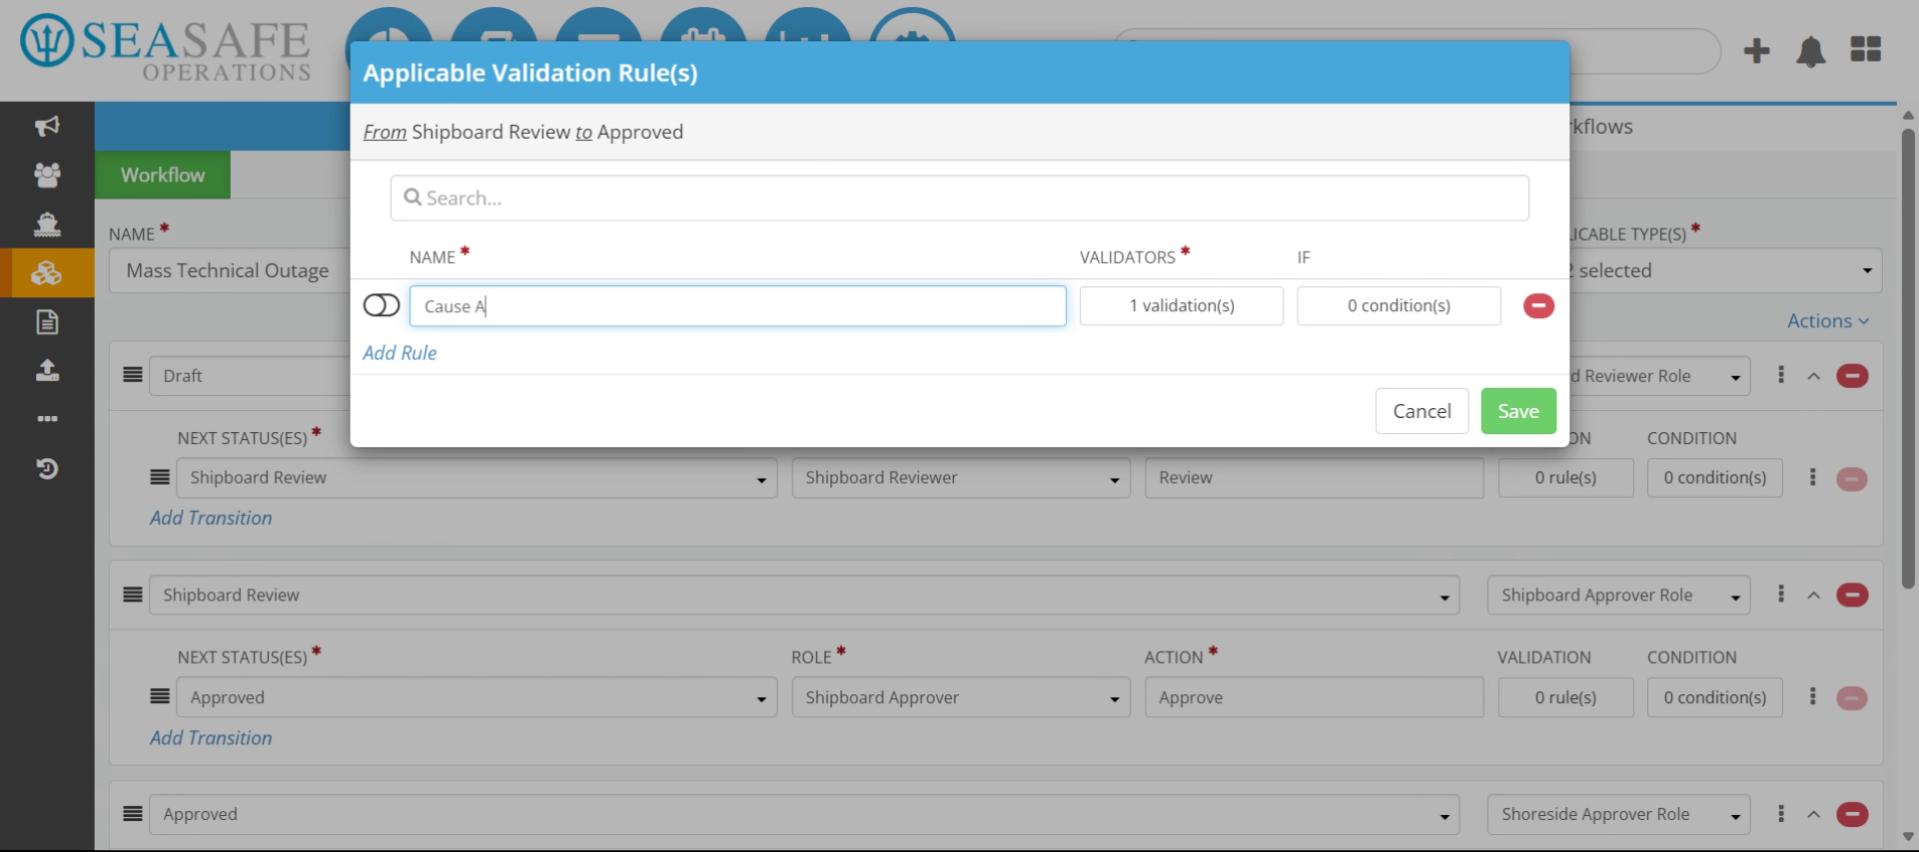
15. Name The Rule
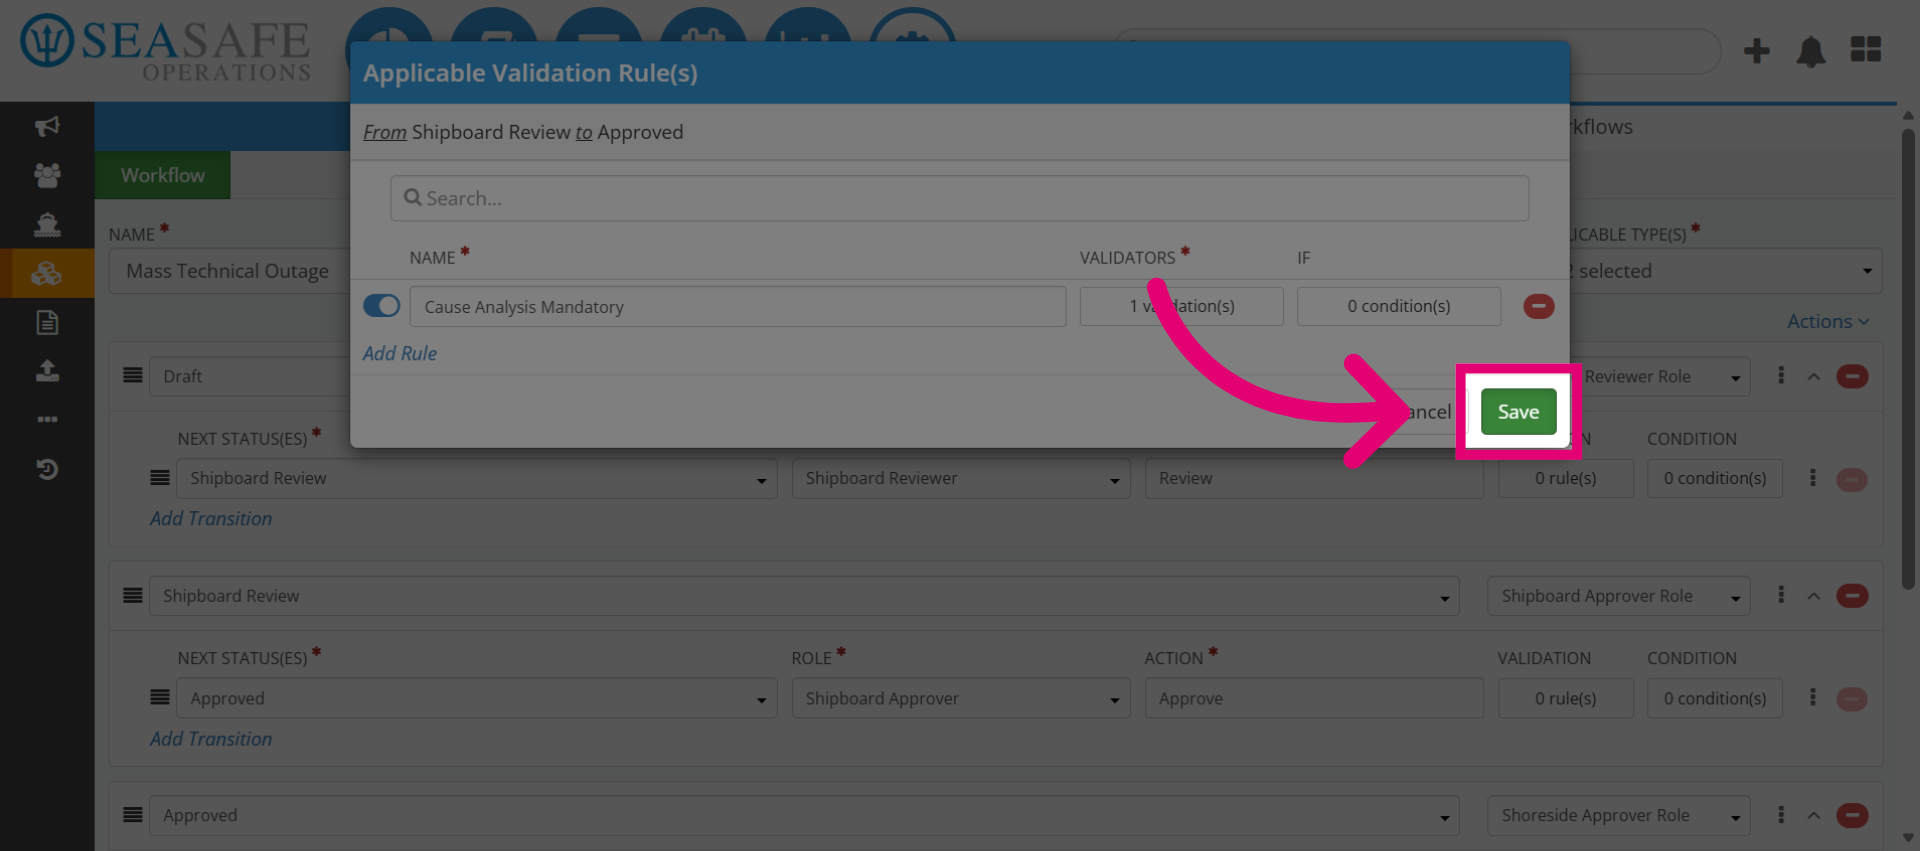
Enter a descriptive name (For example, “Cause Analysis Mandatory”).
16. Activate the Rule
Toggle on to "Activate" and click Save to finalize the rule. Activation makes the rule live in the workflow.
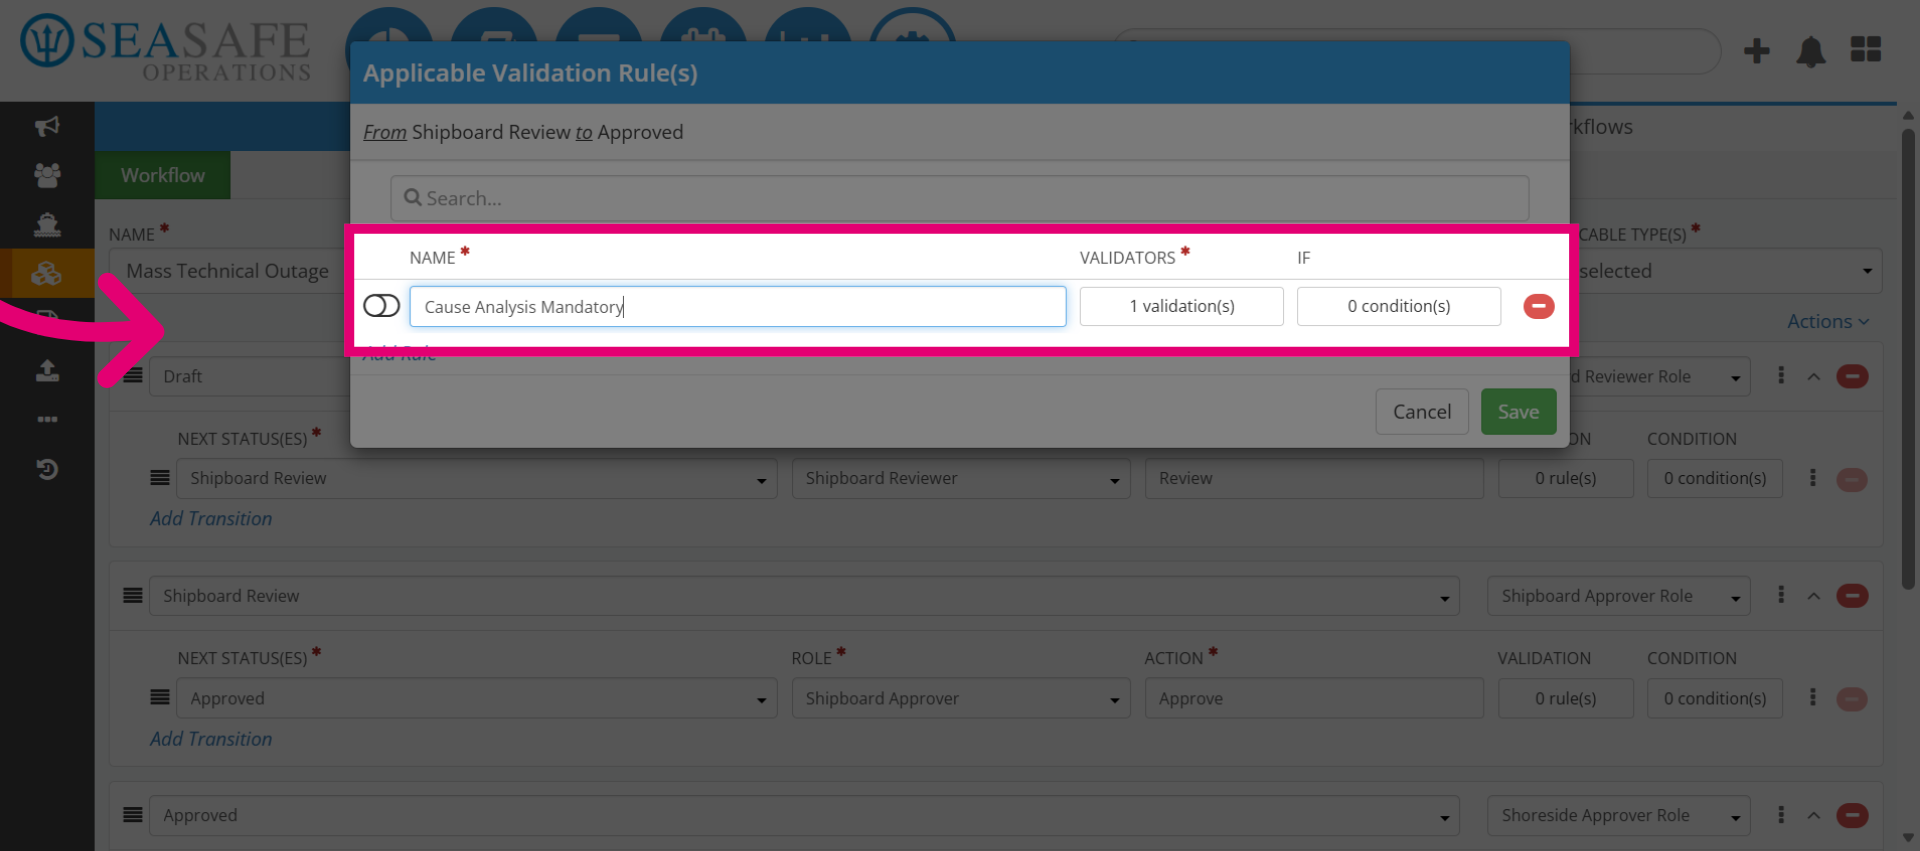
17. Save Rule
Click "Save" to finalize and store the validation rule in the Workflow Editor.