New article
Recently updated
Add Field Settings in Ideagen Maritime Management

This walkthrough explains how to configure field settings in Ideagen Maritime Management to ensure accurate data entry, compliance, and workflow automation. Field settings allow administrators to define constraints, link dynamic values, and improve reporting precision.
1. Introduction
Learn how to adjust field values and settings to customize numeric data. Field settings control data capture and validation in Ideagen Maritime Management. Date fields can be limited to voyage timelines to prevent invalid entries, while numeric fields can have minimum and maximum values. This ensures data integrity and workflow accuracy. Review the operational context before applying constraints; voyage dates should match sailing schedules. Let's start in the shoreside "Admin Menu", in the "Fields, Types & Workflow" section under the "Field" tab.
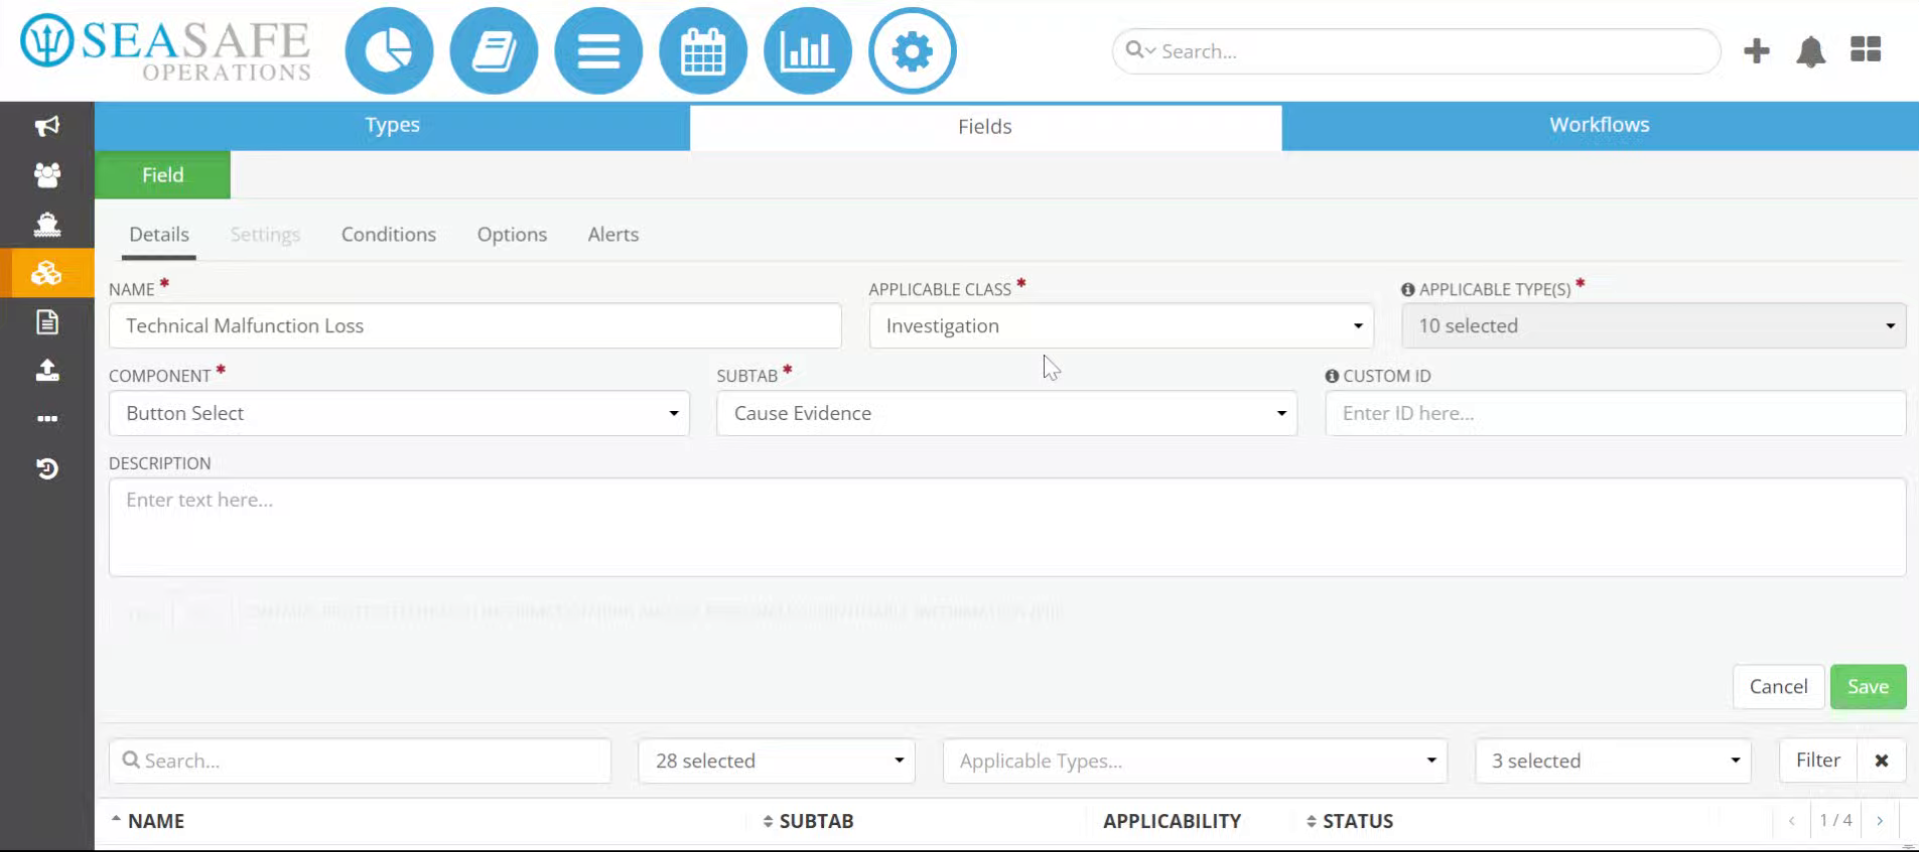
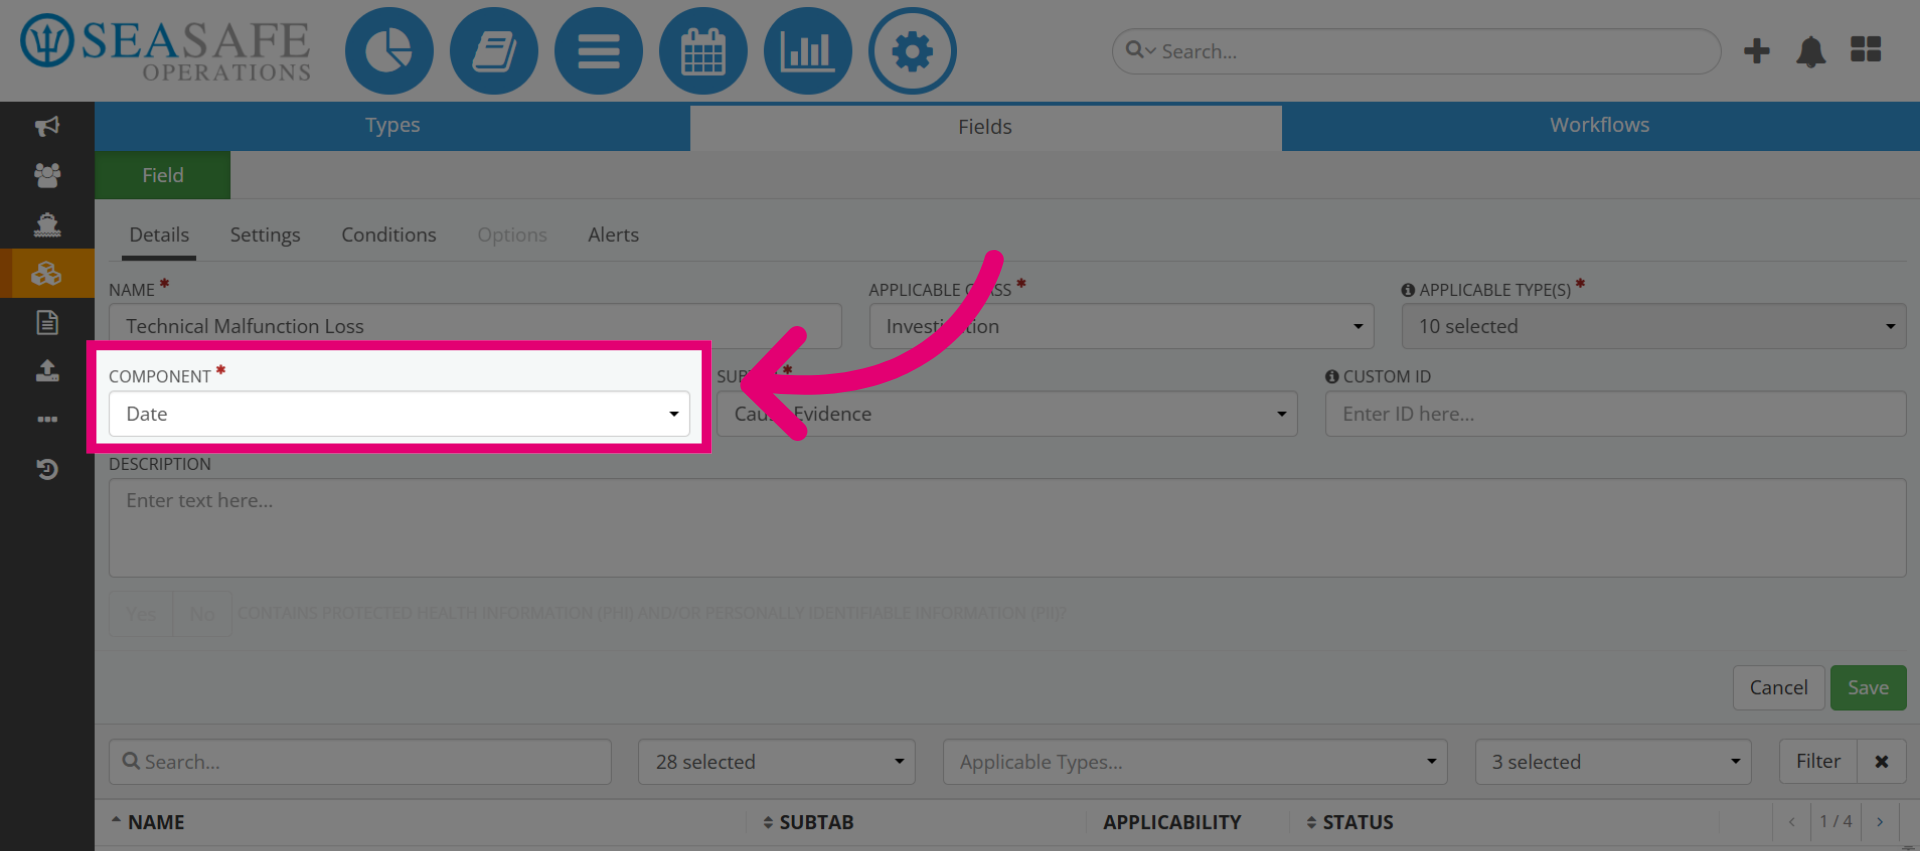
2. Click the Date Component
Let's go to the "Components" field. The "Date" component includes numeric options for scheduling, reporting, and compliance. It allows configuration of minimum/maximum date ranges and dynamic linking to voyage dates. Incorrect date entries can cause reporting errors.
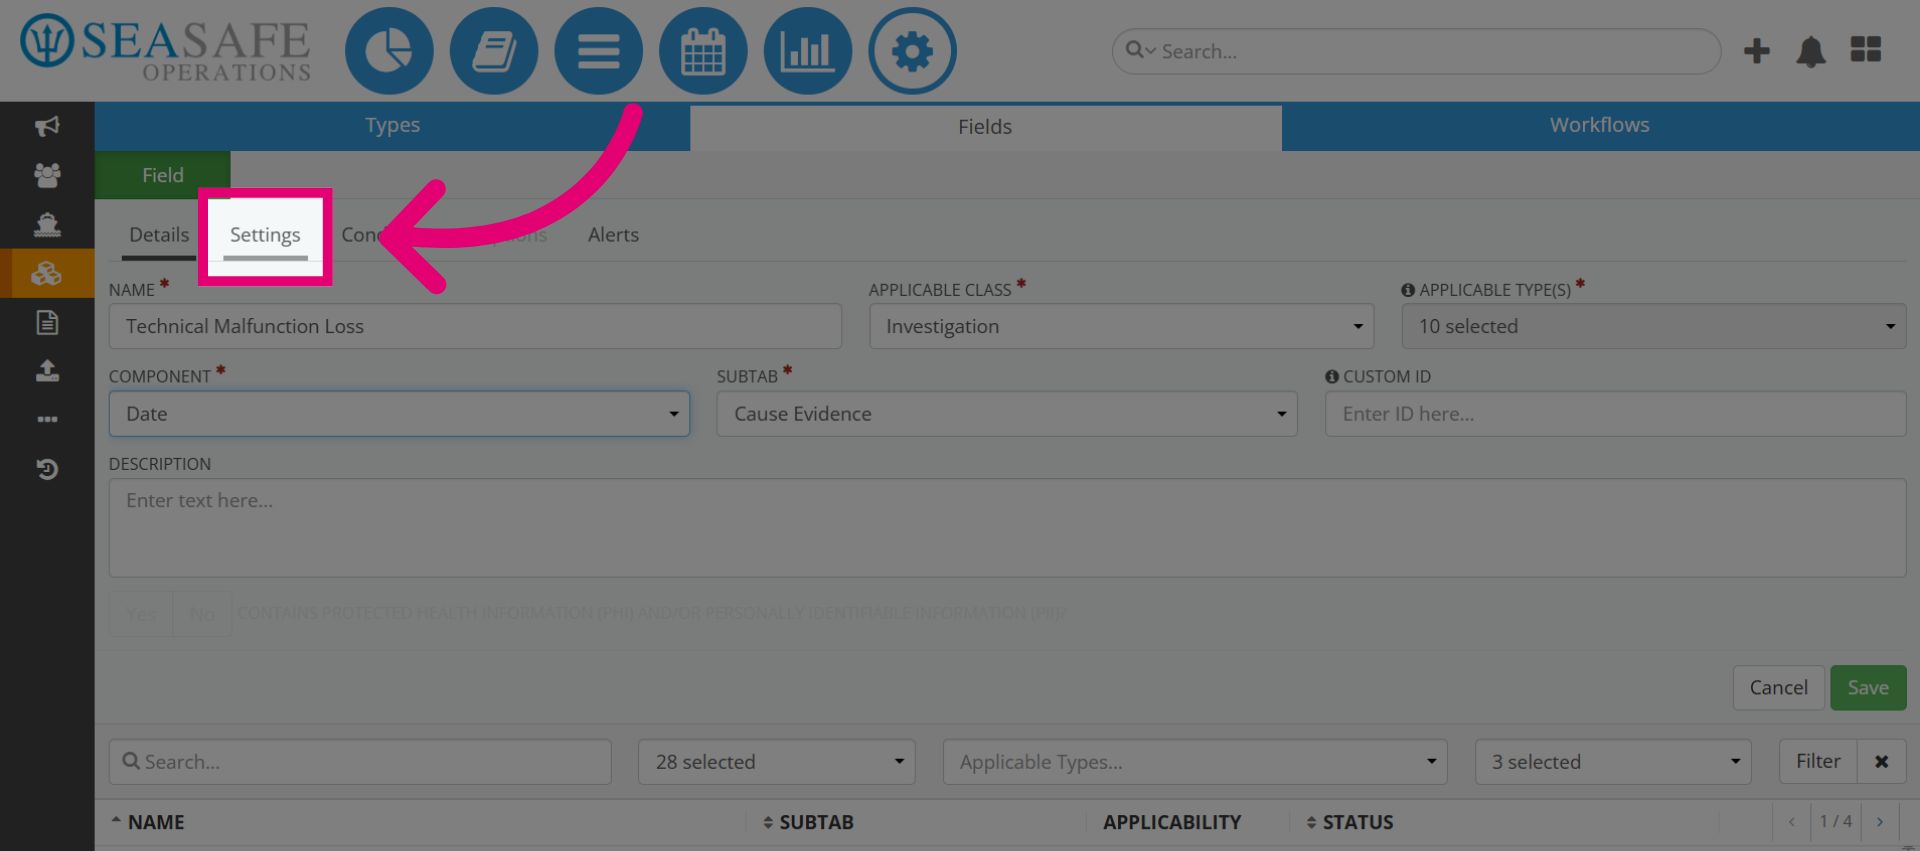
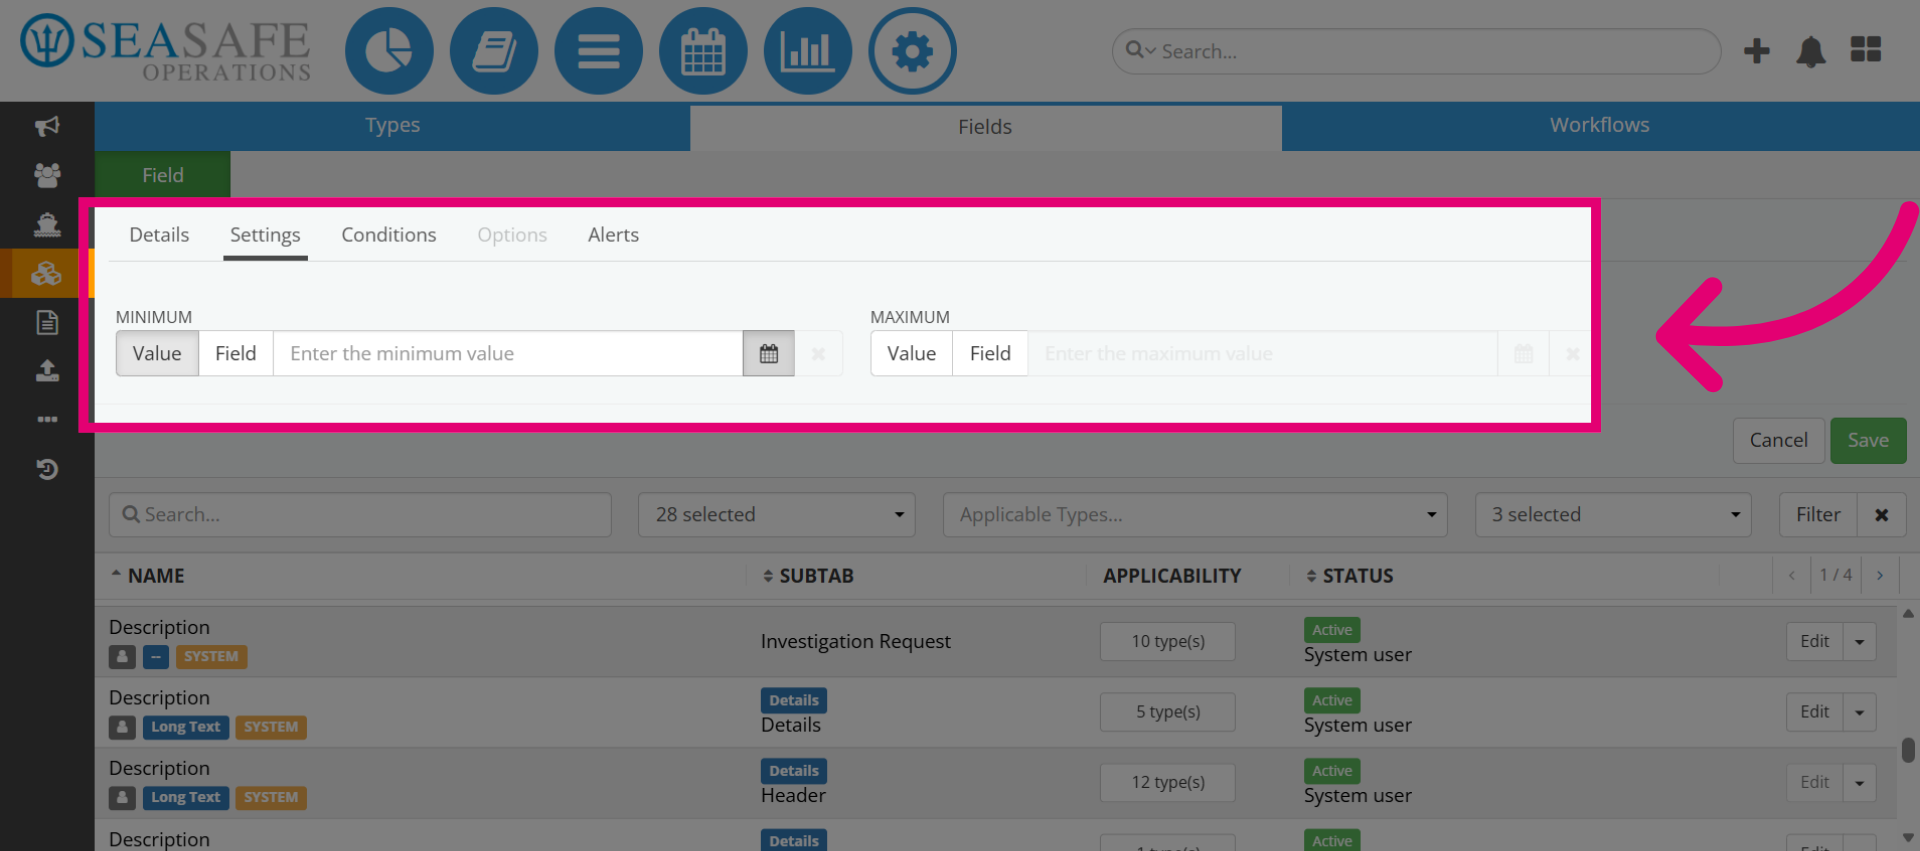
3. Open Settings Menu
The Settings menu is where you define the behavior of the field. This includes: values that are fixed or dynamic, validation rules, and default values.
4. Select Value Option
The Field option next to "Value" allows you to link this field to another existing field in the form. Instead of entering a static value, you can reference another field’s data dynamically. Such as adding the date for this.

5. Open Date Settings
Let's proceed with opening the date selection. The detailed date settings allow you to fine-tune constraints such as: Minimum date (earliest allowed entry) Maximum date (latest allowed entry) For example, for an inspection report, you might restrict dates to the current voyage period.
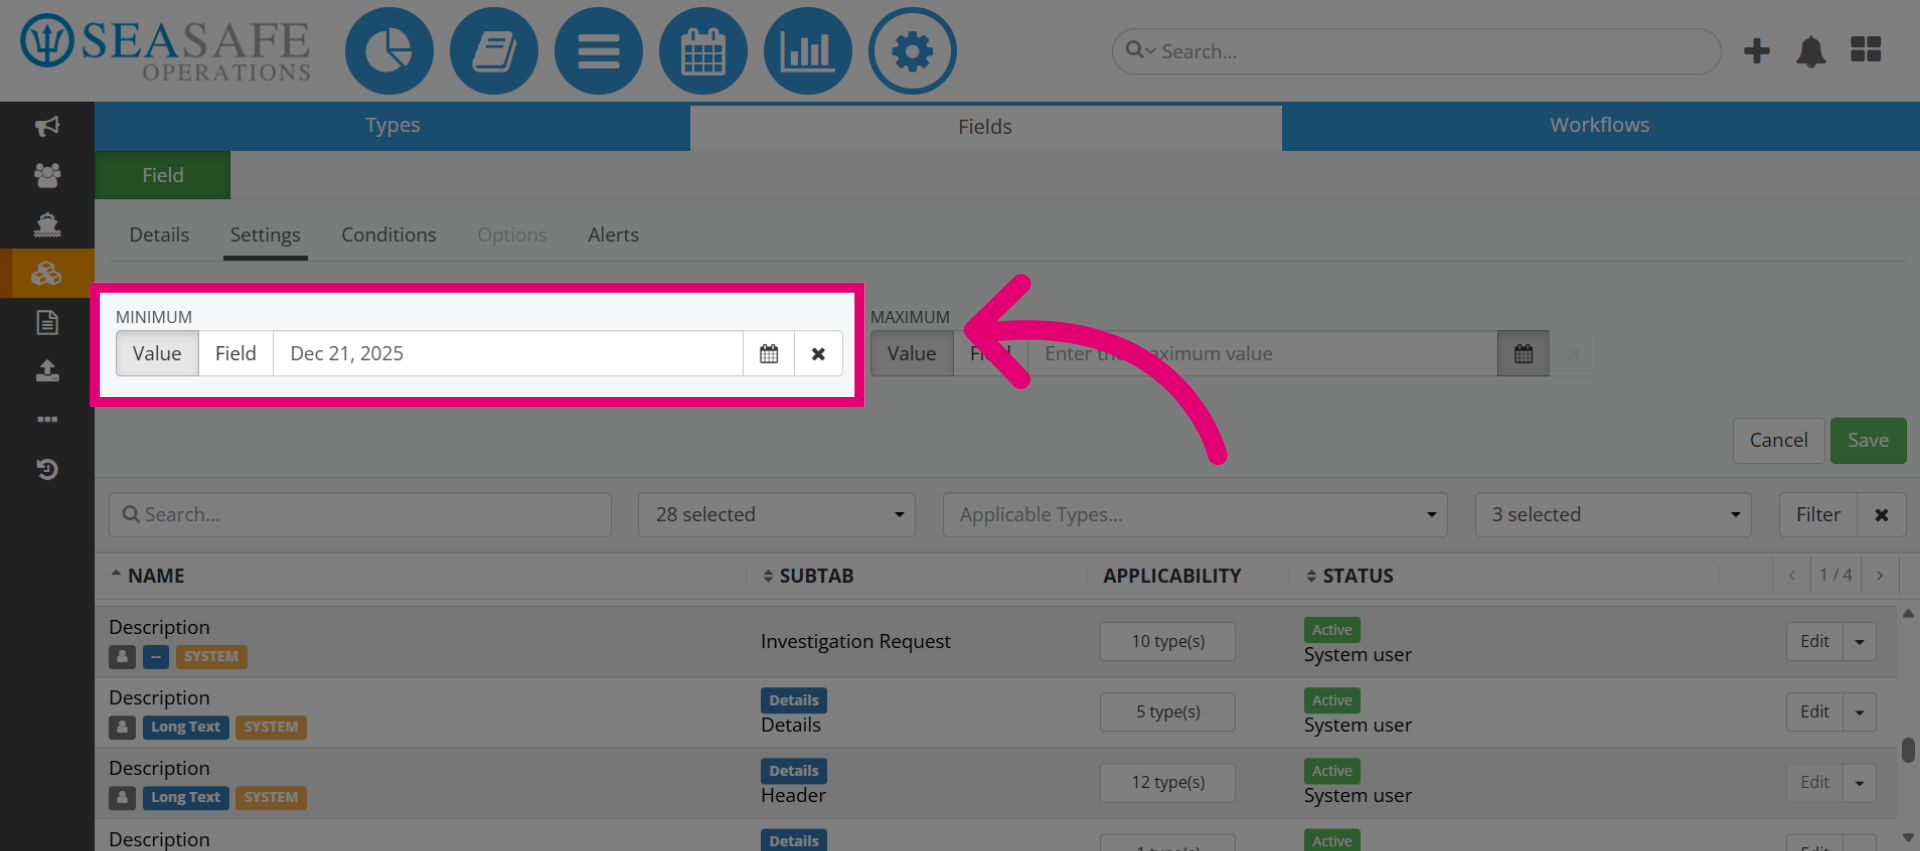
6. Add the Minimum Date
Now, let's add the "Minimum" ate value. Setting a minimum date prevents users from entering dates that are too far in the past. For instance, if reporting an event, the minimum date could be the voyage start date to ensure relevance.
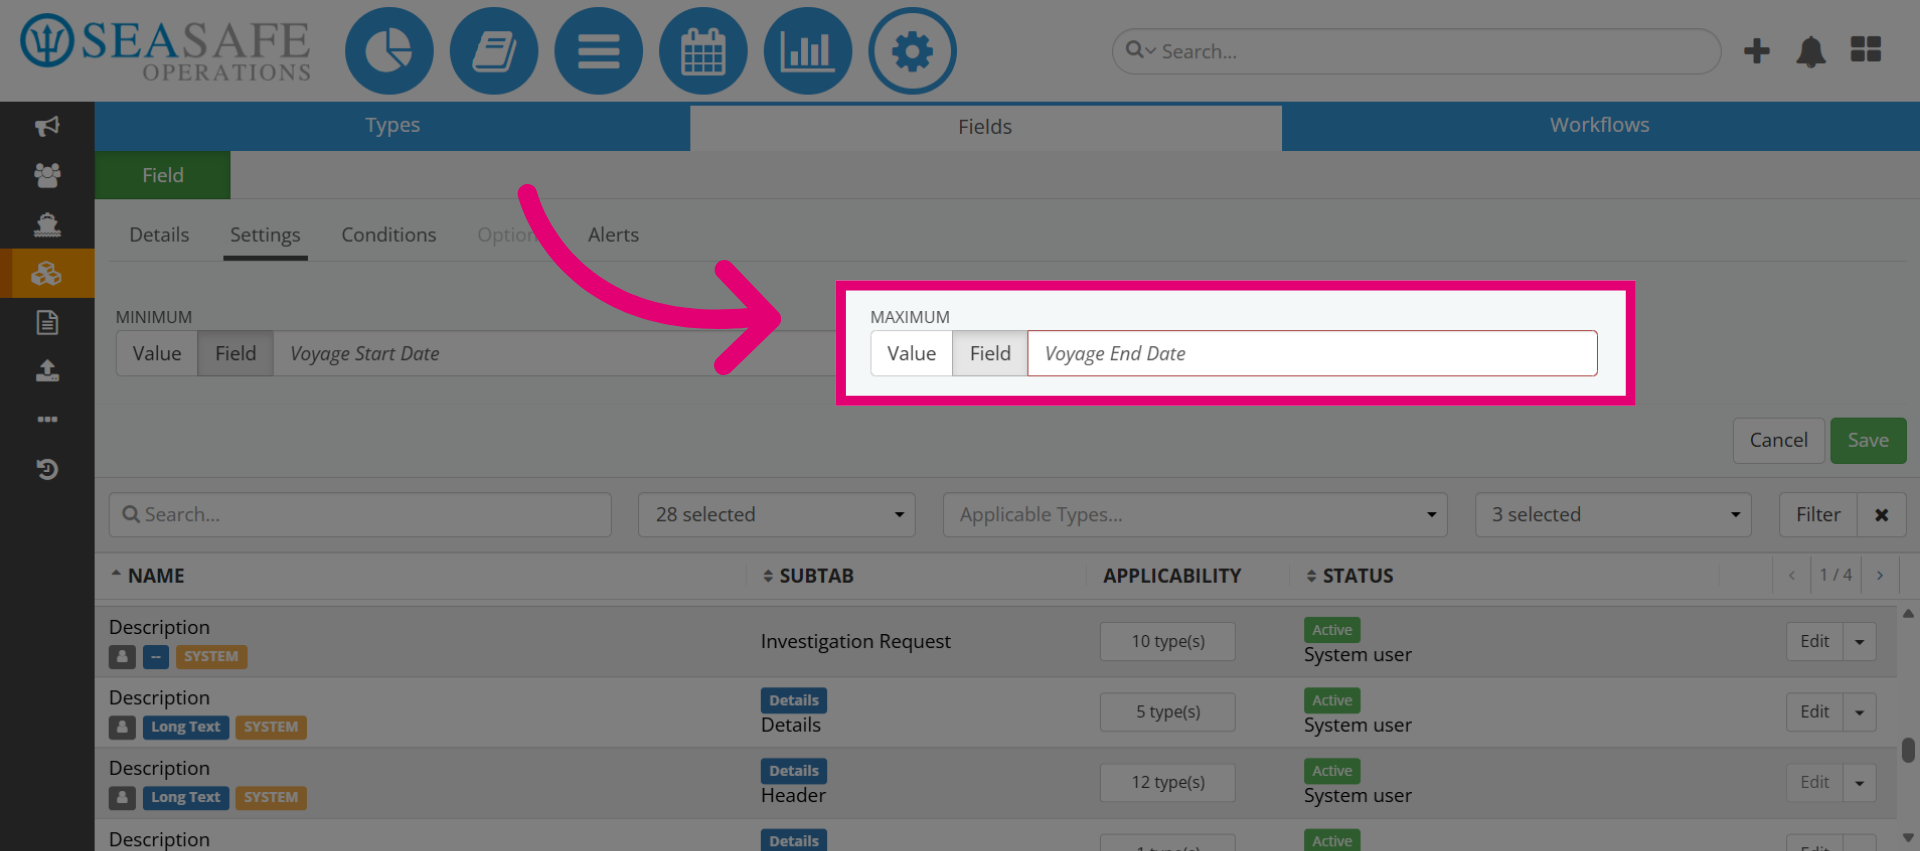
7. Add Maximum Date Value
Now, let's add the "Maximum" date ensures future entries don’t exceed operational timelines. For example, for risk assessments, the maximum date might be the voyage end date to maintain compliance.

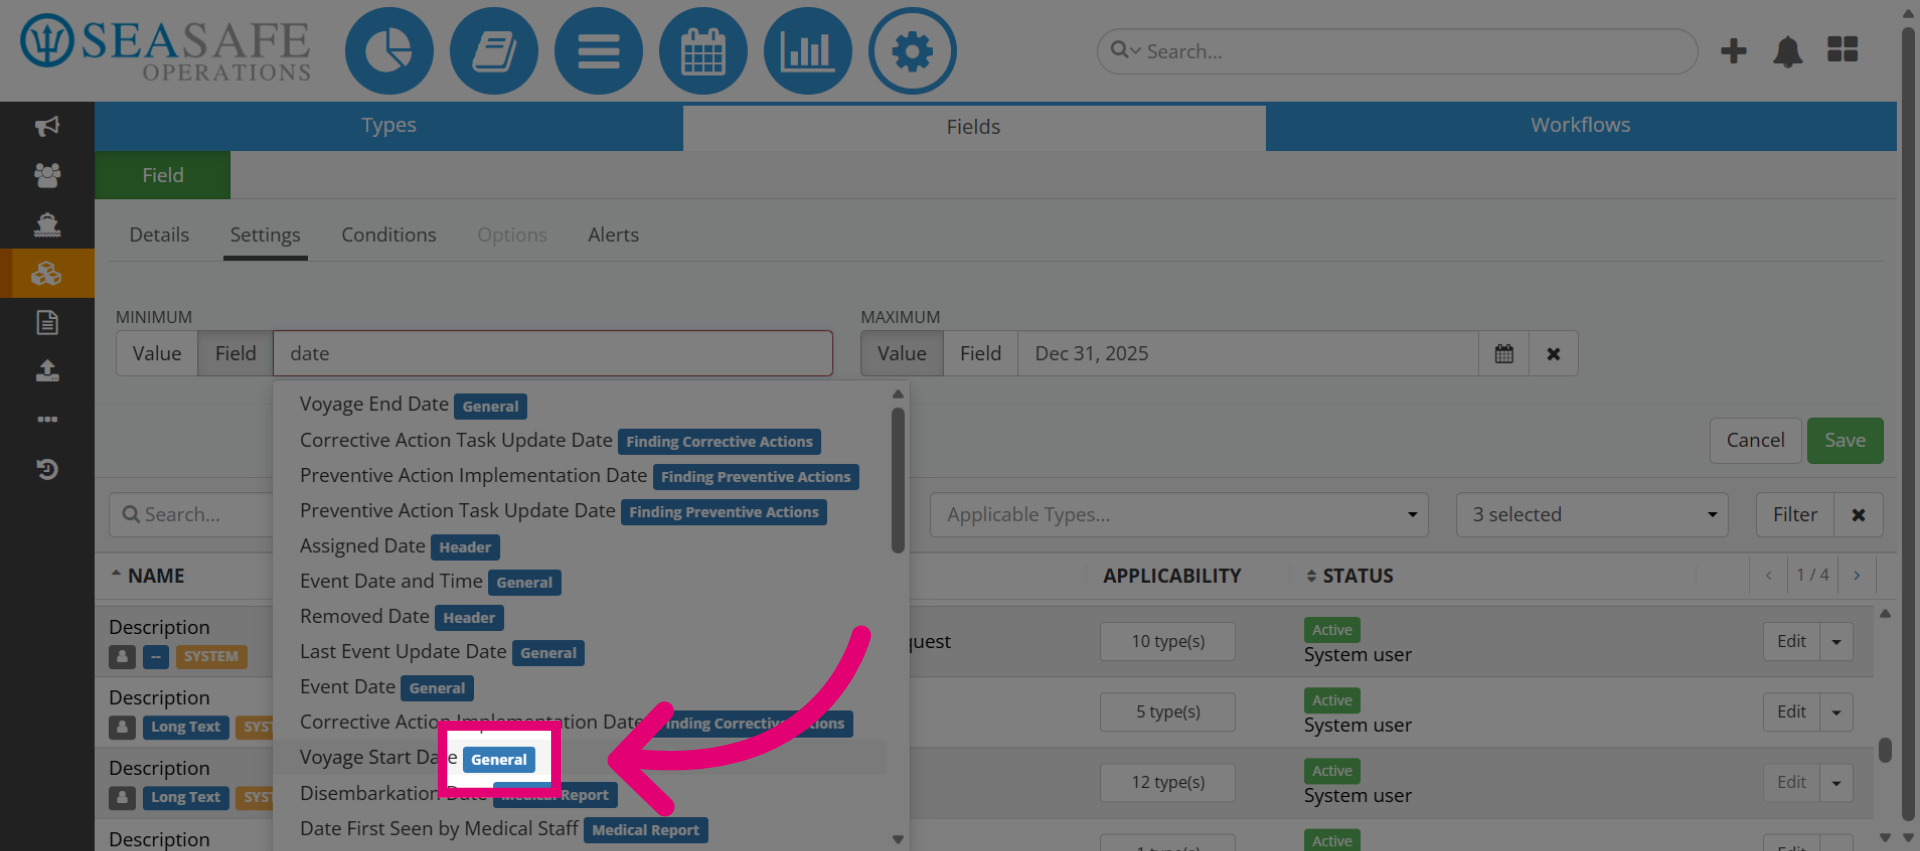
8. Select Voyage Start Date
Or, you can click on the Field value and select from the available date related options such as "Voyage Start Date". Dynamic linking to "Voyage Start Date" automates accuracy and reduces manual errors.
9. Select Voyage End Date
Then, choose the "Voyage End Date" on the other side. Linking to "Voyage End Date" completes the date range logic, ensuring all entries fall within the voyage. Then, save your changes.