New article
Recently updated
Create a new Type in Ideagen Maritime Management

This walkthrough explains how to create a new type in Ideagen Maritime Management.
1. Introduction
In Ideagen Maritime Management, Types act as templates for reports under specific Classes like Event or Hazard. Creating a new Type ensures reports capture necessary operational information, involving naming the Type, assigning a code, linking to a Class and Category, and configuring options like Wizards and field arrangements. Begin in the Shoreside "Admin Menu", in the "Types, Fields and Workflow" section. Go to the "Types" tab.
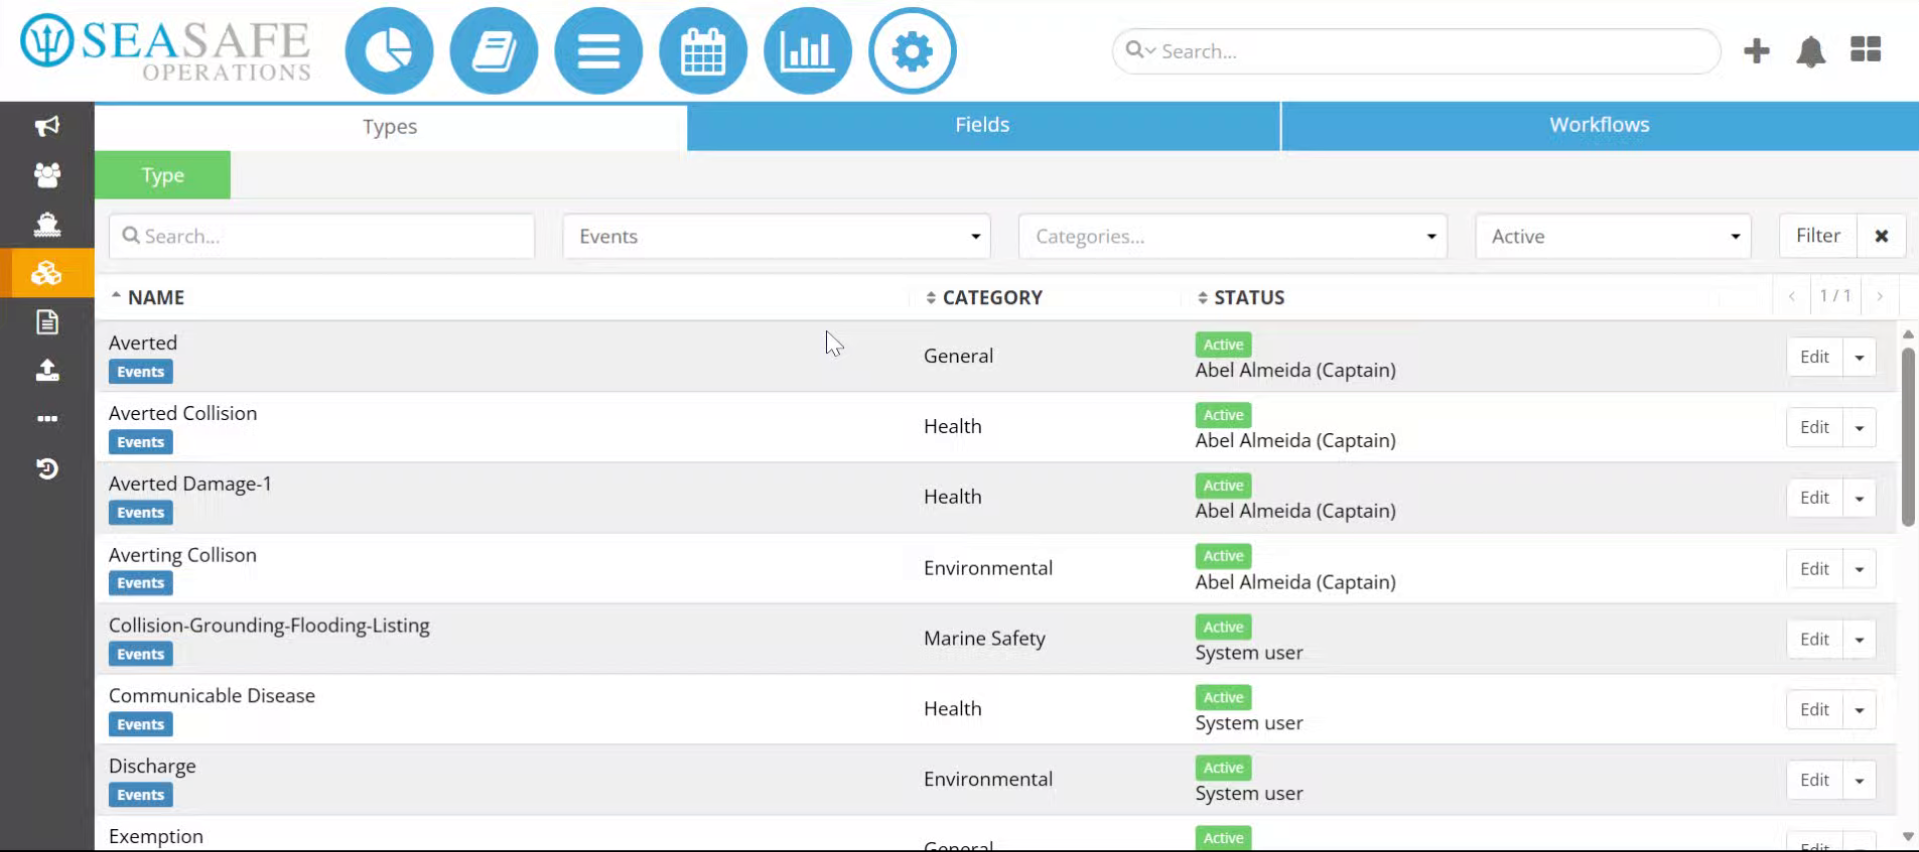
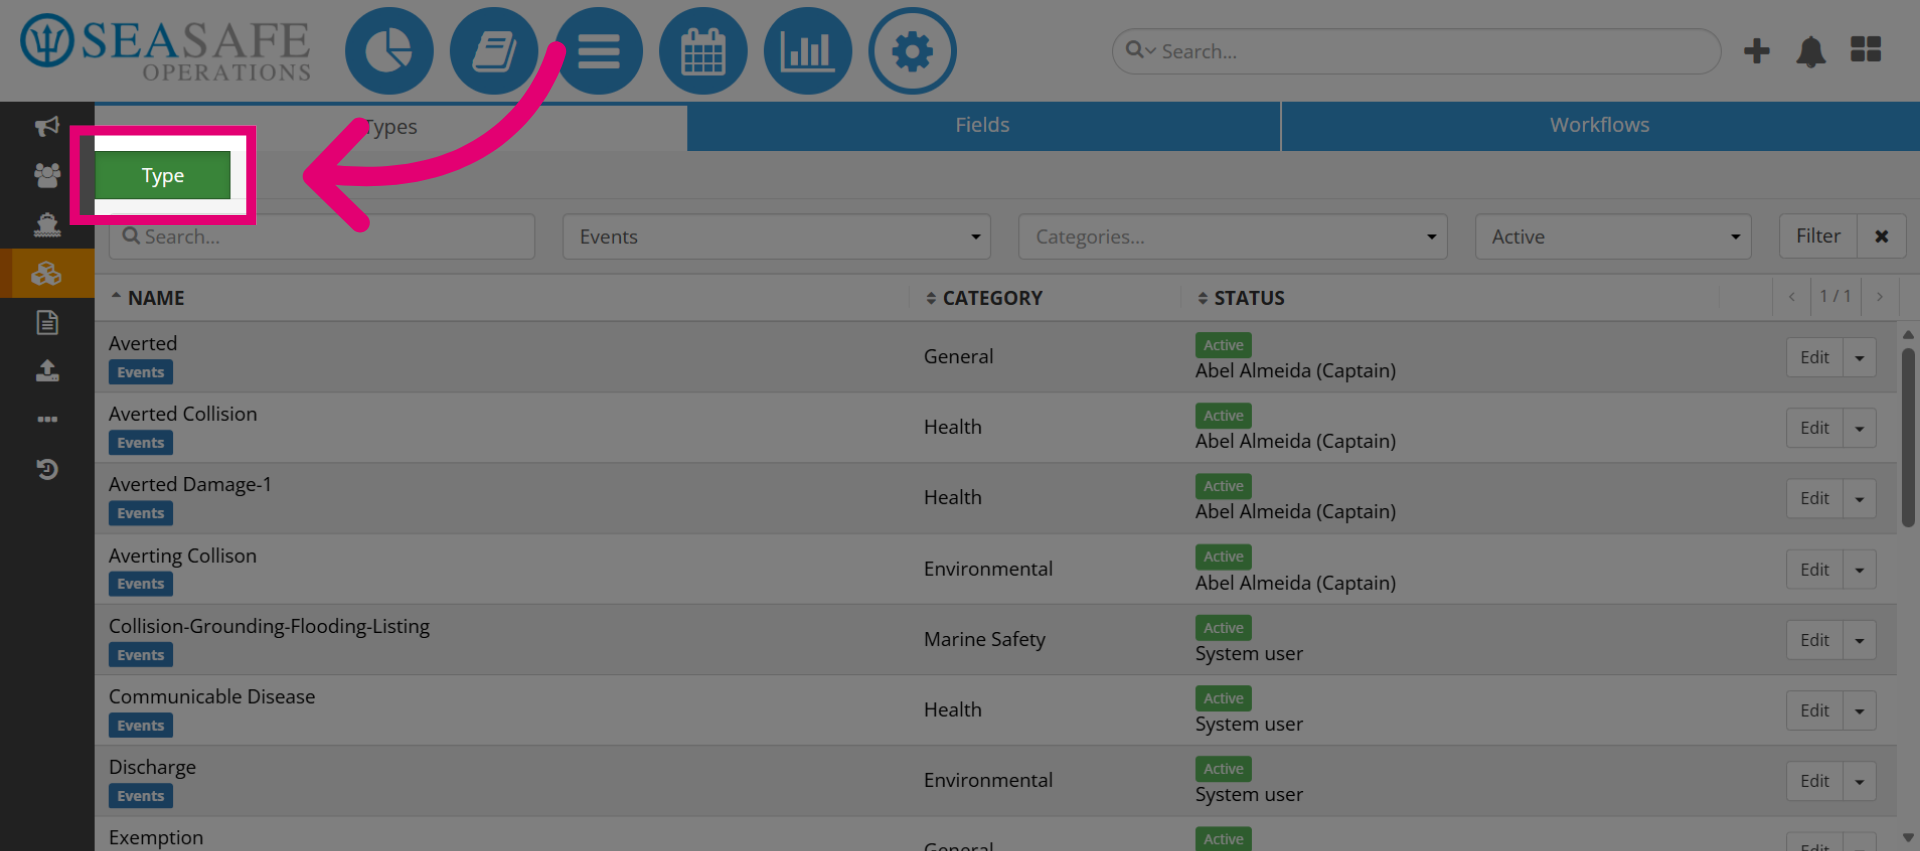
2. Access Type Section
Select the "Type" button to begin creating a new type.
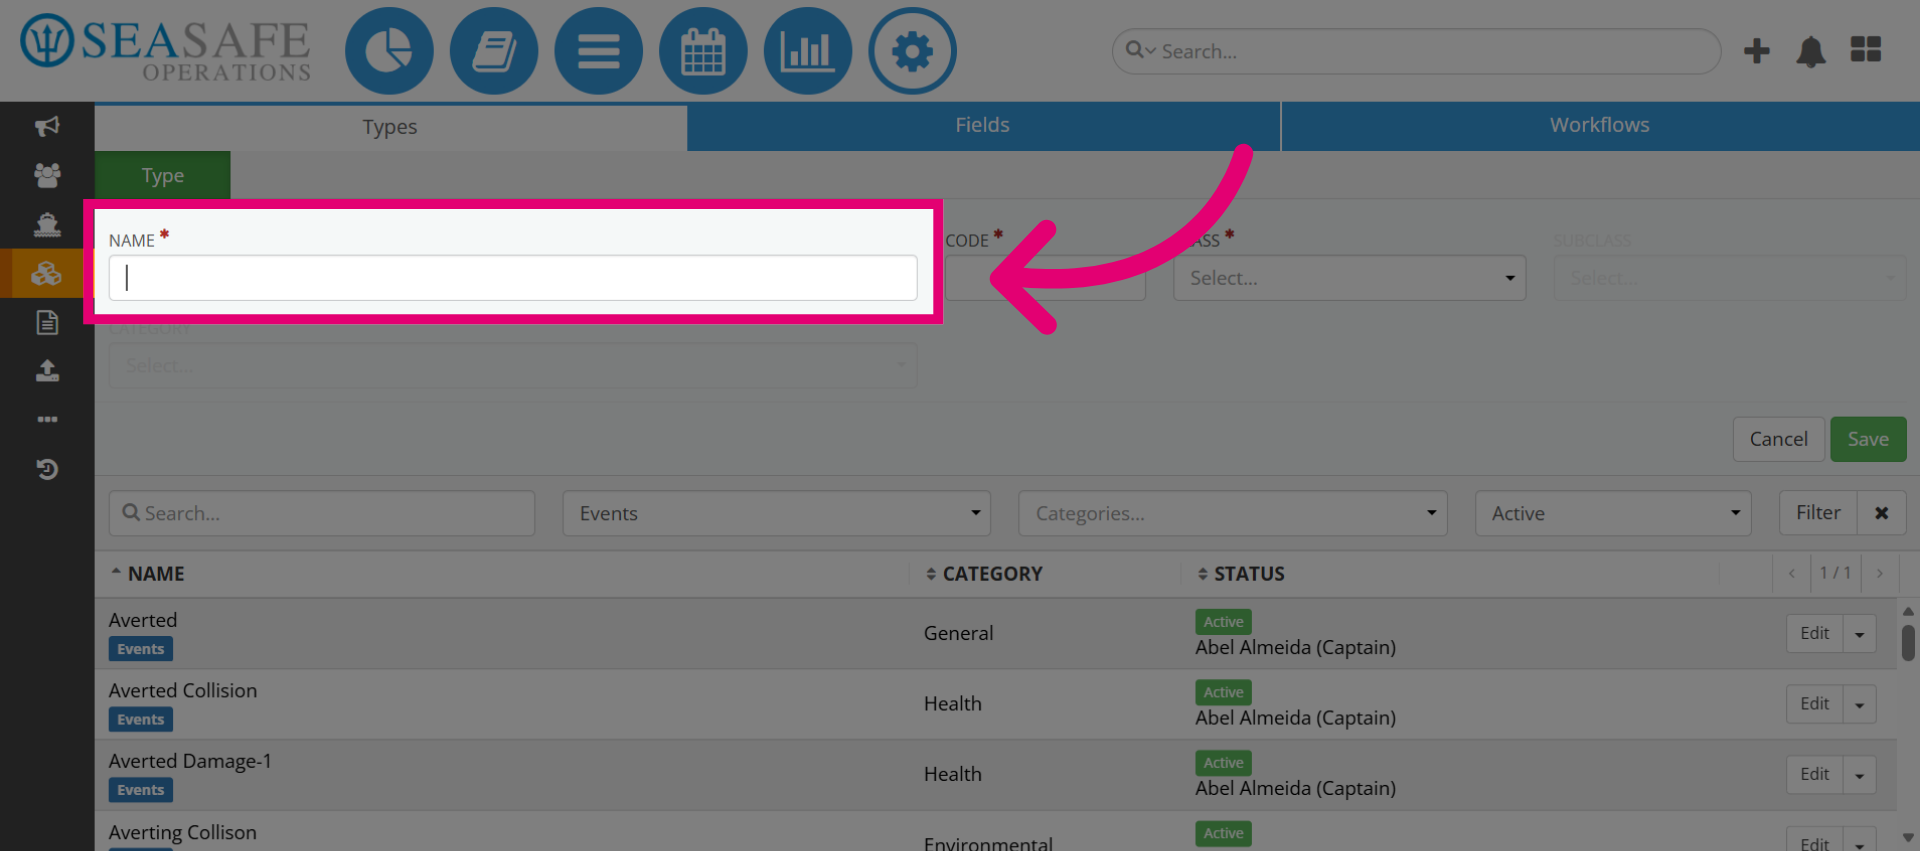
3. Add the Name
Enter a descriptive Type name (for example, Averting Damage). This name helps users identify the purpose of the report template.
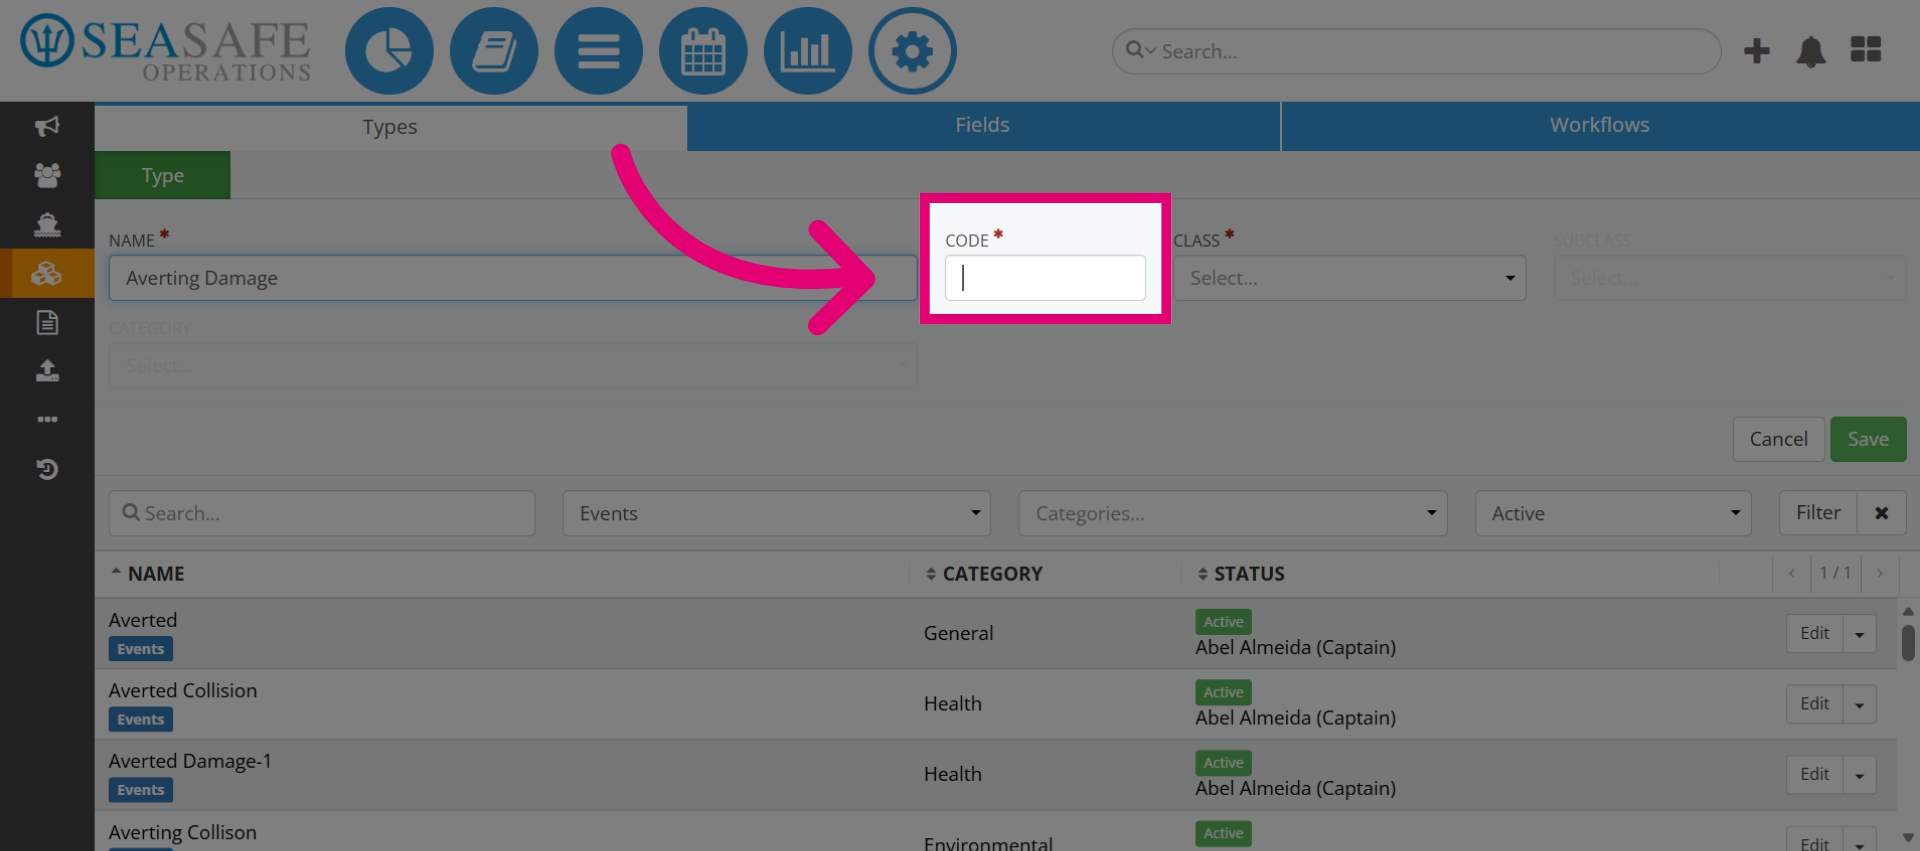
4. Click on the Code Field
Assign a unique code (for example: AD110) for easy reference and system tracking. Codes are essential for backend identification and reporting consistency.
5. Add Class and Category
Then, link the Type to the correct Class (Event, Document, etc.) and Category. This ensures the Type inherits the right workflow and permissions.
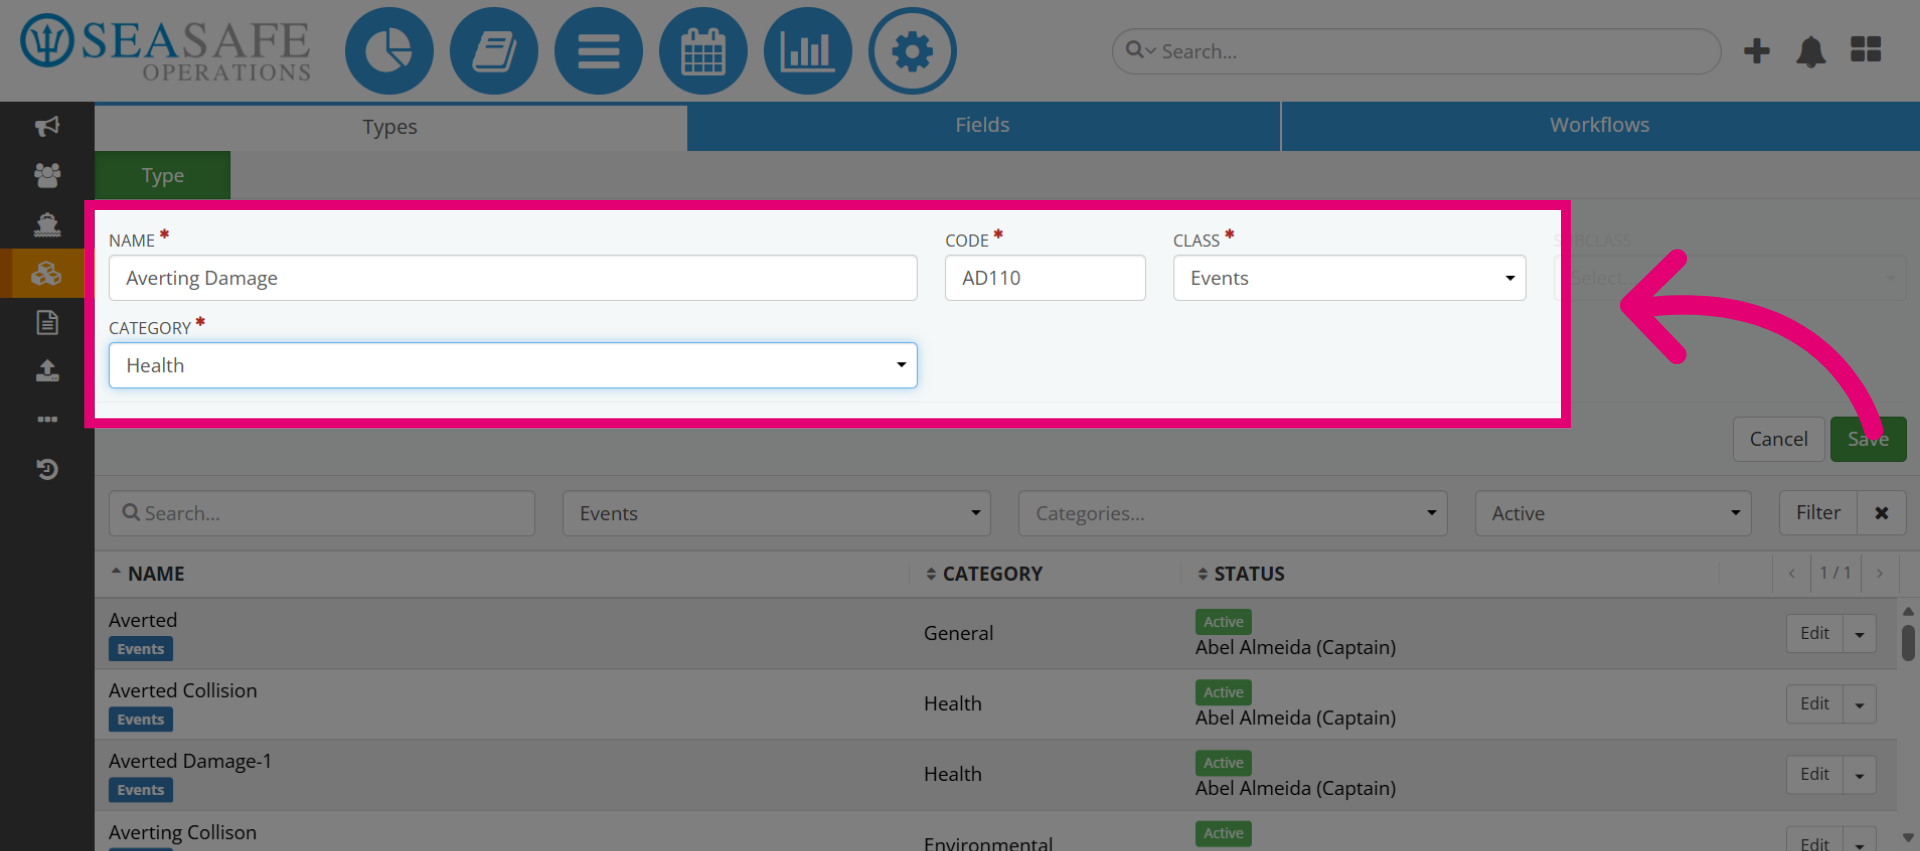
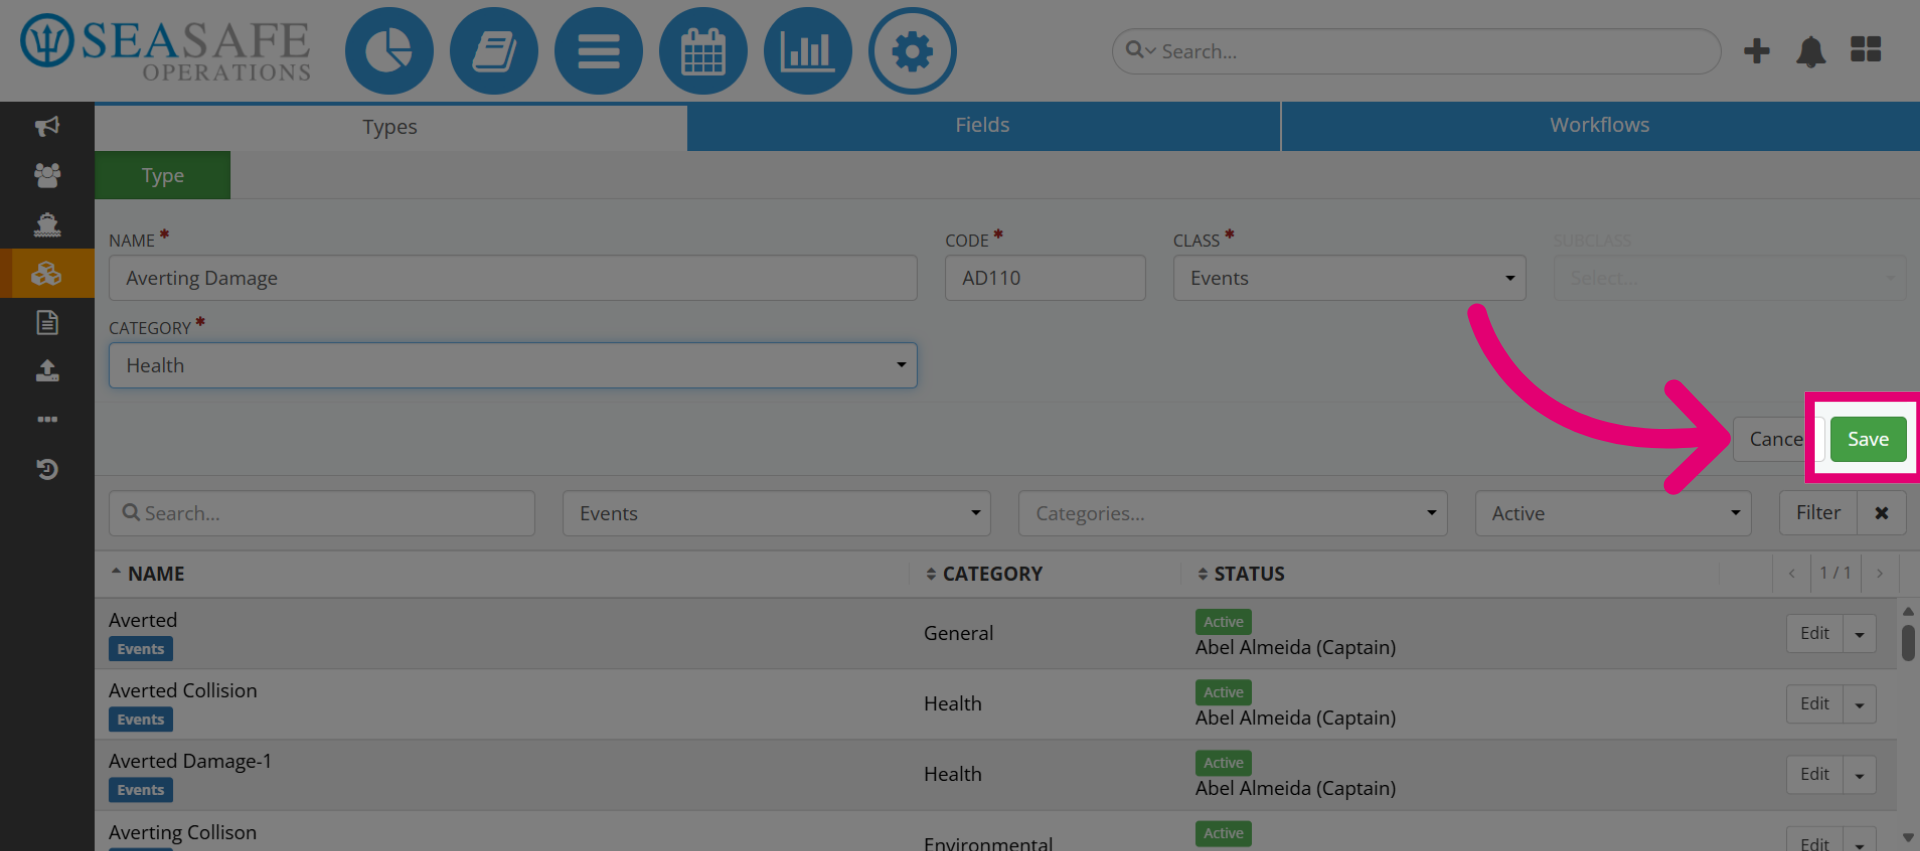
6. Save the Type Details
Next, click "Save" to confirm the basic configuration before adding advanced options.
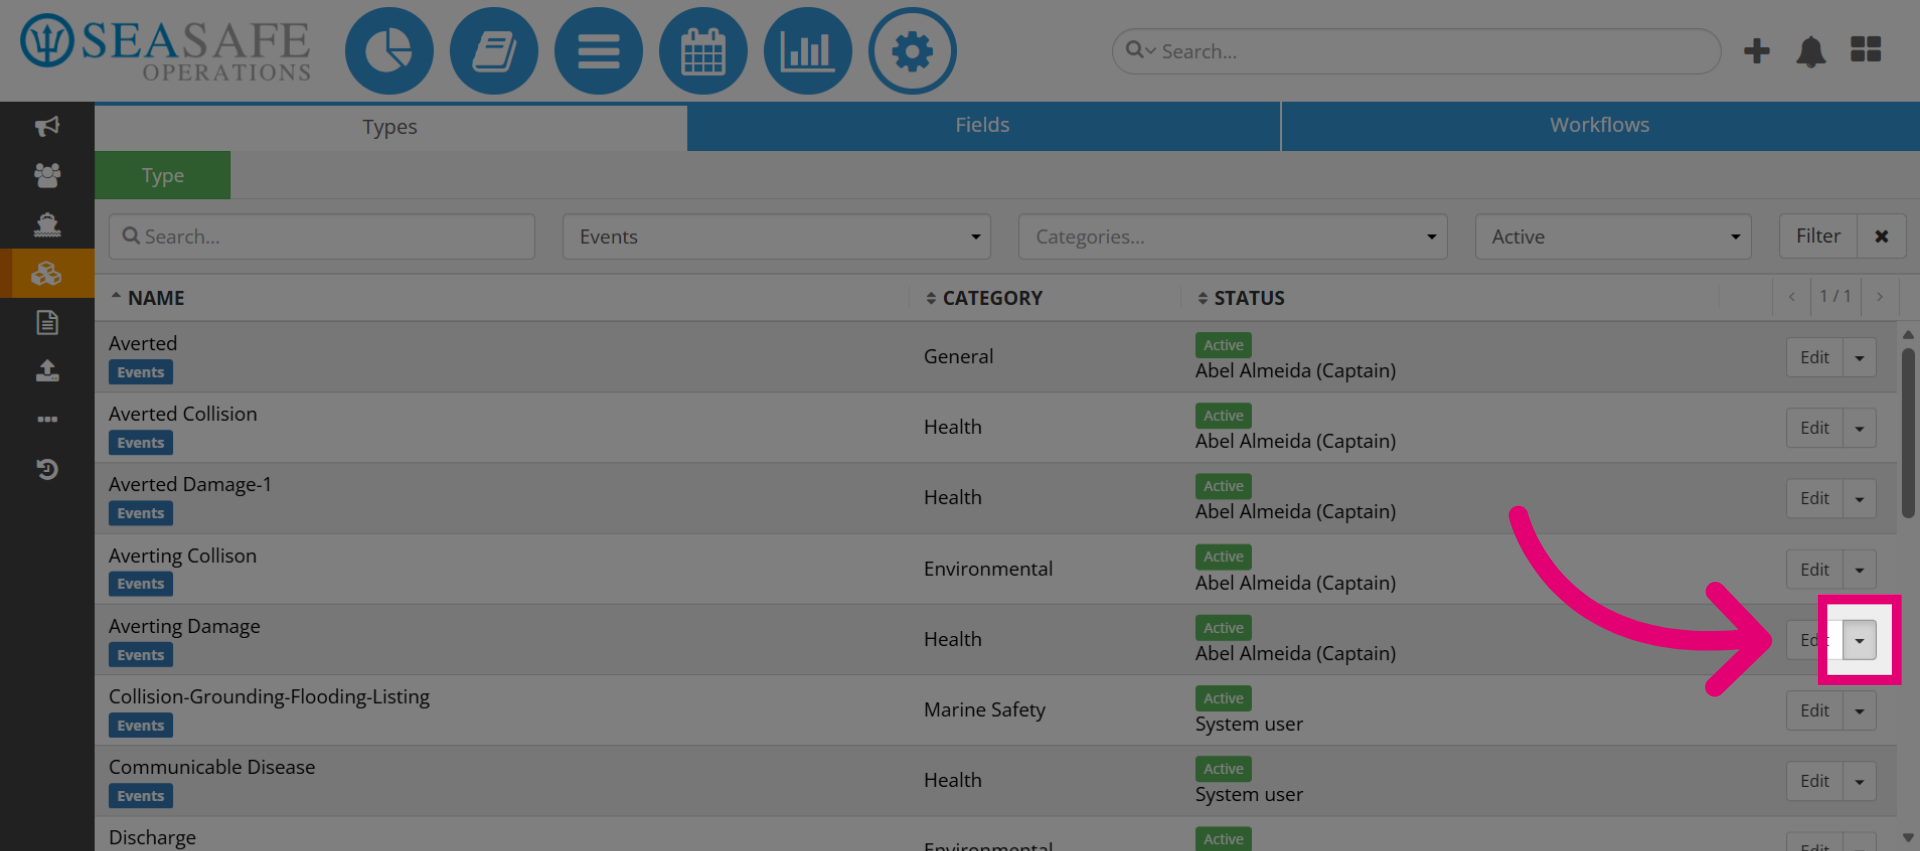
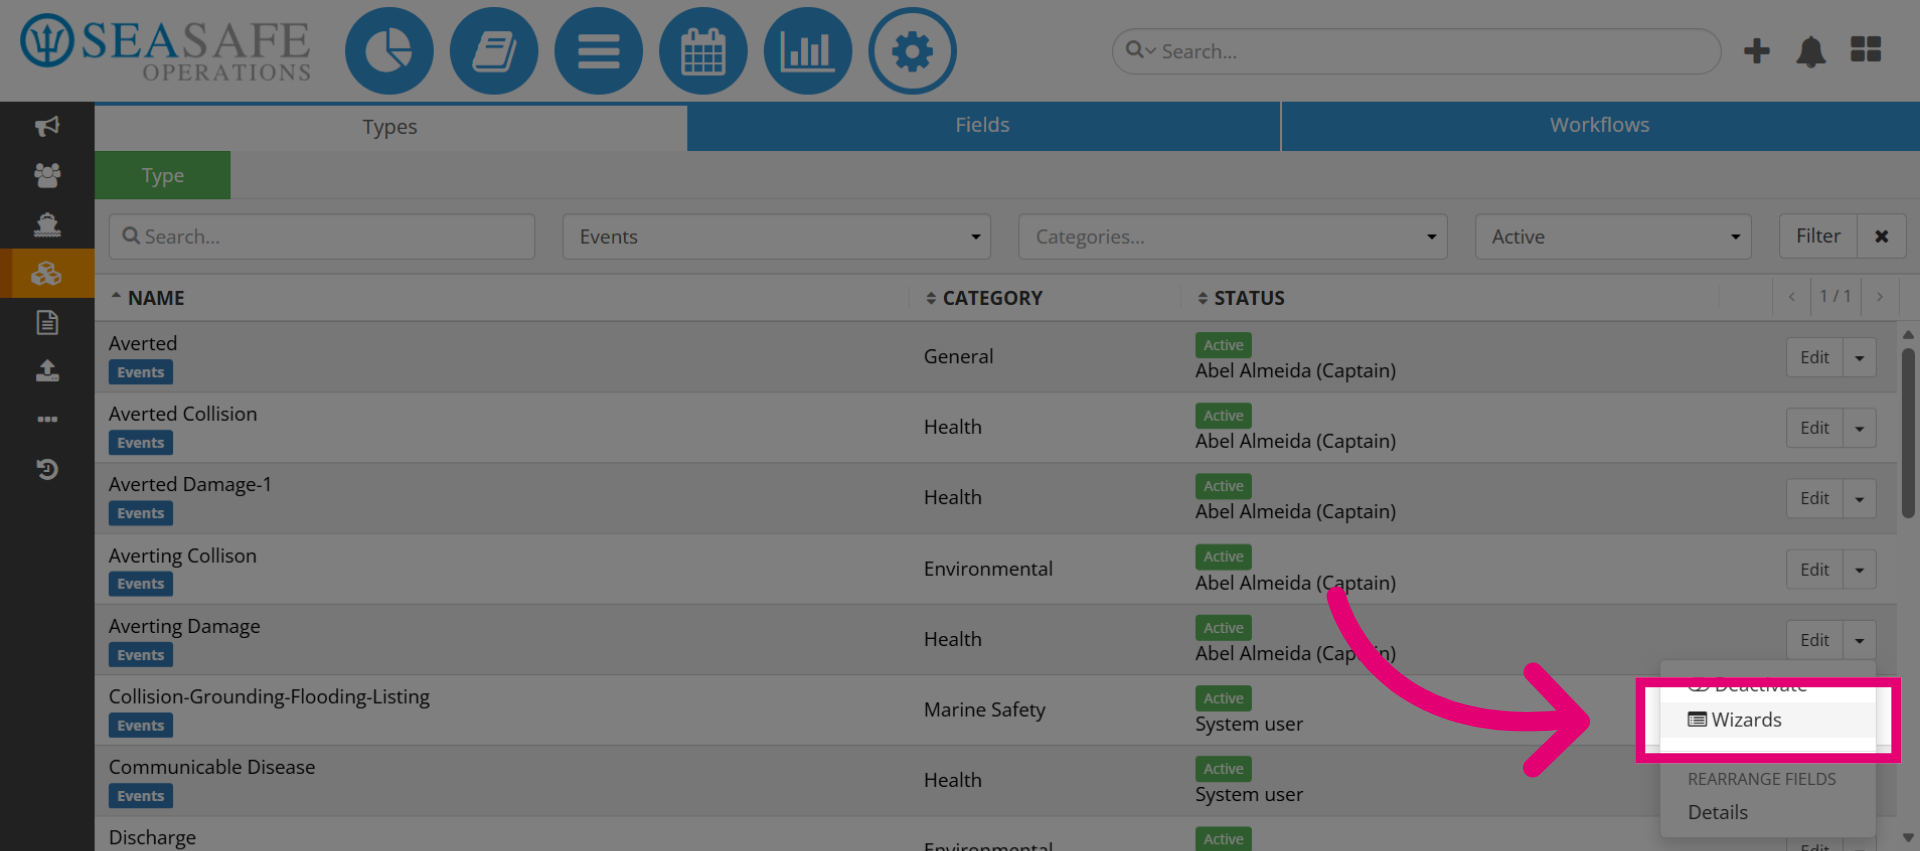
7. Open Dropdown Menu
Then, click the toggle dropdown button to reveal additional options.
8. Navigate to Wizards Section
Next, select Wizards to access the configuration wizards for the type.
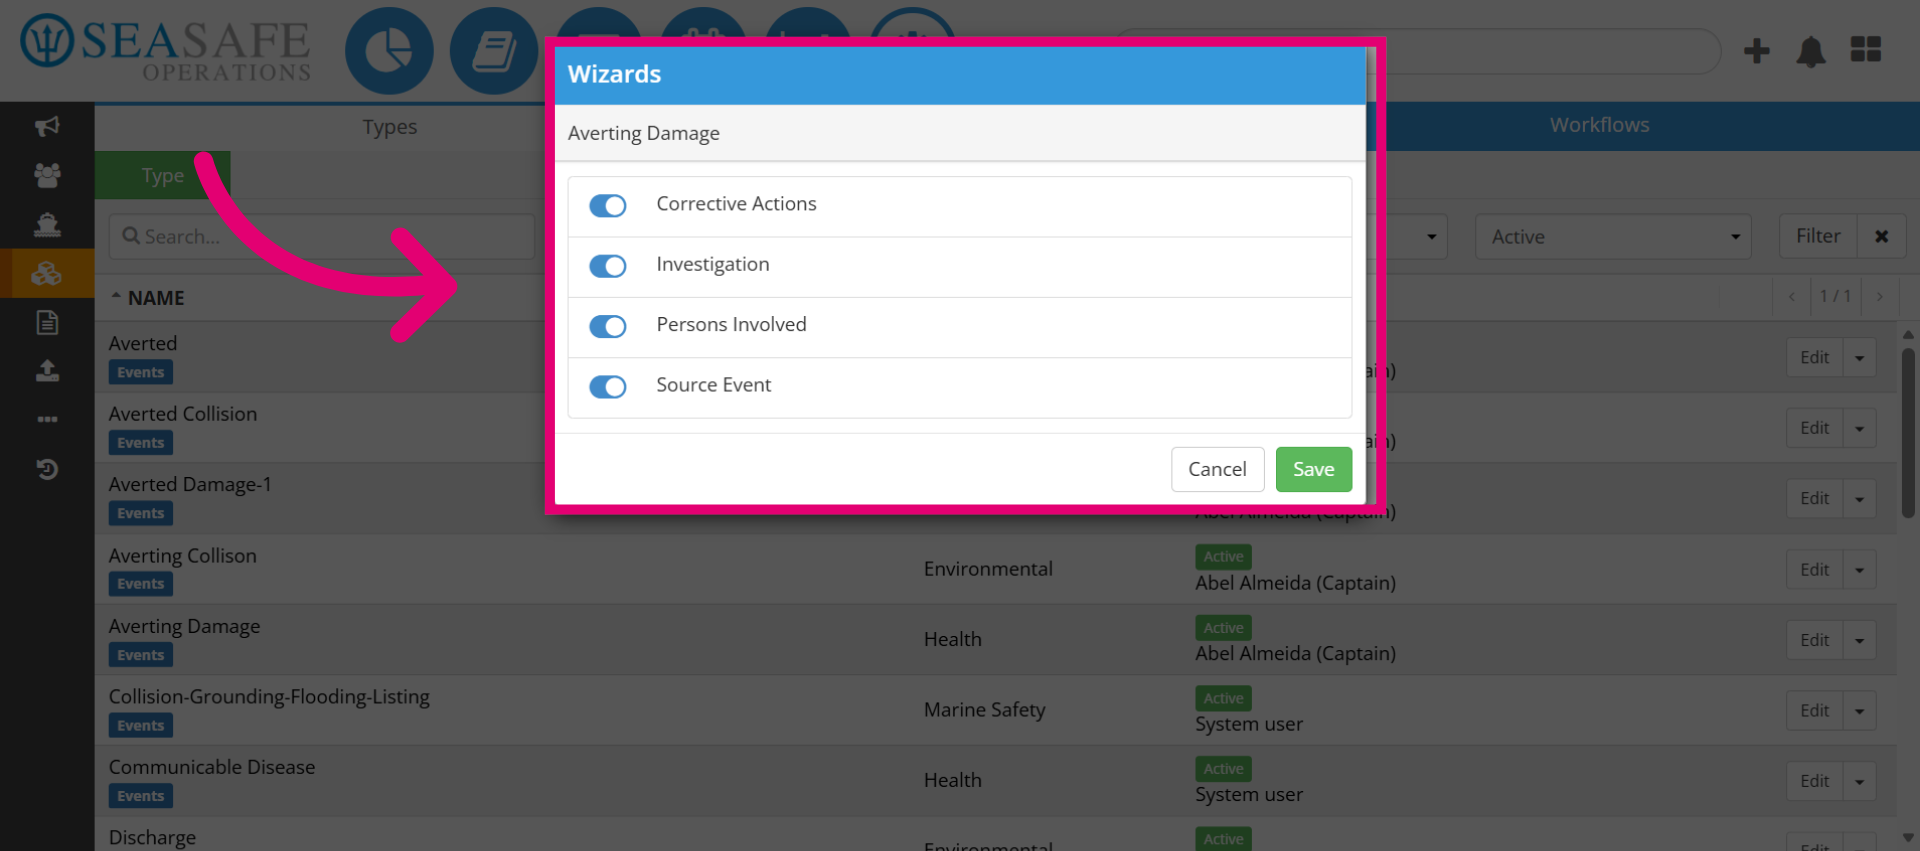
9. Enable Wizards
Enable Wizards such as Persons Involved or Corrective Actions to guide users through structured data entry.
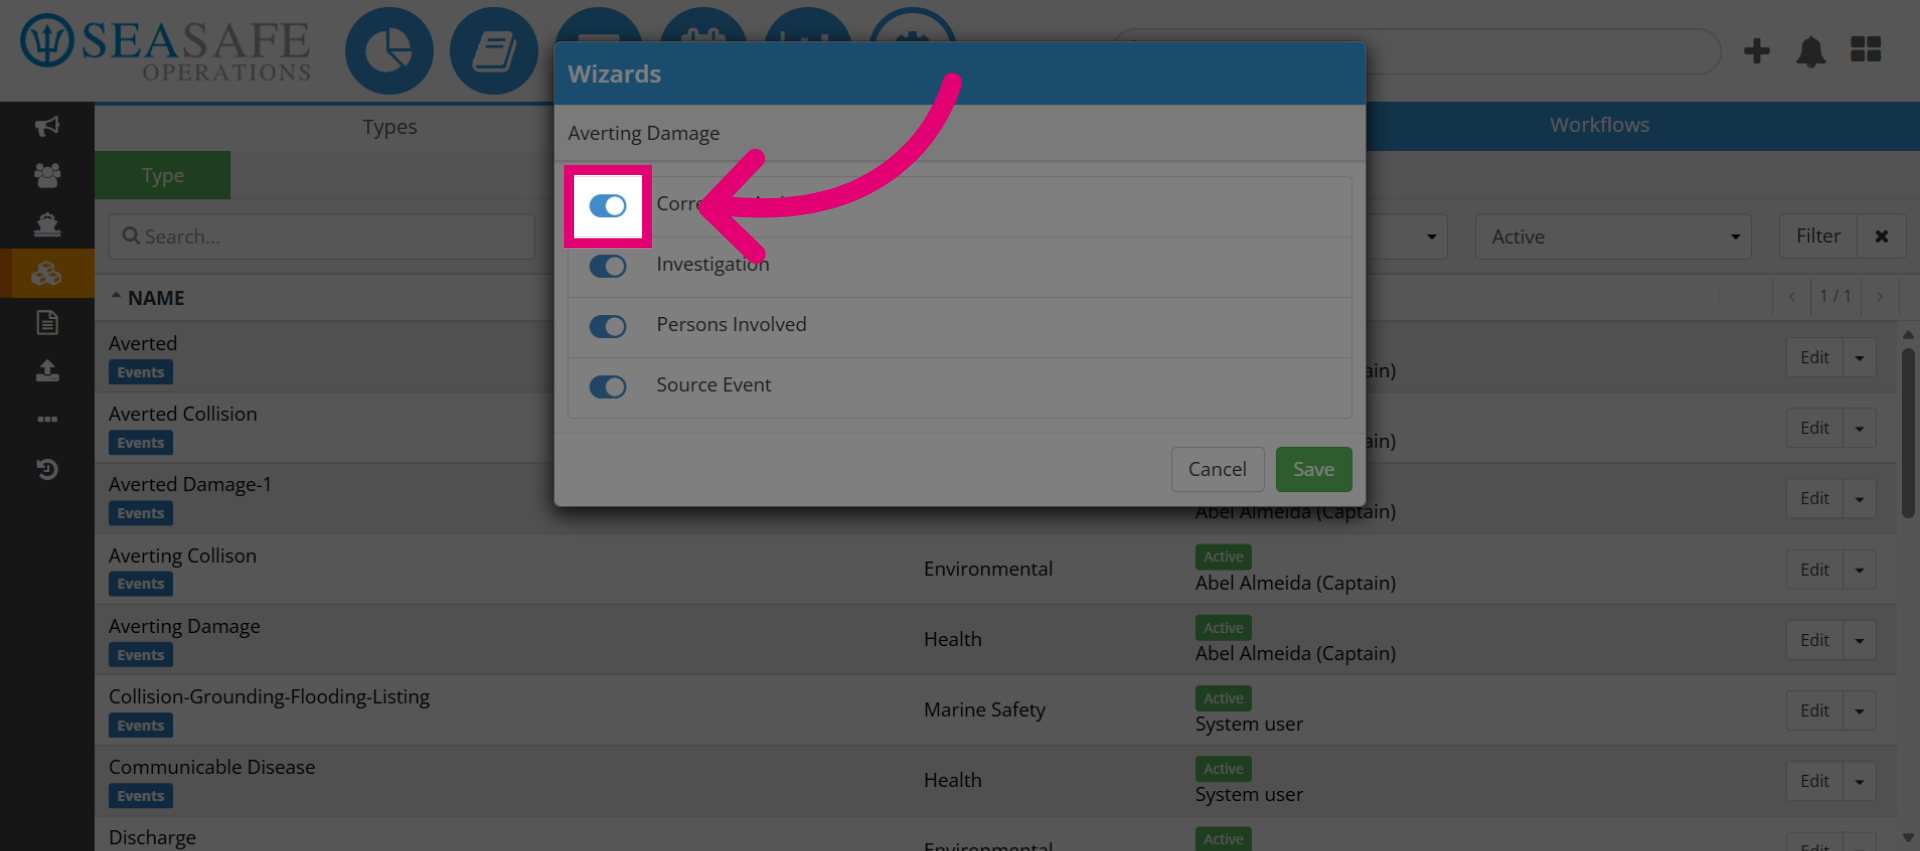
10. Toggle on Wizards
Then, toggle on Wizards that you want to add to the Workflow.
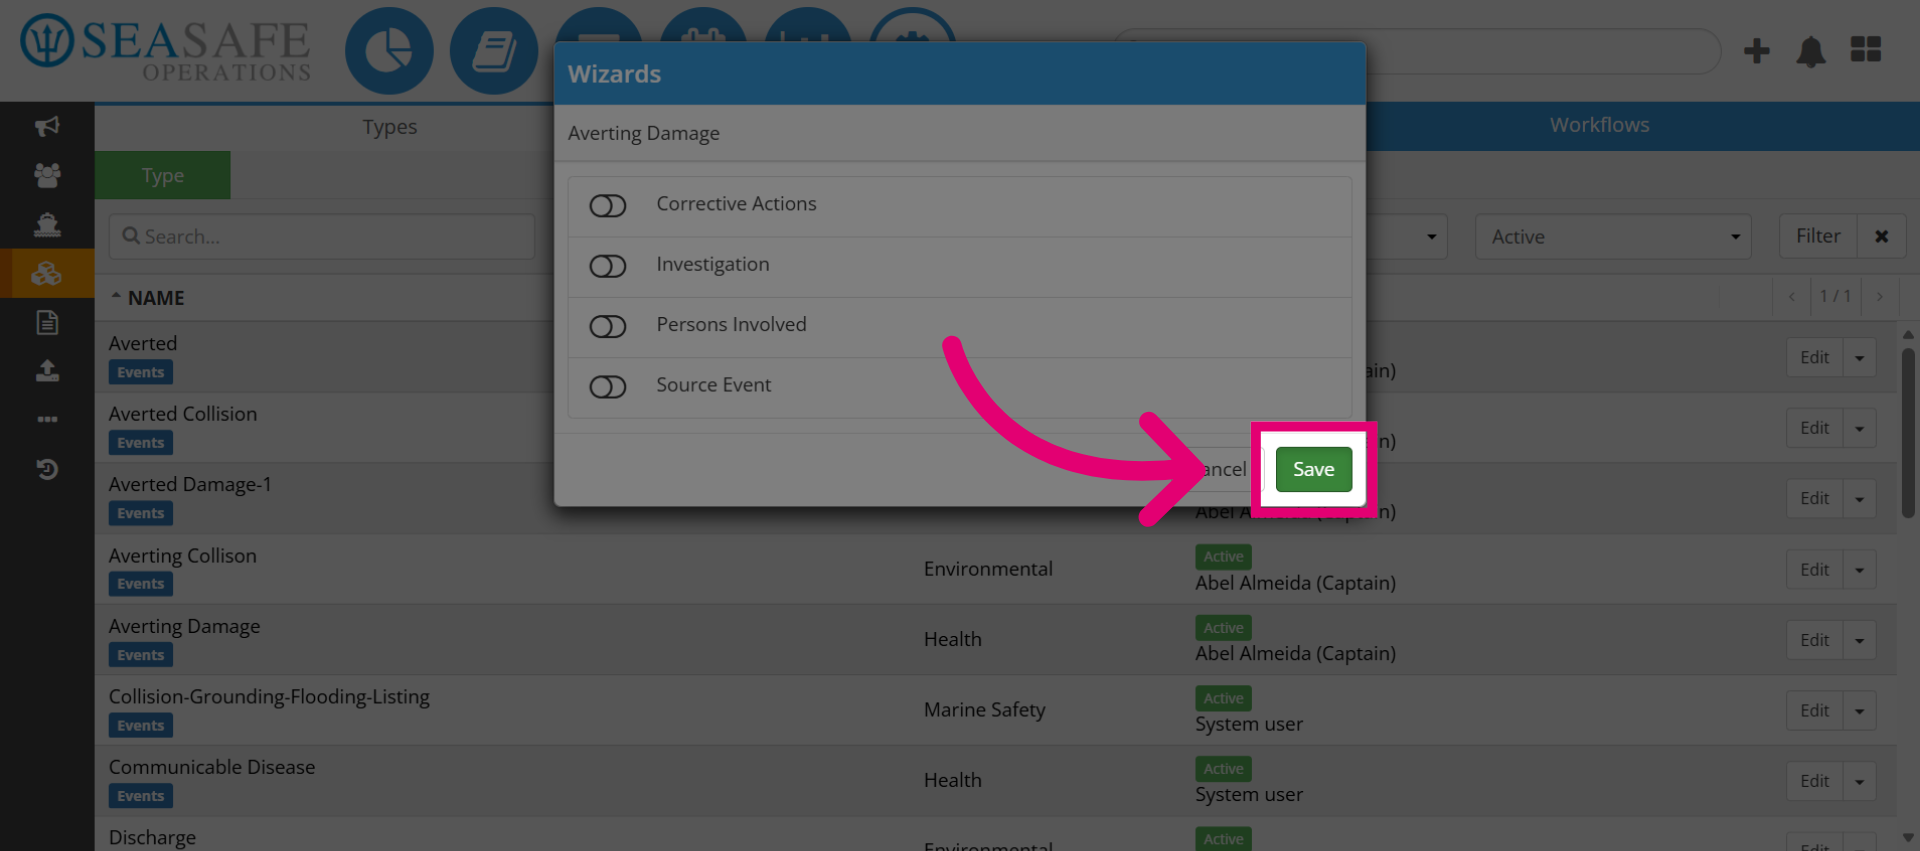
11. Save Wizard Configuration
Click Save to apply the wizard settings to the type.
12. Open Dropdown Menu Again
Click the toggle dropdown button to access more configuration options to rearrange the wizard fields.

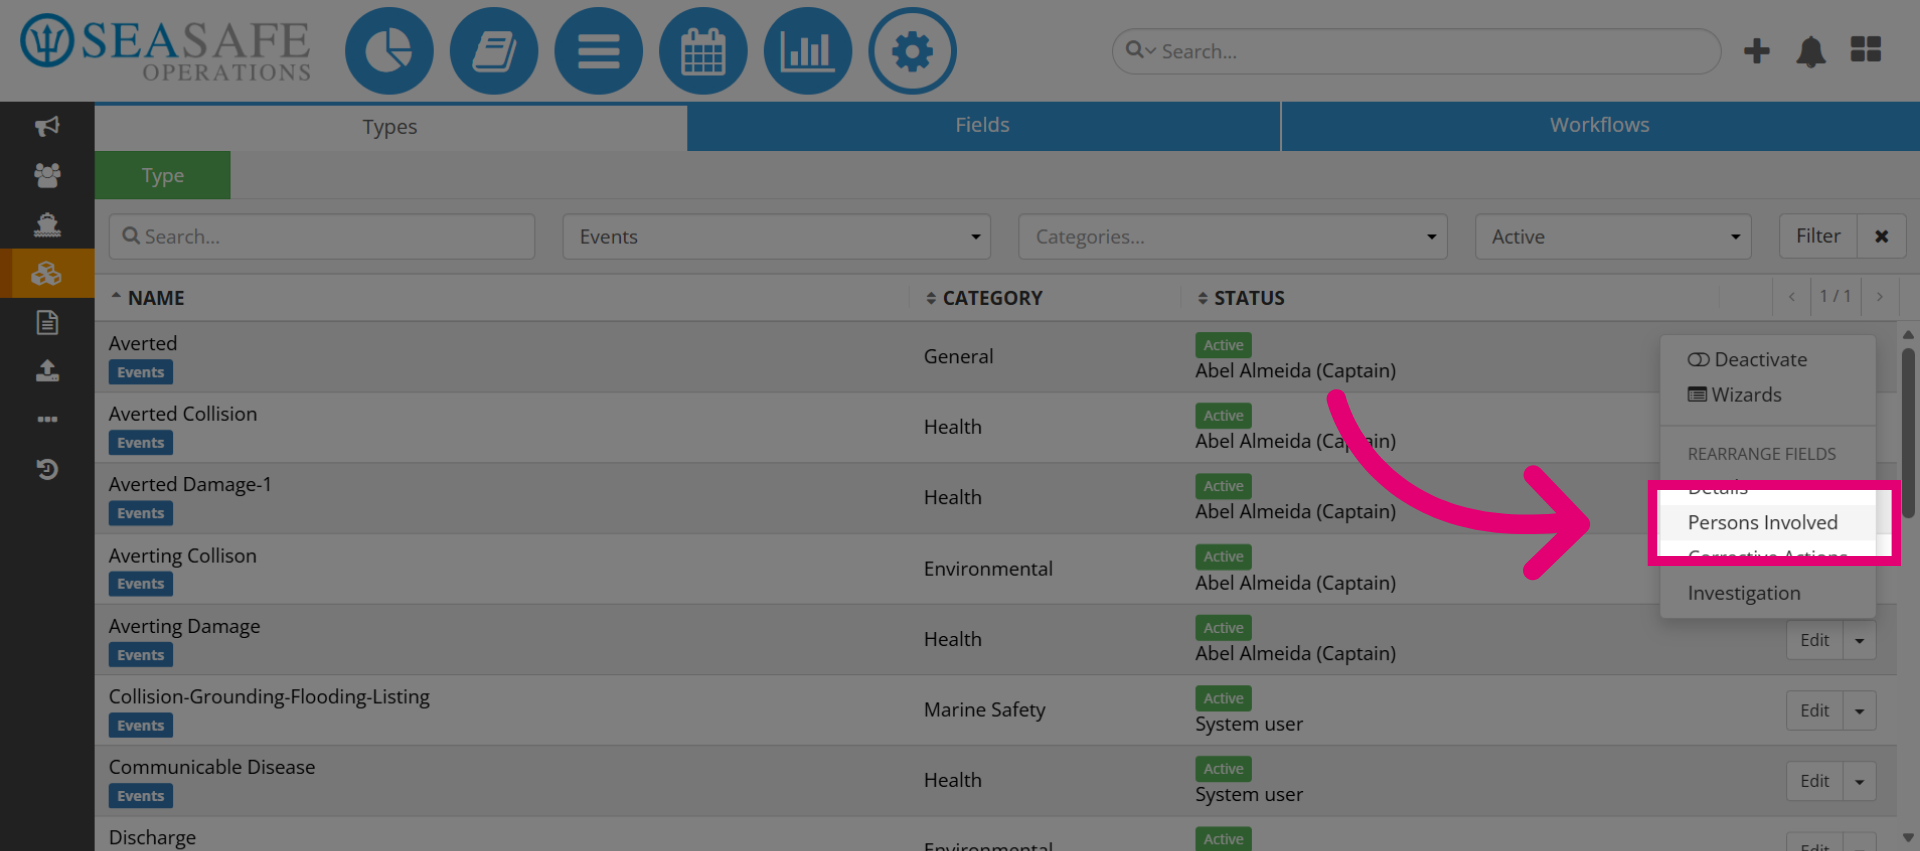
13. Access Persons Involved Section
Then, click "Persons Involved", which is usually added when passenger are involved.
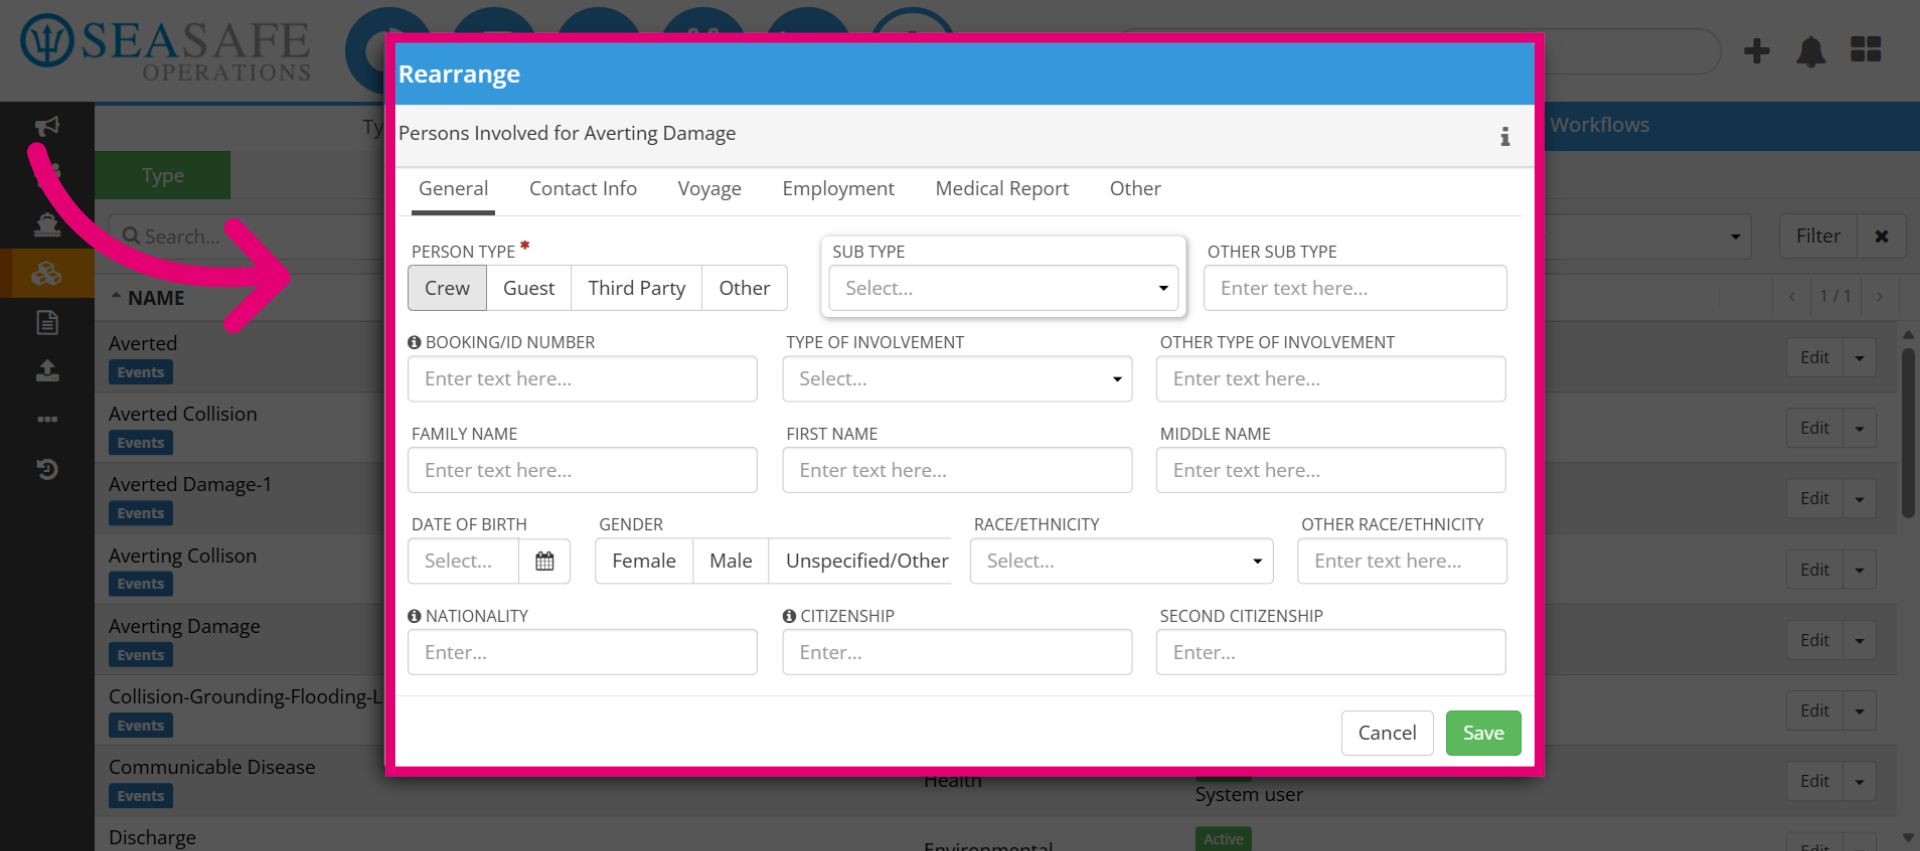
14. Select Area to Rearrange
Next select area to rearrange by dragging and dropping a field to the area you desire.
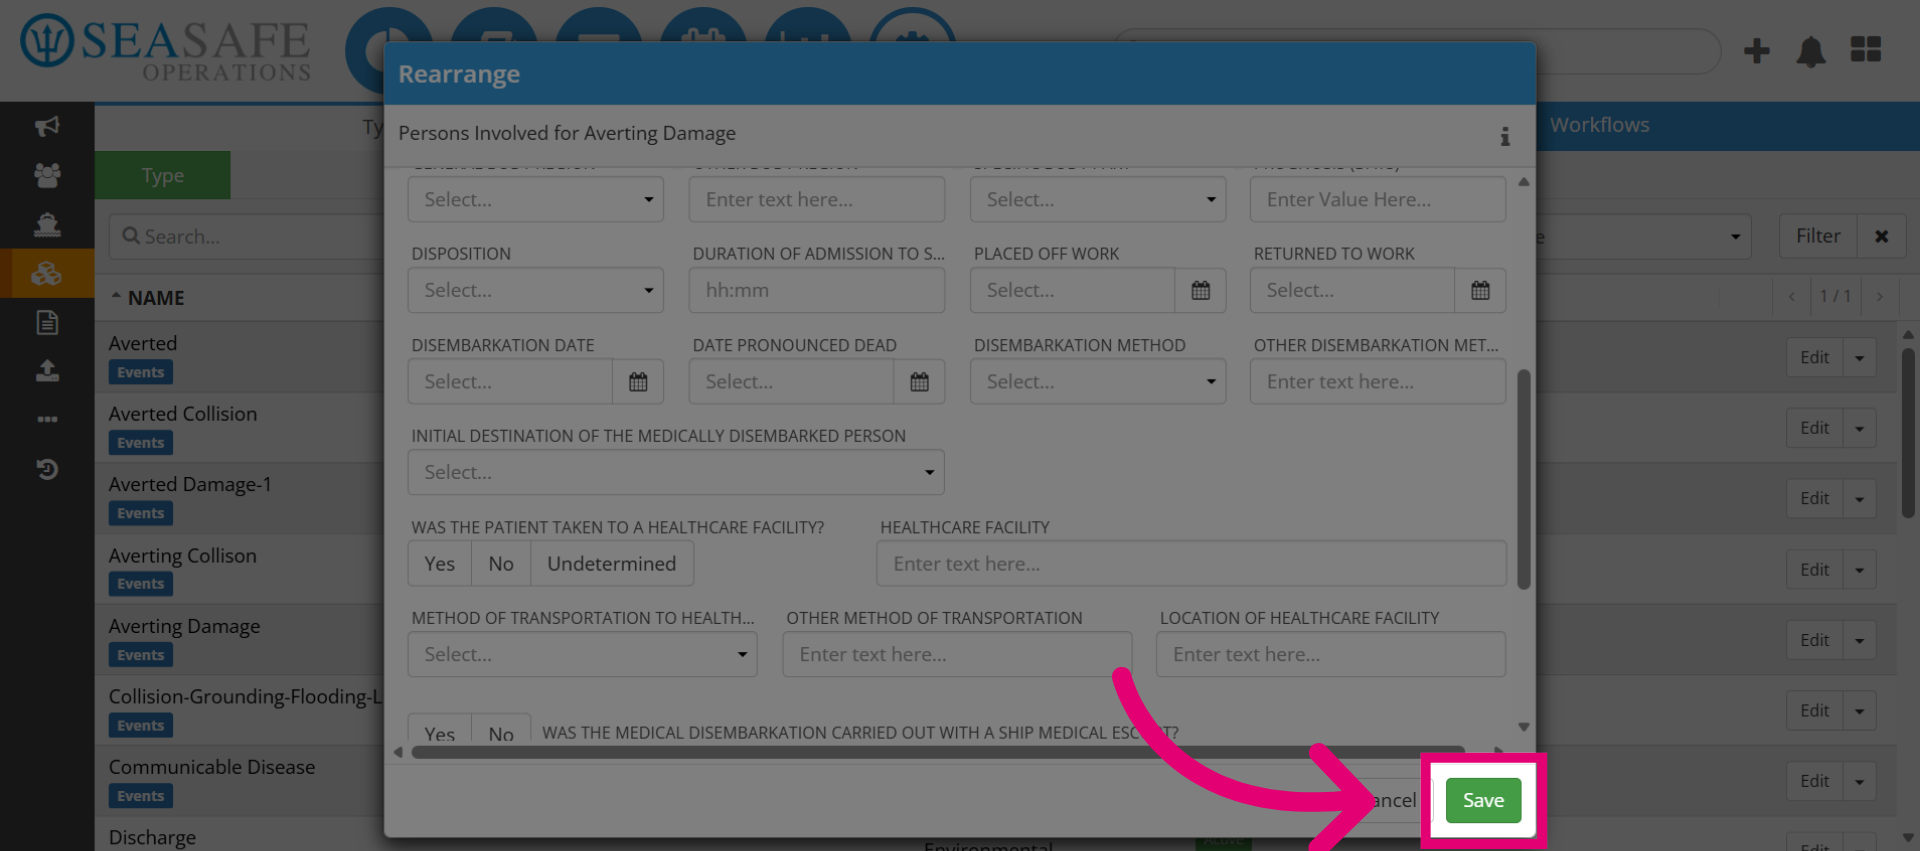
15. Save the updates
Then "Save" to update and your fields will appear rearranged for usage.
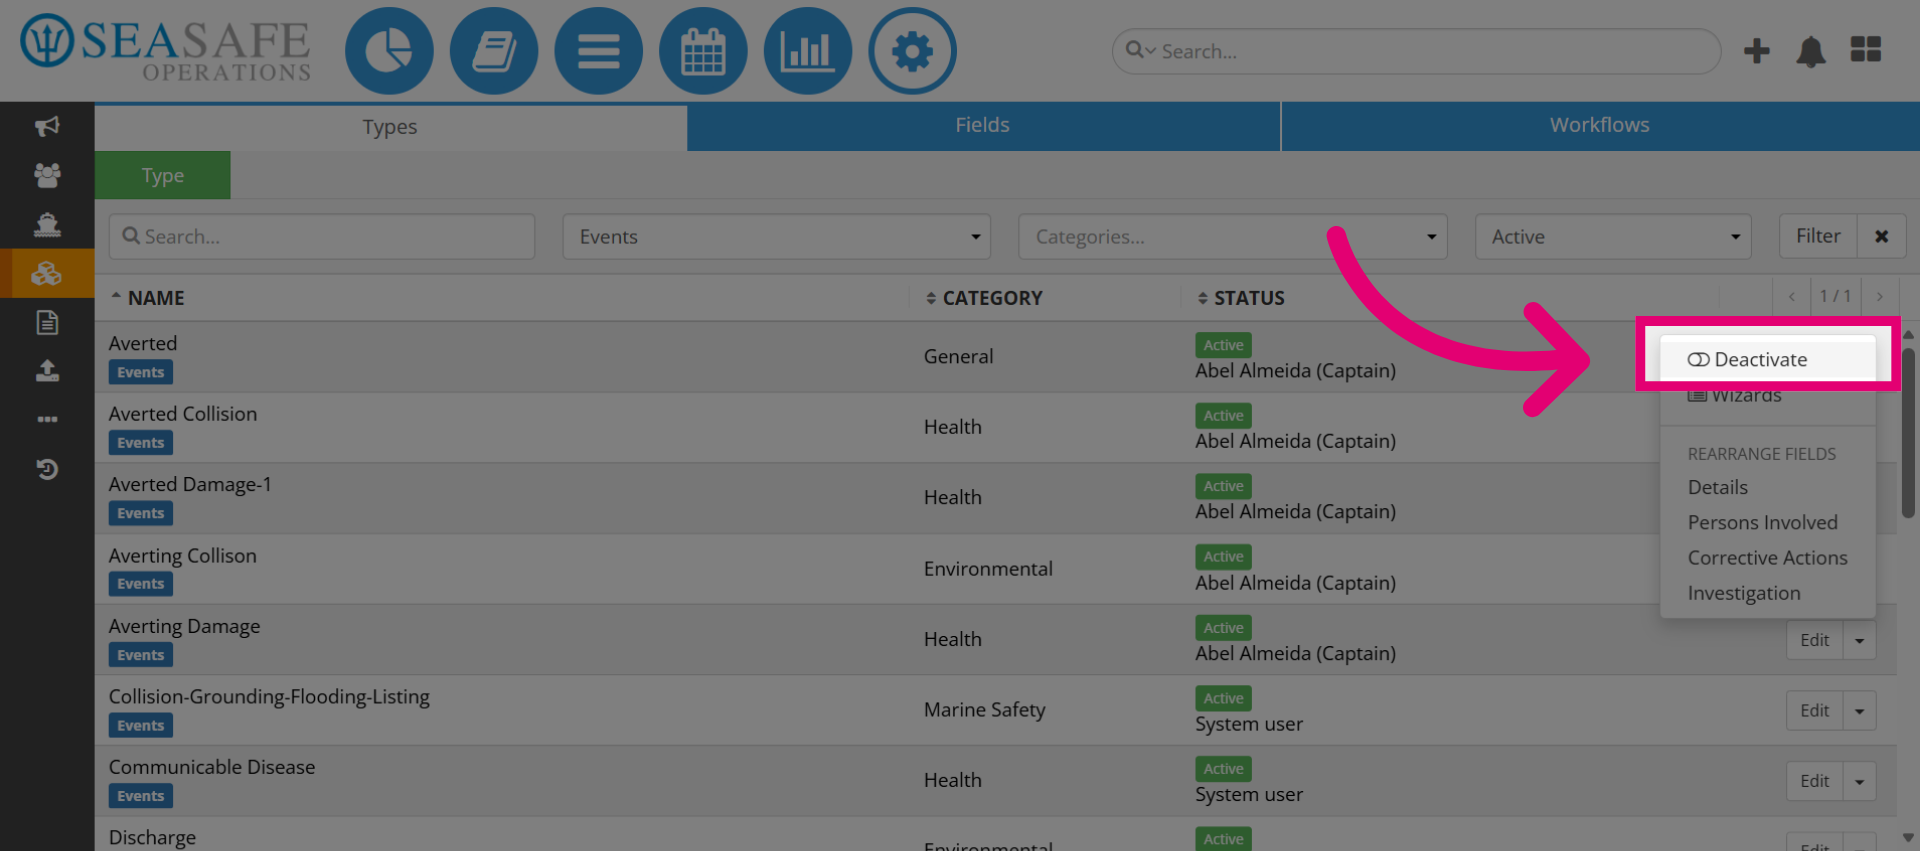
16. Select Deactivate Option
Click "Deactivate" to disable the type if needed.
17. Confirm Deactivation
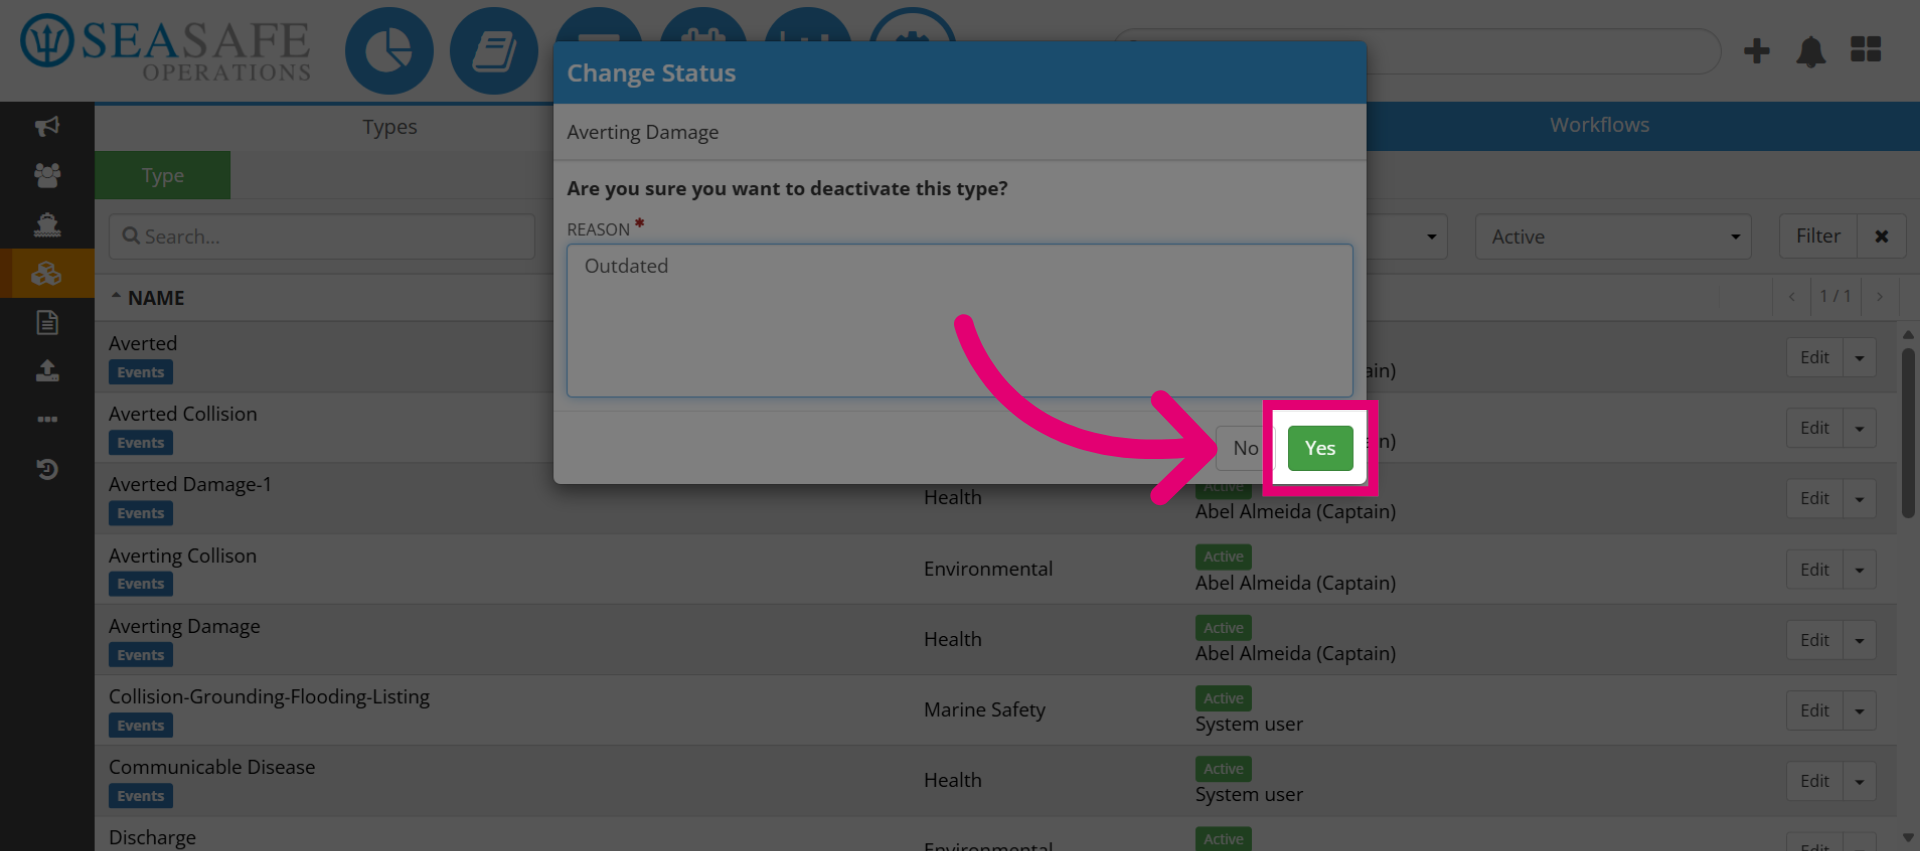
Then, click the indicated area and add the reason to confirm the deactivation action.
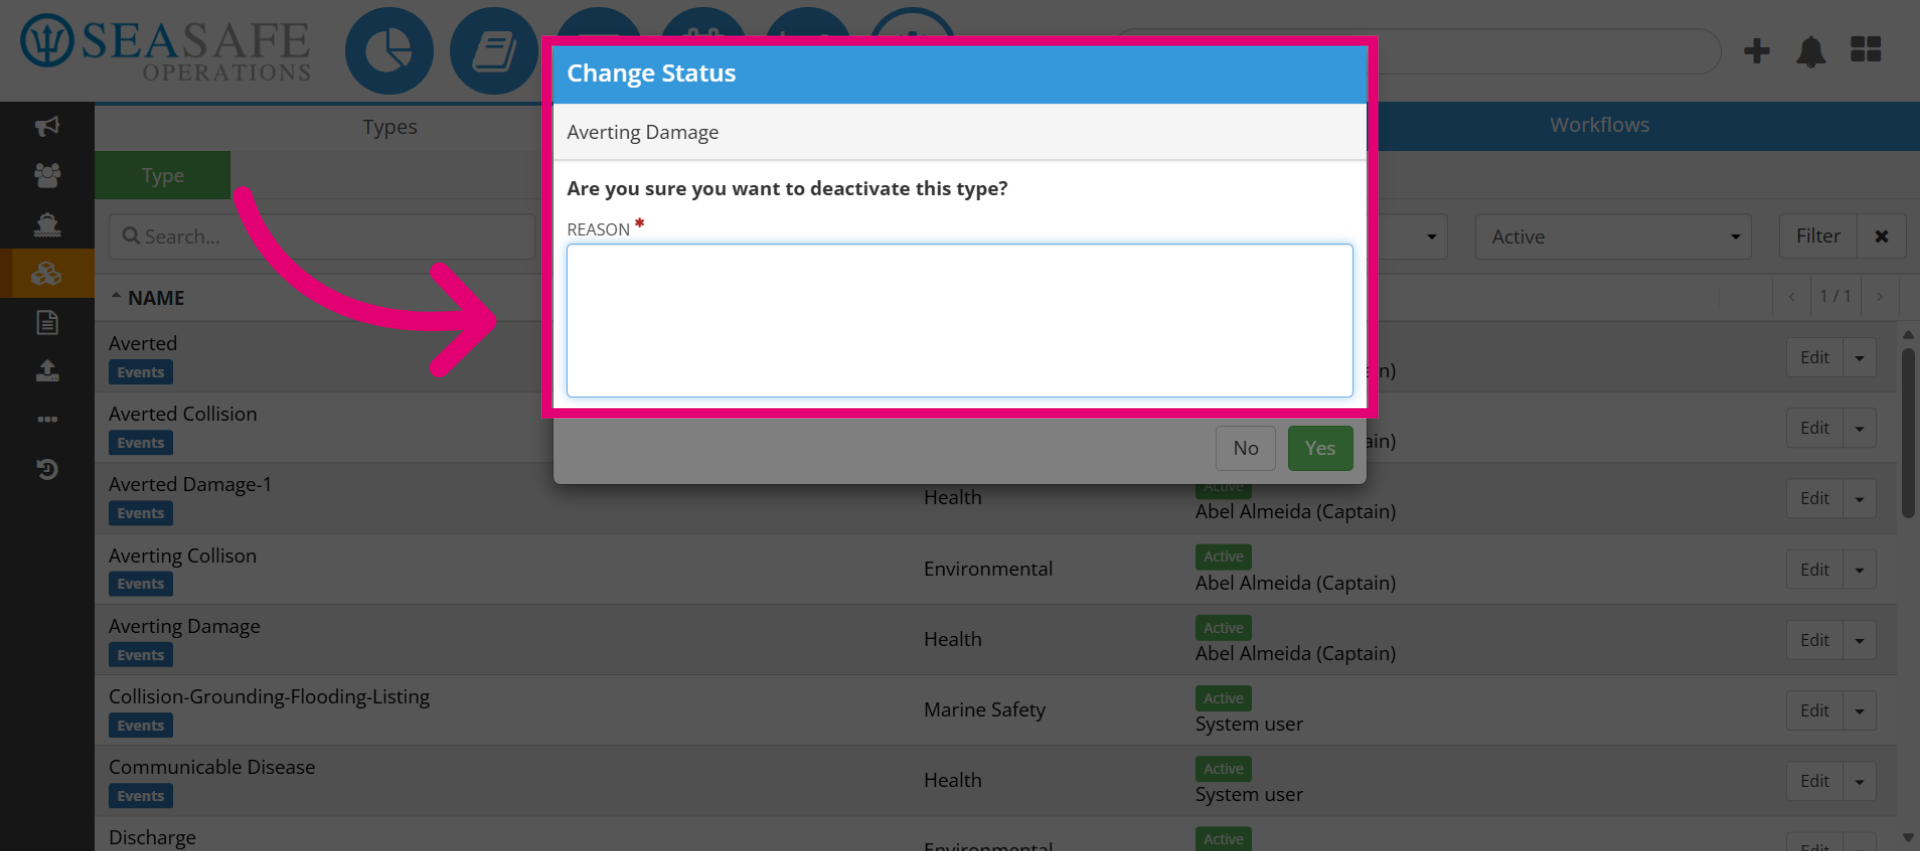
18. Confirm Deactivation Yes
Then, click Yes to finalize and apply the deactivation.