New article
Recently updated
Using Formatting Tools in the Document Editor

Who is this article for?Users who want to use the formatting tools in the Custom Report Document Editor.
No elevated permissions are required.
Improve your skills with the formatting tools in the Document Editor of the custom report module. Follow these steps to create detailed and visual reports for presentations.
1. Using formatting tools in the Custom Report Document Editor
1.1. Video
1.2. Steps
- Start in the Document Editor section of the Custom Report module.
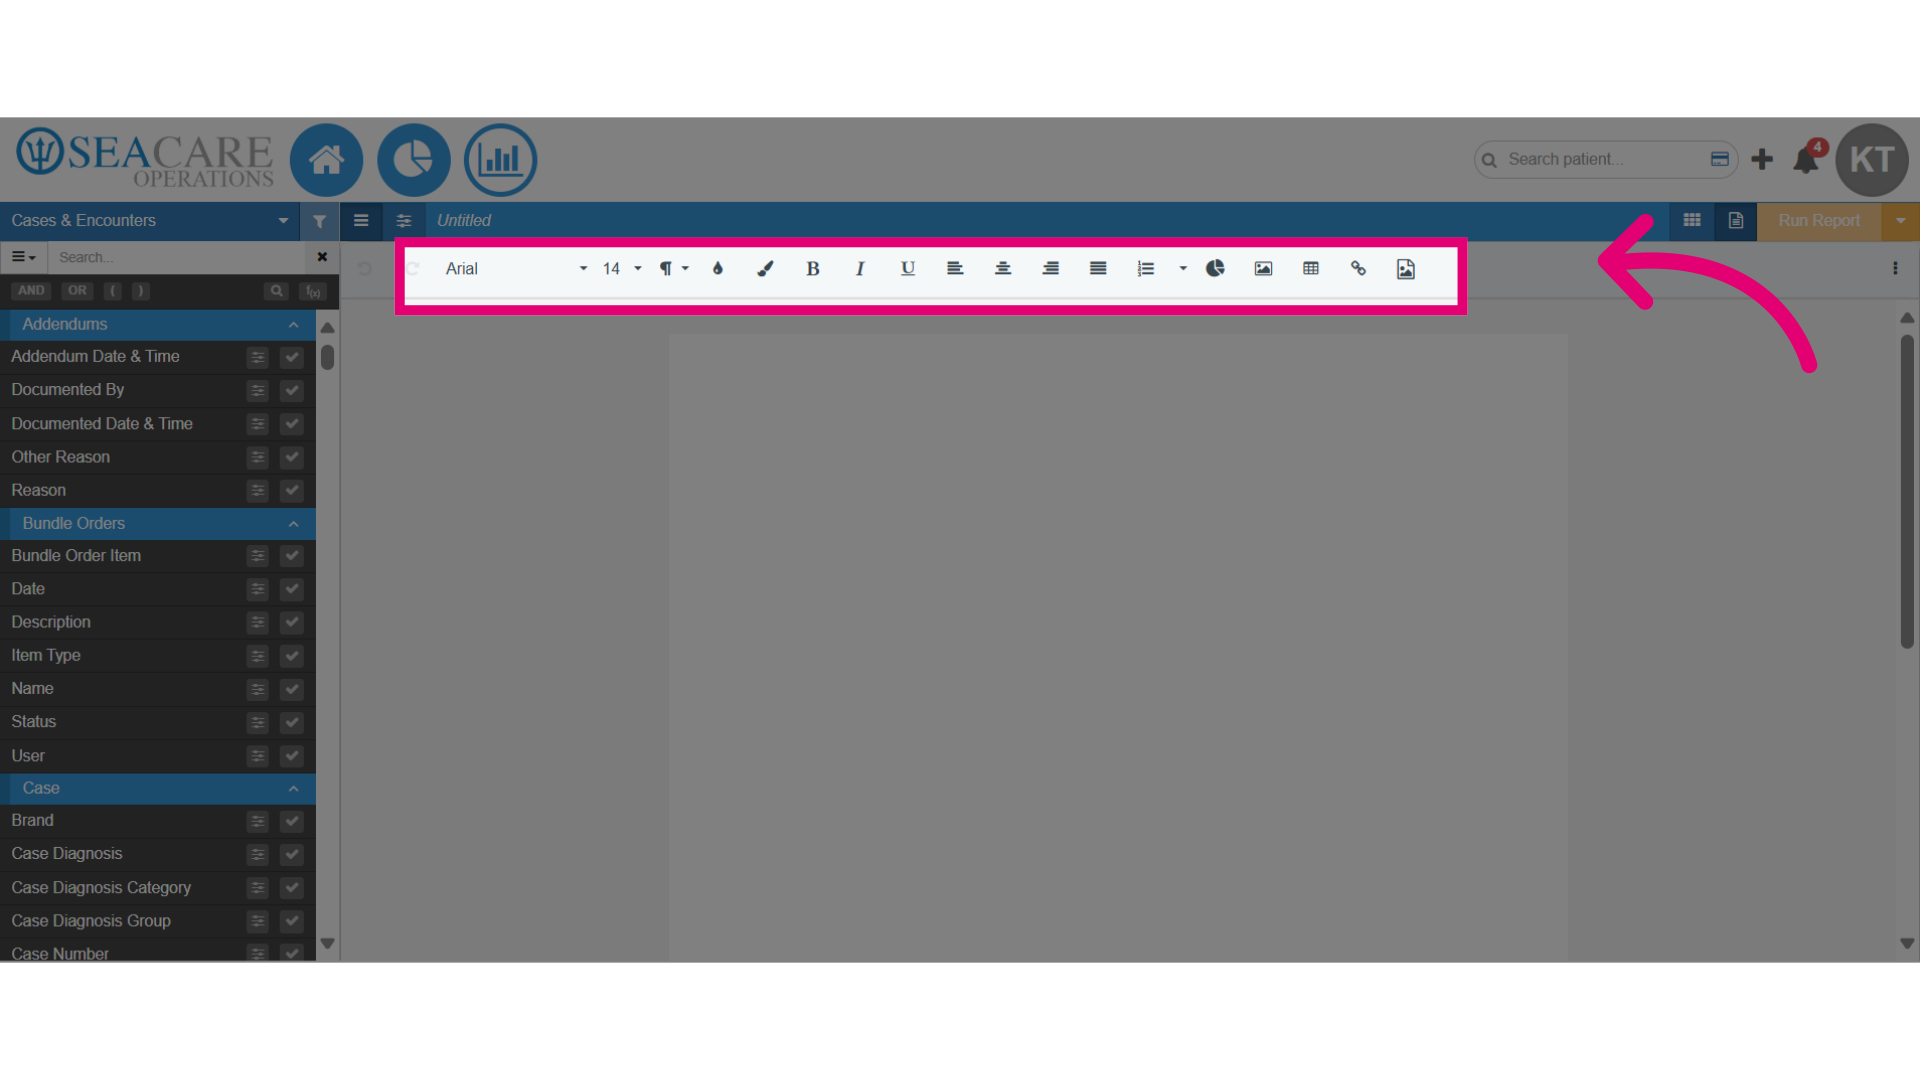
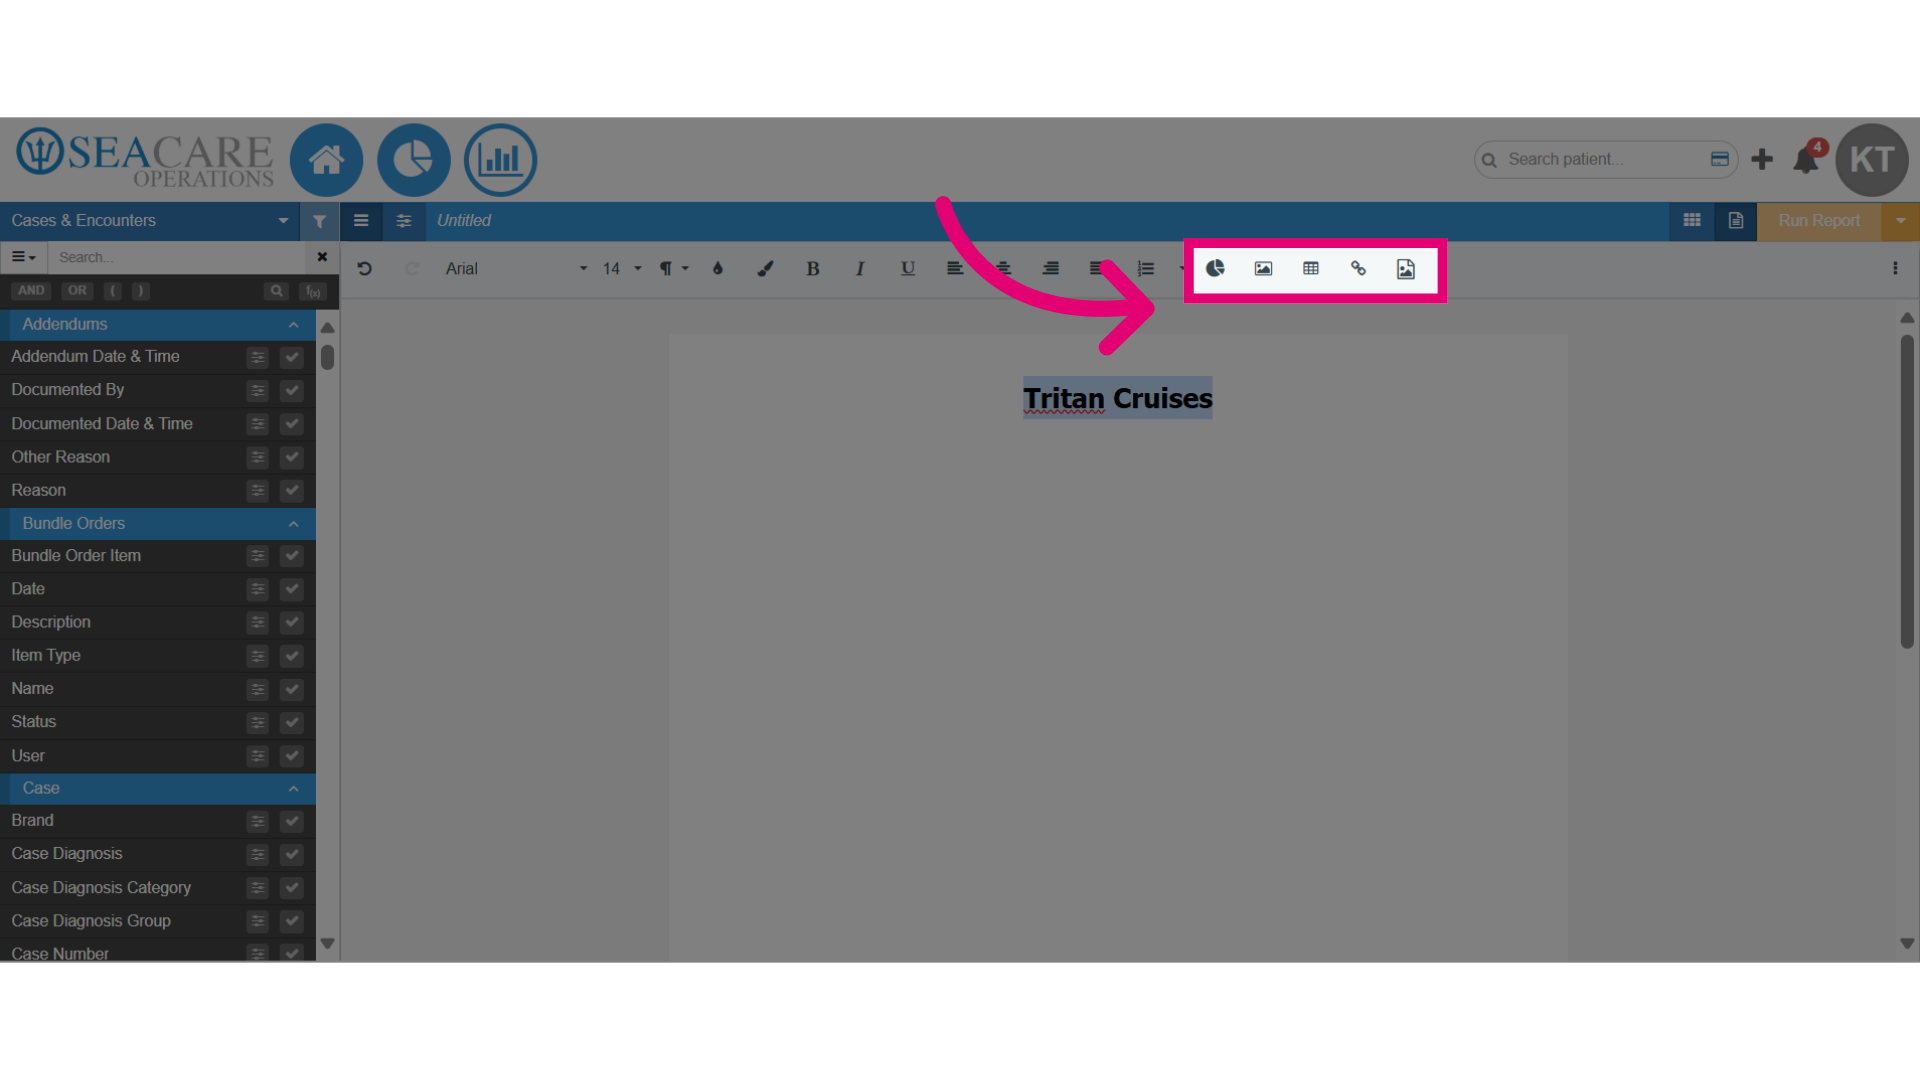
- The toolbar at the top offers various formatting options for customising your document, including:
- Text formatting options like bold and italics
- Paragraph formatting tools
- Visual elements such as charts, images, tables, and hyperlinks
- Document alignment tools
- List creation tools
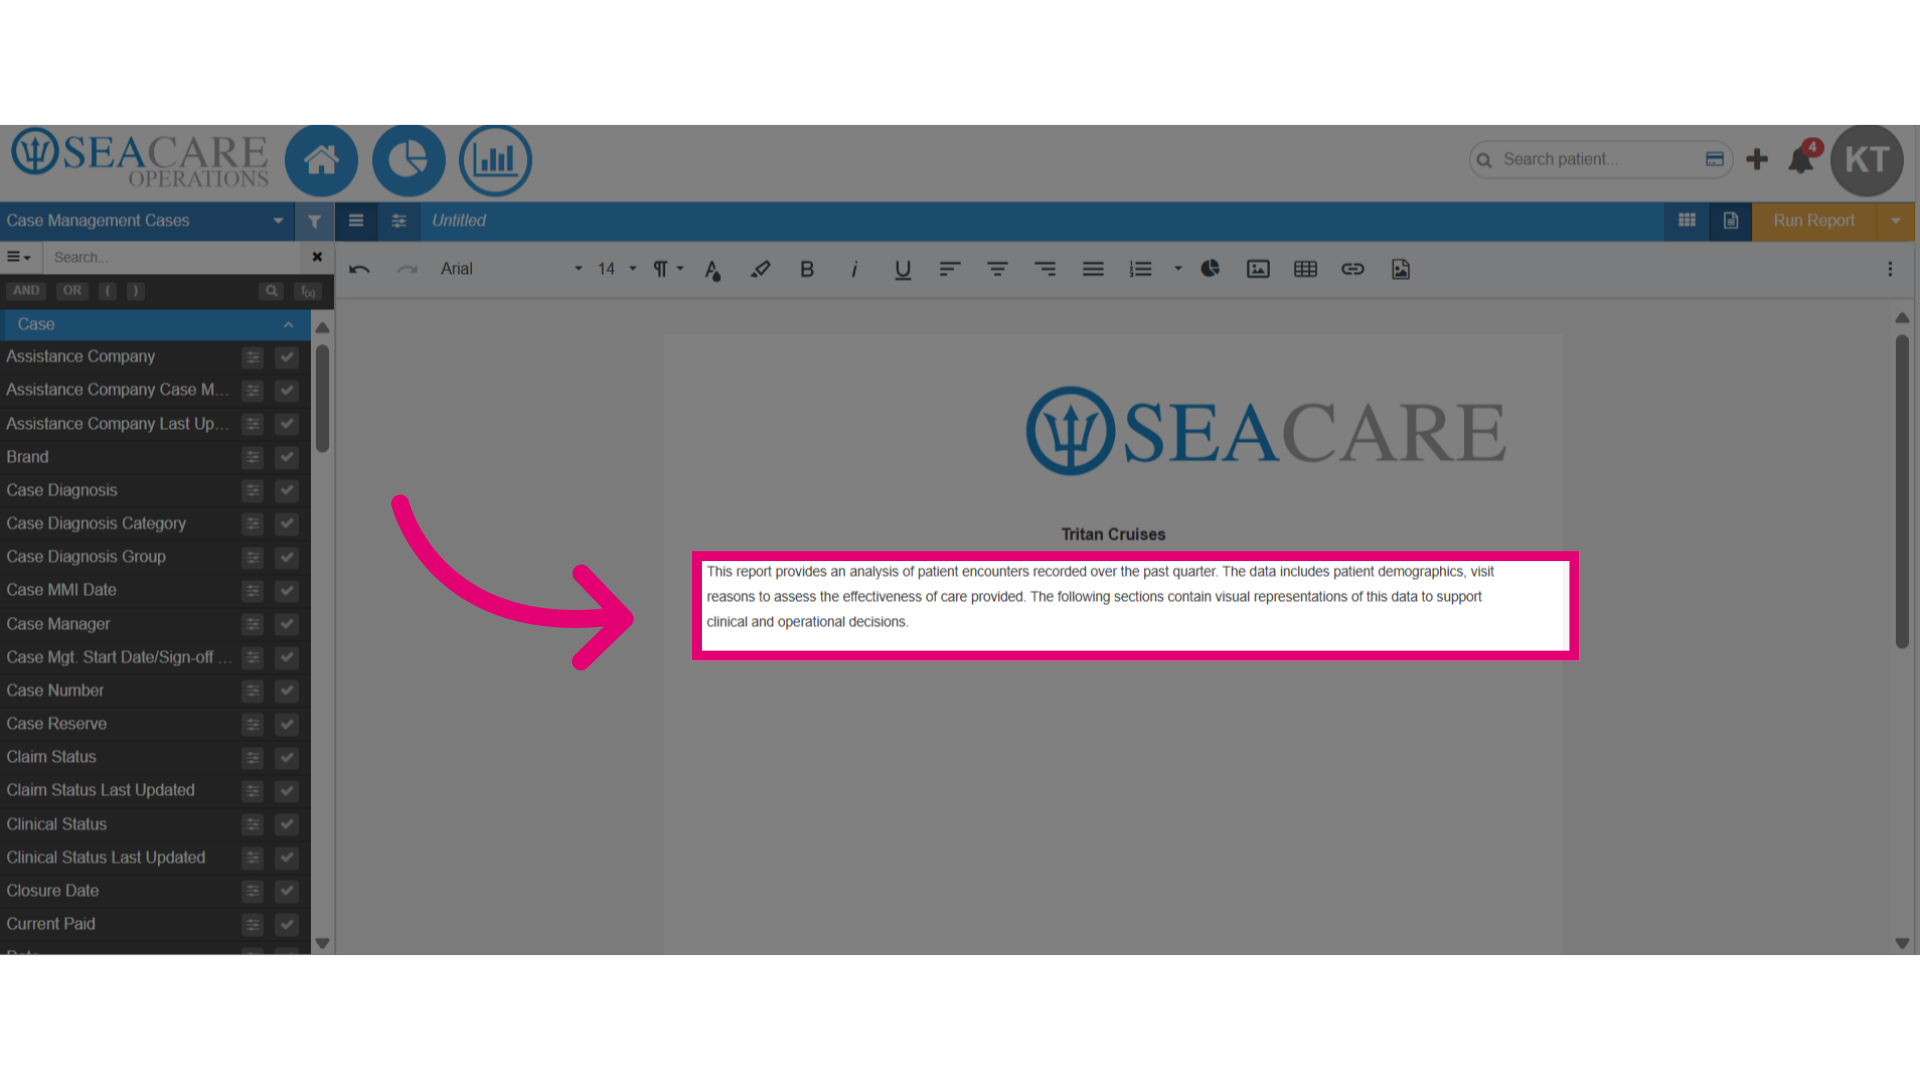
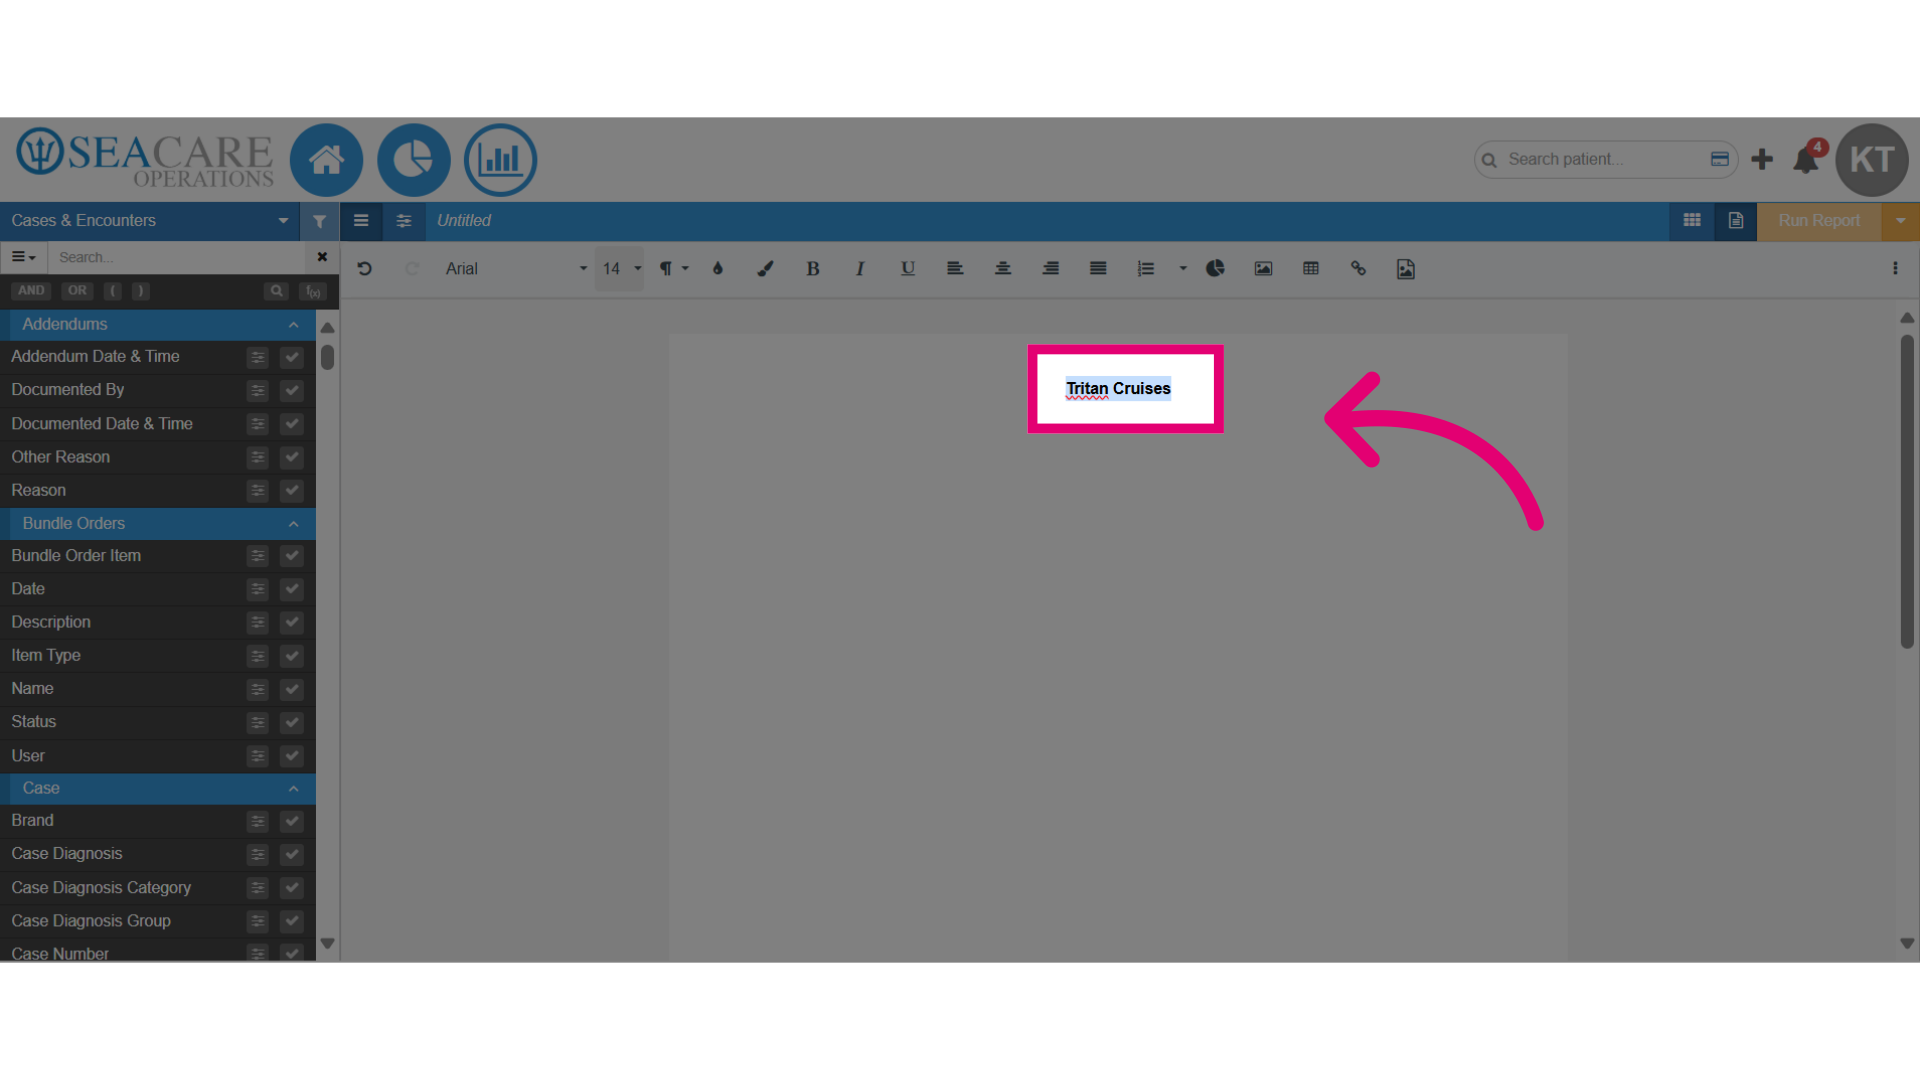
- Let's create a report by using the formatting tools, starting with the paragraph formatting to add a heading for the title.
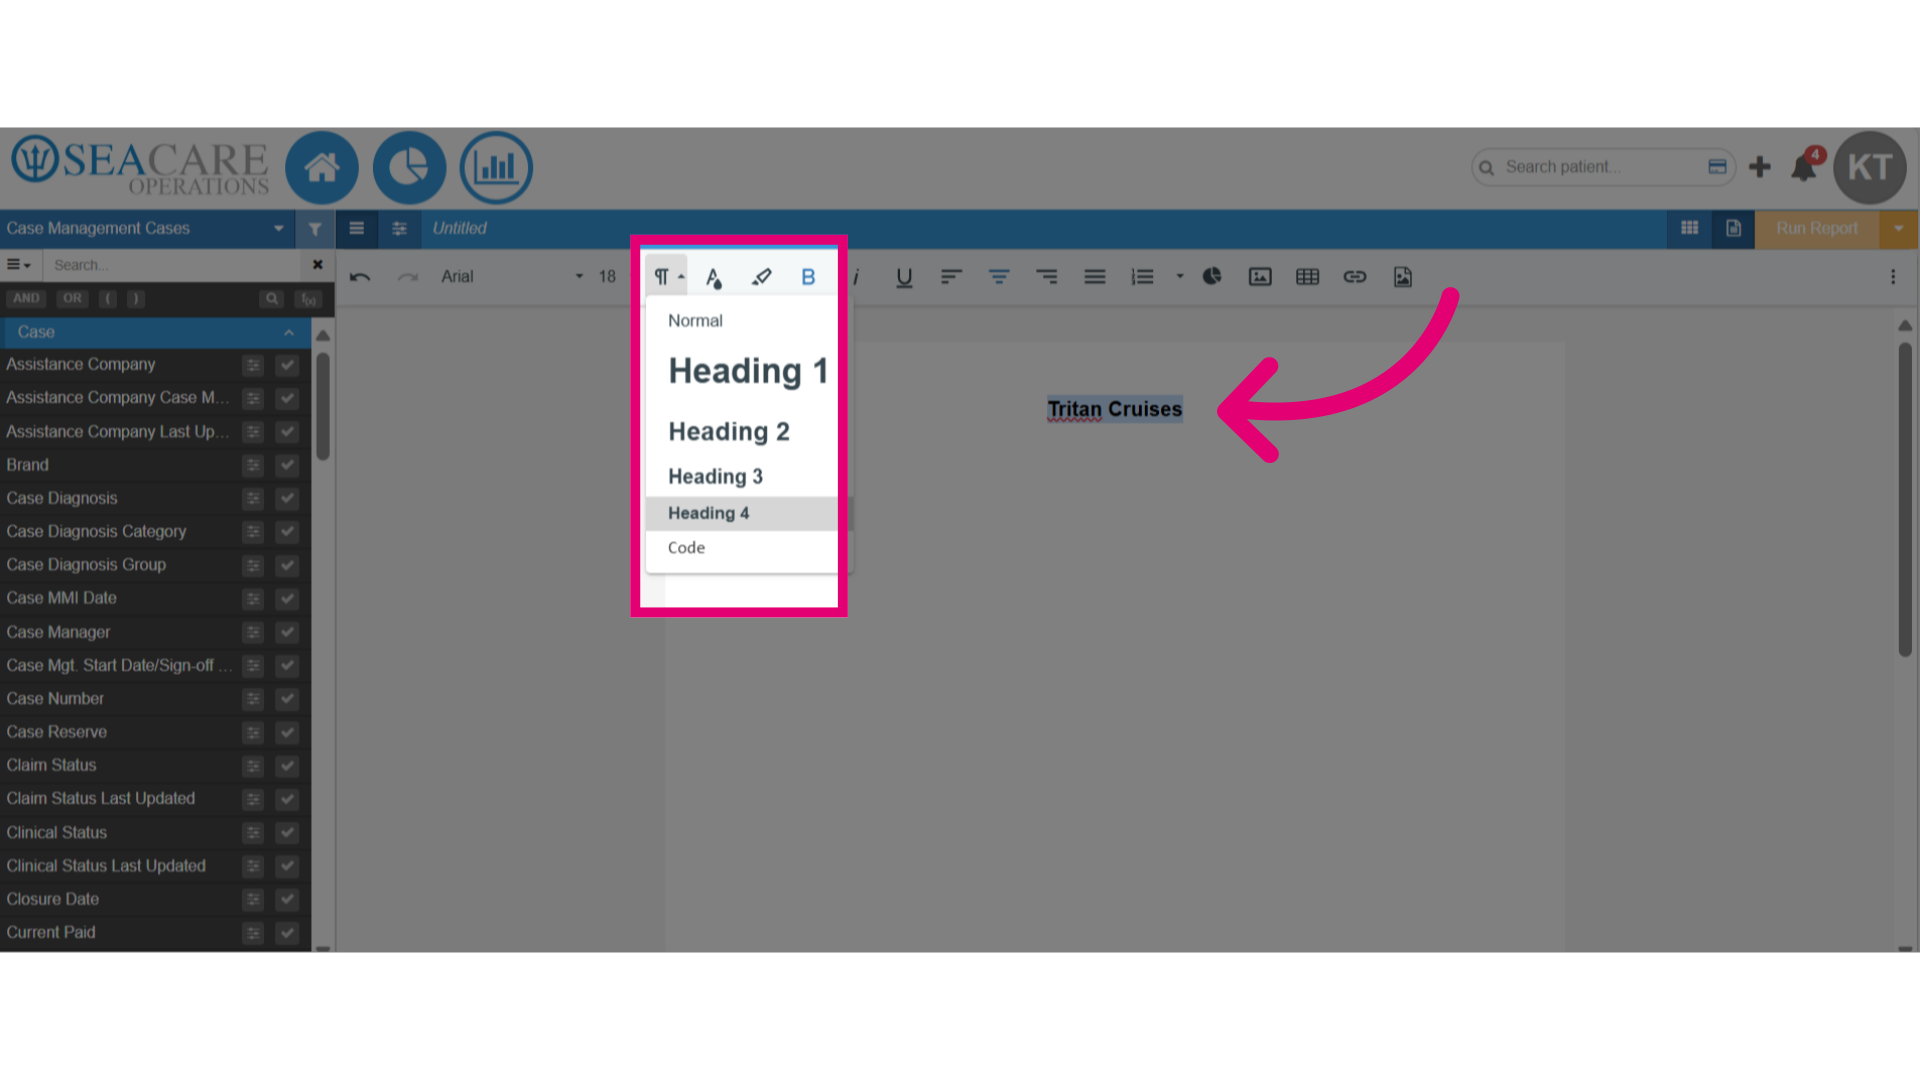
- Select a heading type (e.g., Heading 1, Heading 2) to add it to the document automatically.
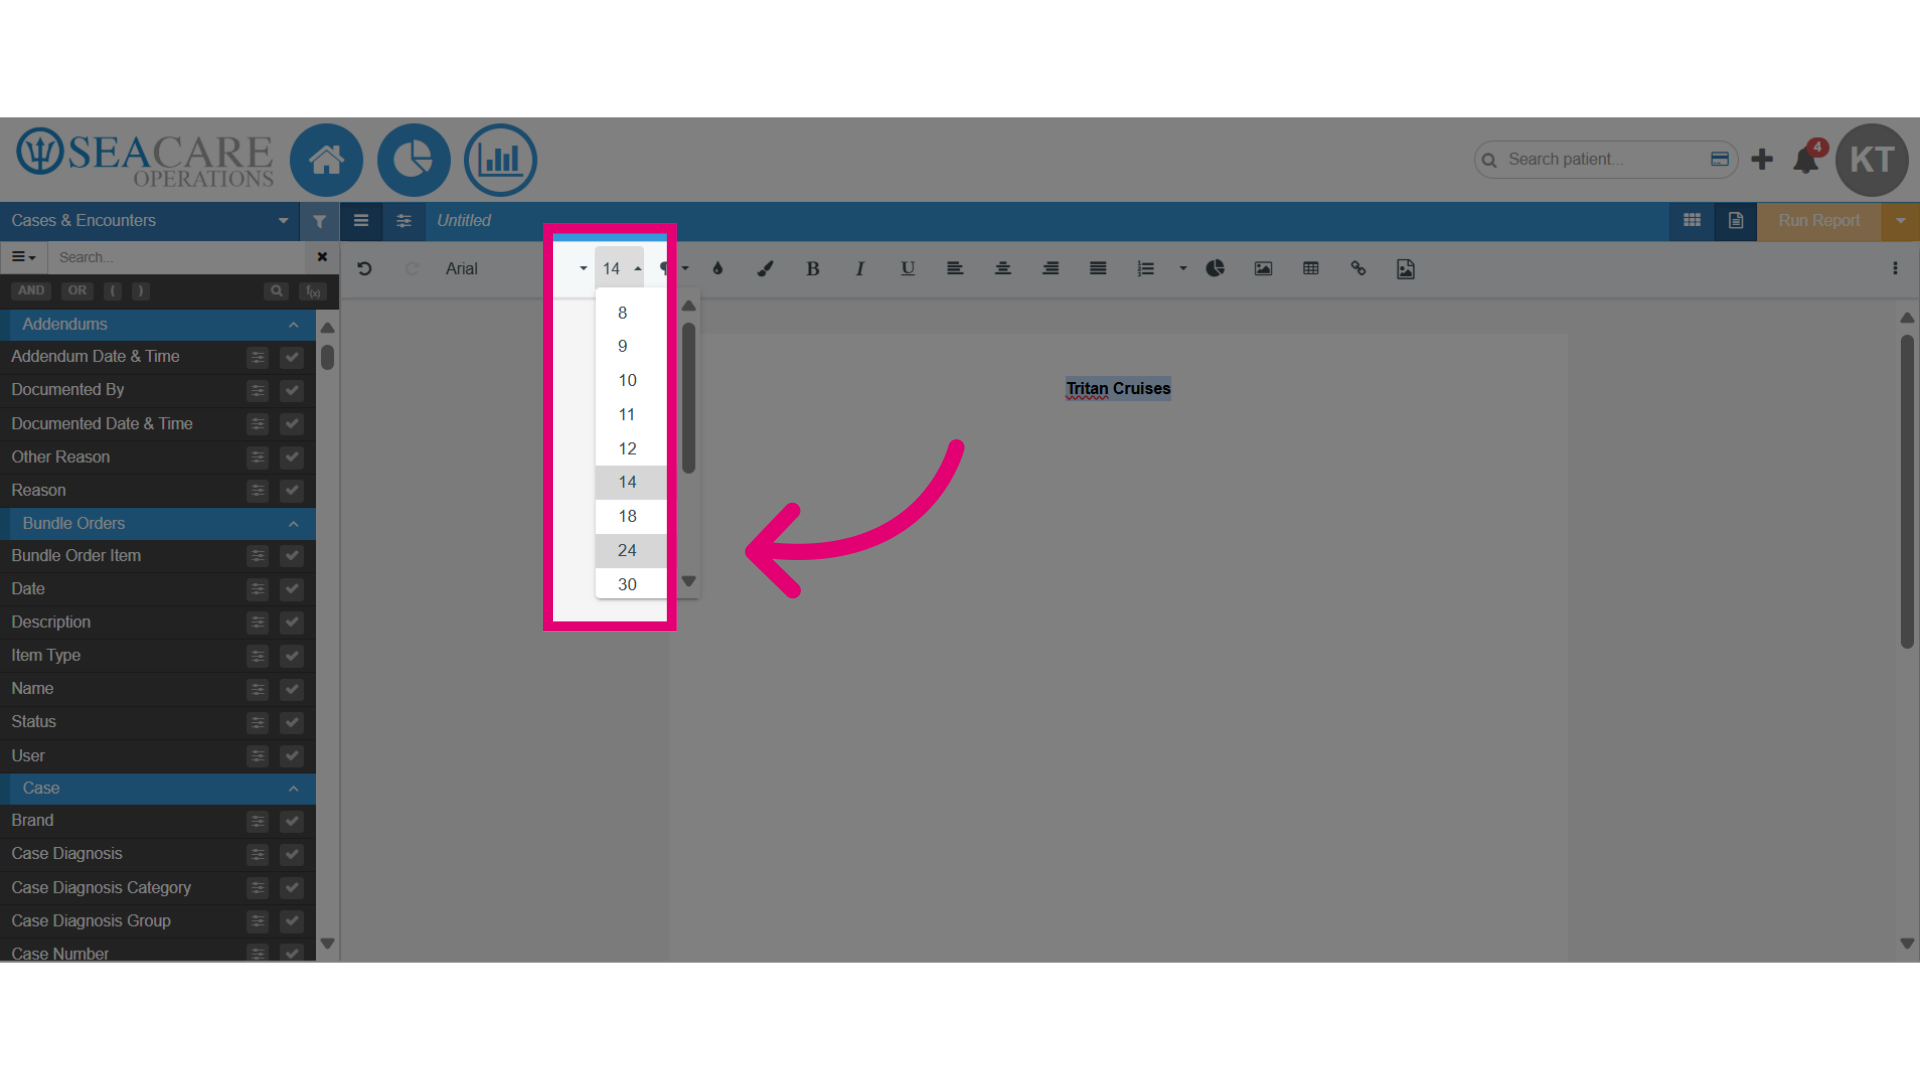
- Use the font tool to adjust the font size, if desired.
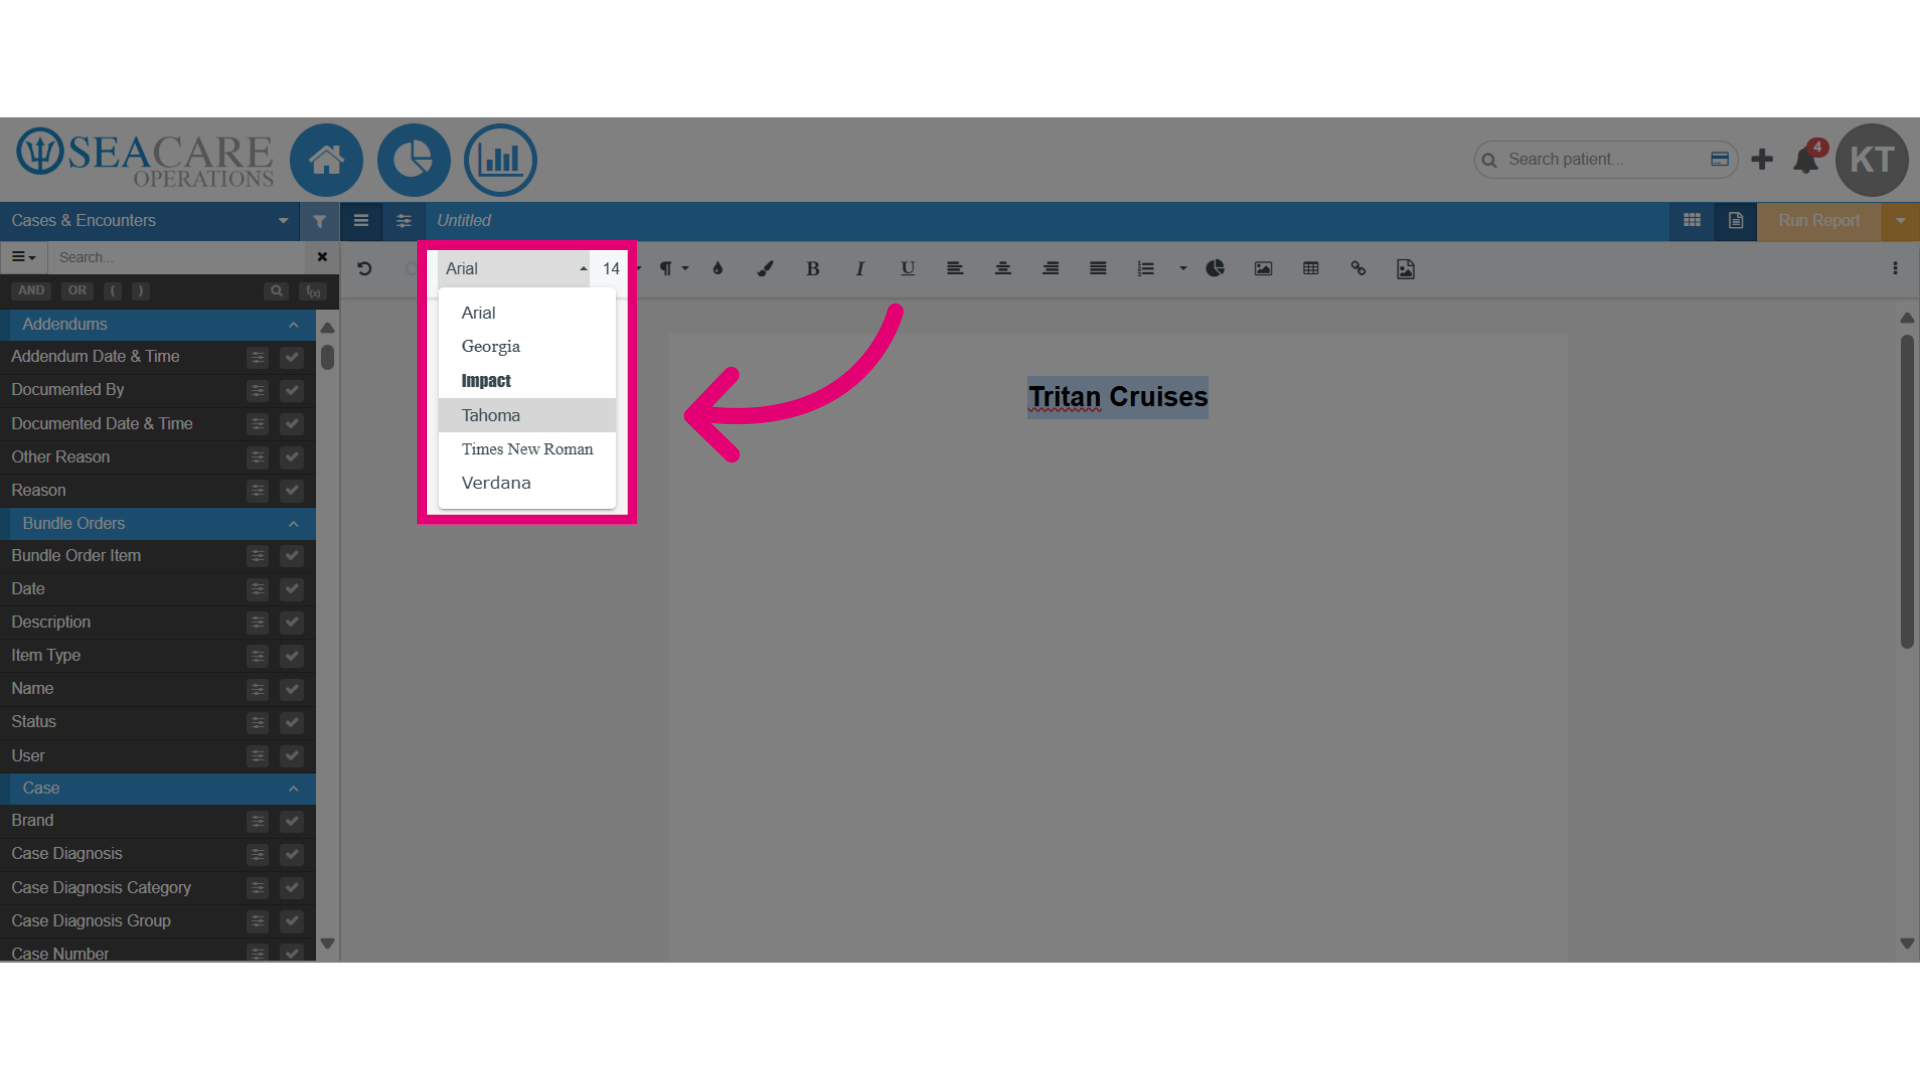
- Change the font type using this option.
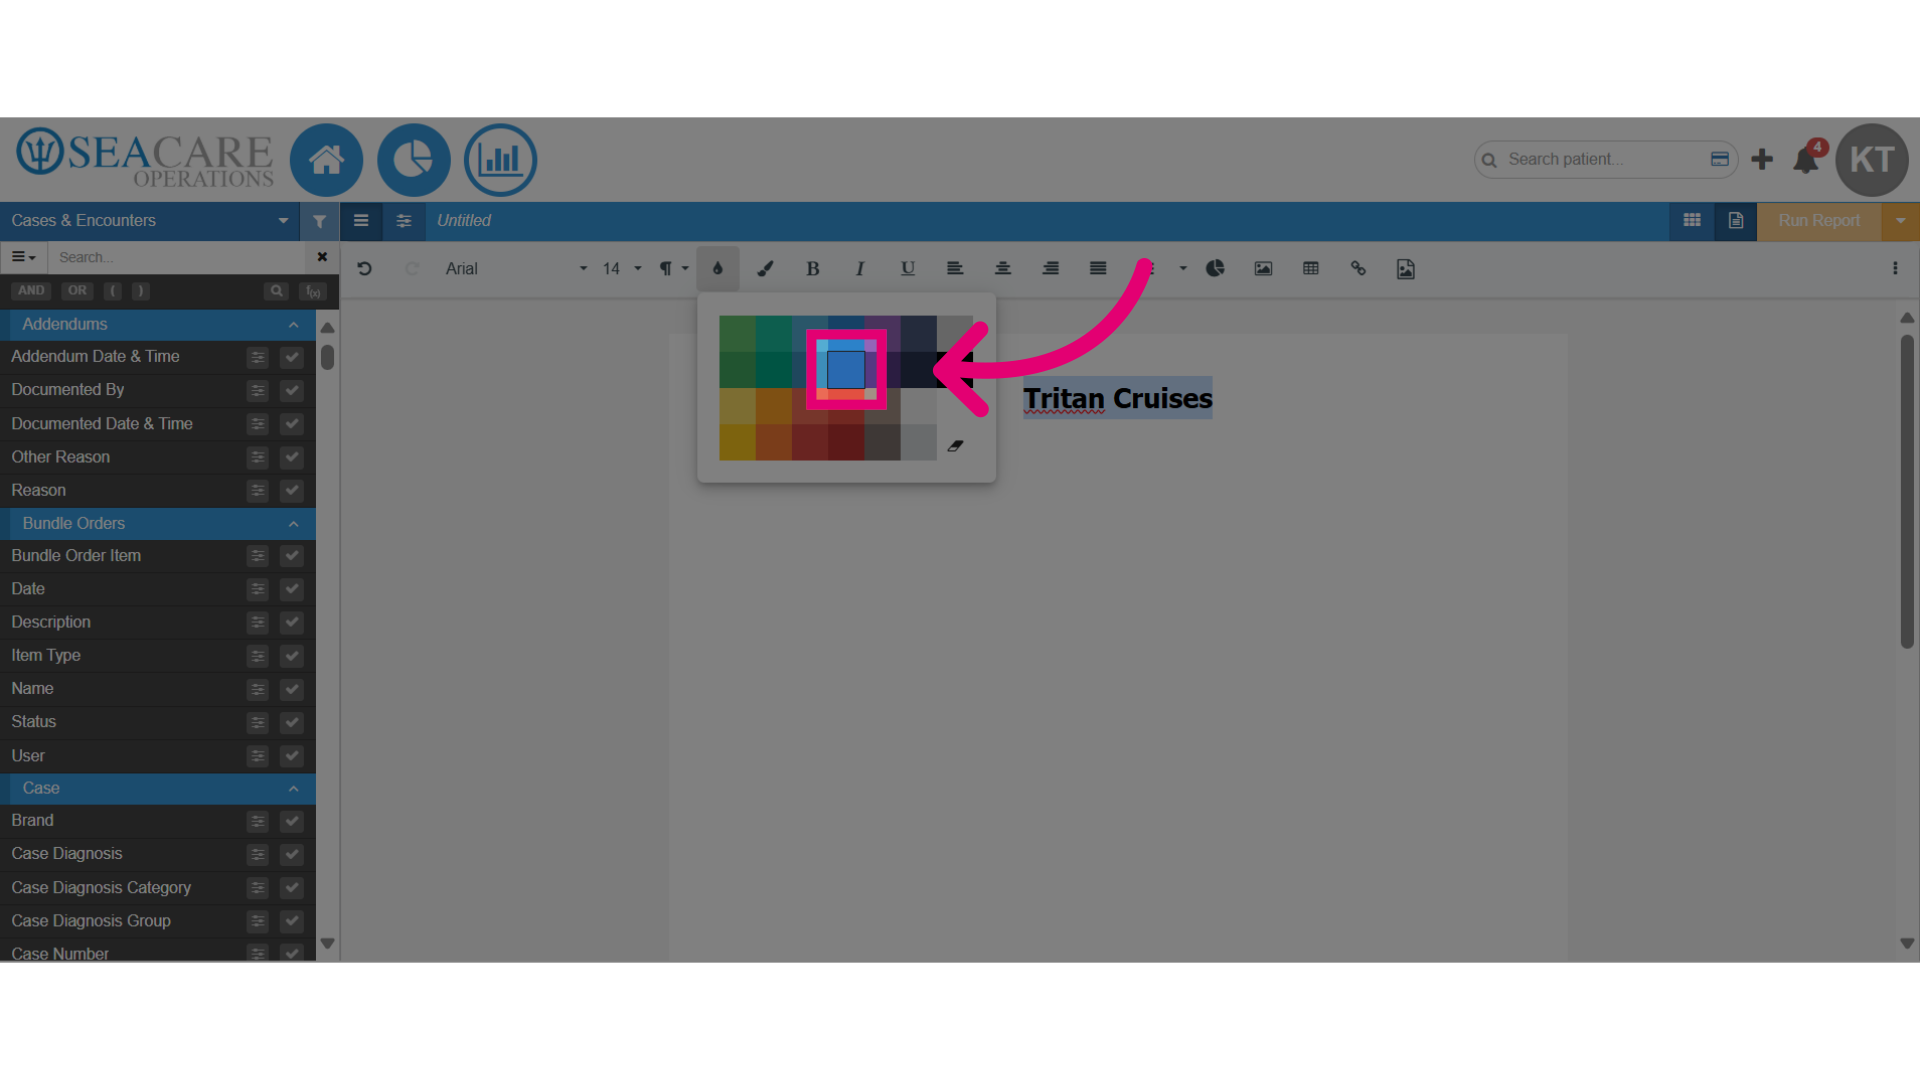
- Select the text colour tool to modify the colour by choosing the preferred colour scheme.
- Use these formatting tools for further modifications, such as paragraph alignment, background colour, and text adjustments.

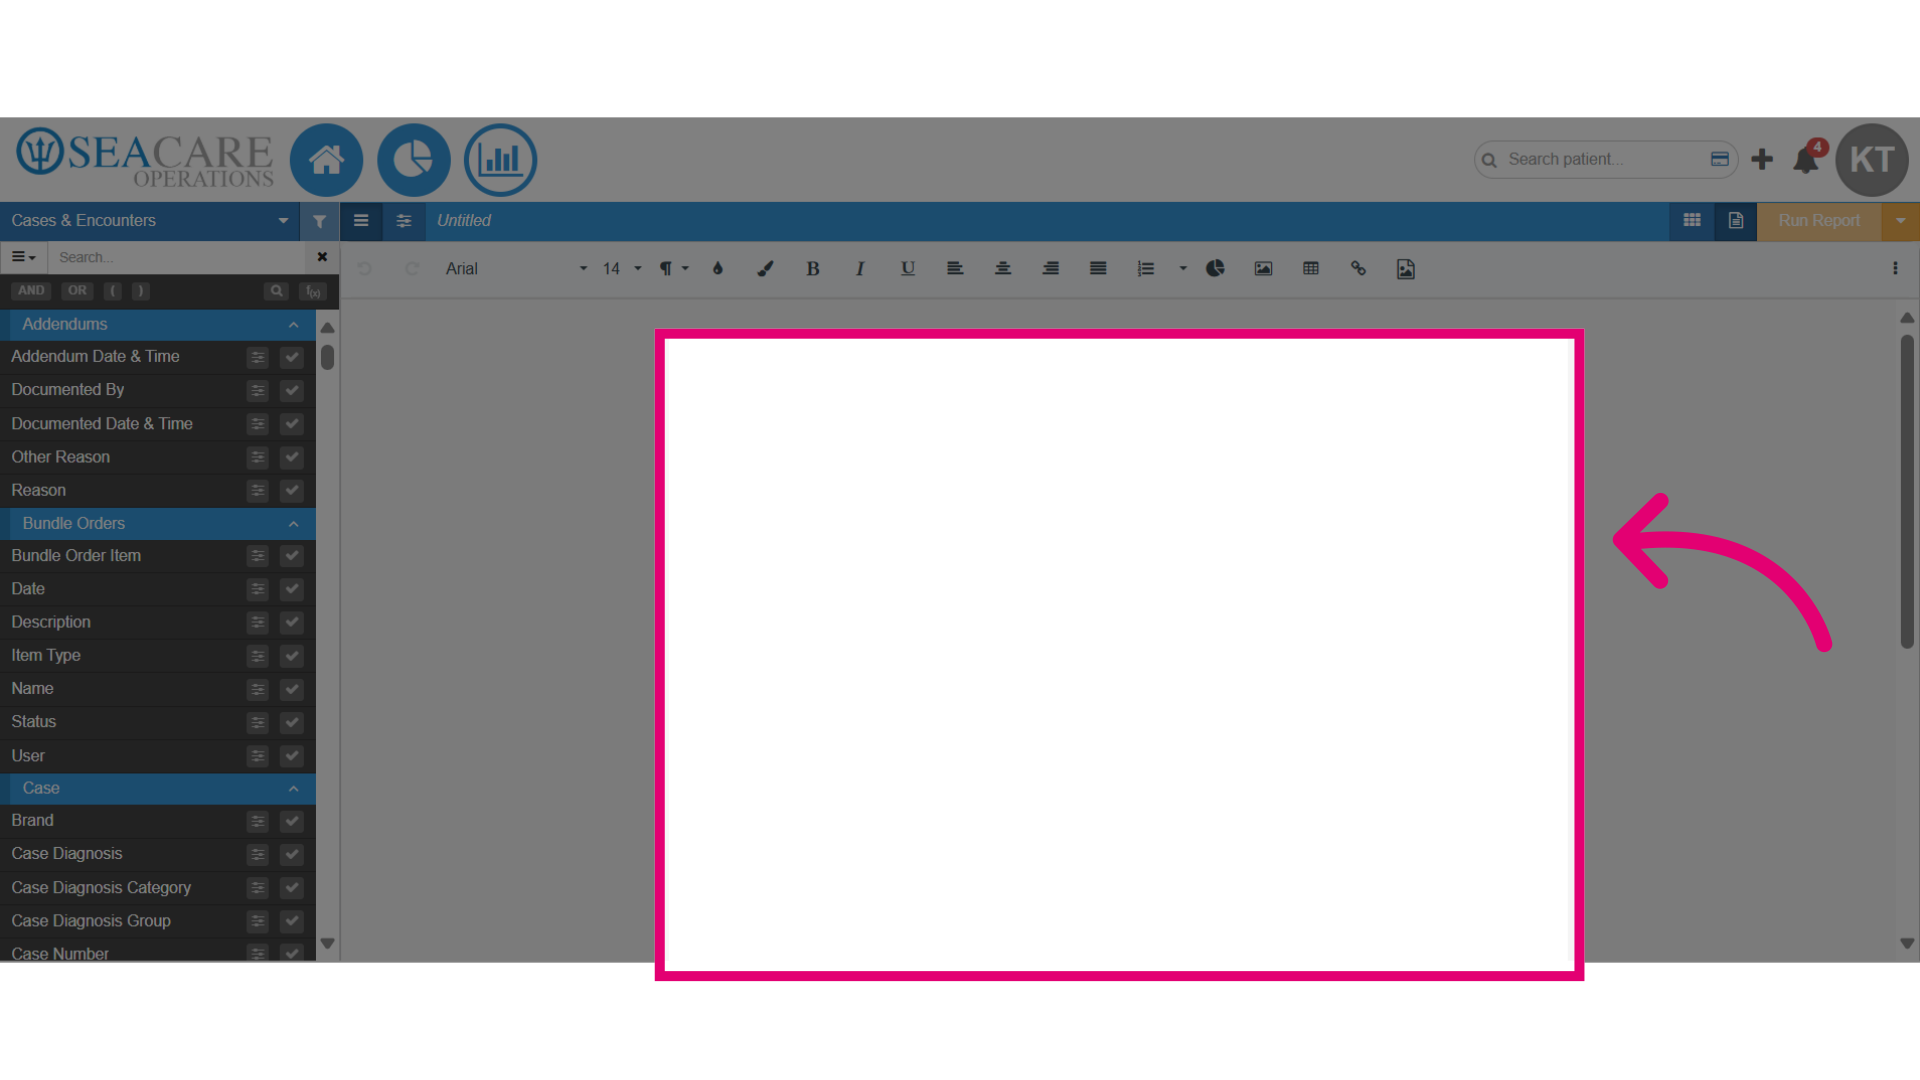
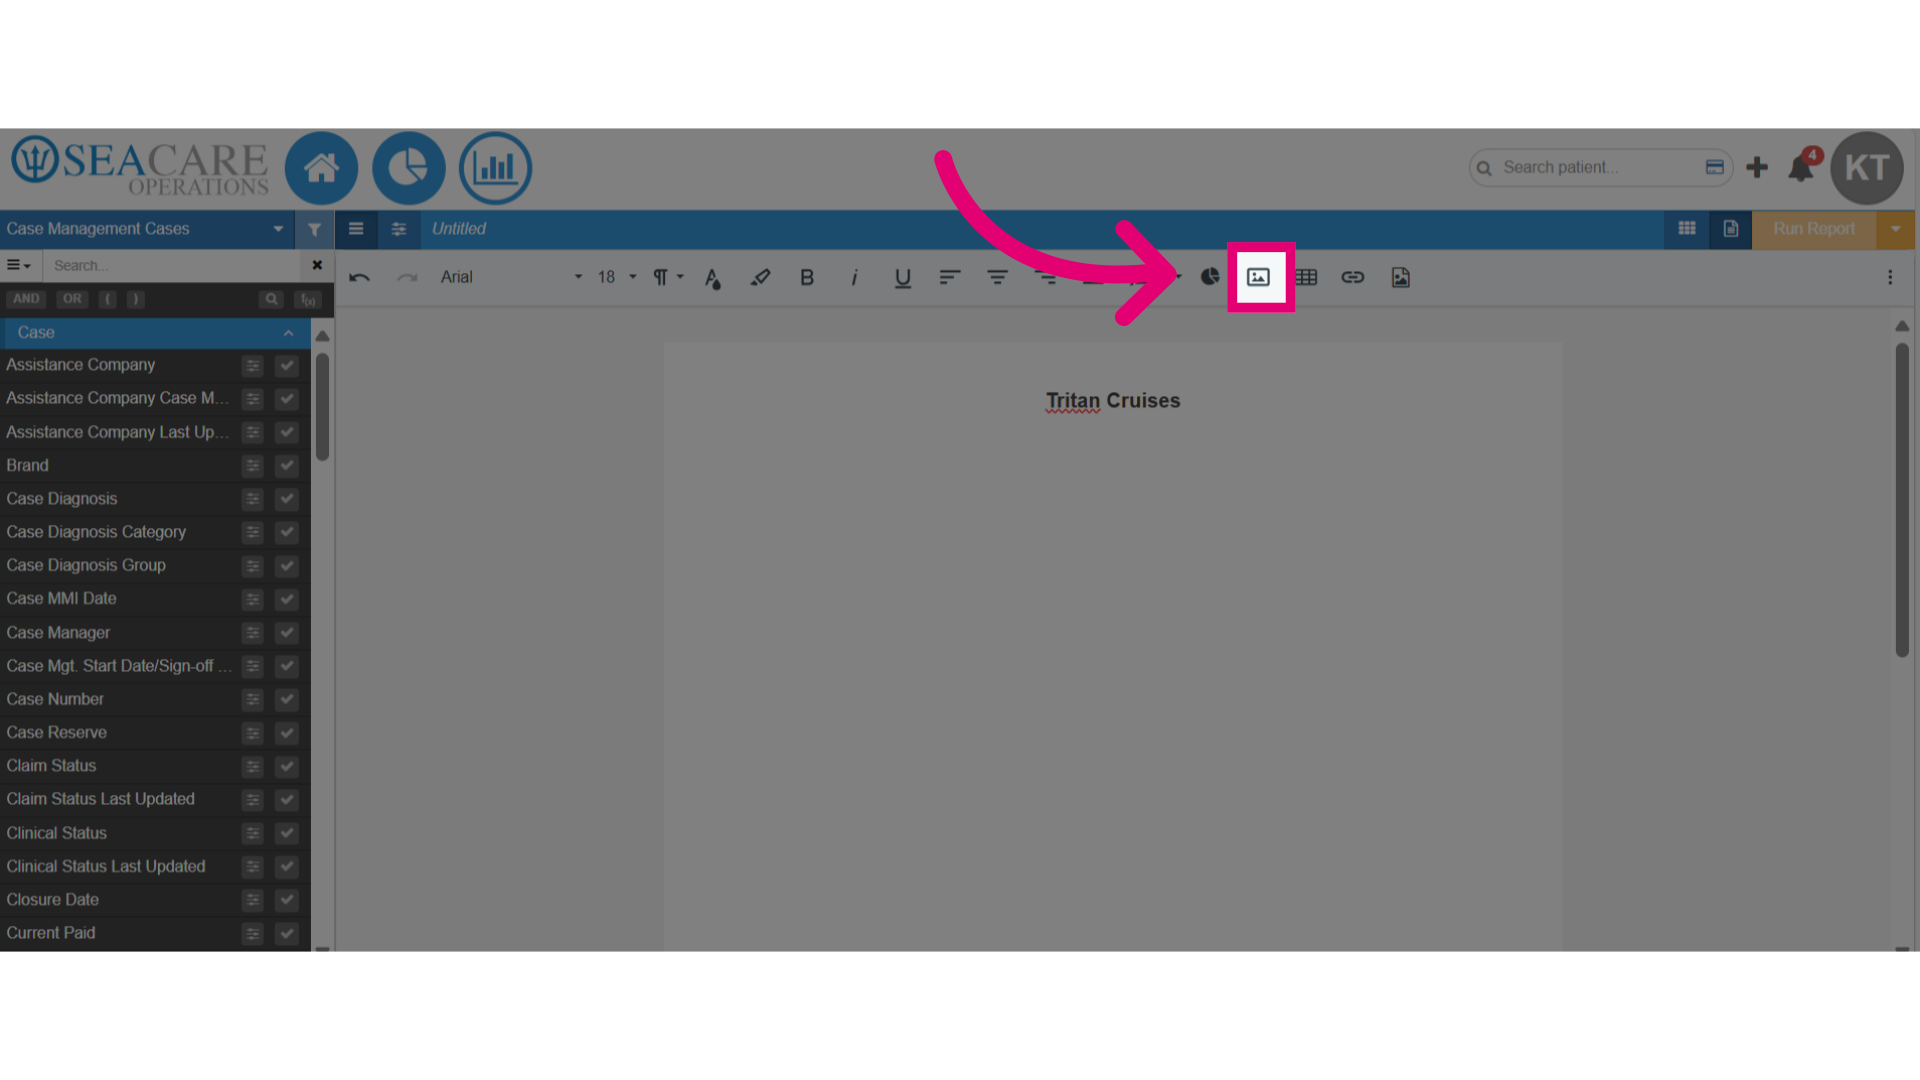
- Use these formatting tools to incorporate a visual element in the document by adding charts, images, links, or tables to enhance the visual presentation.
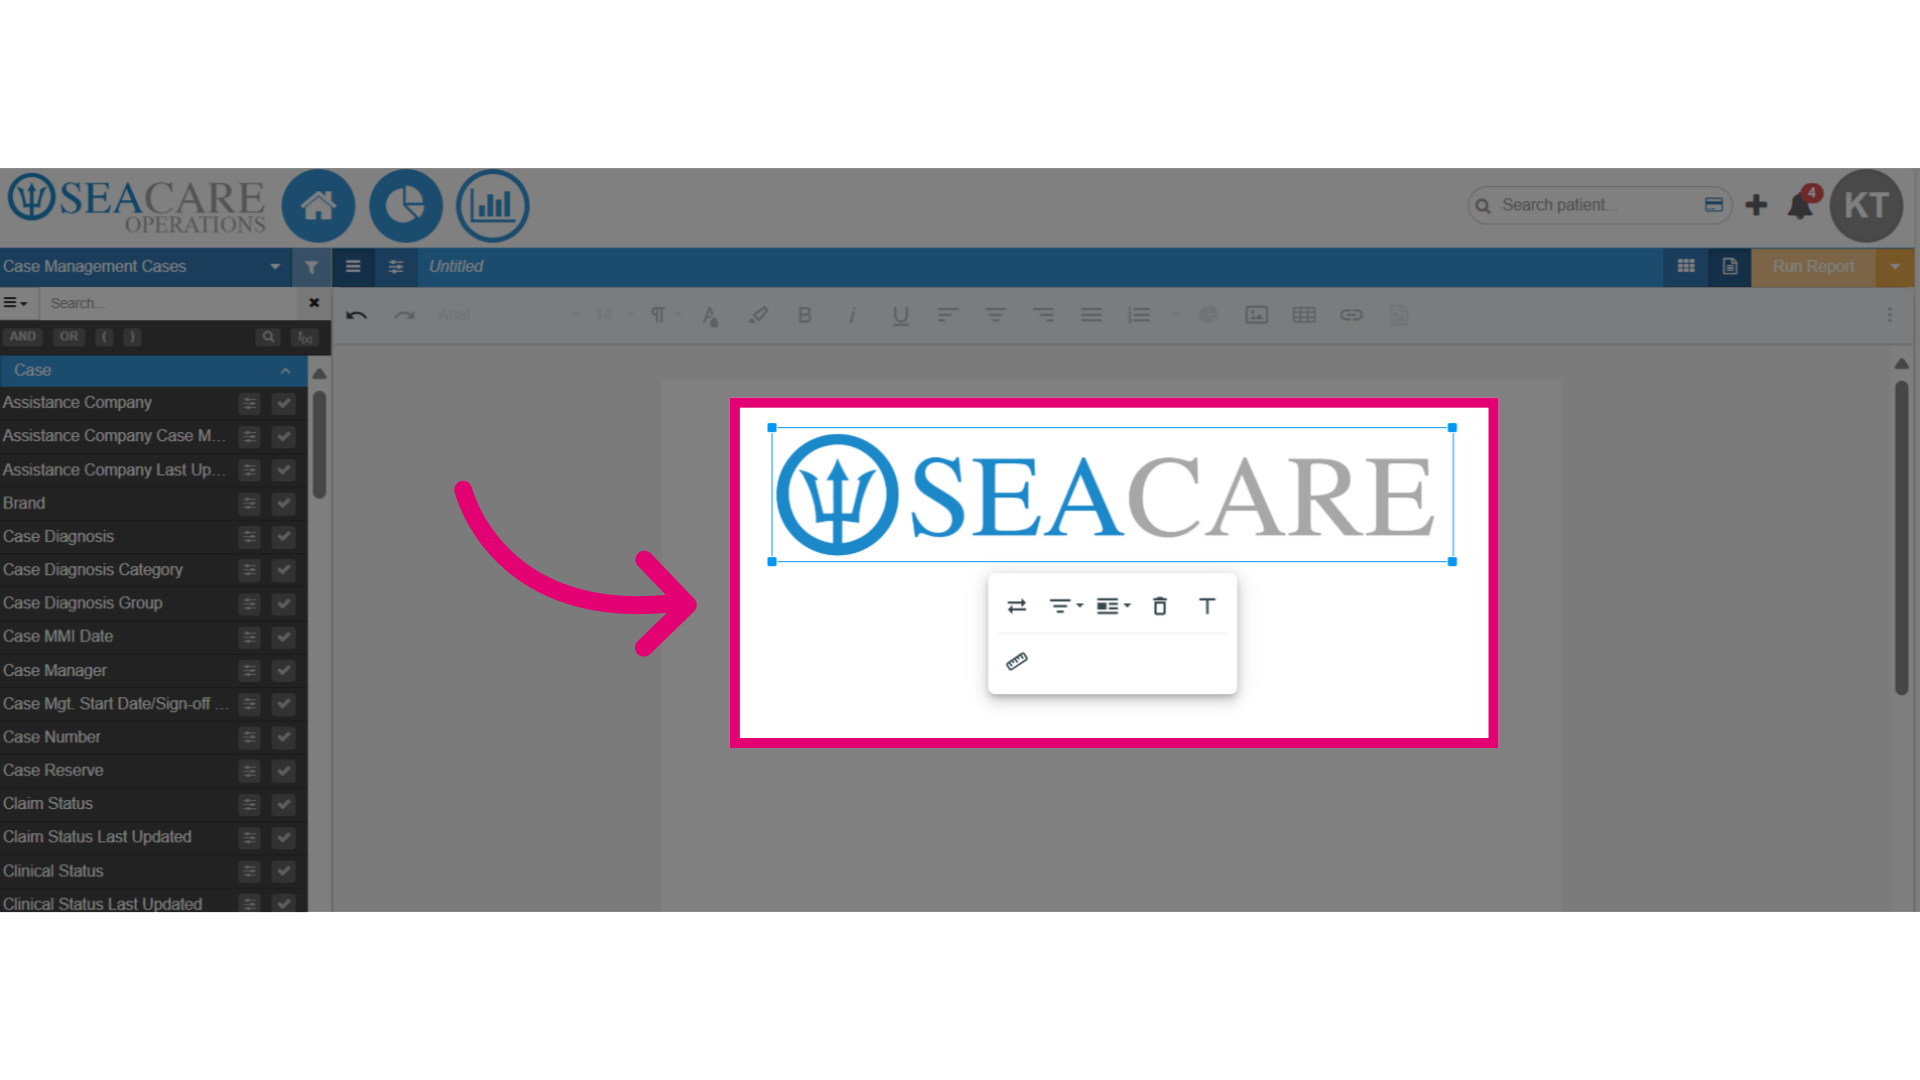
- To insert one of these visual elements, select to add an image.
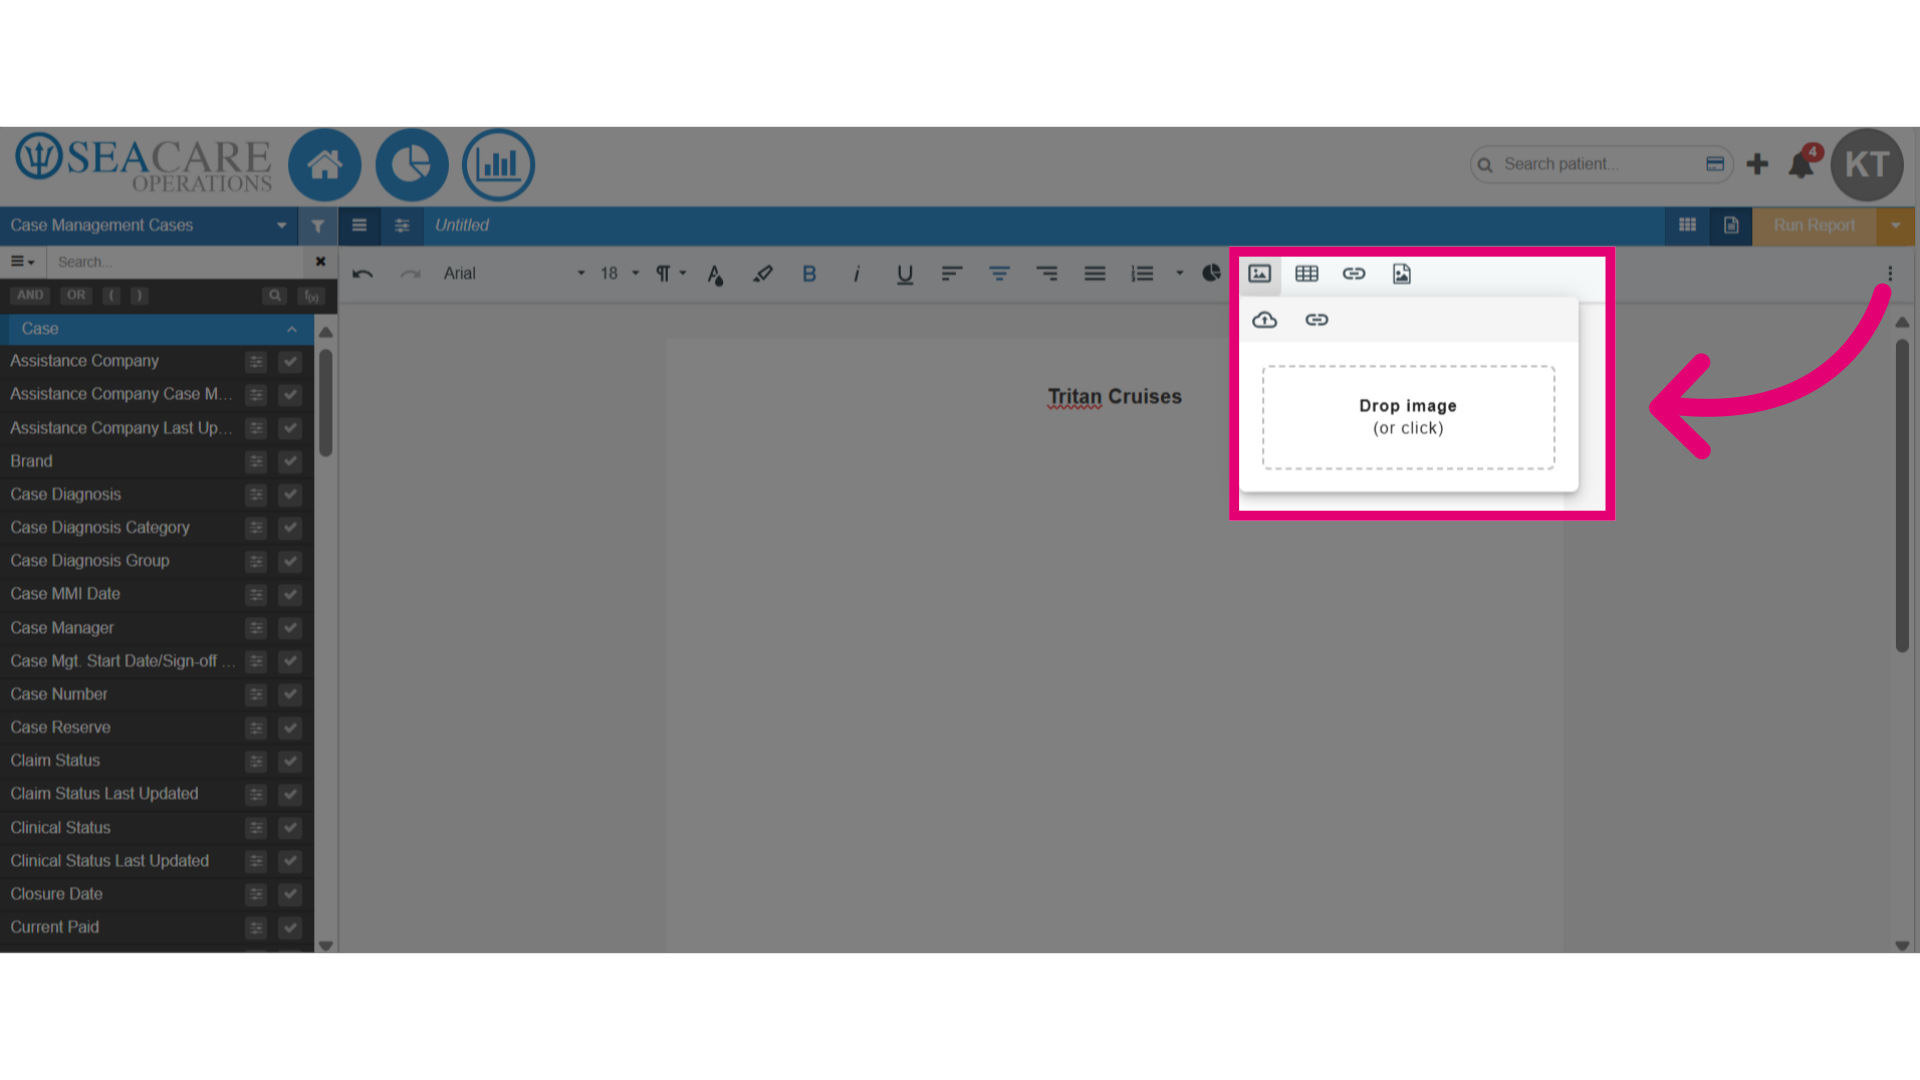
- Then, drop the image here or upload the image from your device.
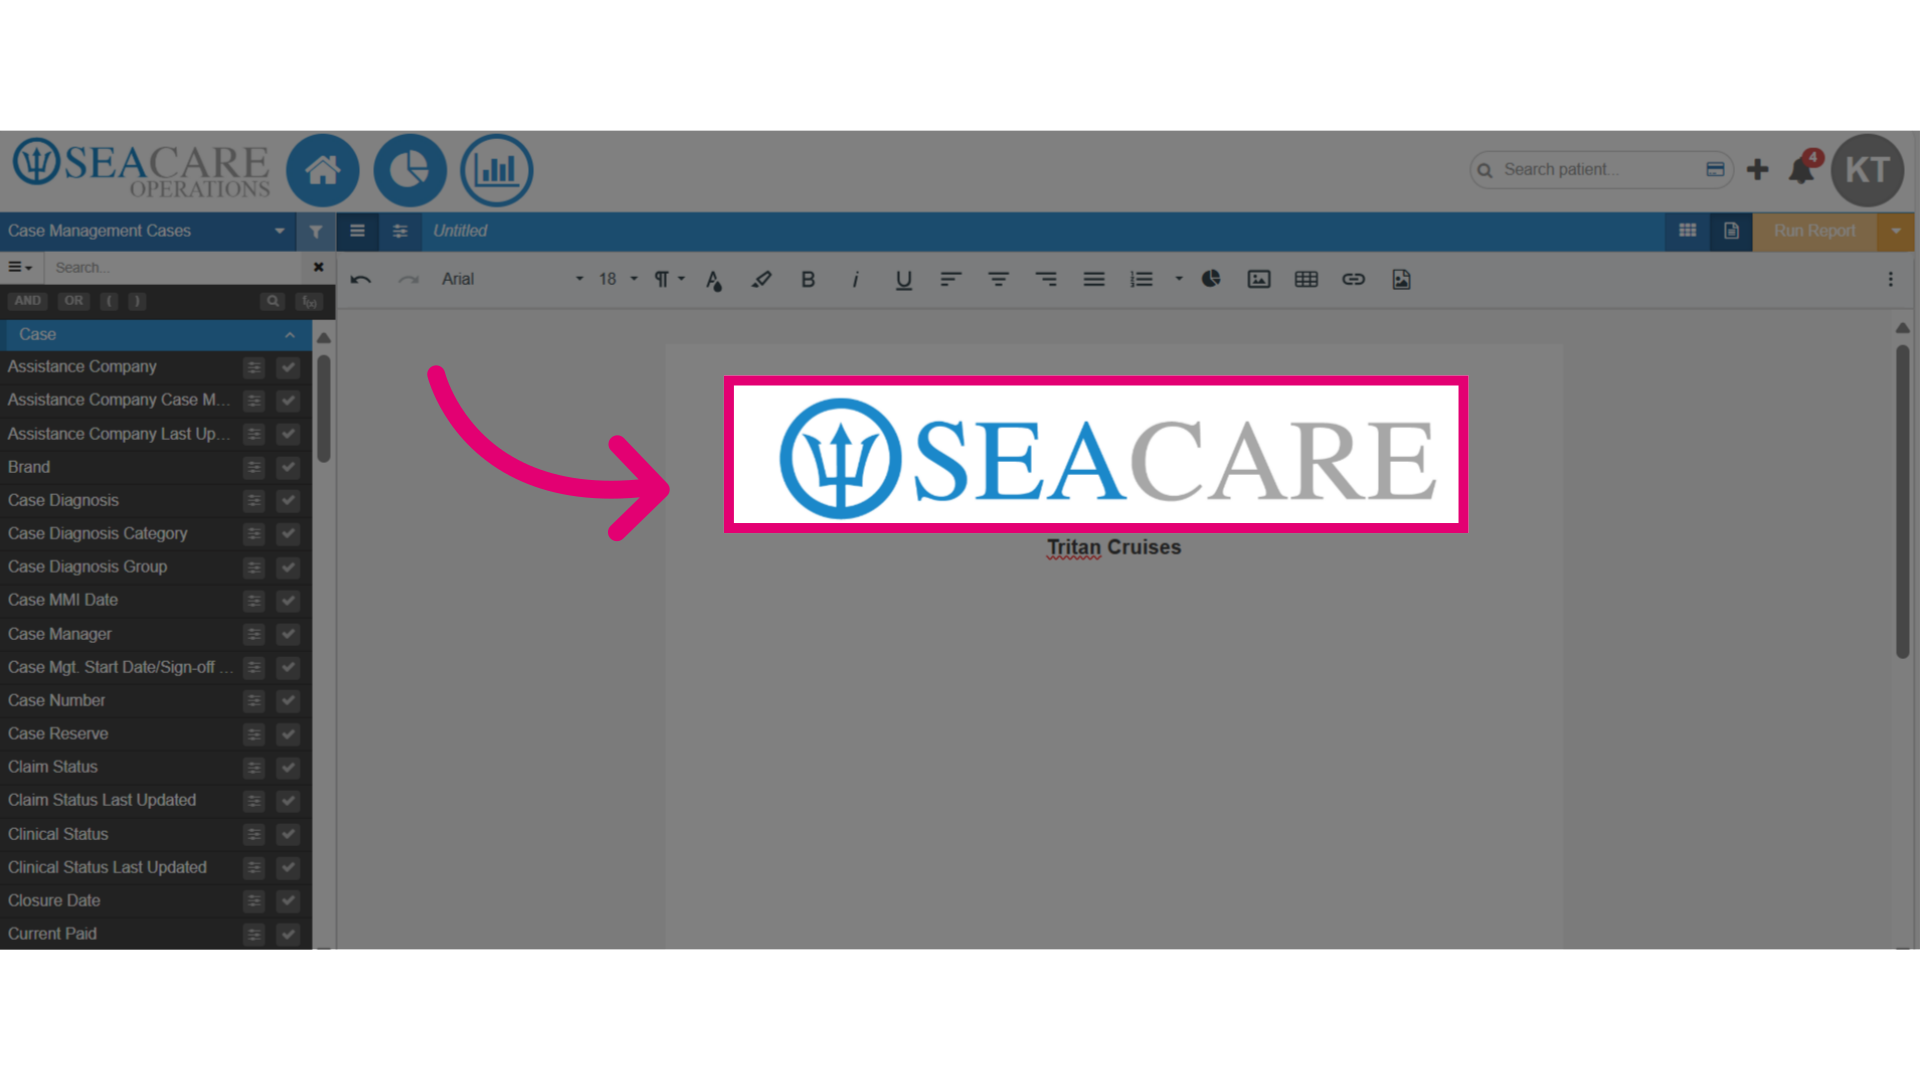
- Verify that the image has been inserted directly onto the document editor.
- Click on the image to make updates to the image using these options:
- Alignment
- Display
- Size
- Update alternative text
- Remove the image
- Once the logo image is added, use formatting tools to enhance your report's paragraphs, sentences, and other visuals.