New article
Recently updated
Adding User Permissions in the Admin Menu

Who is this article for?Users who want to learn how to add permissions for a user in the Admin Menu.
No elevated permissions are required.
This guide will walk you through the process of granting permissions for a user. Follow these precise instructions provided to streamline the user permission management process in Ideagen Maritime Health Operations.
1. Assigning Cases in Case Management
1.1. Video
1.2. Steps
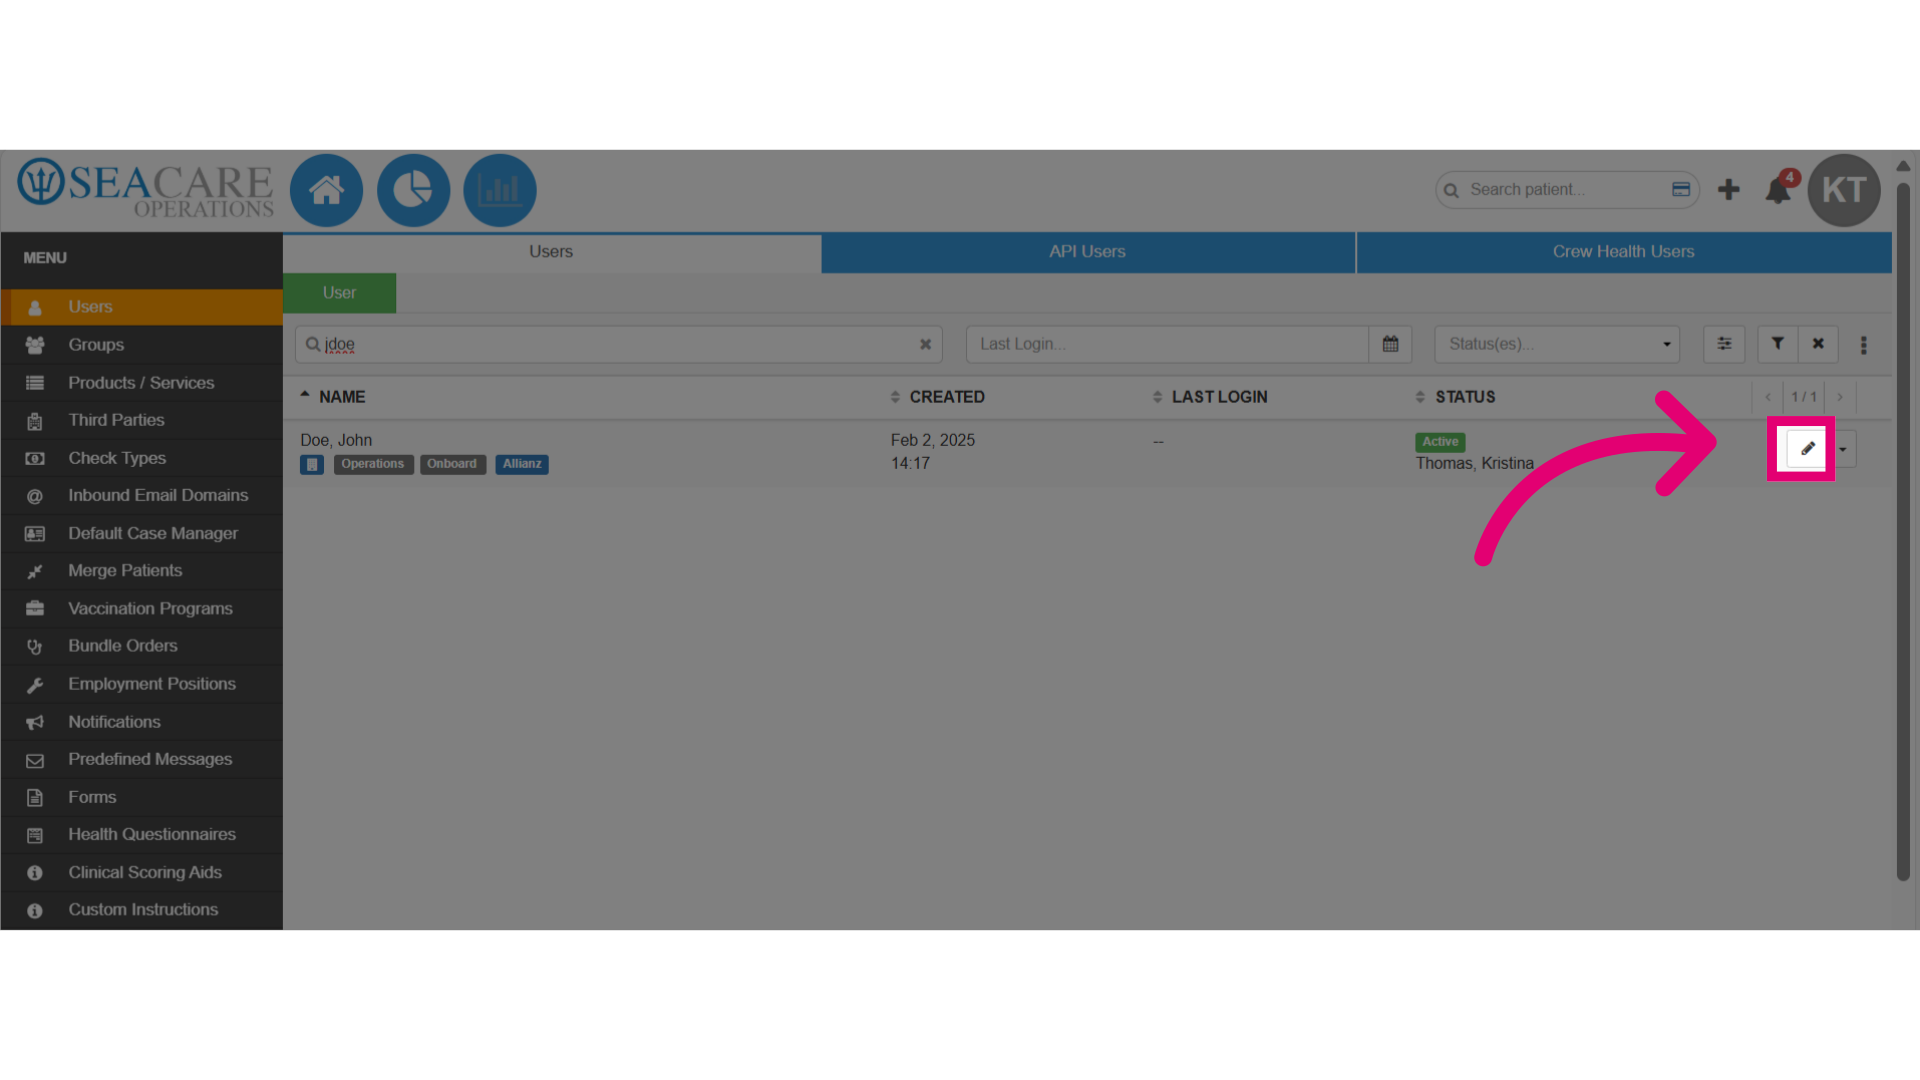
- Start in the Admin Menu in the Users section.
- Locate your user in the search bar.
- Select the Edit pencil icon.
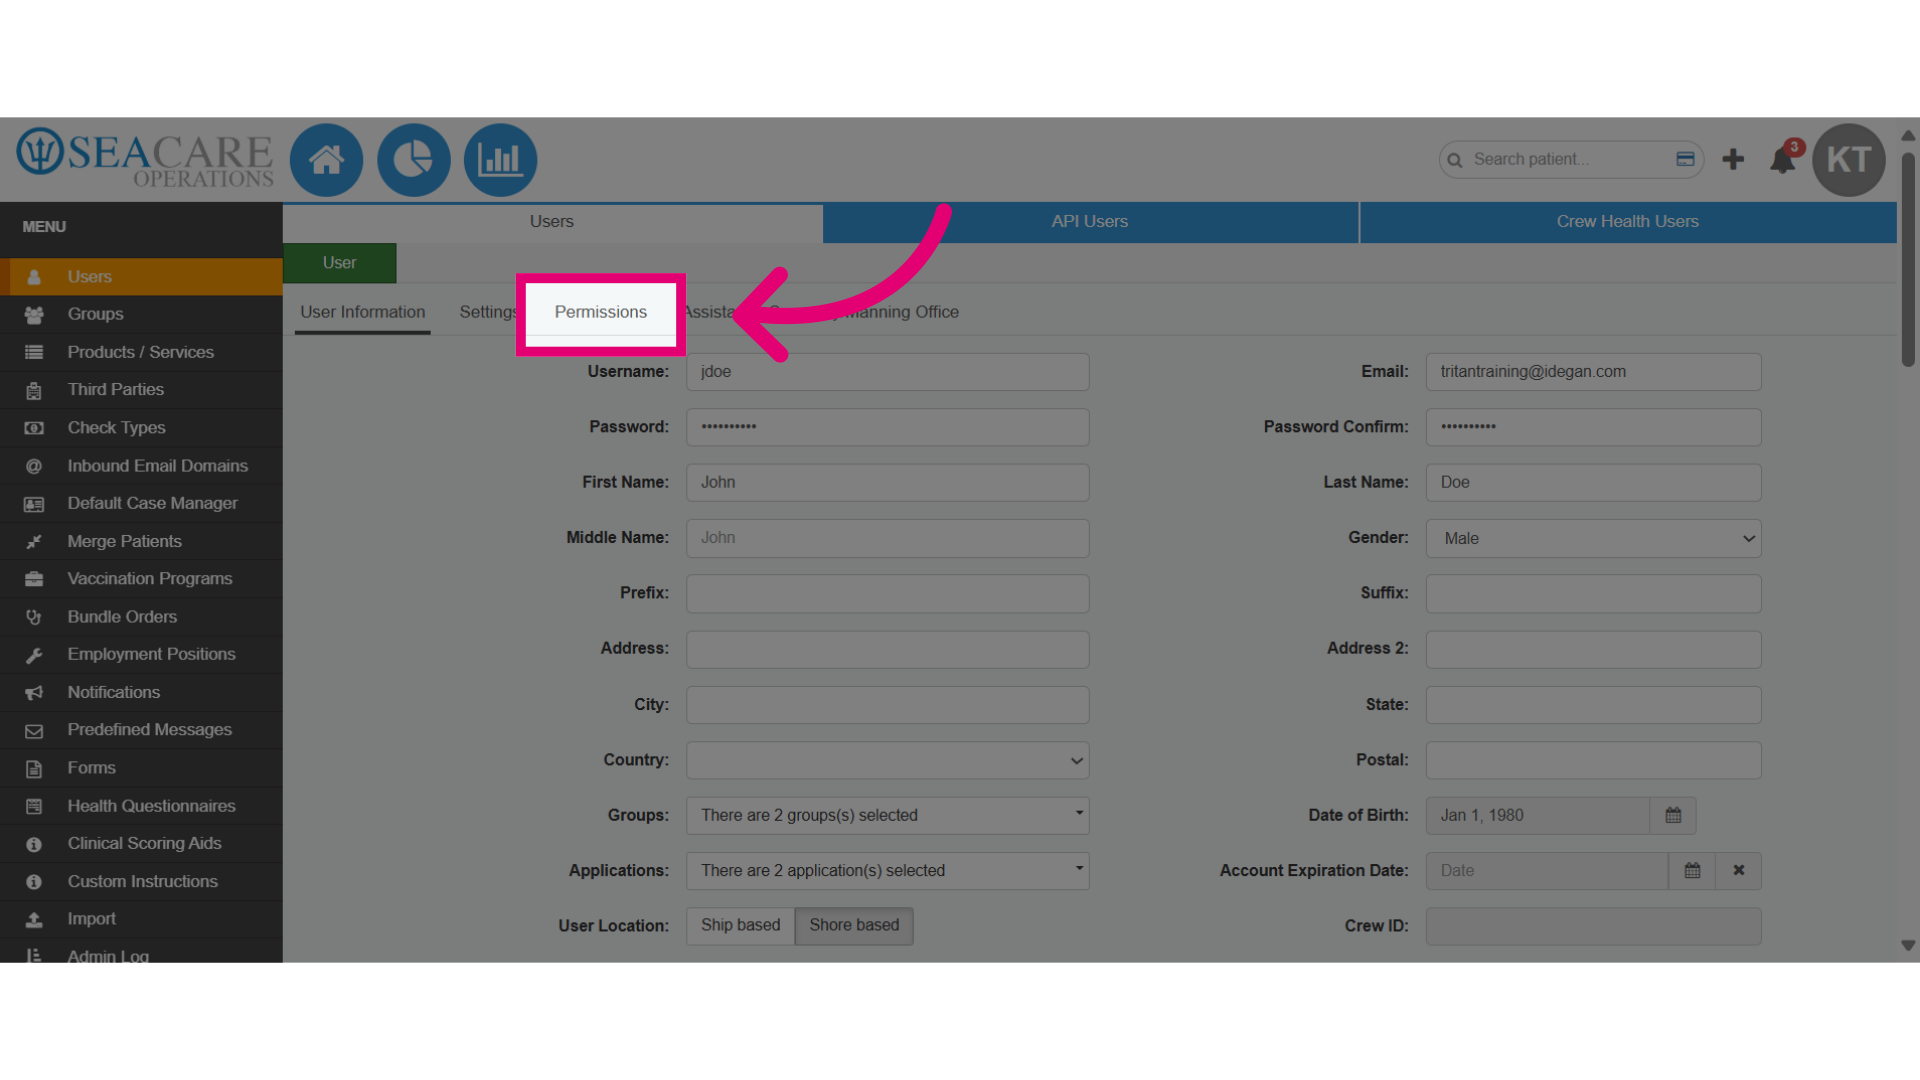
- Next, select the Permissions tab to open the section to grant access to functions in the application.
- Type a permission set name into the Filter to find it quickly. This will display matching permission sets with checkboxes for individual permissions.
- Checked - Grants access to the user.
- Unchecked - No access for the user.
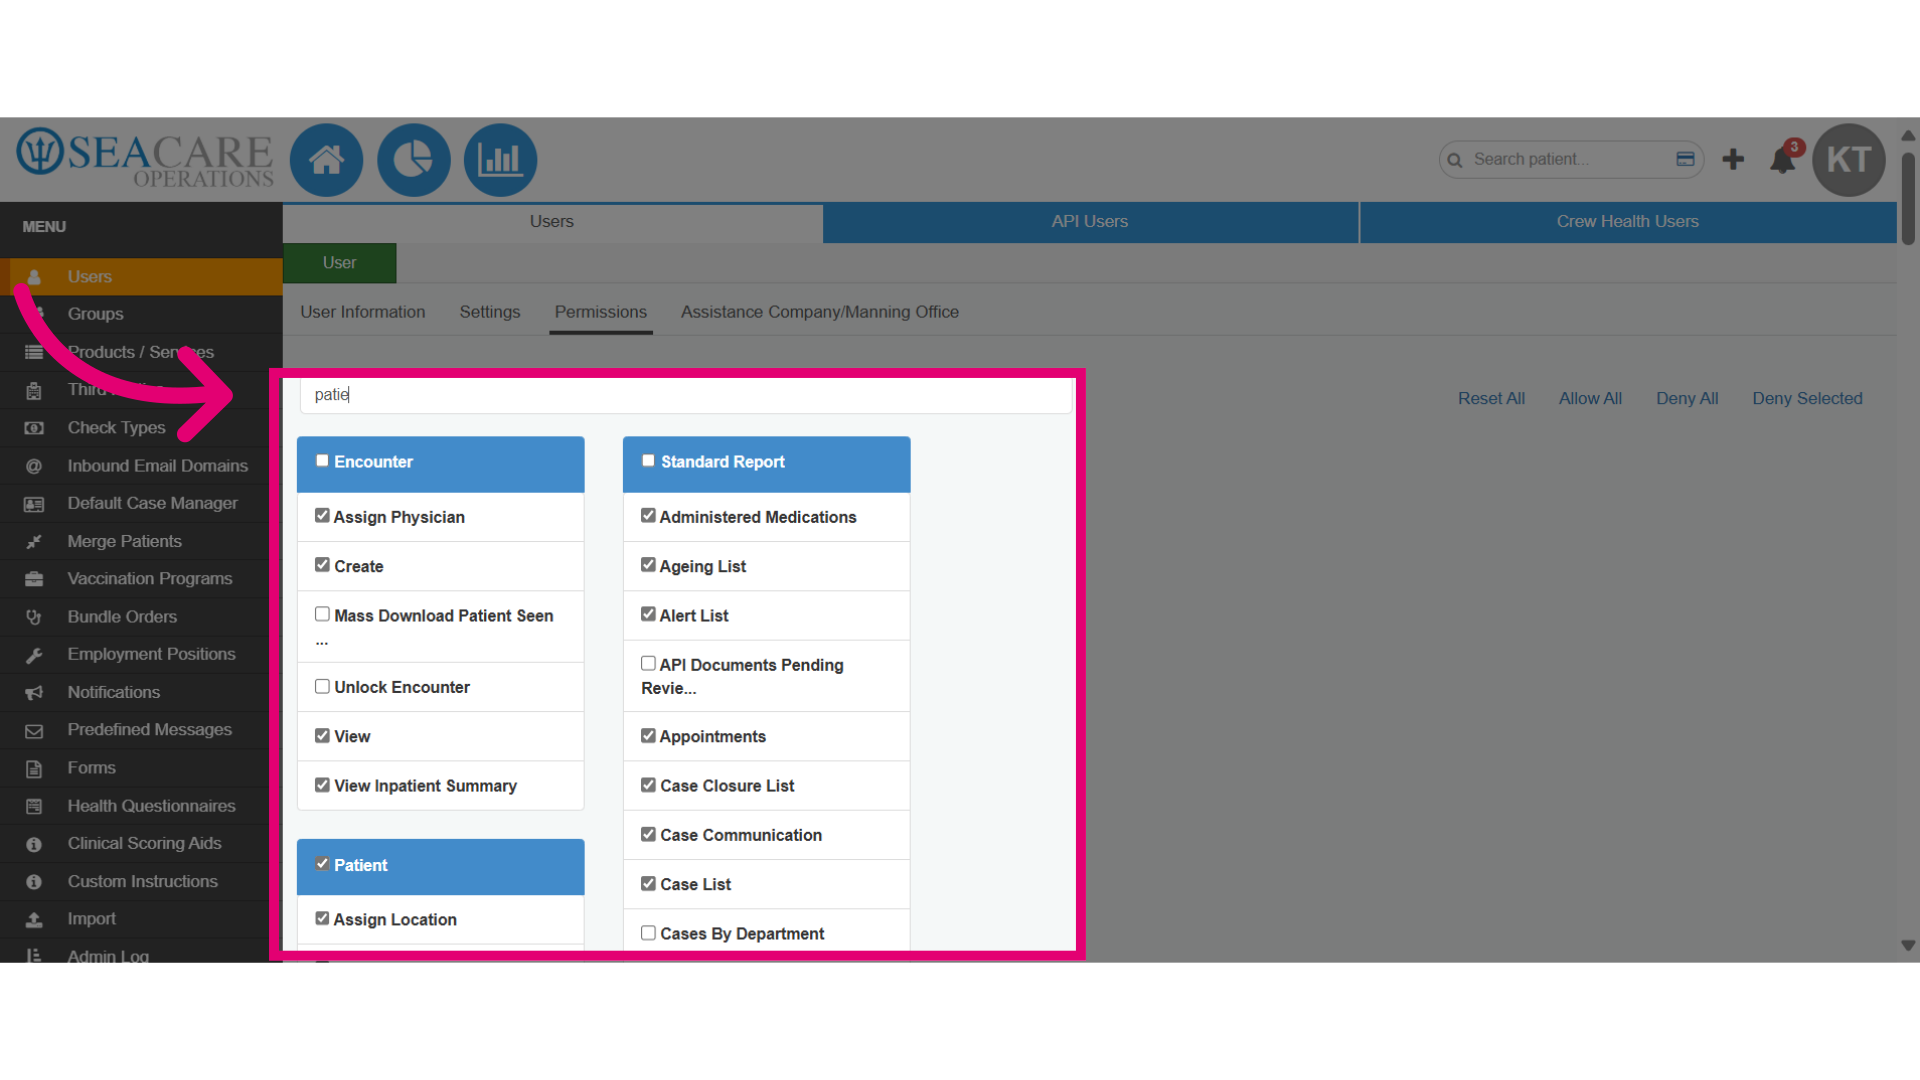
- Select the checkbox next to the main permission set name in blue, to automatically grant the user all permissions in the group.
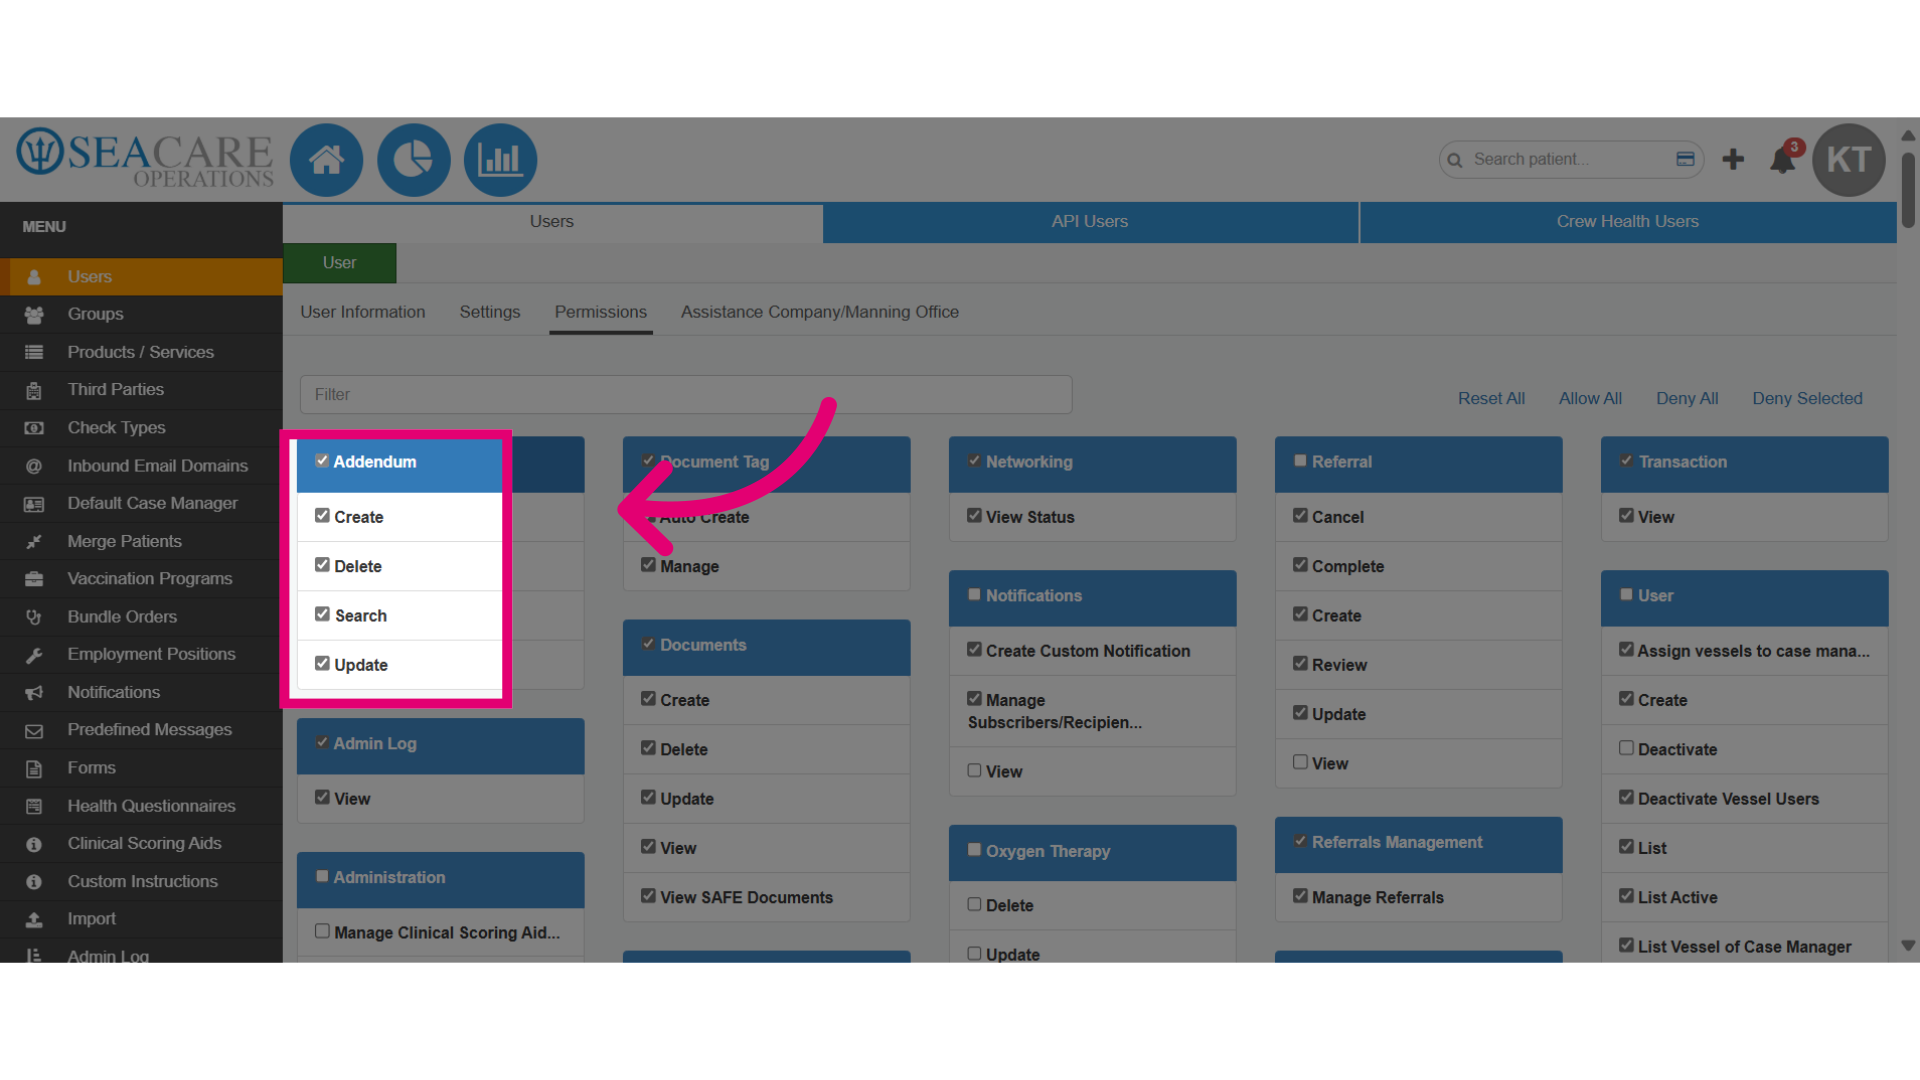
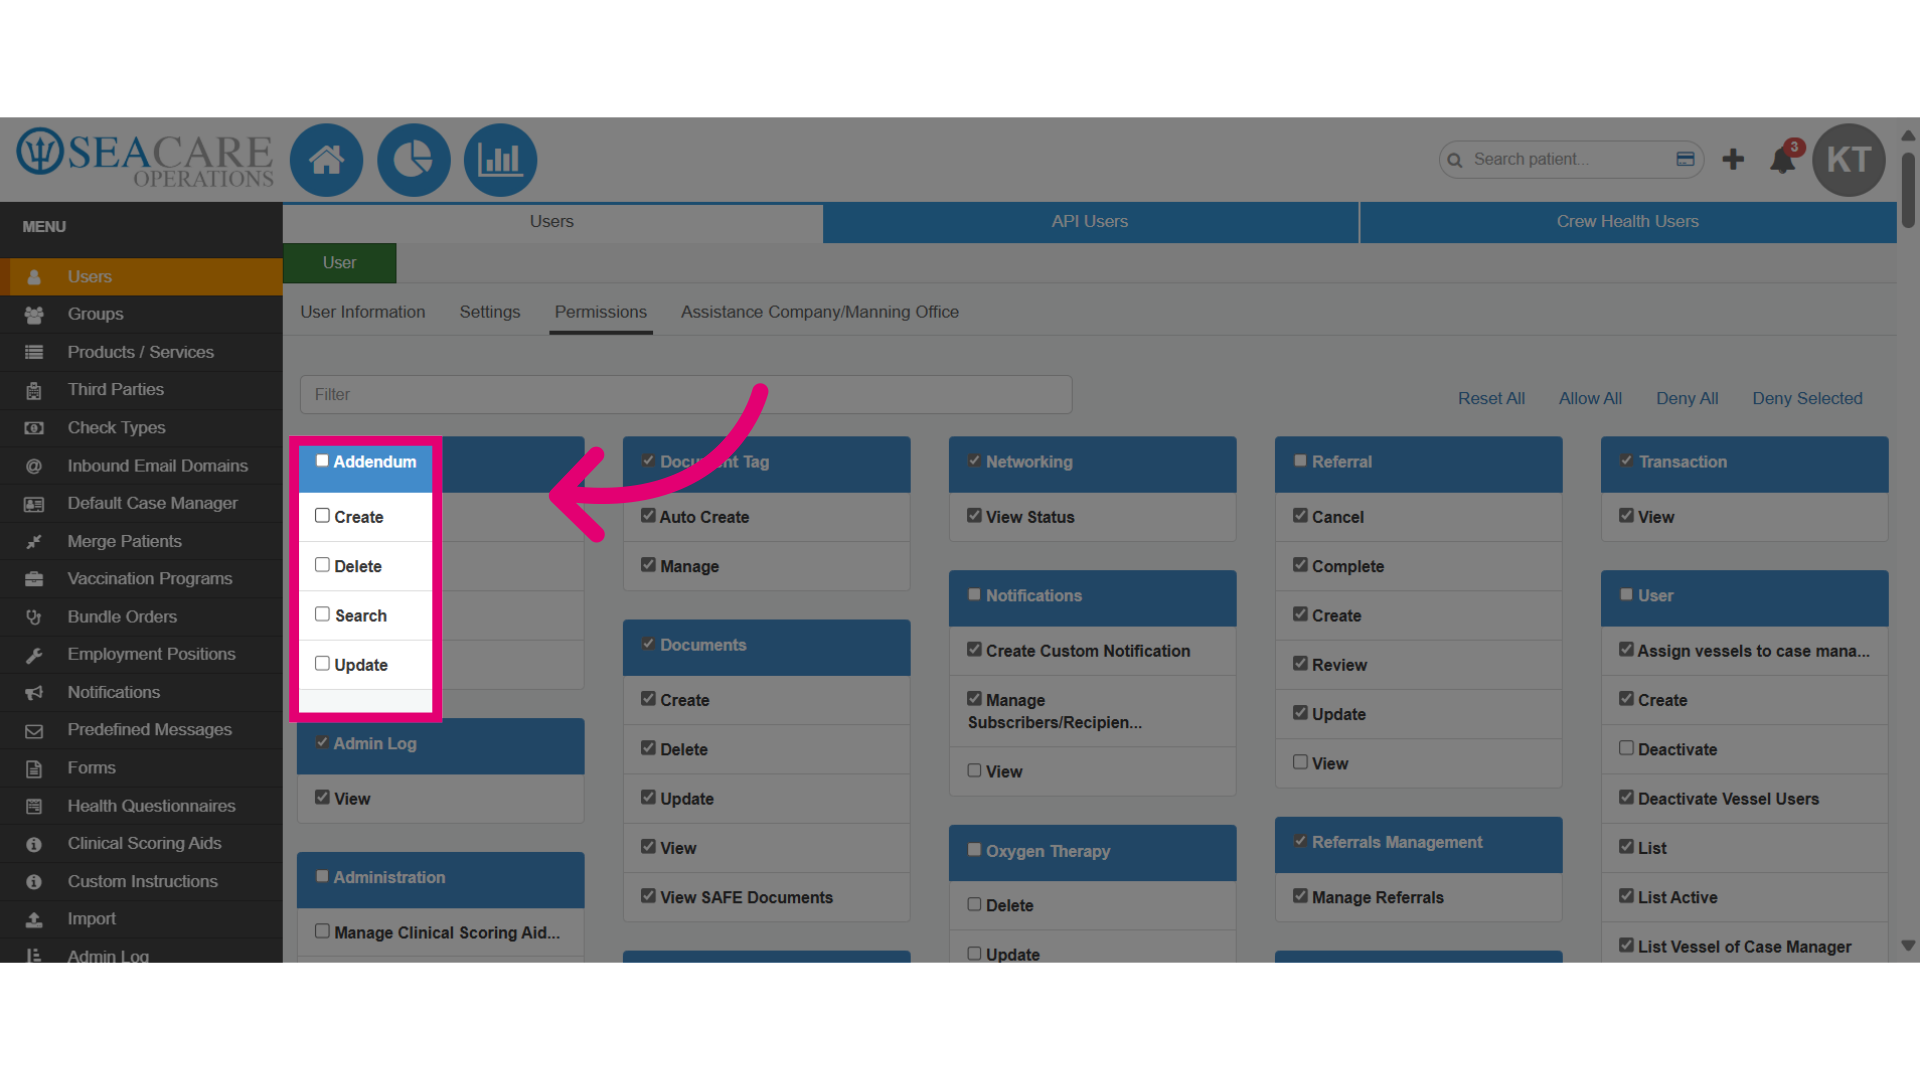
- De-select a permission set to remove access to all of the permissions.
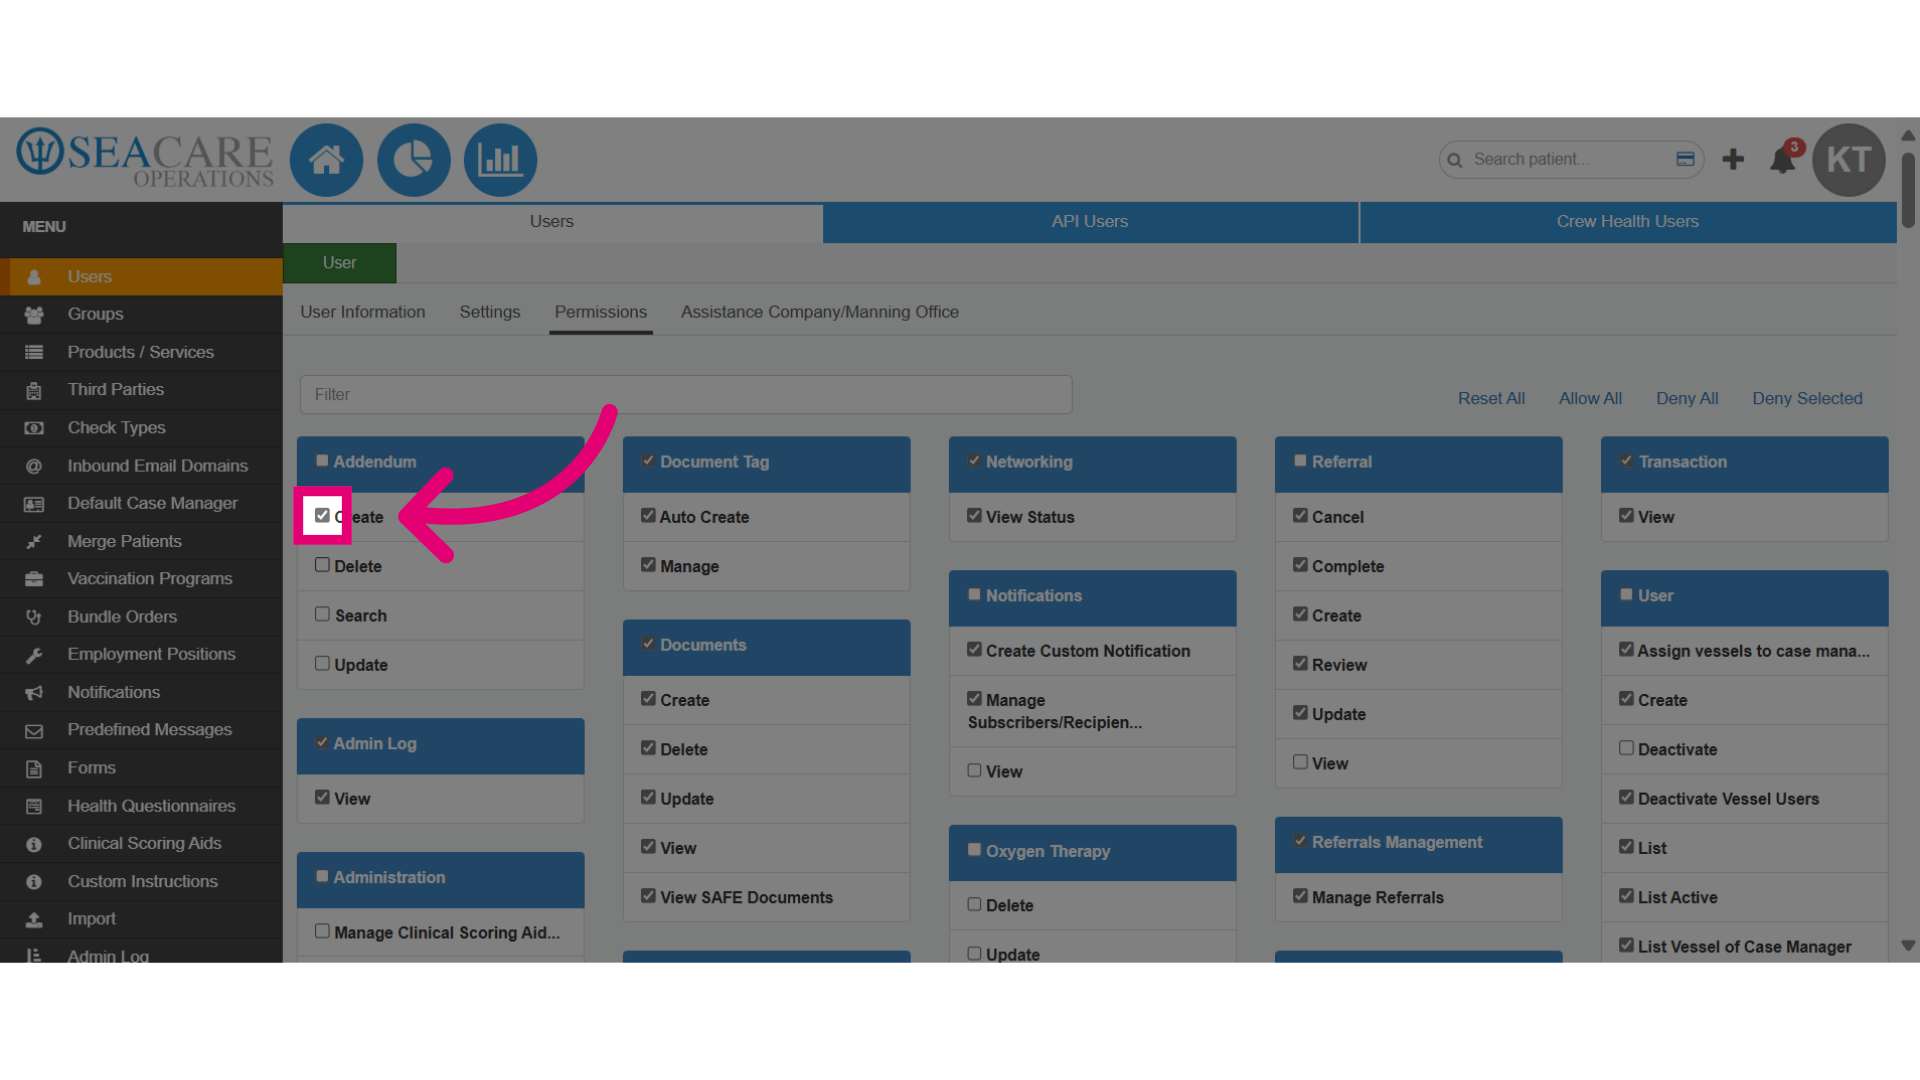
- Customise which permissions to grant by clicking on a checkbox to assign specific individual permissions.
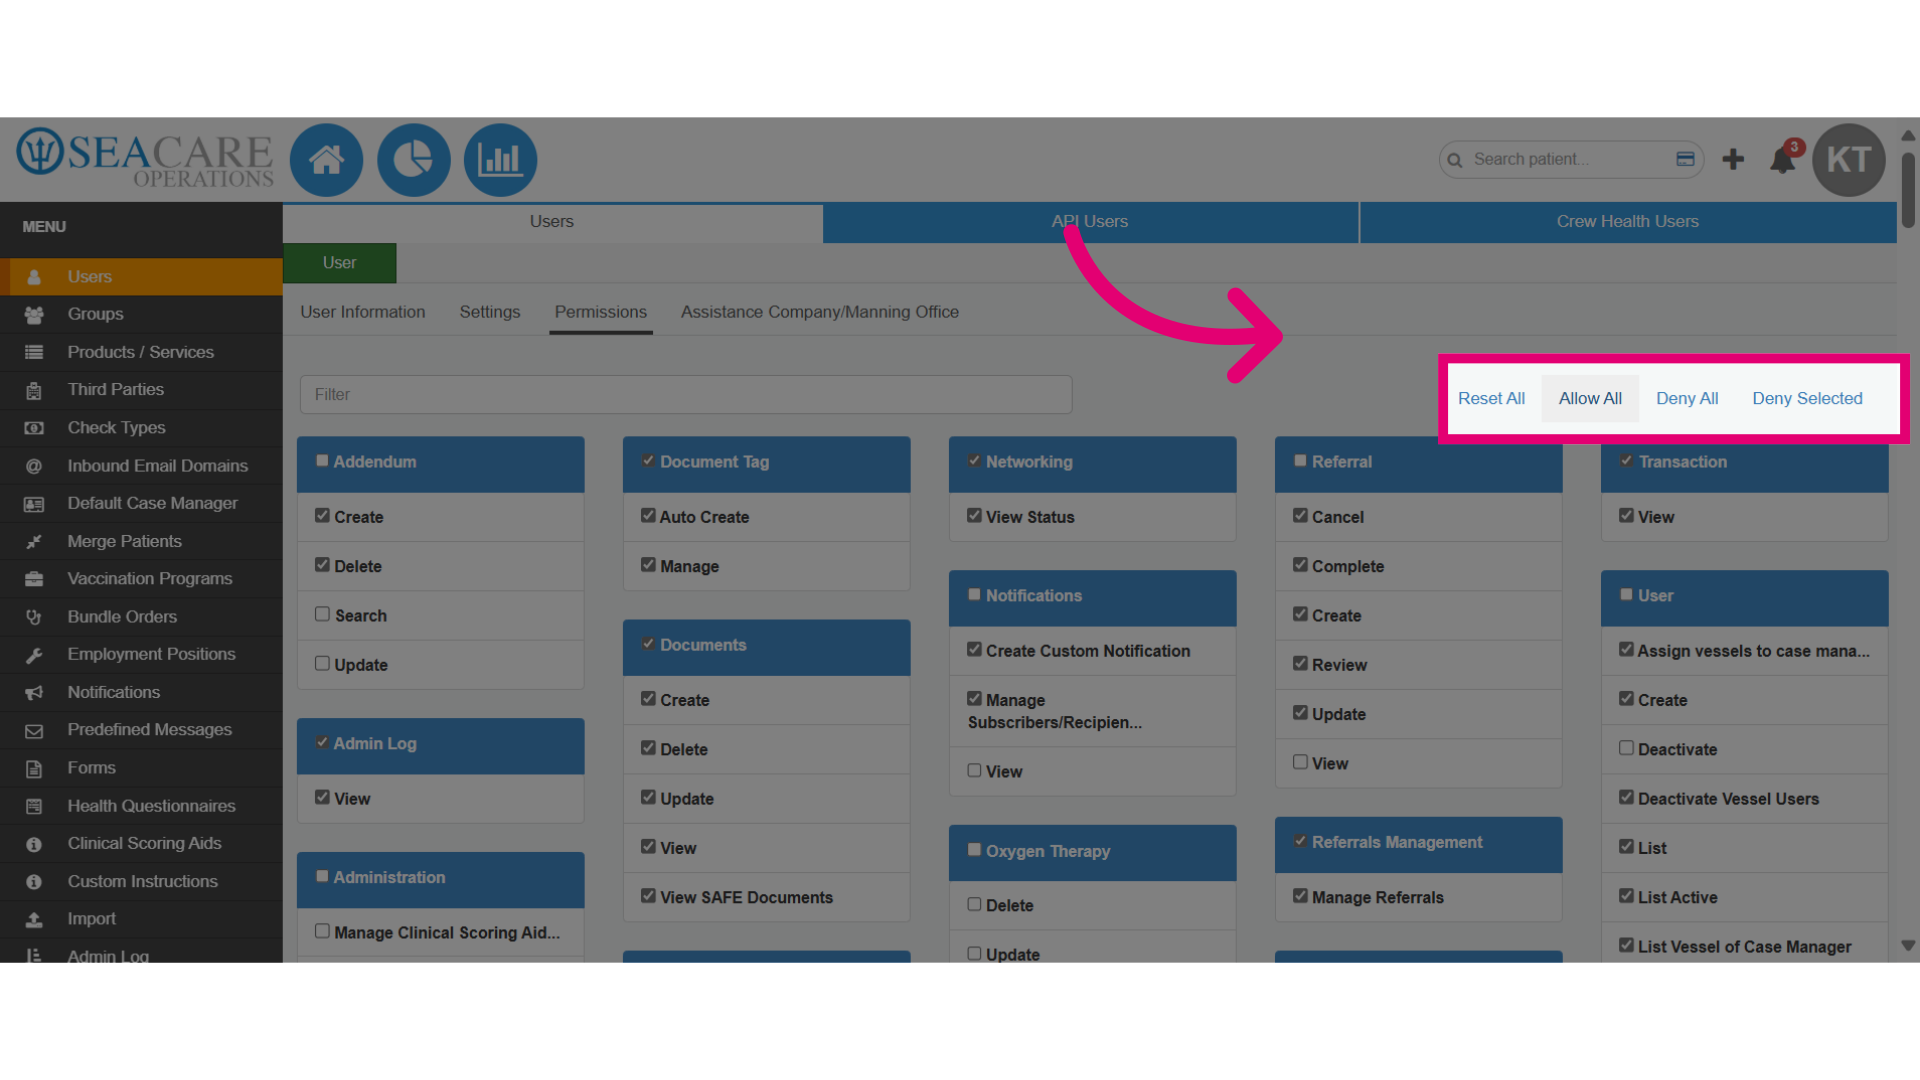
- To bypass configuring each individual permission, use the quick selection options to add or remove permissions in bulk:
- Allow All - Automatically selects all permissions.
- Deny All - Automatically de-selects all permissions.
- Reset All - This de-selects all checked permissions.
- Deny Selected - This will de-select all checked permissions.
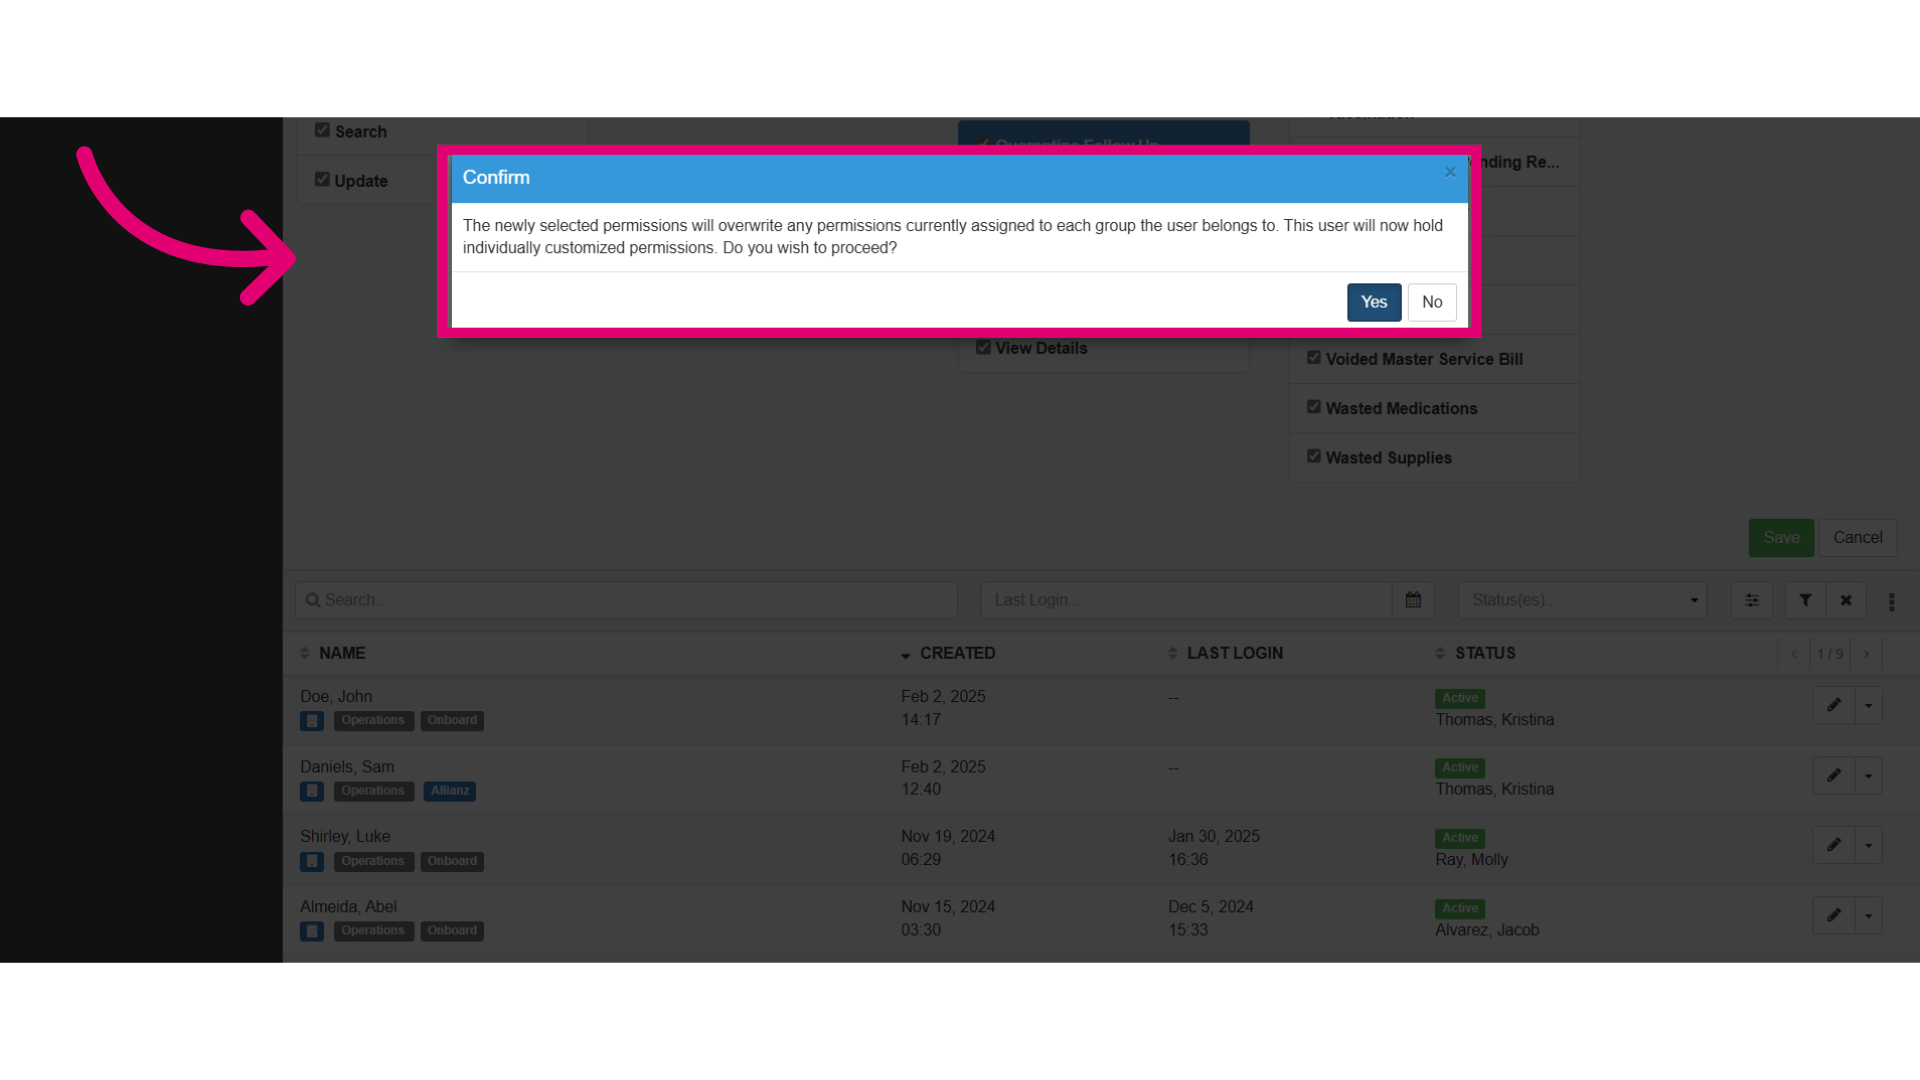
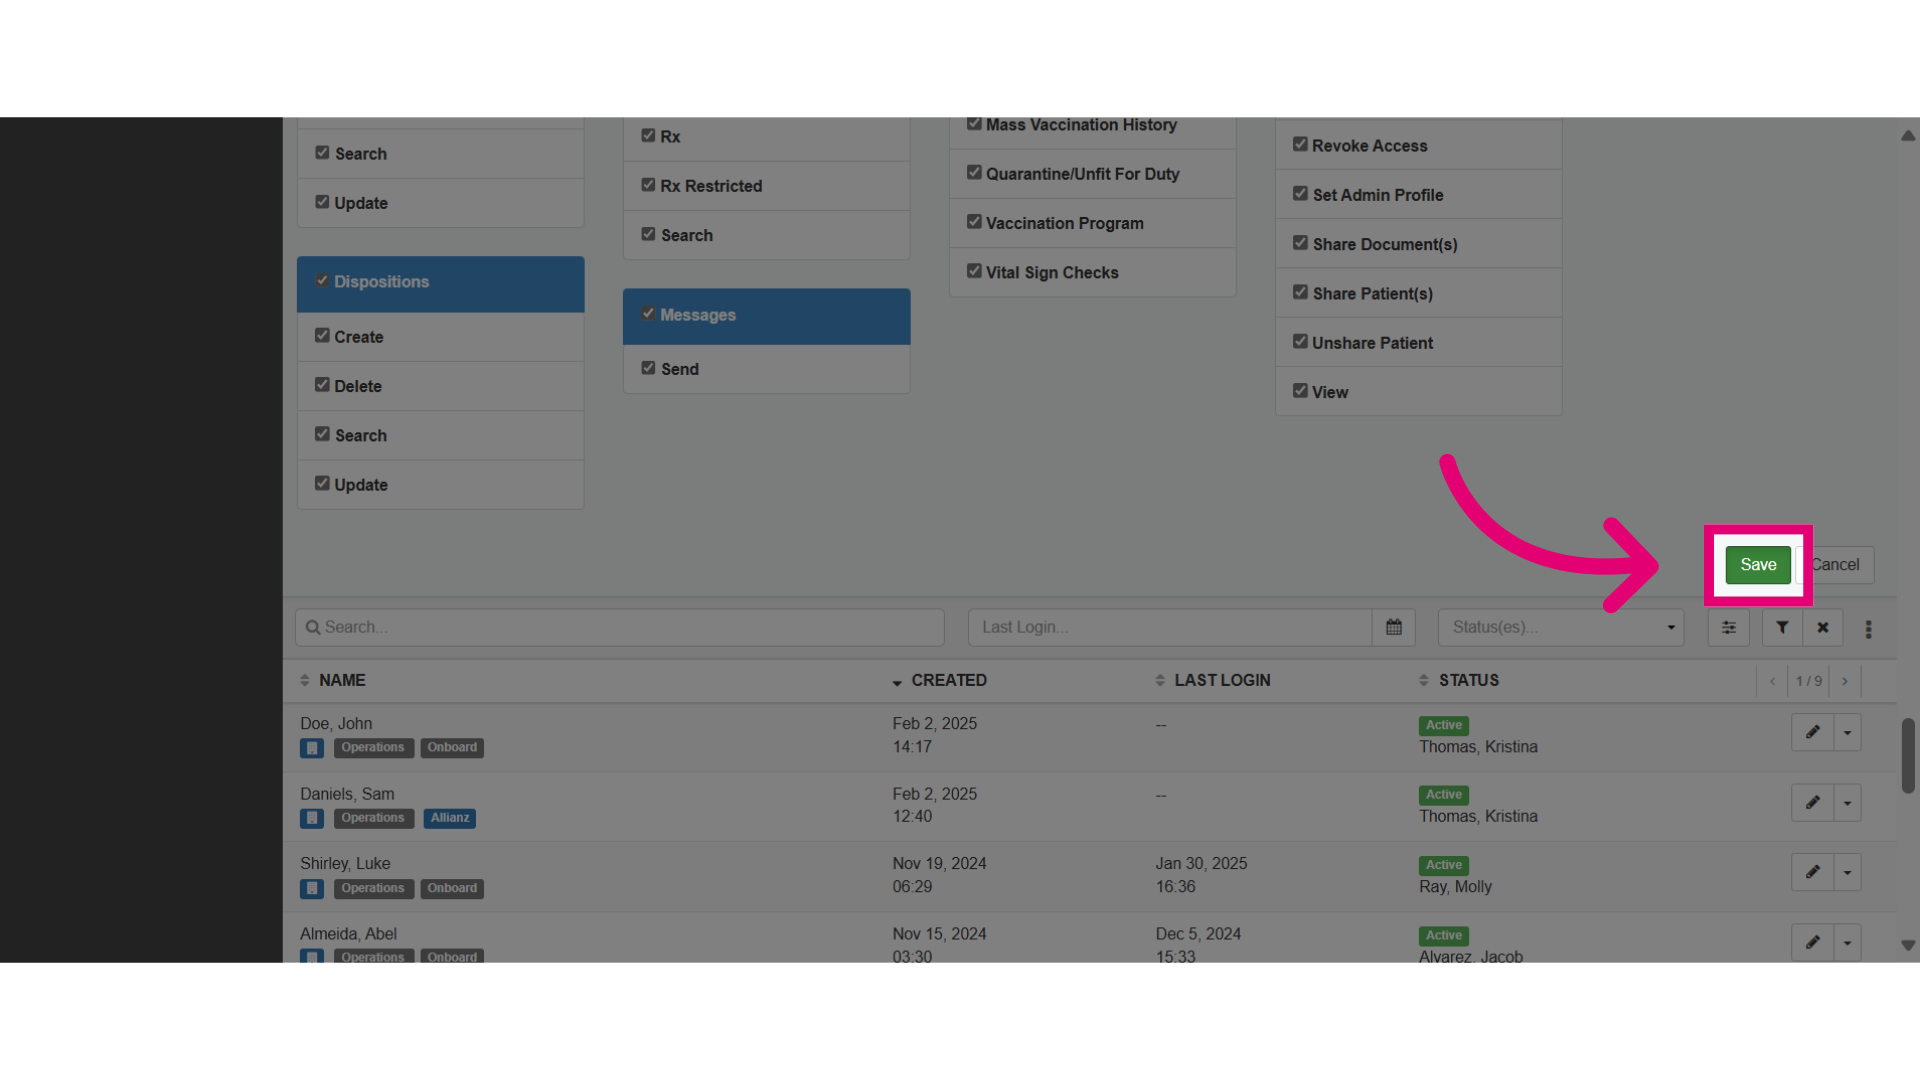
- Then, Save the changes made.
- This appears when assigned permissions are not part of the user's group, allowing for individual permission assignments.
- Yes - Selecting yes removes the user from the group and assigns individual permissions.
- No - Selecting no keeps the user in the group without the selected permissions.