New article
Recently updated
Managing a SeaConsult call

Who is this article for?Users who want to learn to manage a SeaConsult call.
No elevated permissions are required.
This guide provides detailed instructions on managing a SeaConsult call, covering essential actions like starting an encounter, completing forms, and interacting with patients.
1. Managing a SeaConsult call
1.1. Video
1.2. Steps
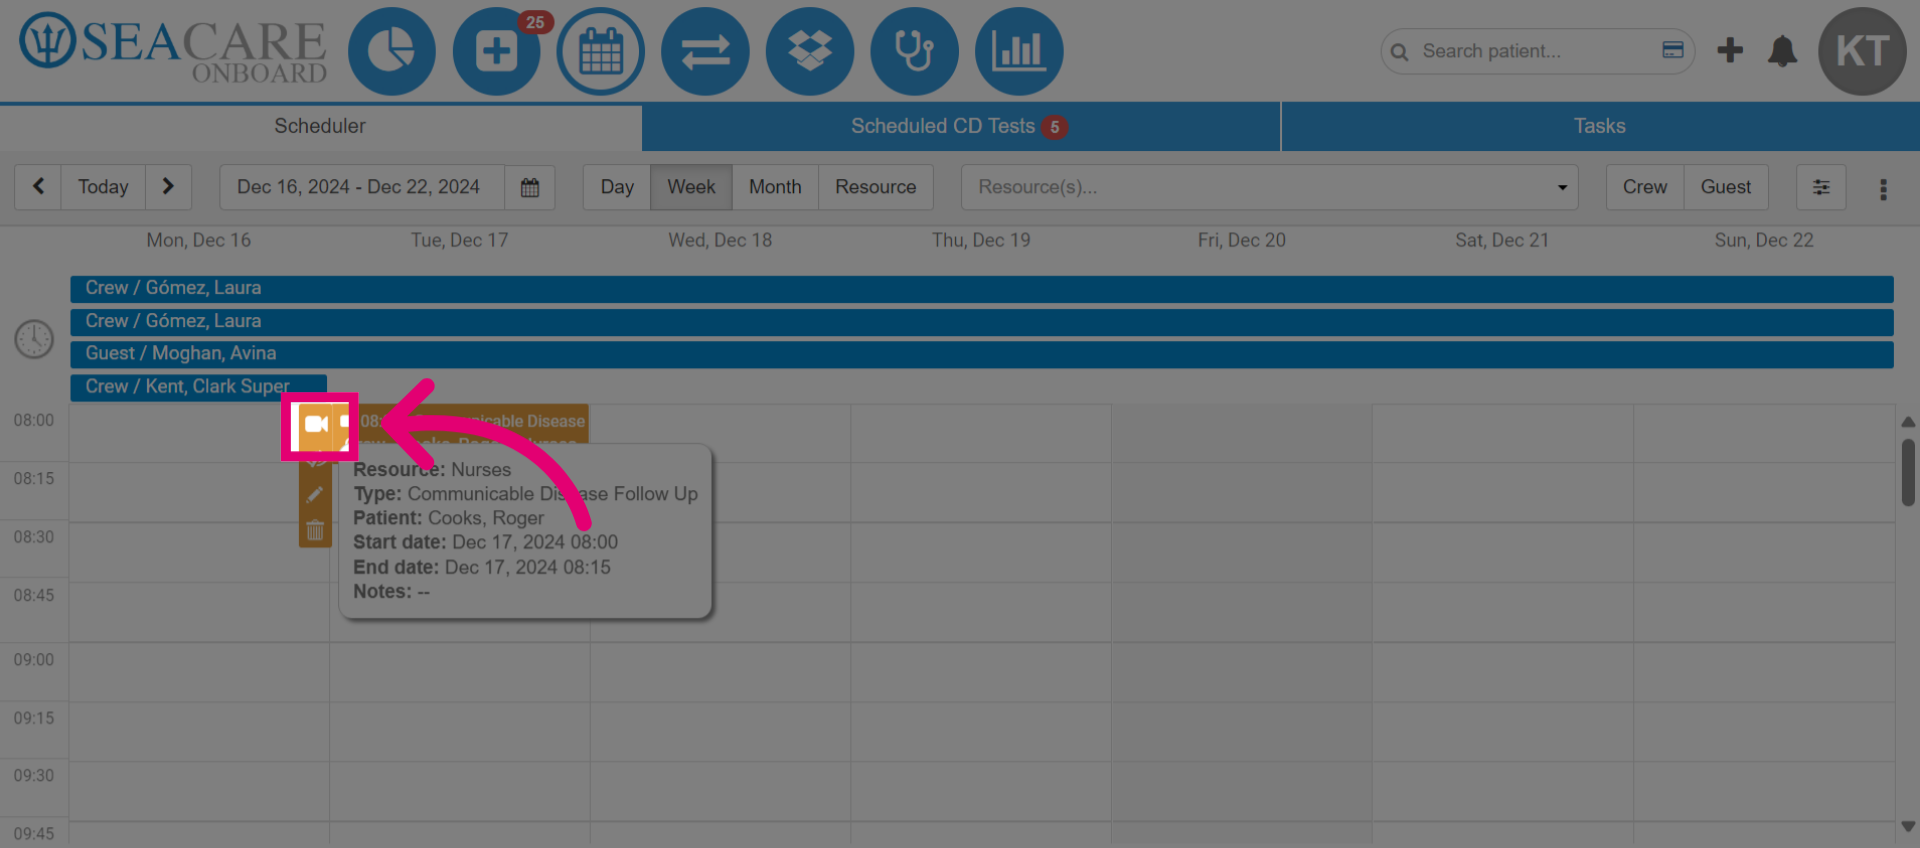
- Start in the Scheduler module and locate the booked appointment on the calendar. Then, select the video button to start the SeaConsult call.
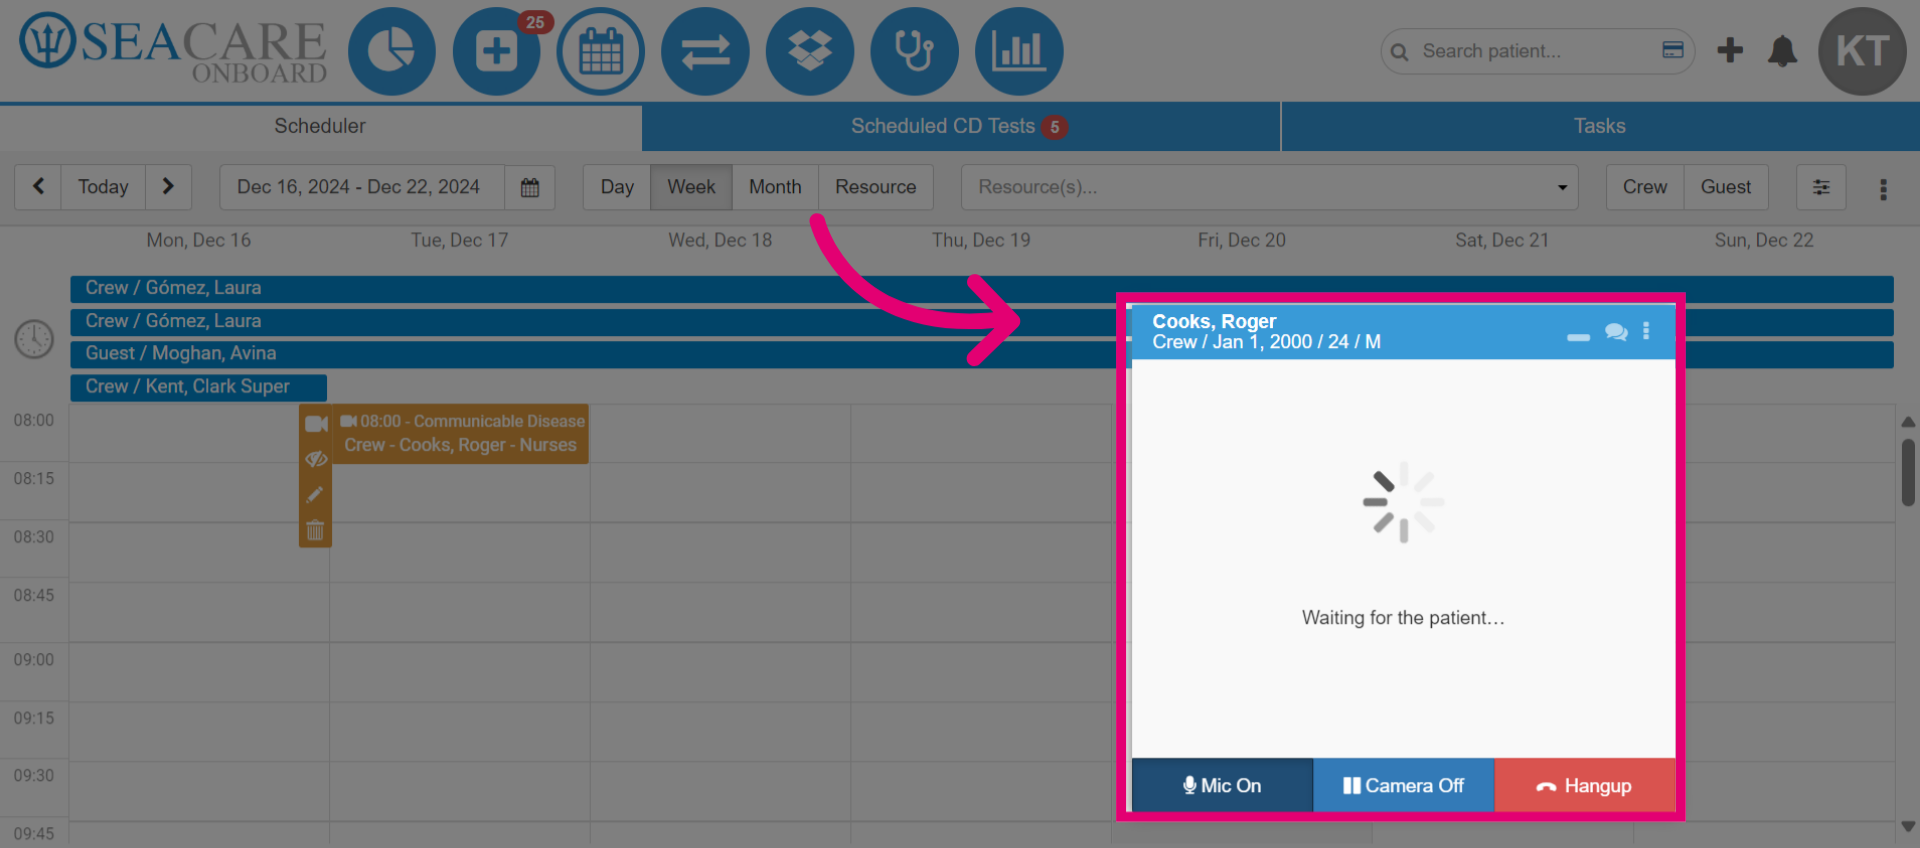
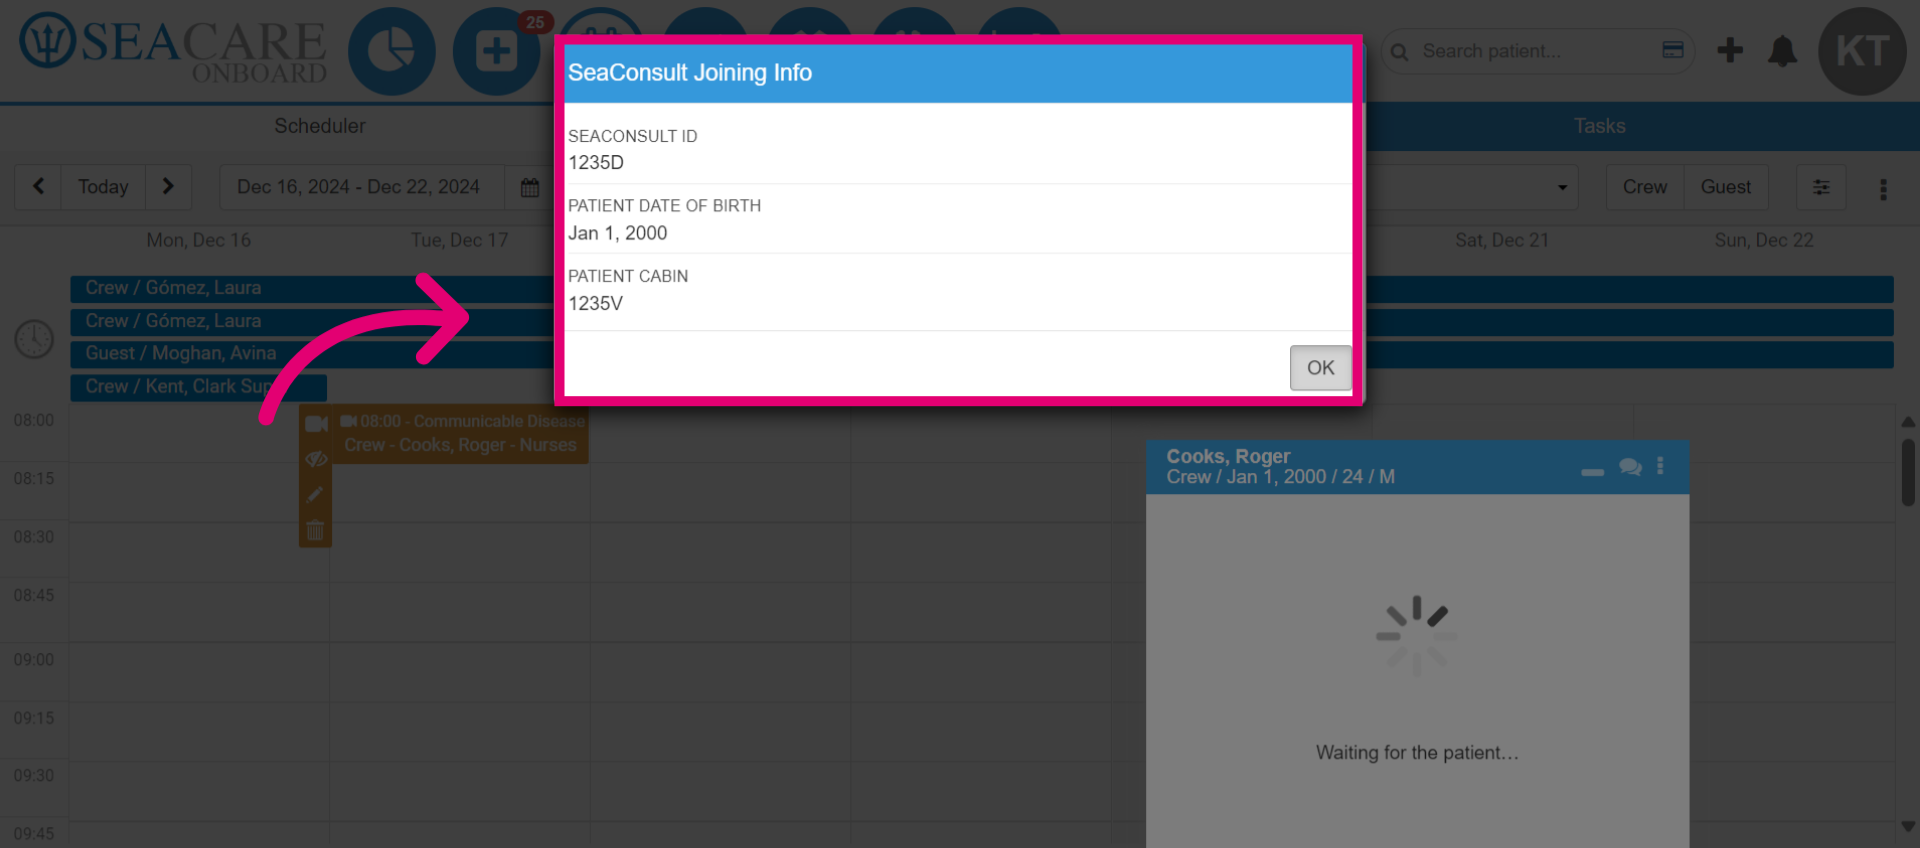
- This opens the launch window for the SeaConsult call, displaying the message Waiting for the patient until the patient joins.
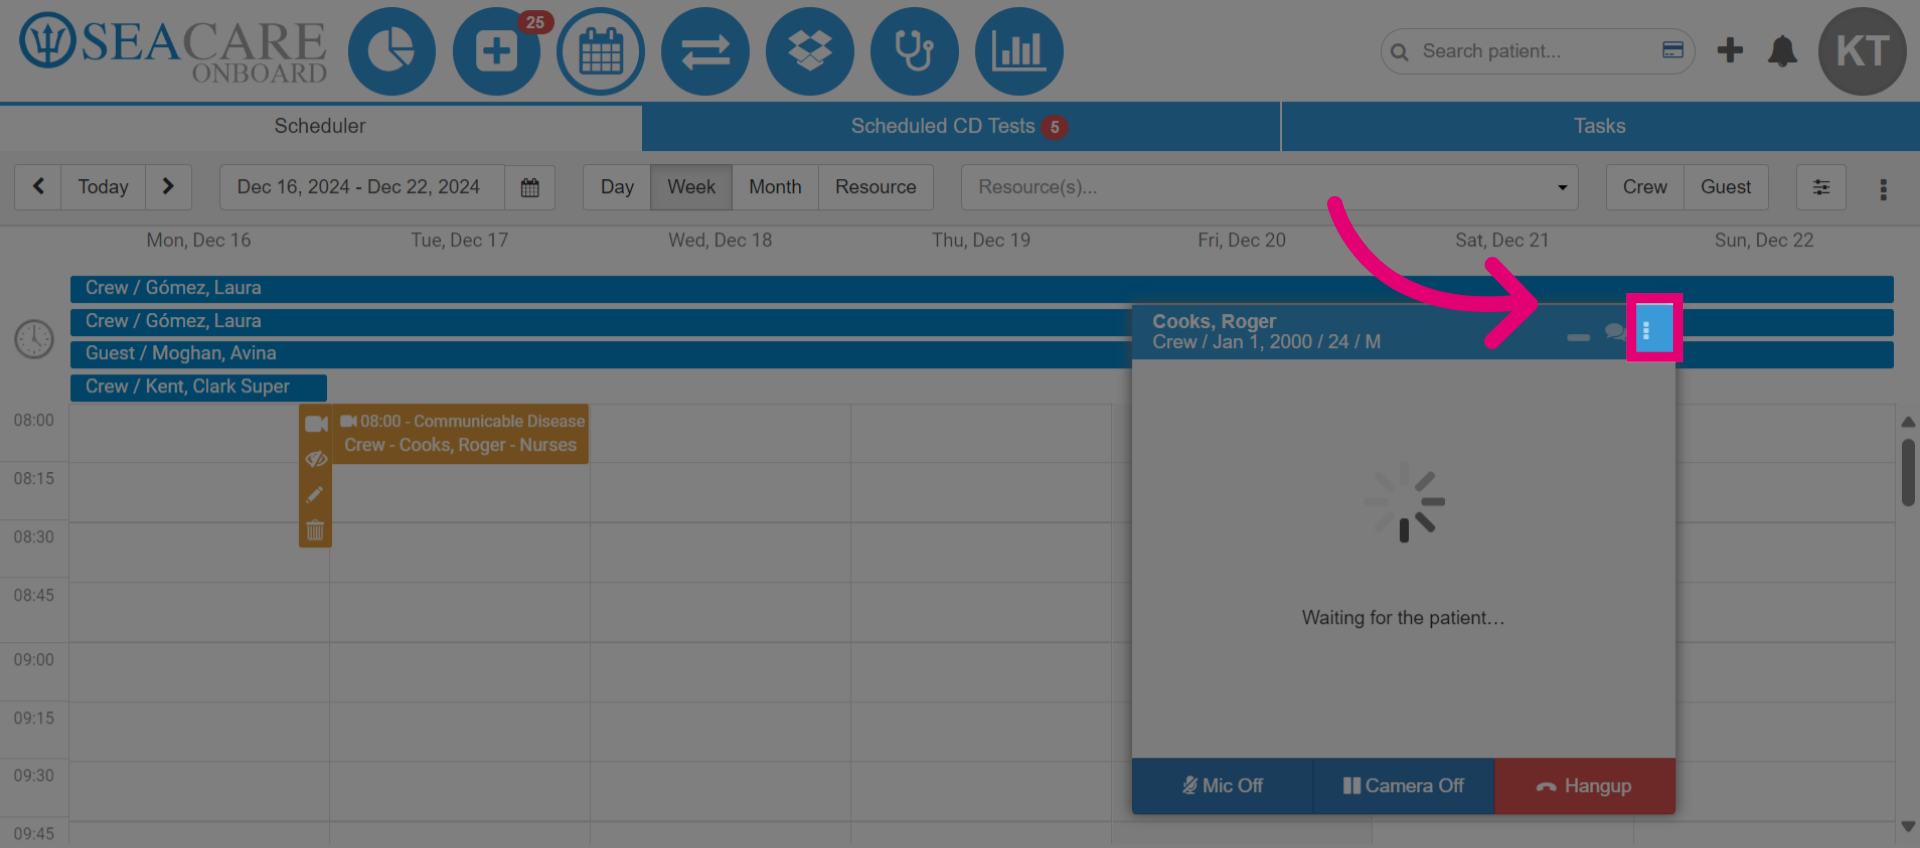
- Choose the three dots button for more options. Here, you can resend the invite to the patient, view the joining information, and more.
- The SeaConsult Joining Info window displays the seaconsult ID, patient's date of birth, and cabin number required for the patient to join the call.
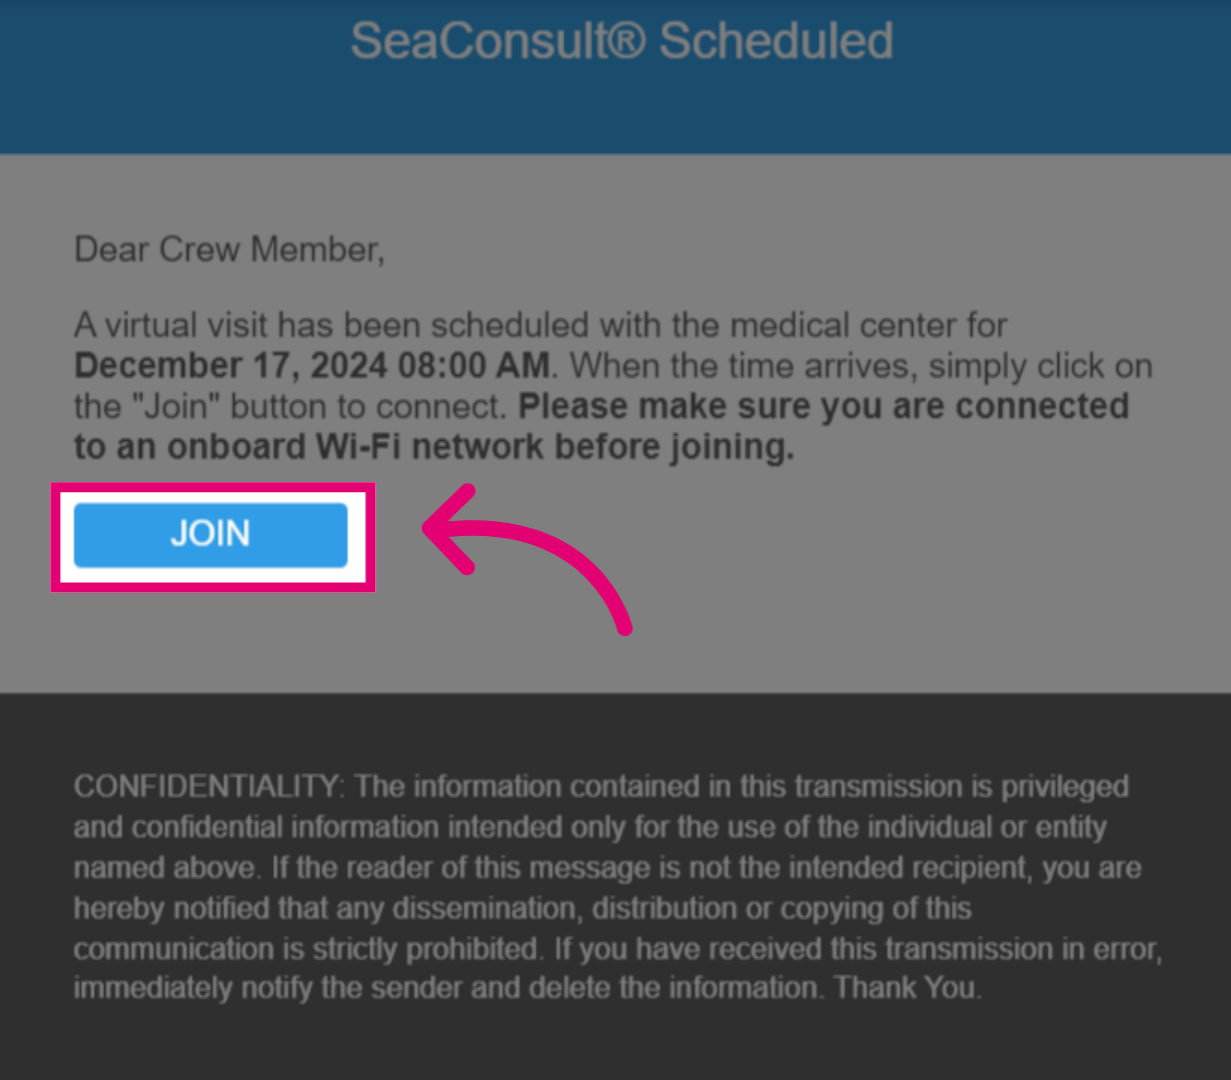
- A call pop-up window will appear for the patient and they will need to click Join.
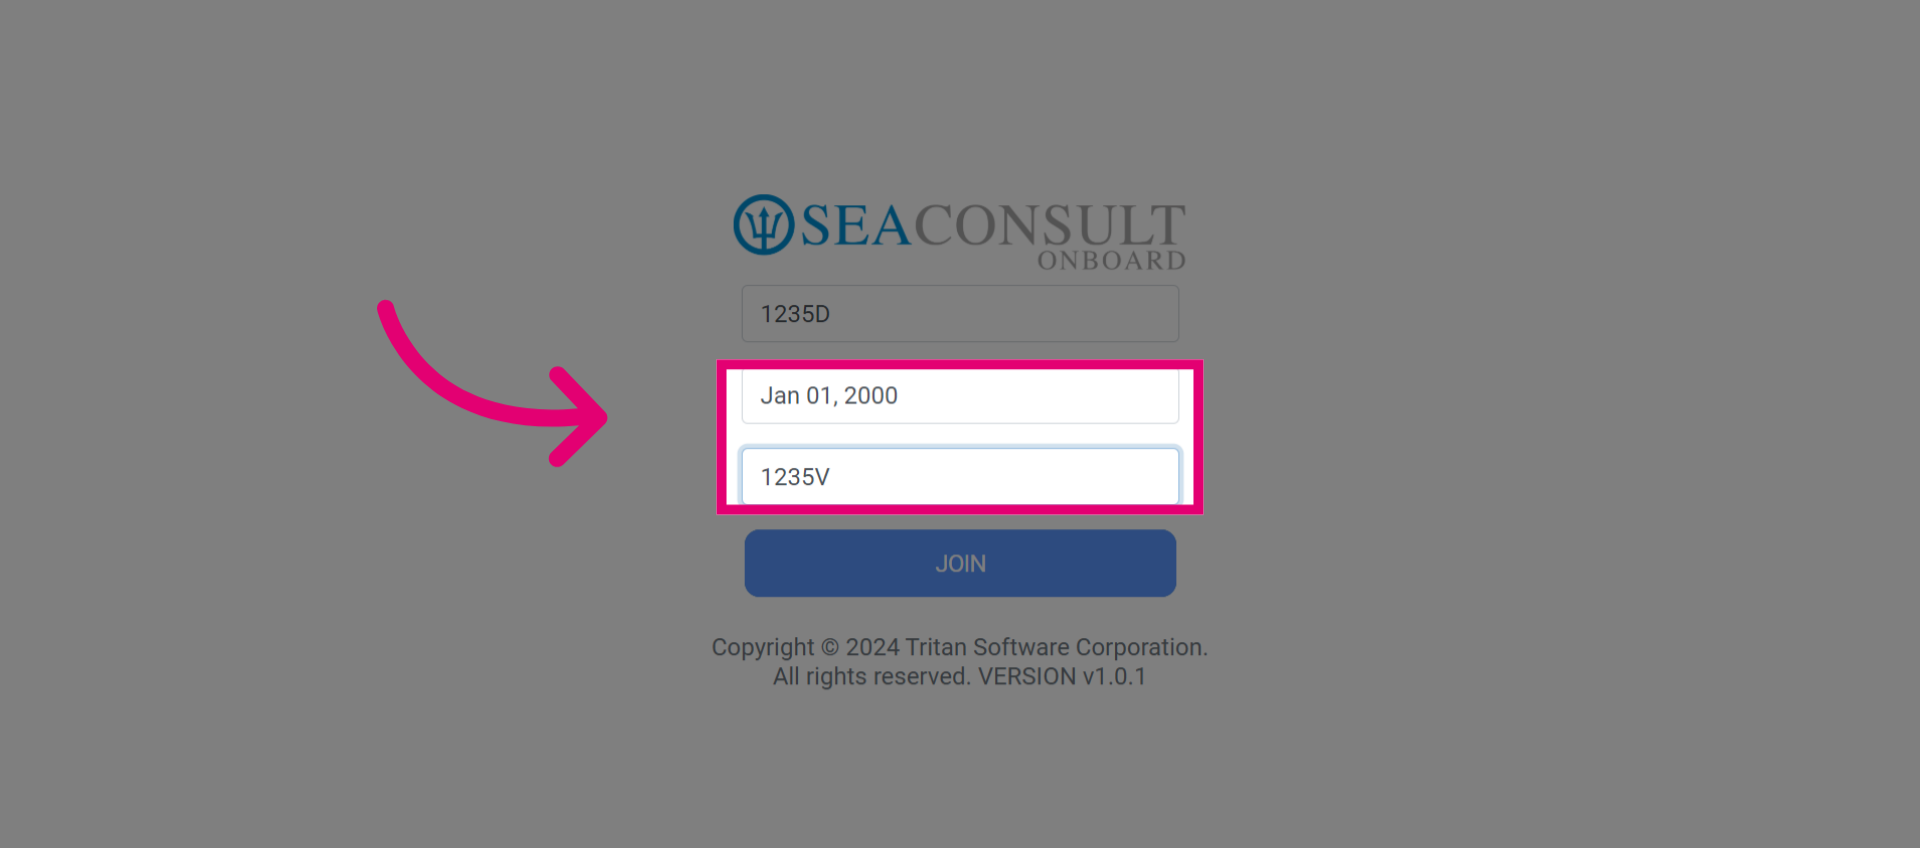
- The patient must then enter their Date of Birth and Cabin Number.
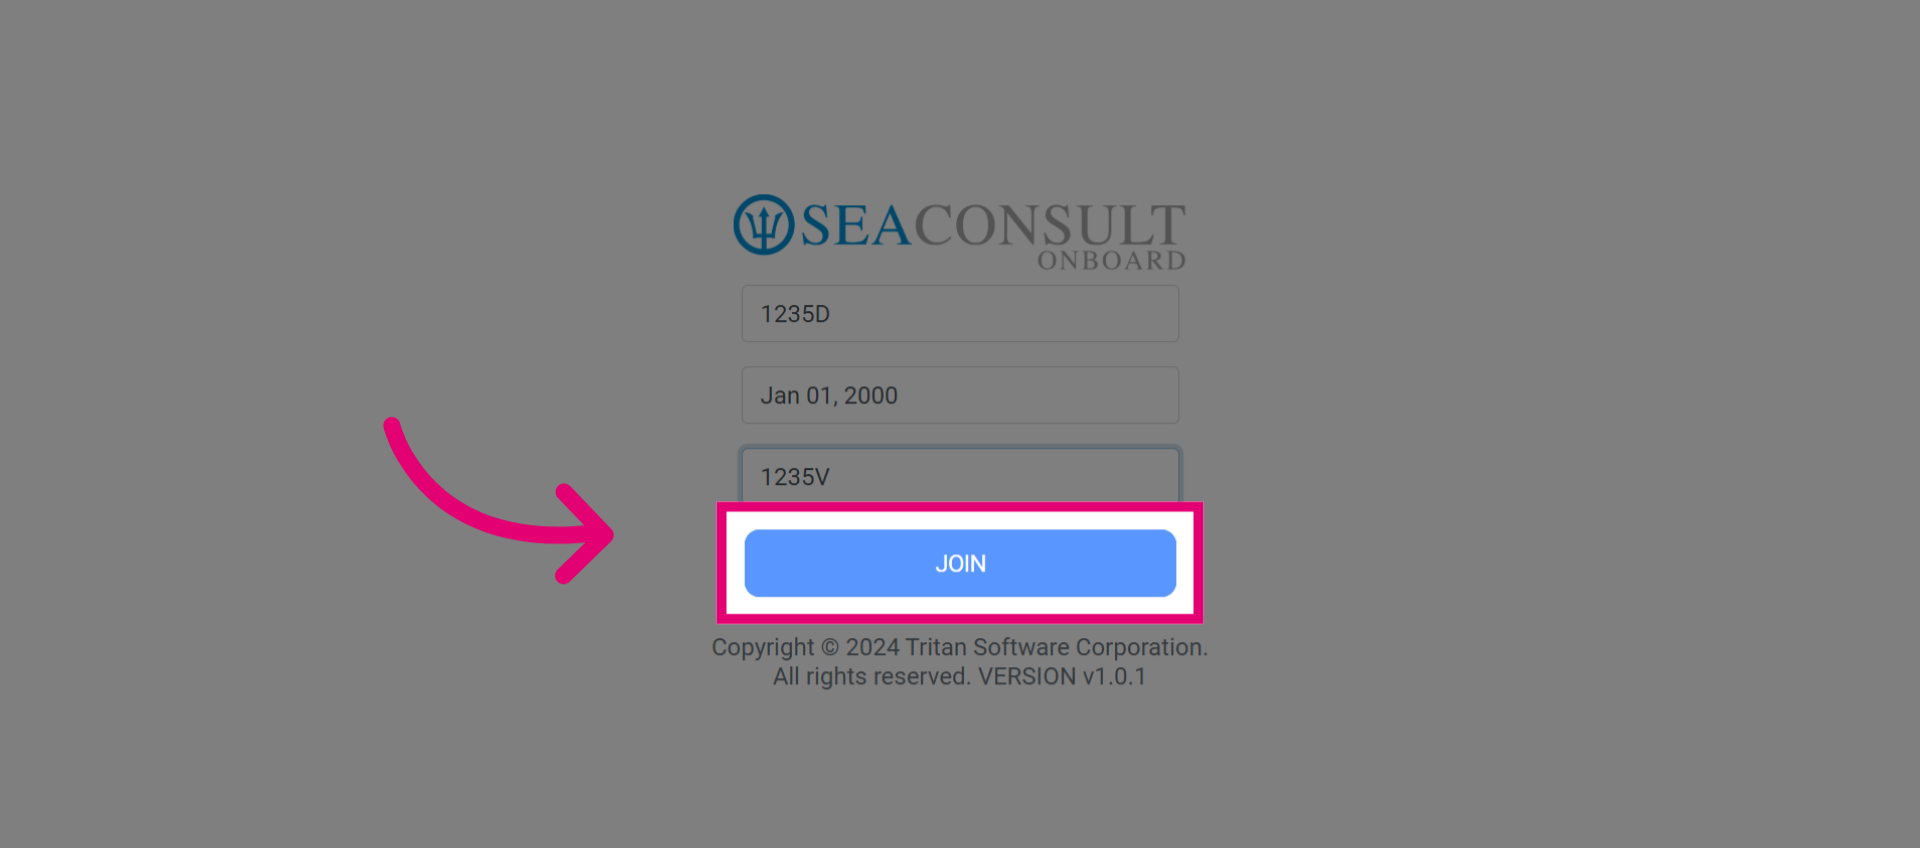
- Then, the patient must select Join, to join the call.
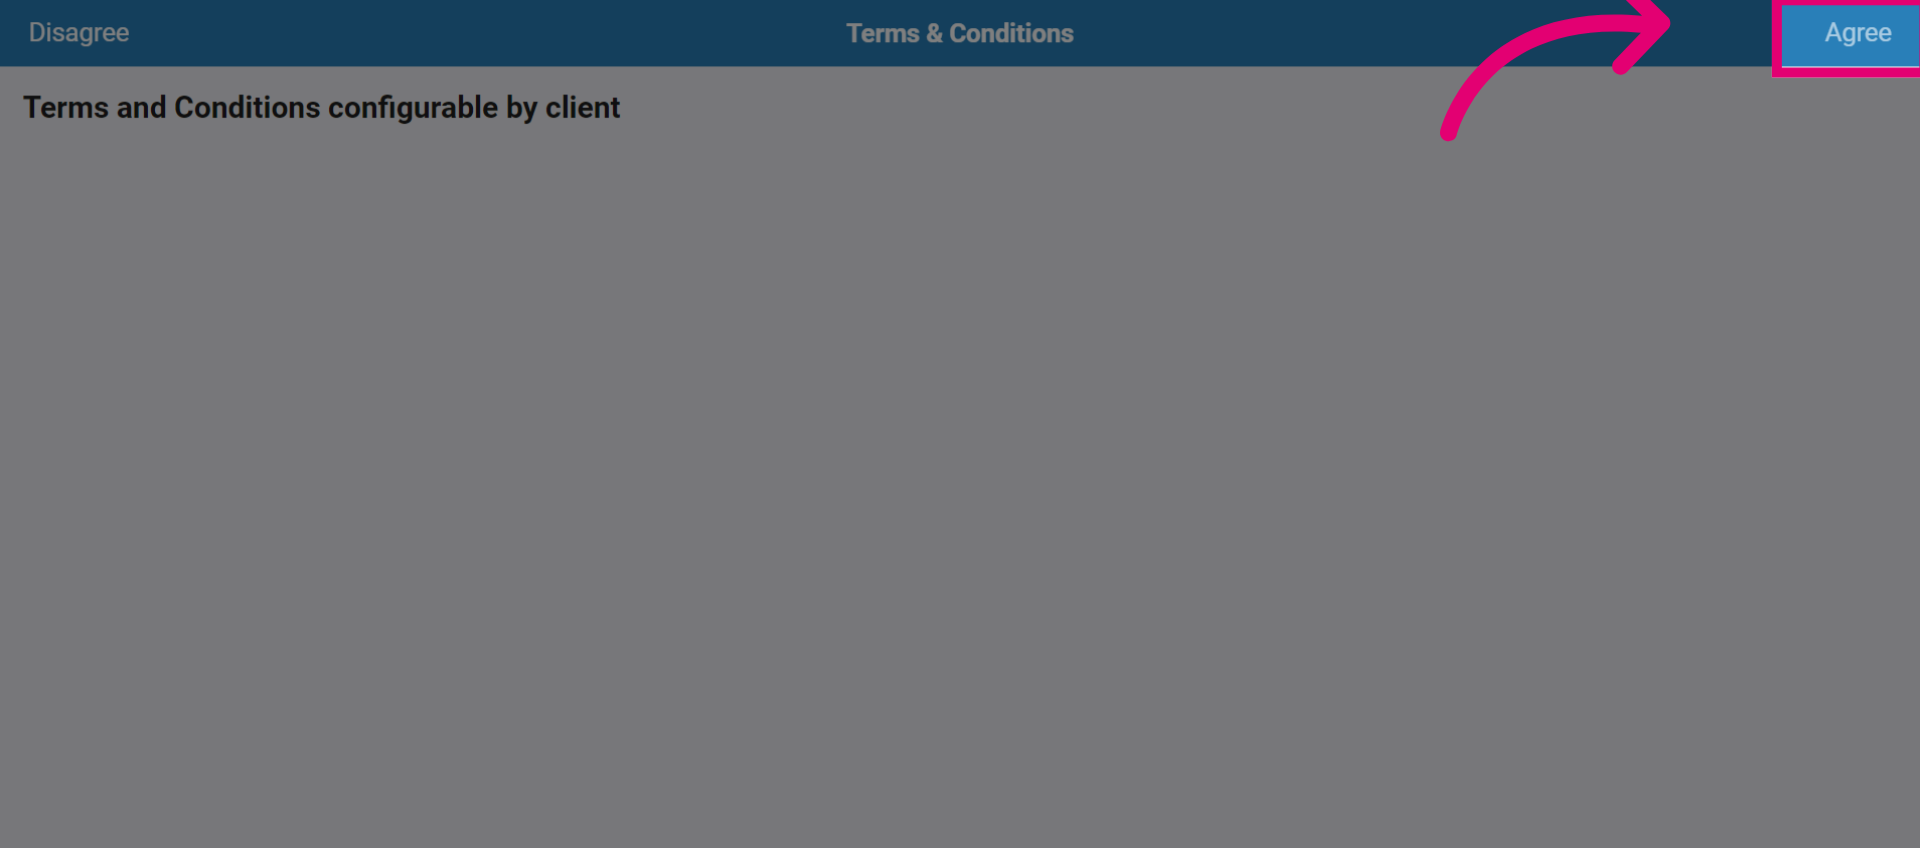
- The patient must agree to the terms and conditions, if required by your organization.
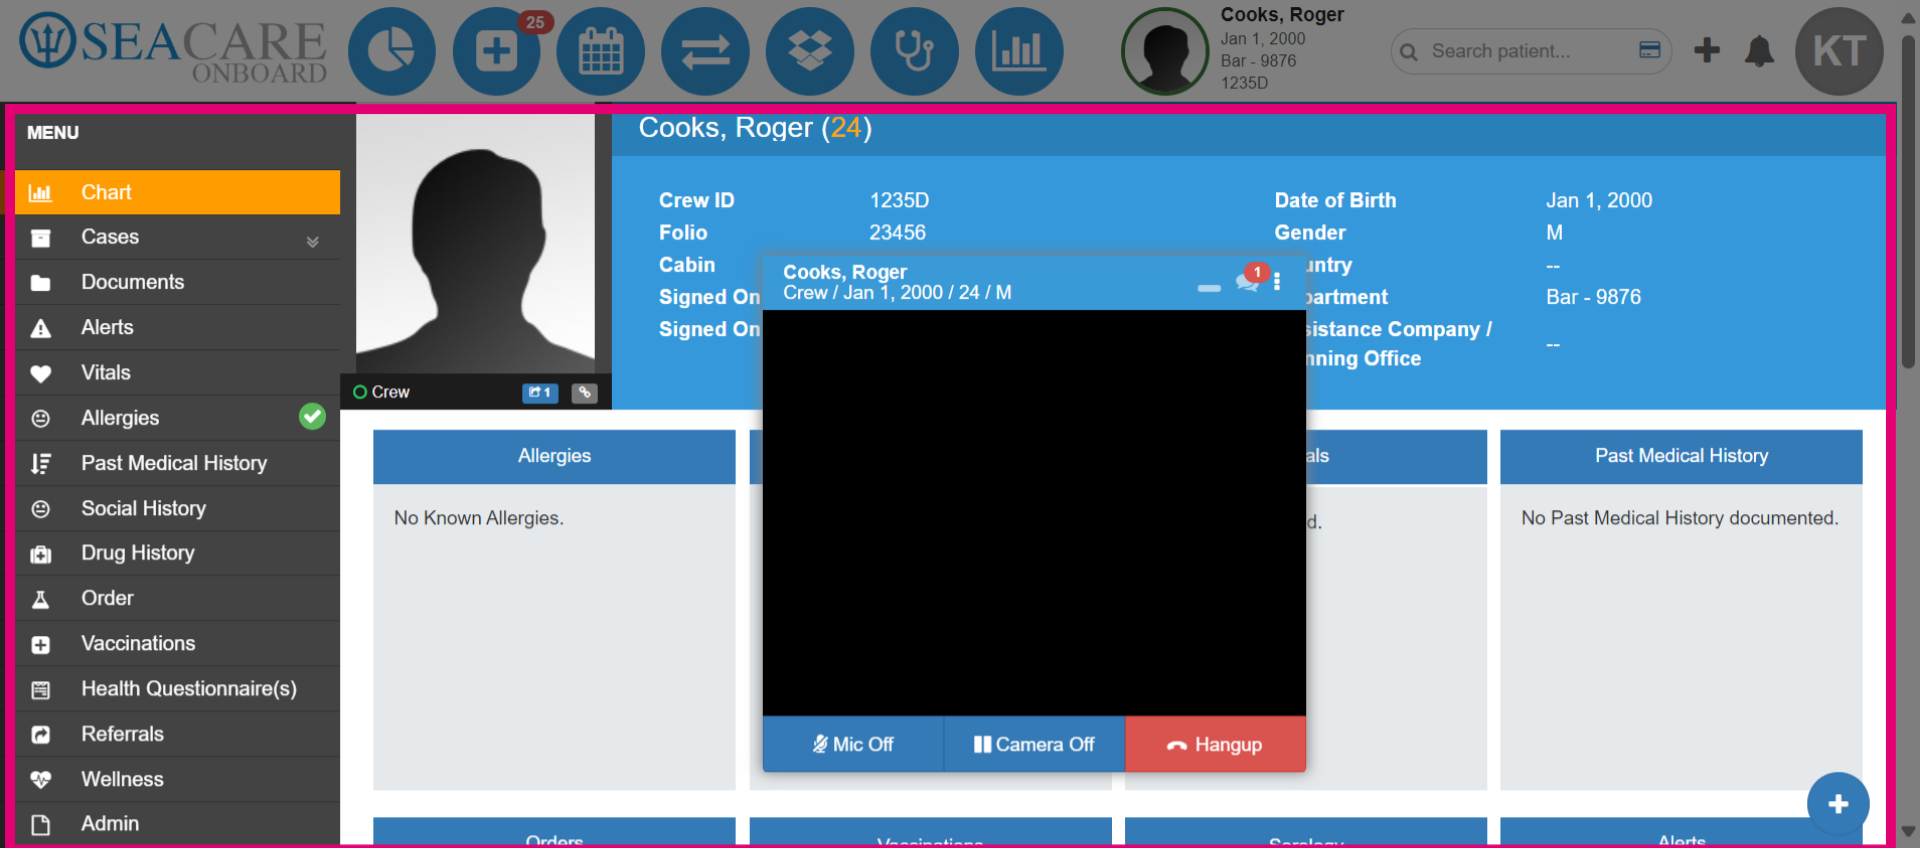
- Once the patient has joined the call, the consultation can begin. For additional options, click the more options button, then choose to open the patient's chart.
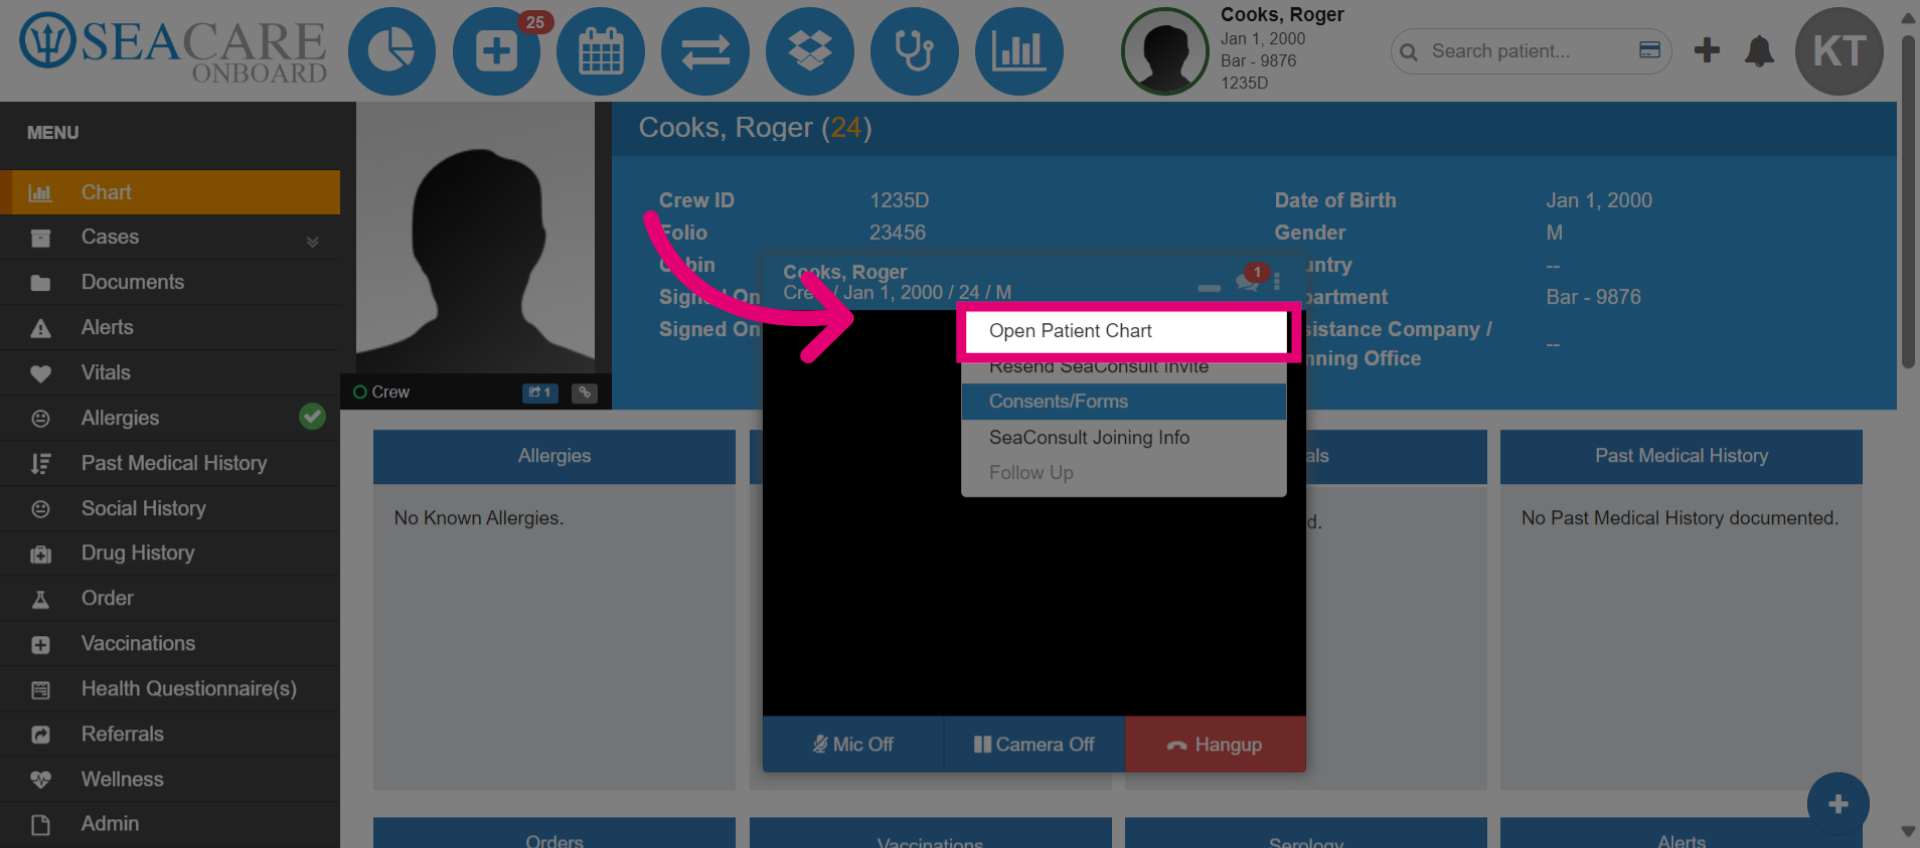
- This allows the medical team member to view and access the patient's chart during the call.
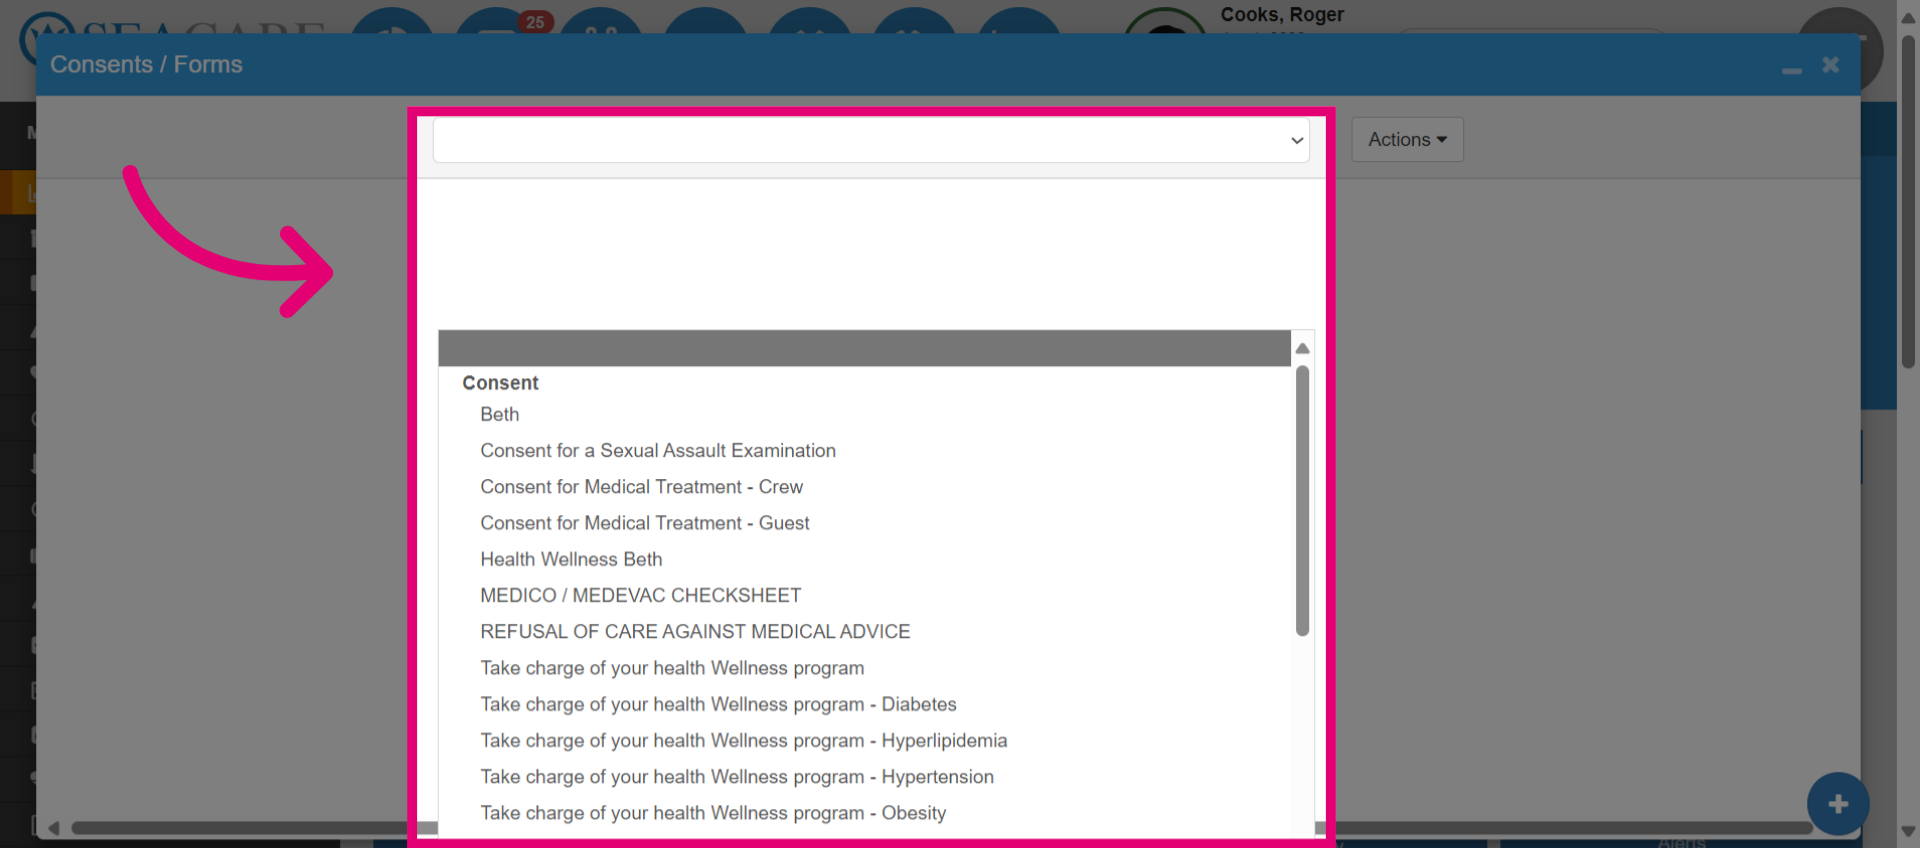
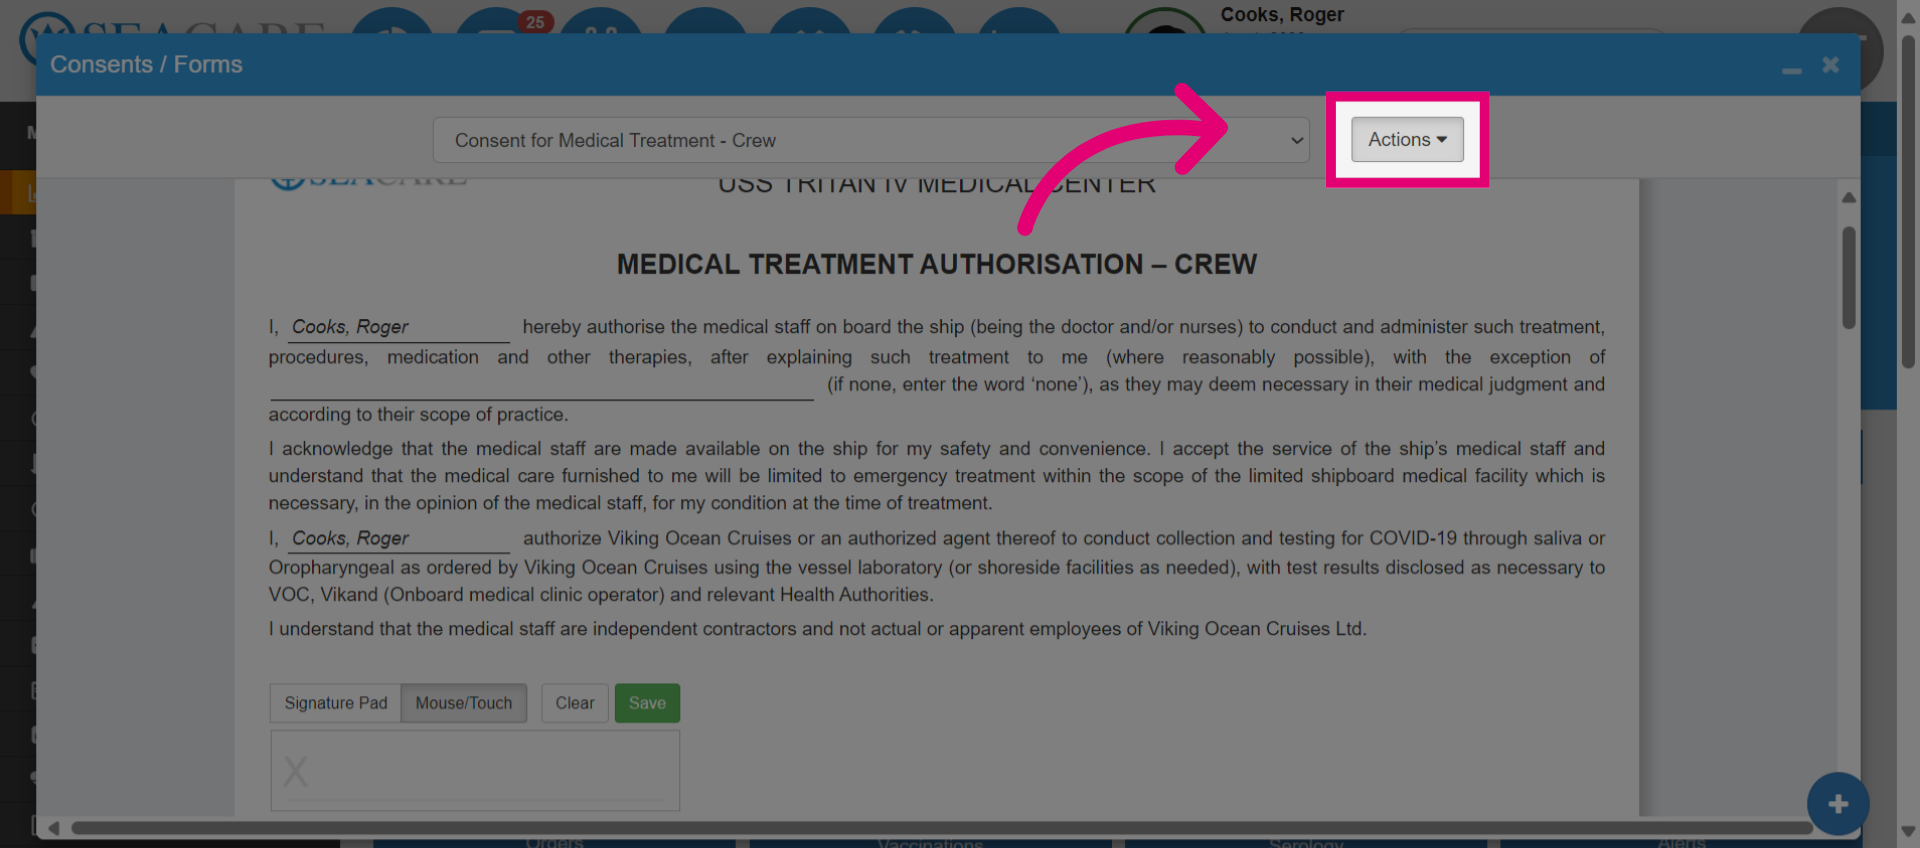
- Open the Consents and Forms section if the patient needs to sign consent for the medical consultation.

- Choose the appropriate consent form for the patient to sign, such as a General Medical Treatment form.
- Select the Actions menu.
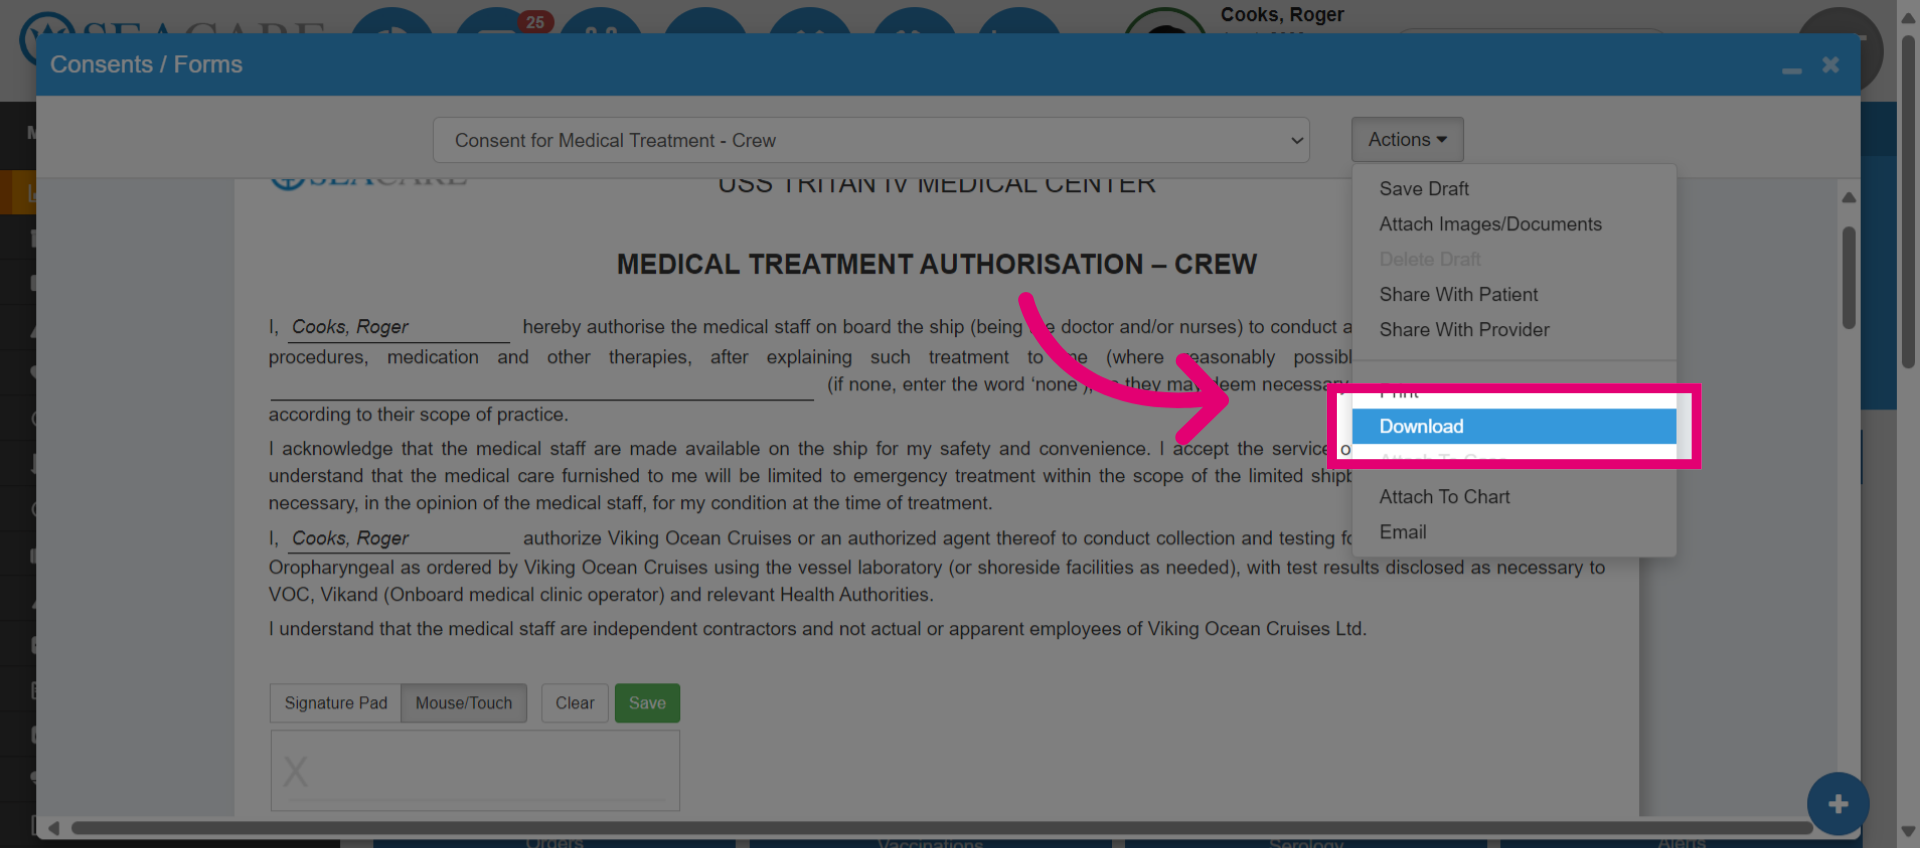
- Click Download to download the document.
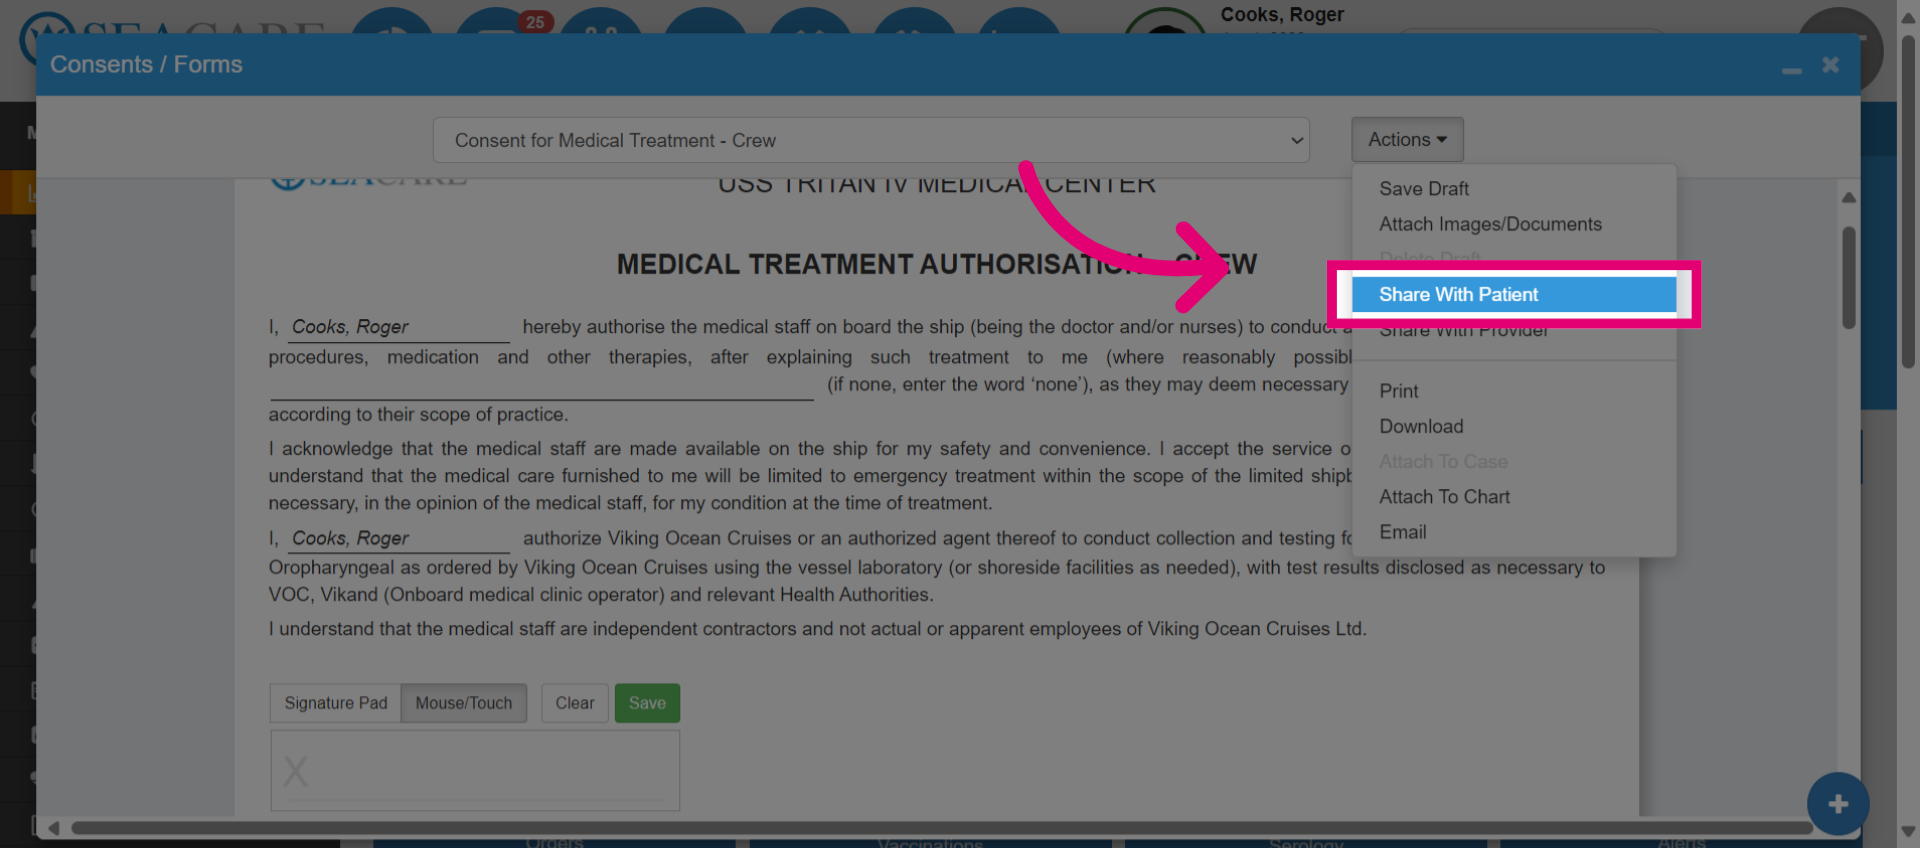
- Alternatively, you can select Share with Patient to send the form directly to the patient in the call chat messages.
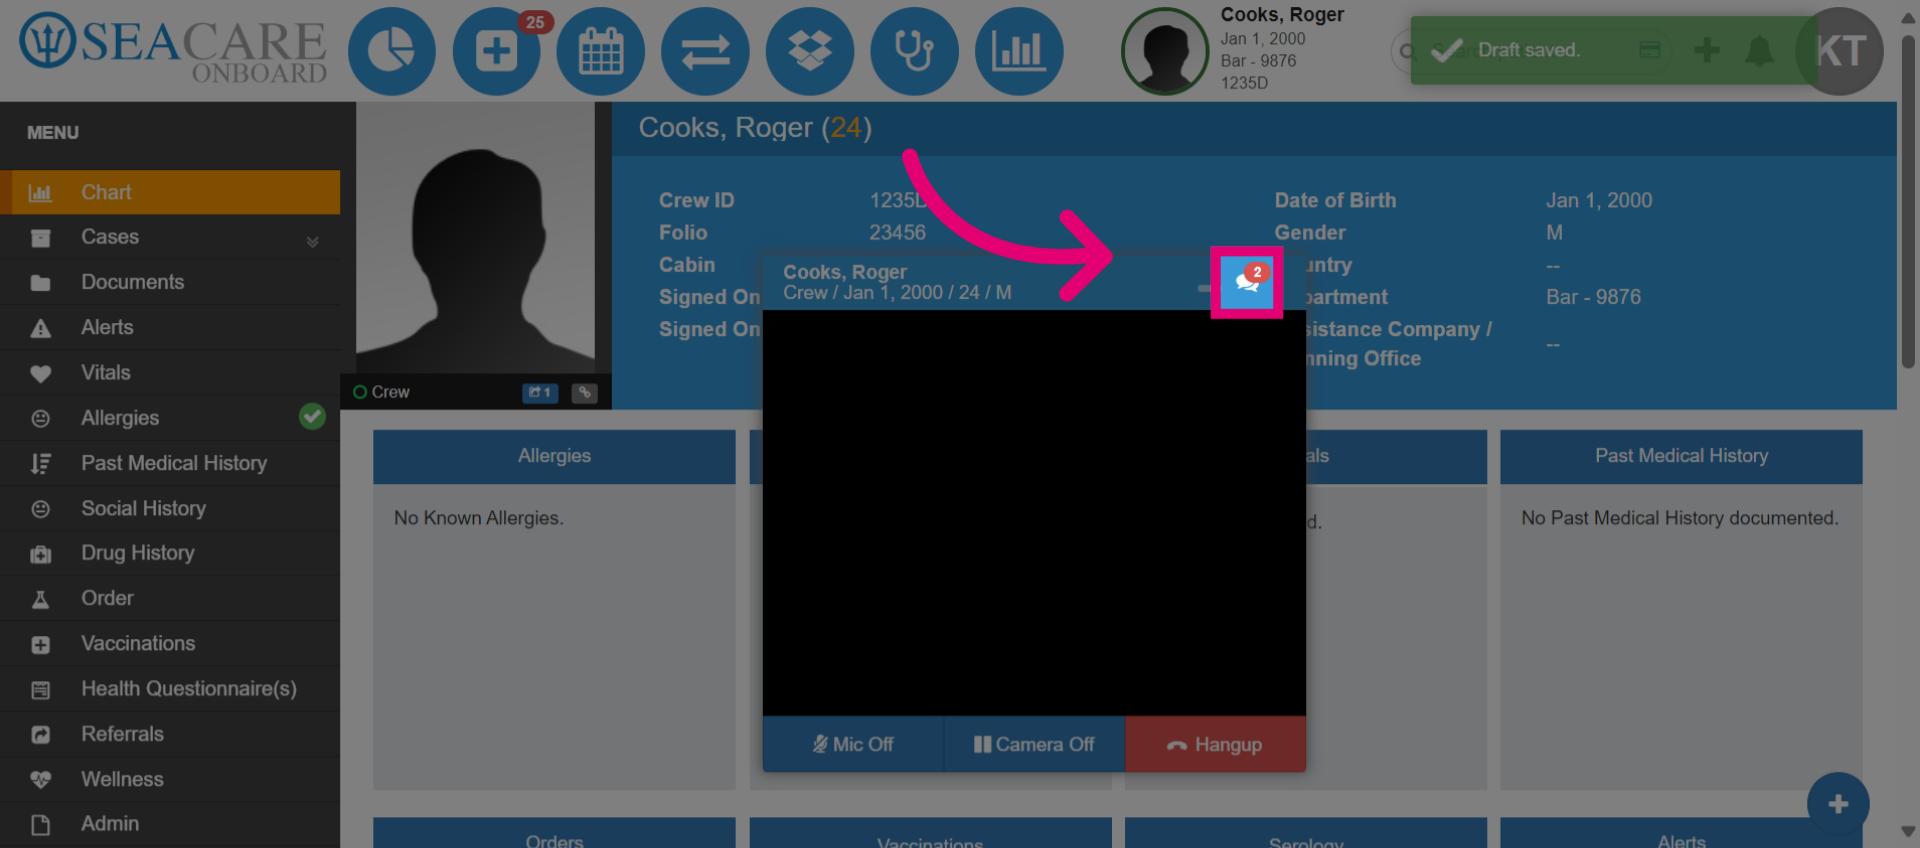
- To view the shared document, go to the chat messages. The in-chat will also indicate an unread message.
- Additionally, you can communicate with the patient by typing and responding to messages in the chat.
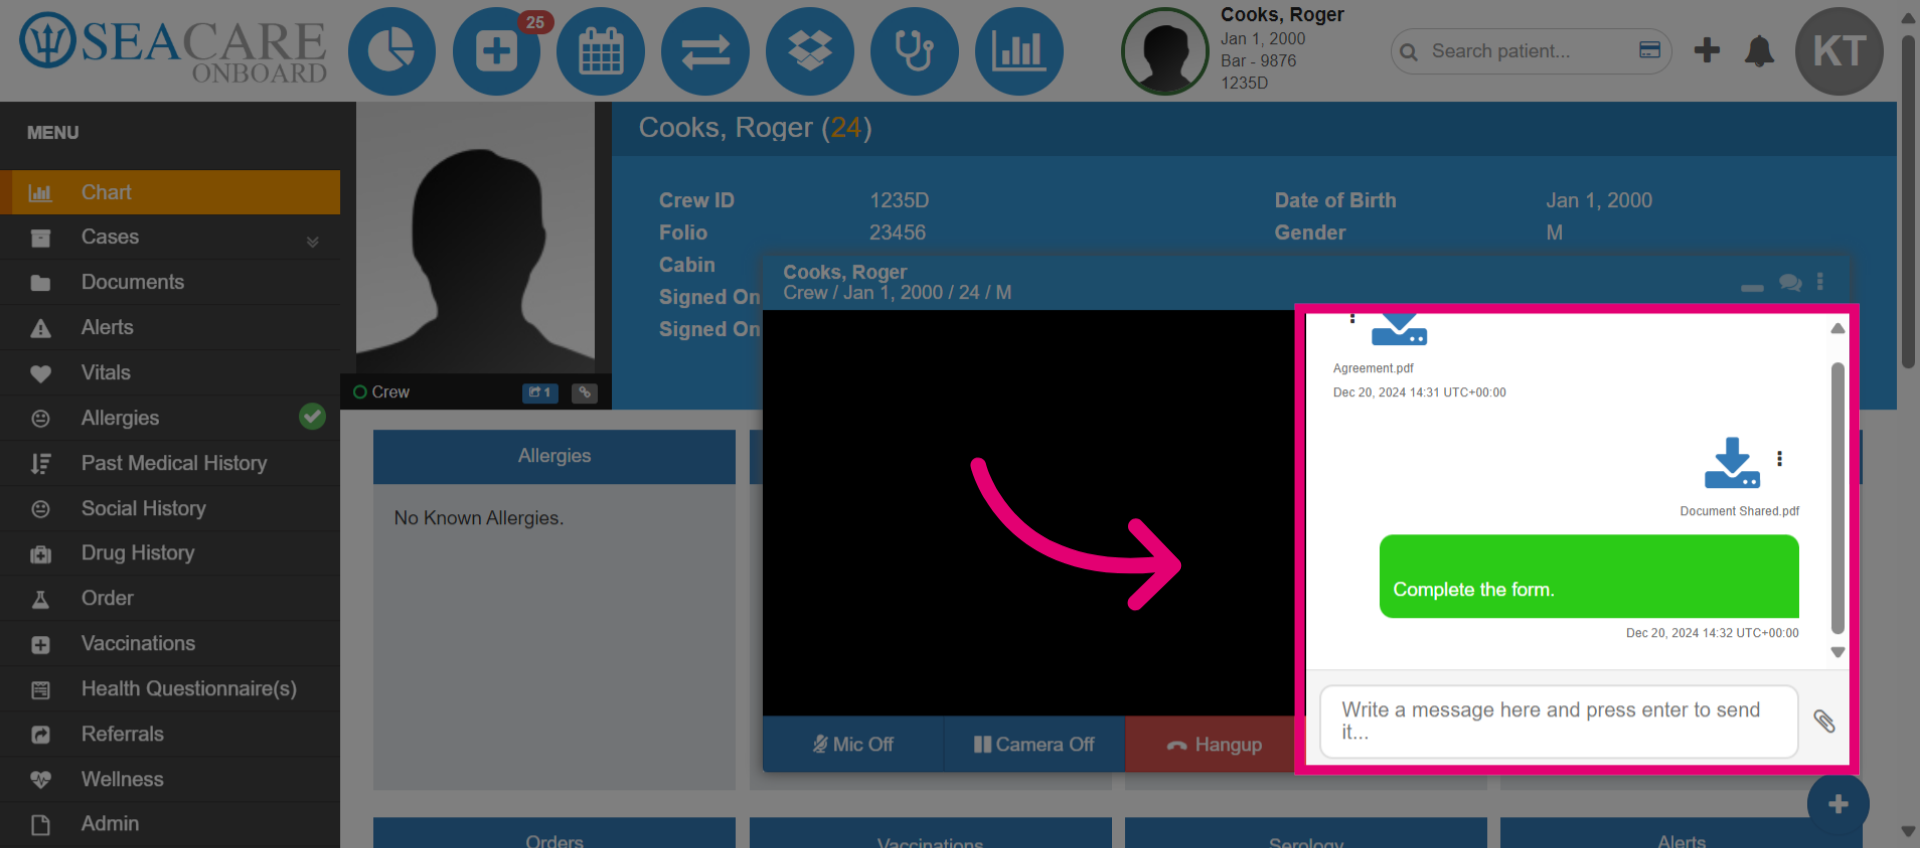
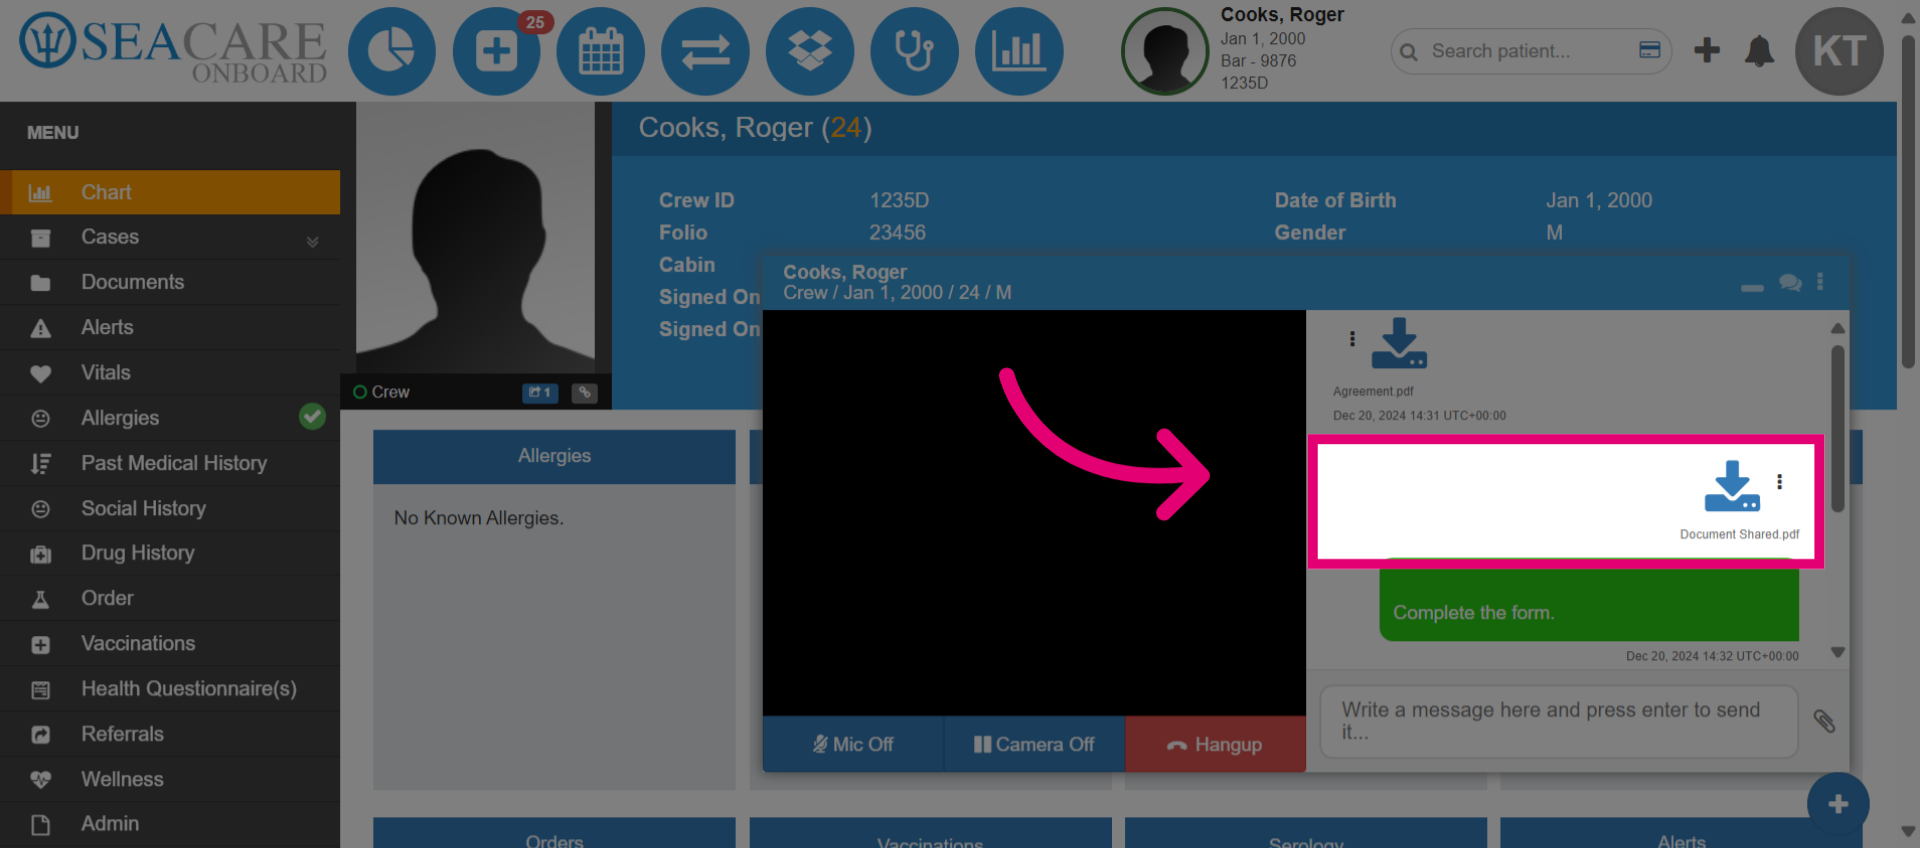
- You can see how the form was automatically shared within the chat. Alternatively, you may upload the form from your device using the paperclip icon.
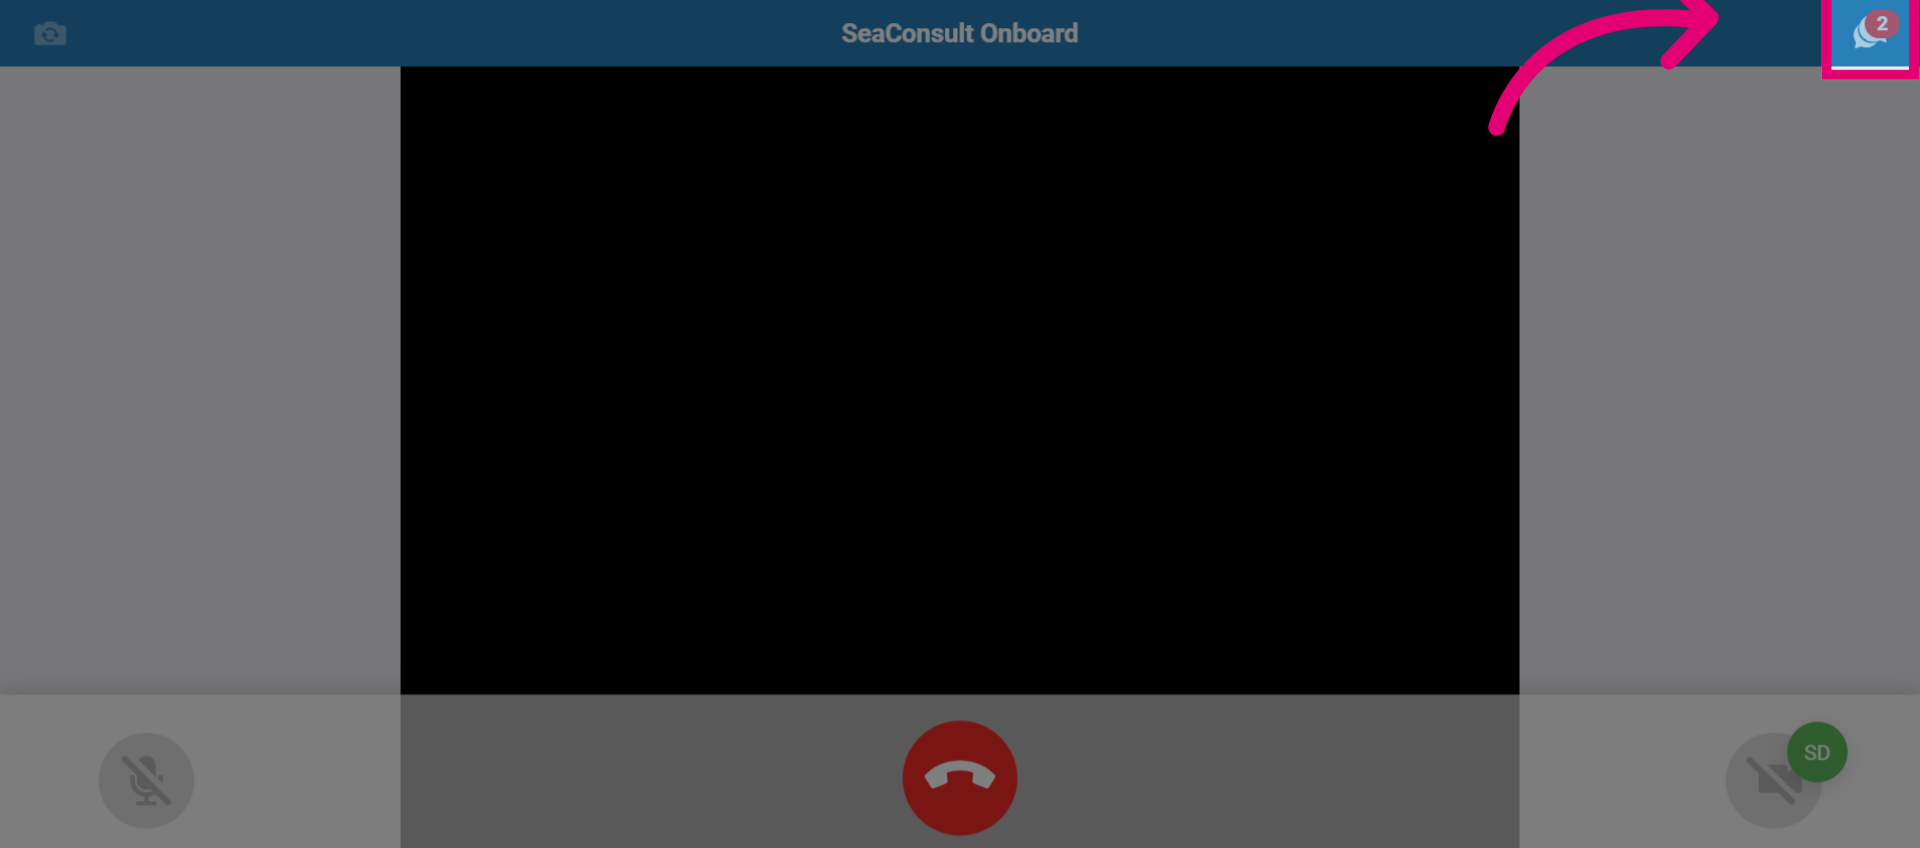
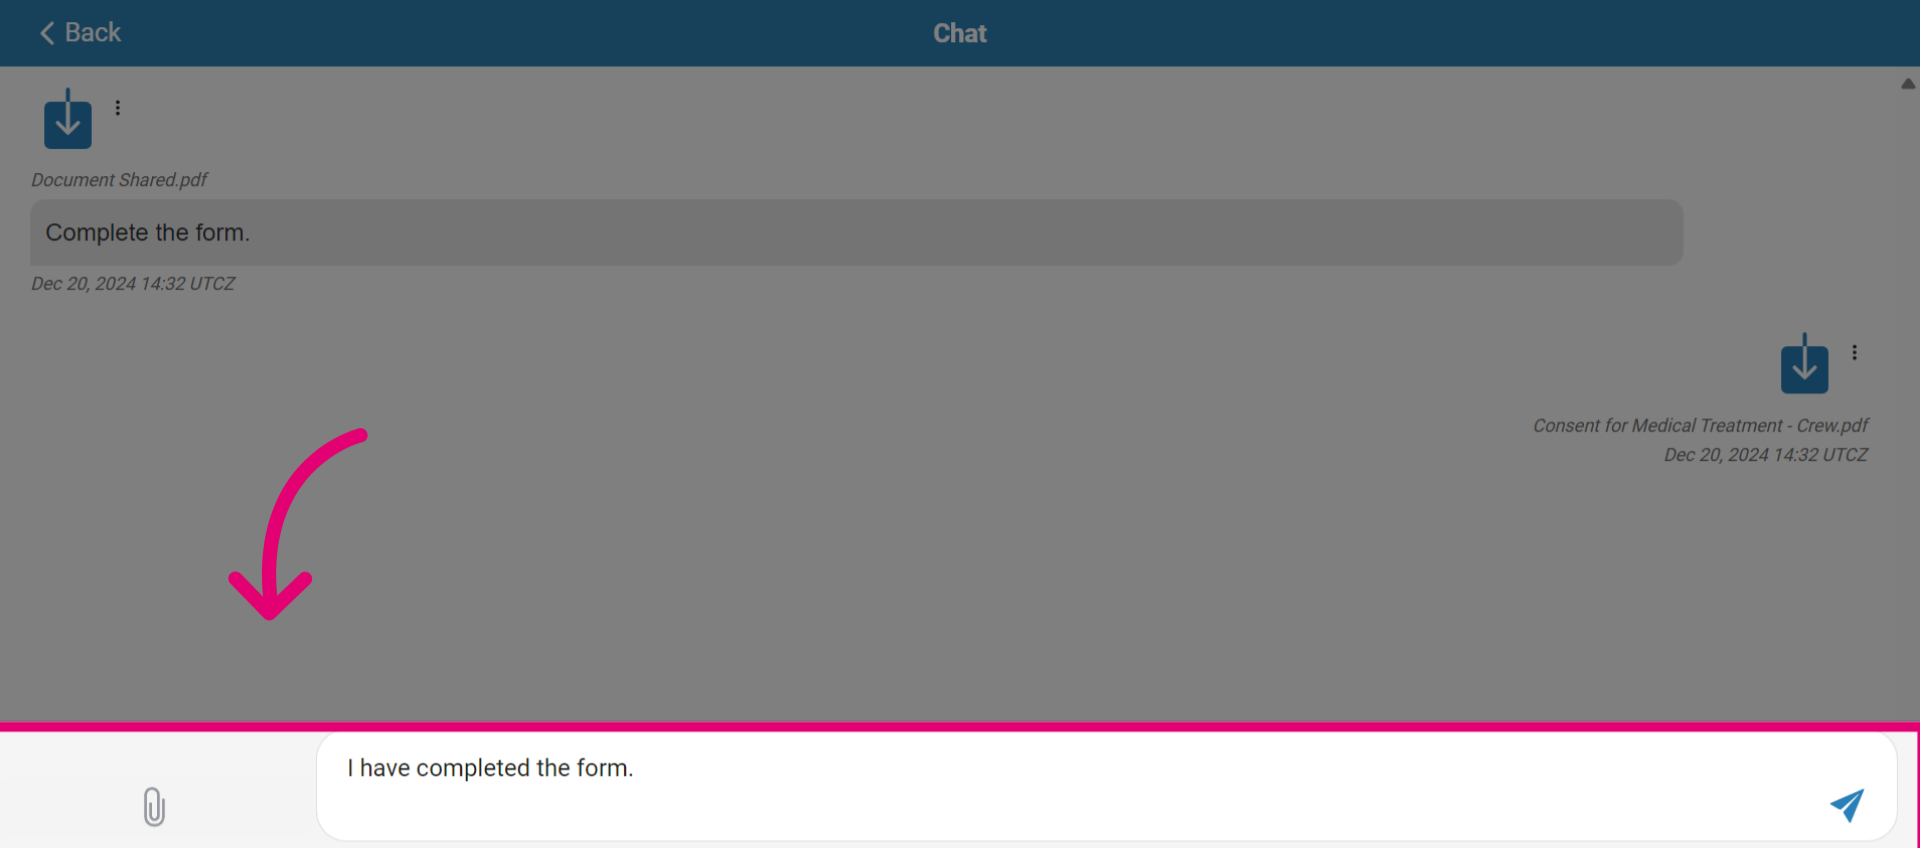
- The patient will also be able to view messages in the chat.
- The patient can download the form, sign it, and then upload the signed form to share it with the medical team member.
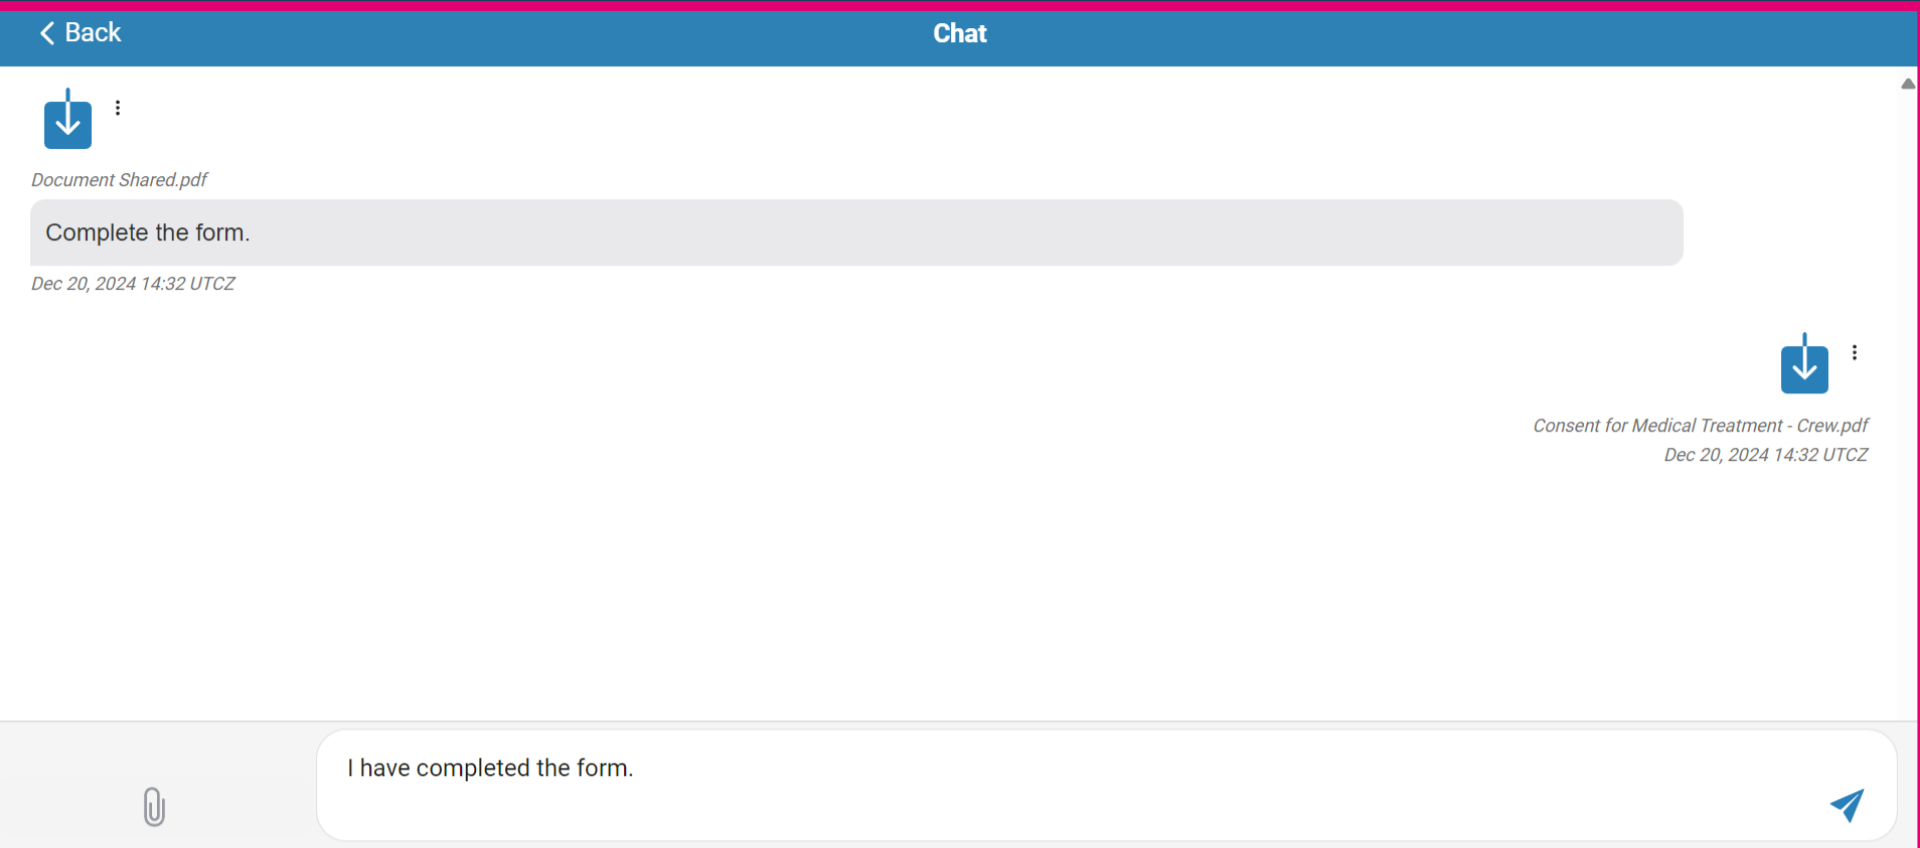
- The patient can also send messages.
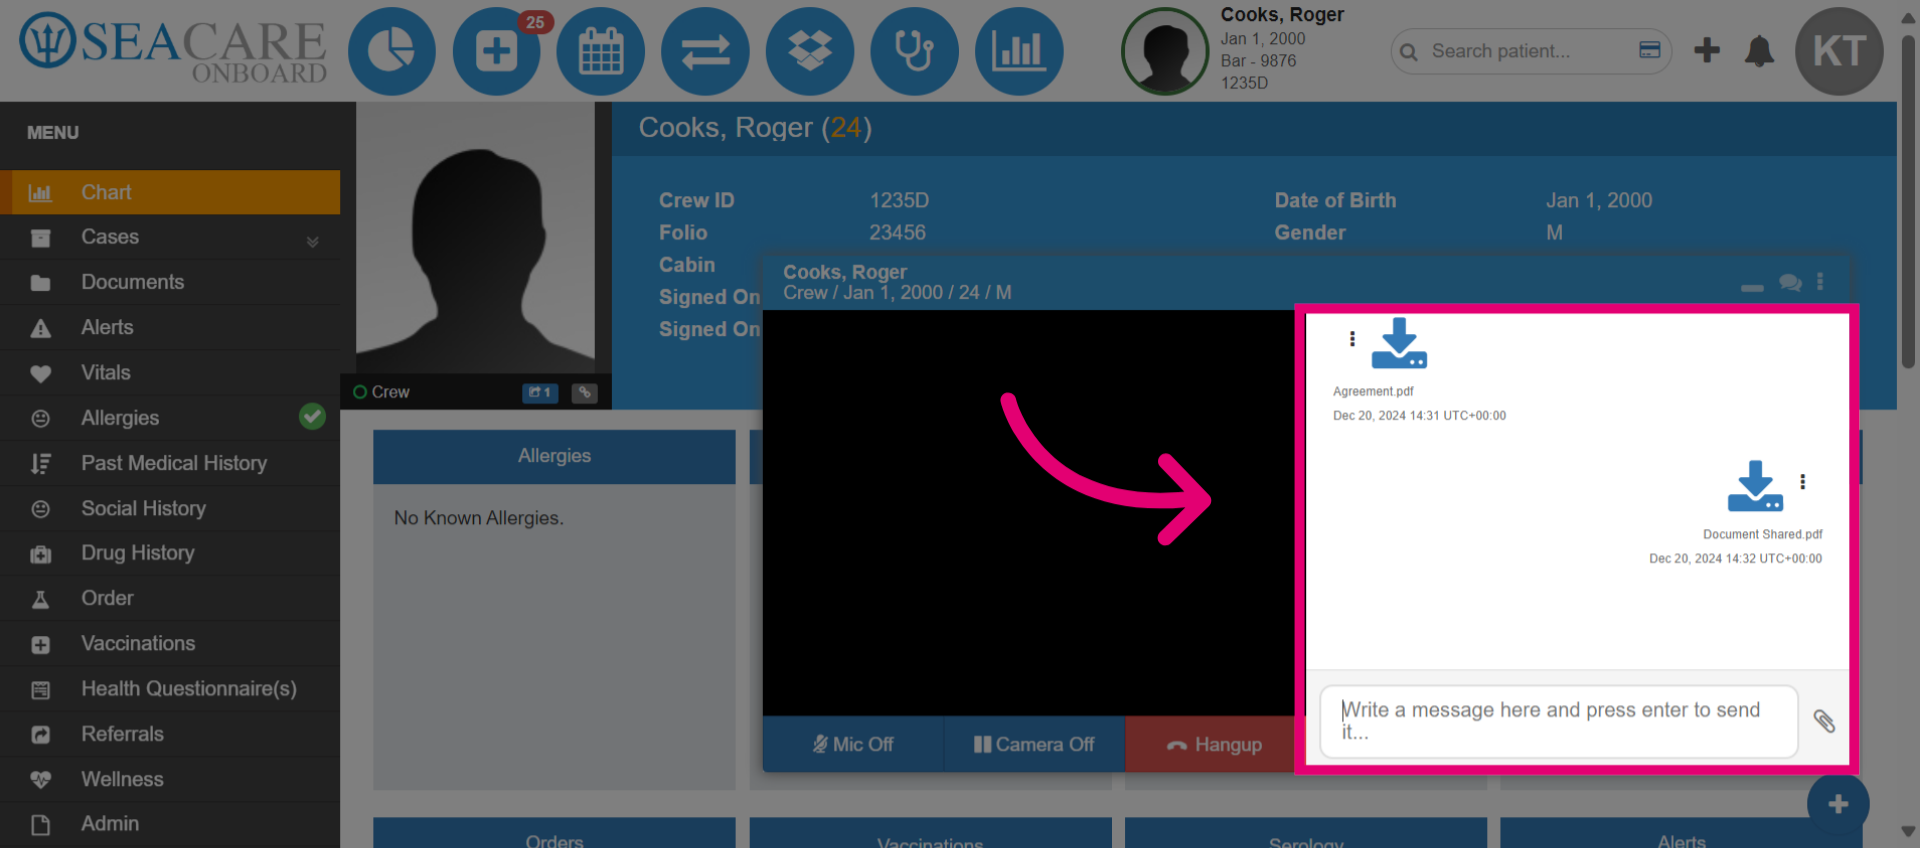
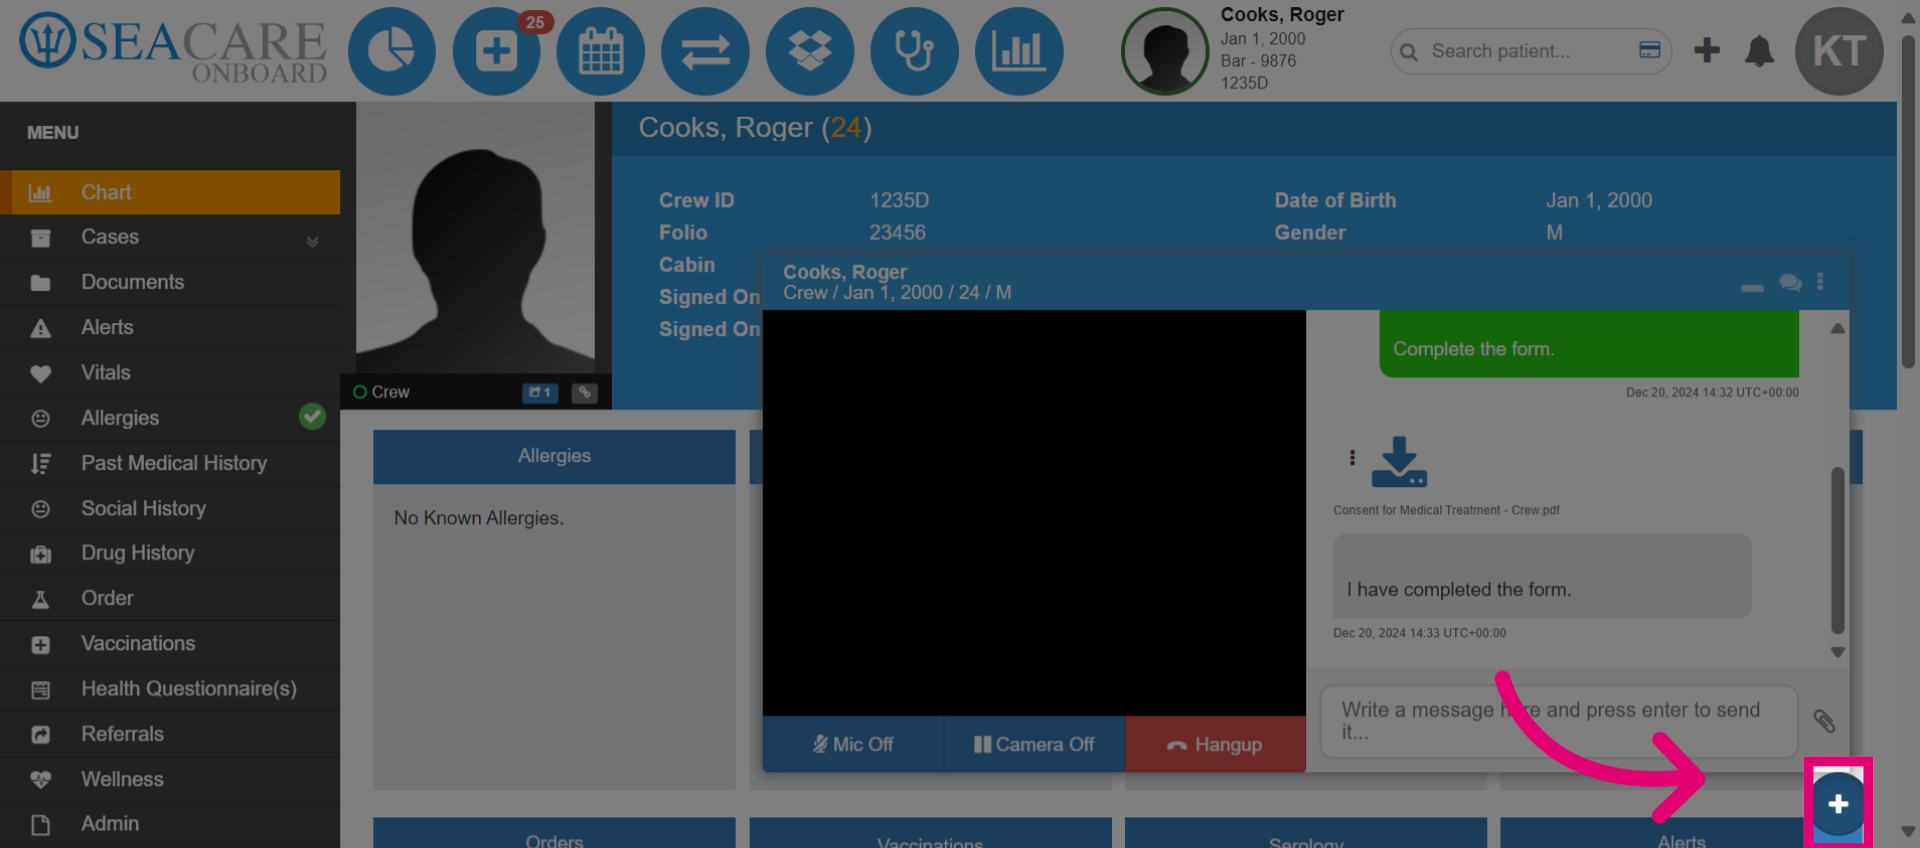
- The medical team member can effectively view all of the patient's messages.

- Additionally, the medical team member can download the shared document and attach it to the patient's chart or a case file.
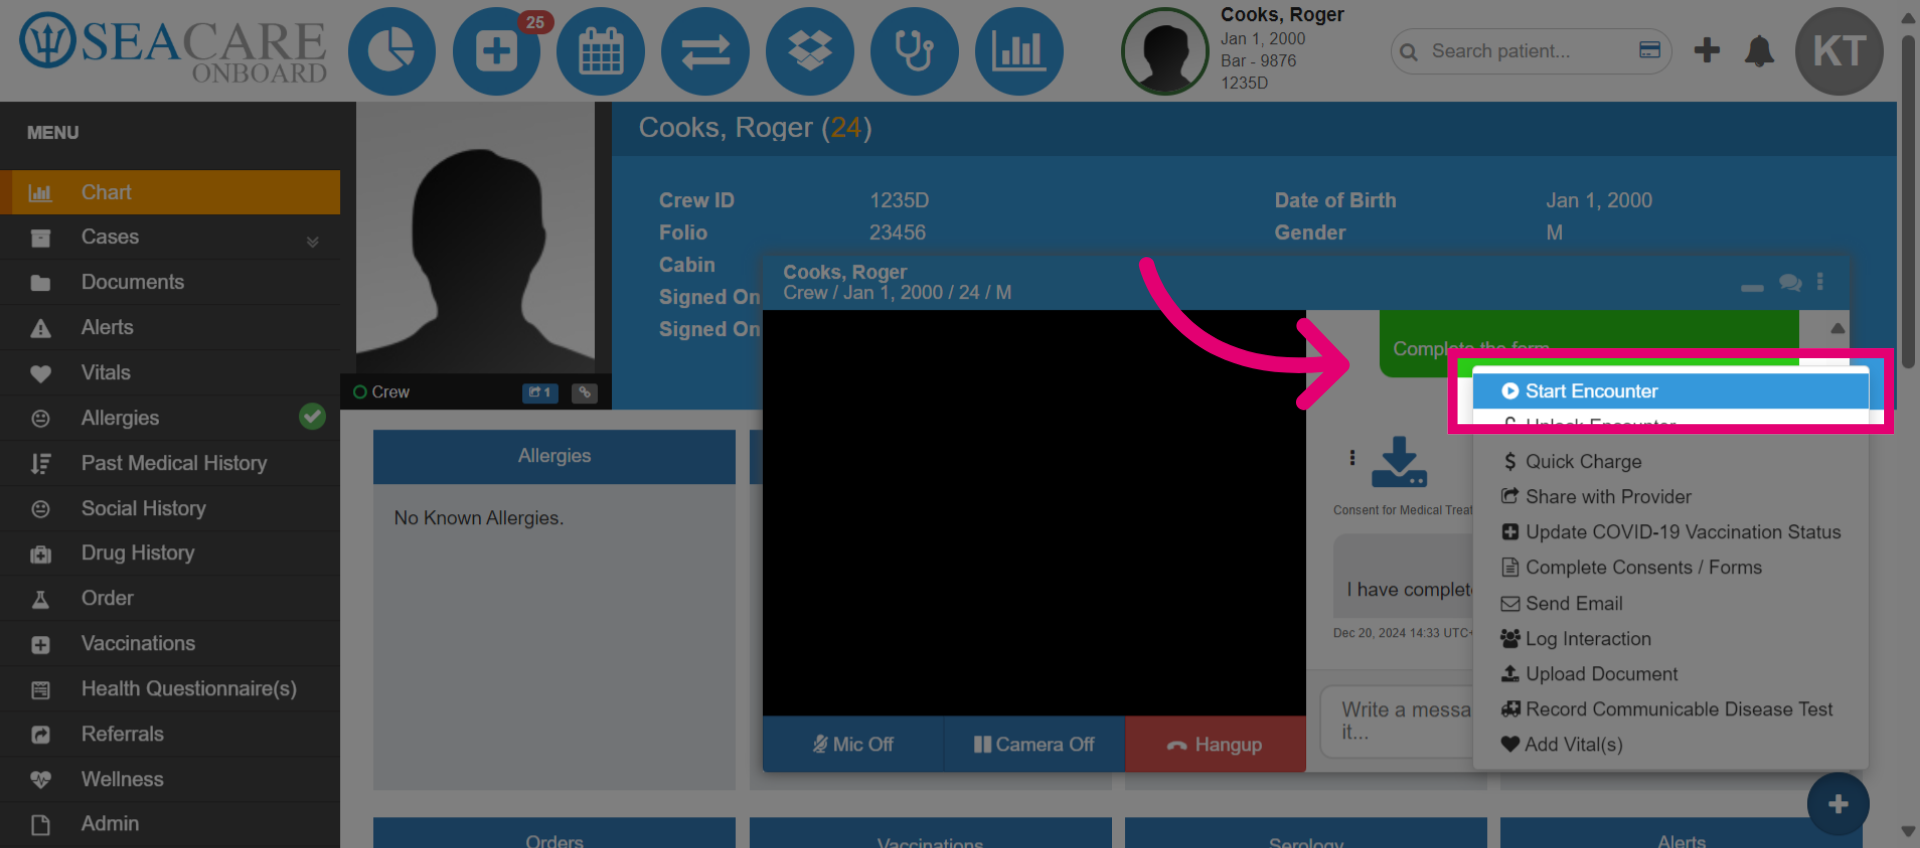
- Select the plus sign to expand the patient chart menu options.
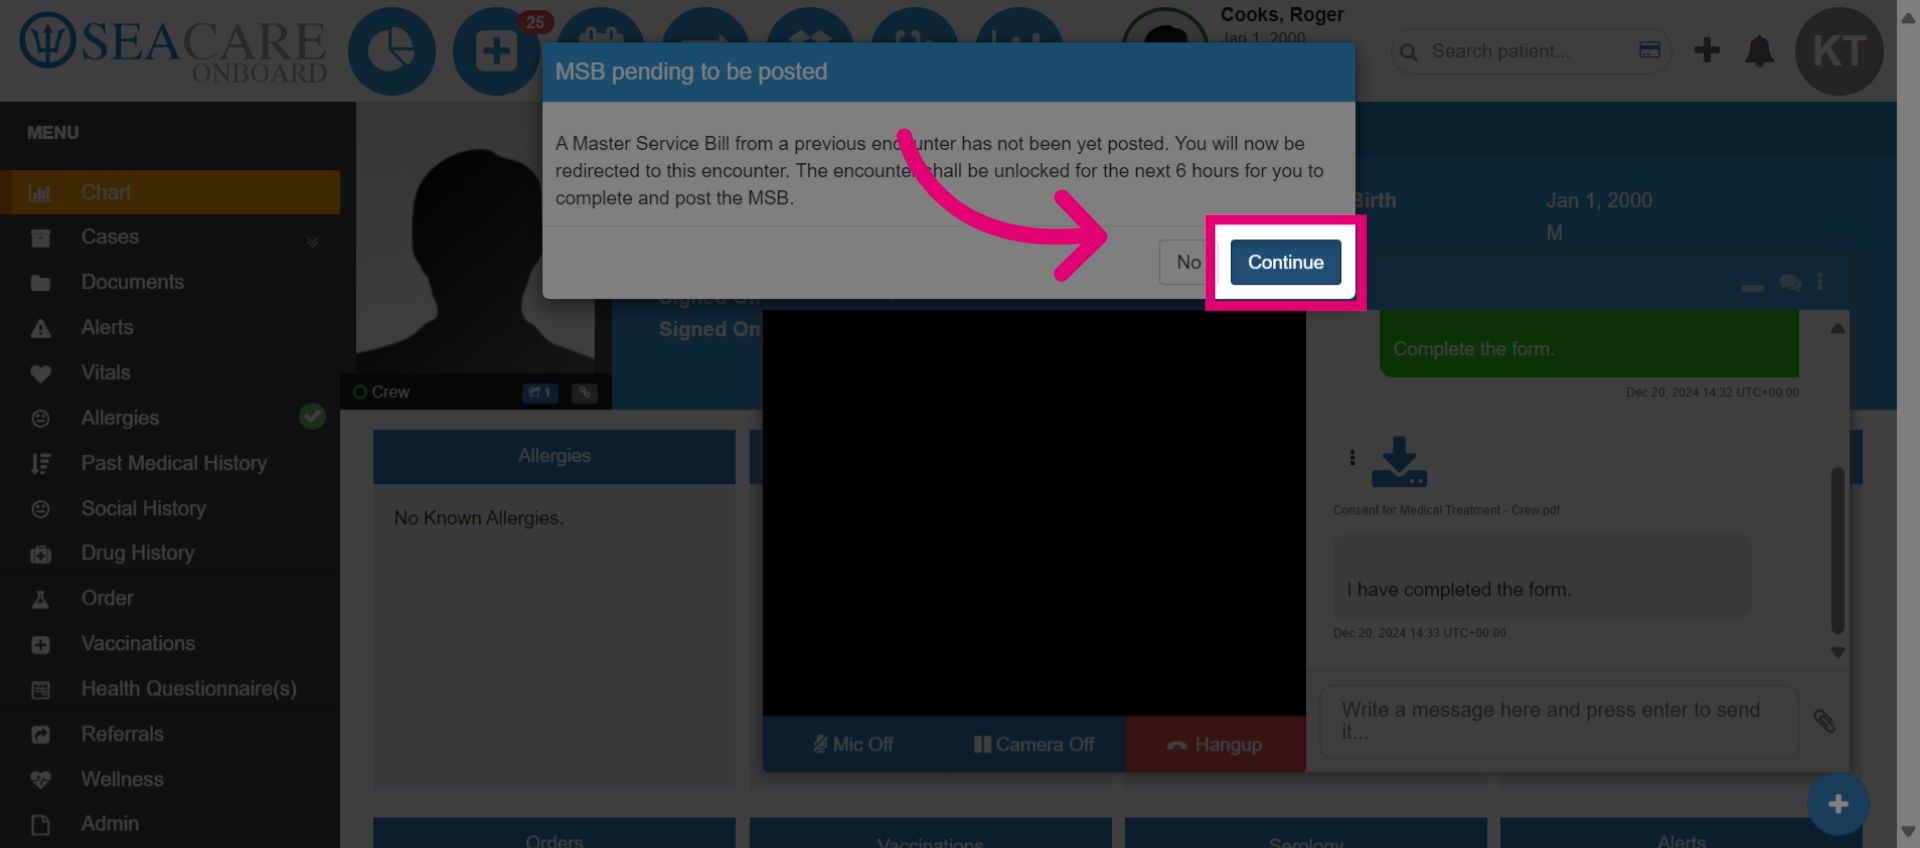
- Then click Start Encounter.
- Click Continue to proceed with the encounter.
- Once the encounter is launched, you can proceed with adding details as usual, including triage information, investigations, treatment, and closing the encounter.
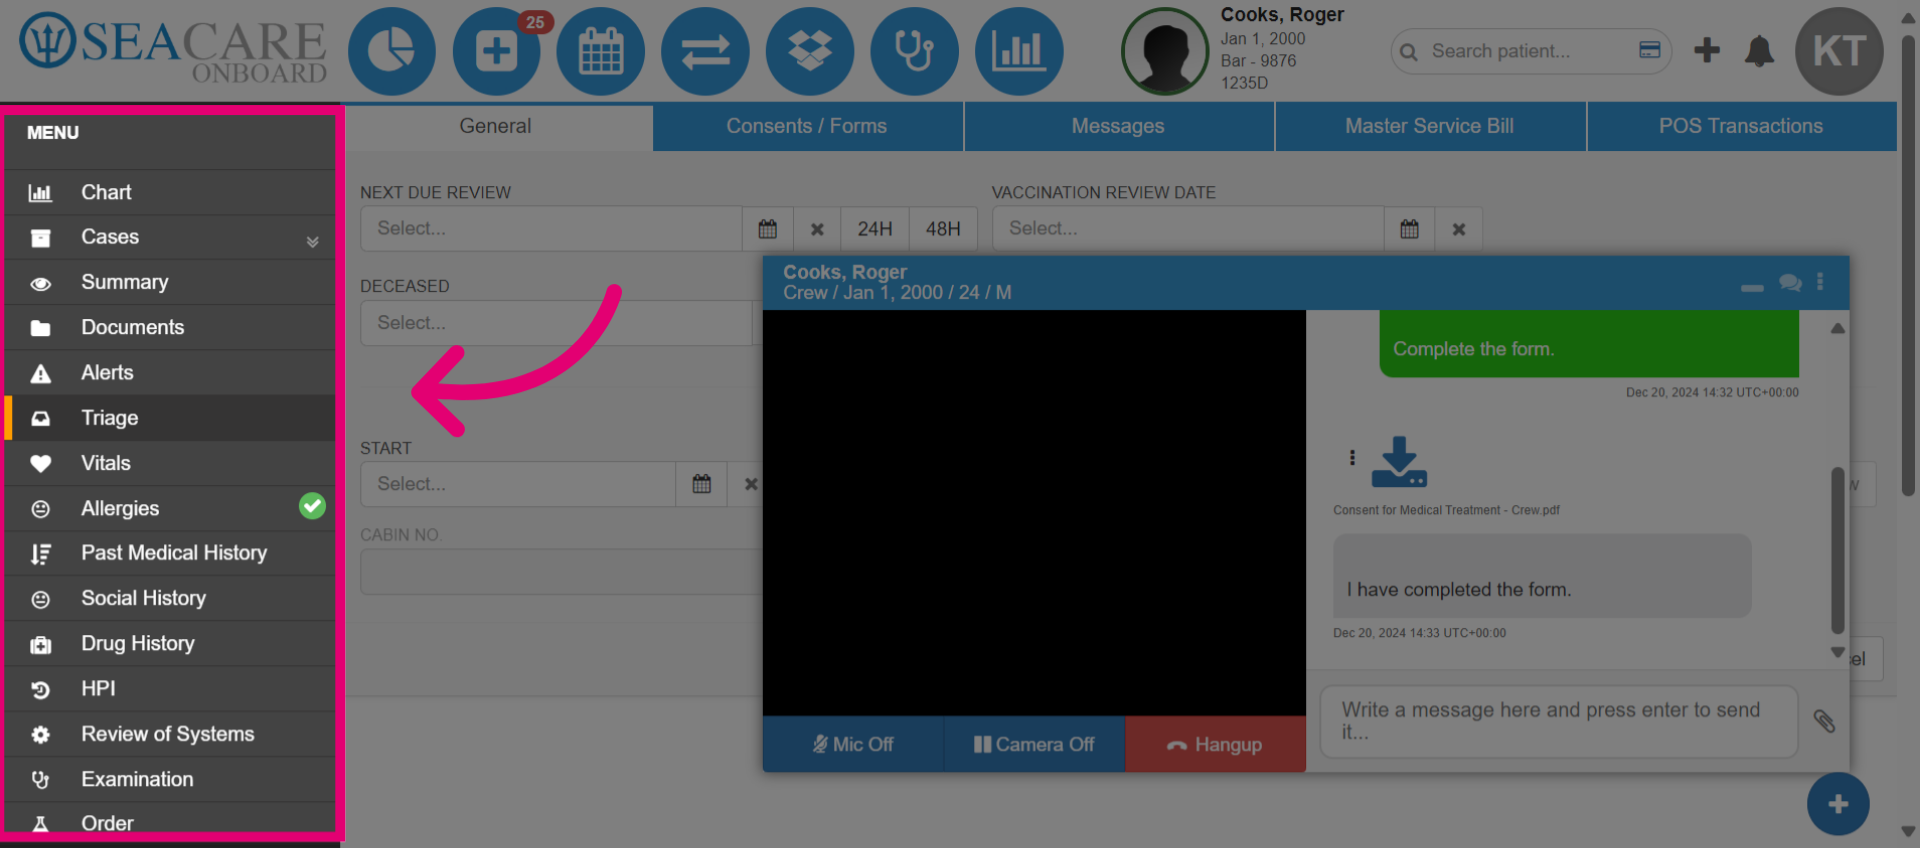
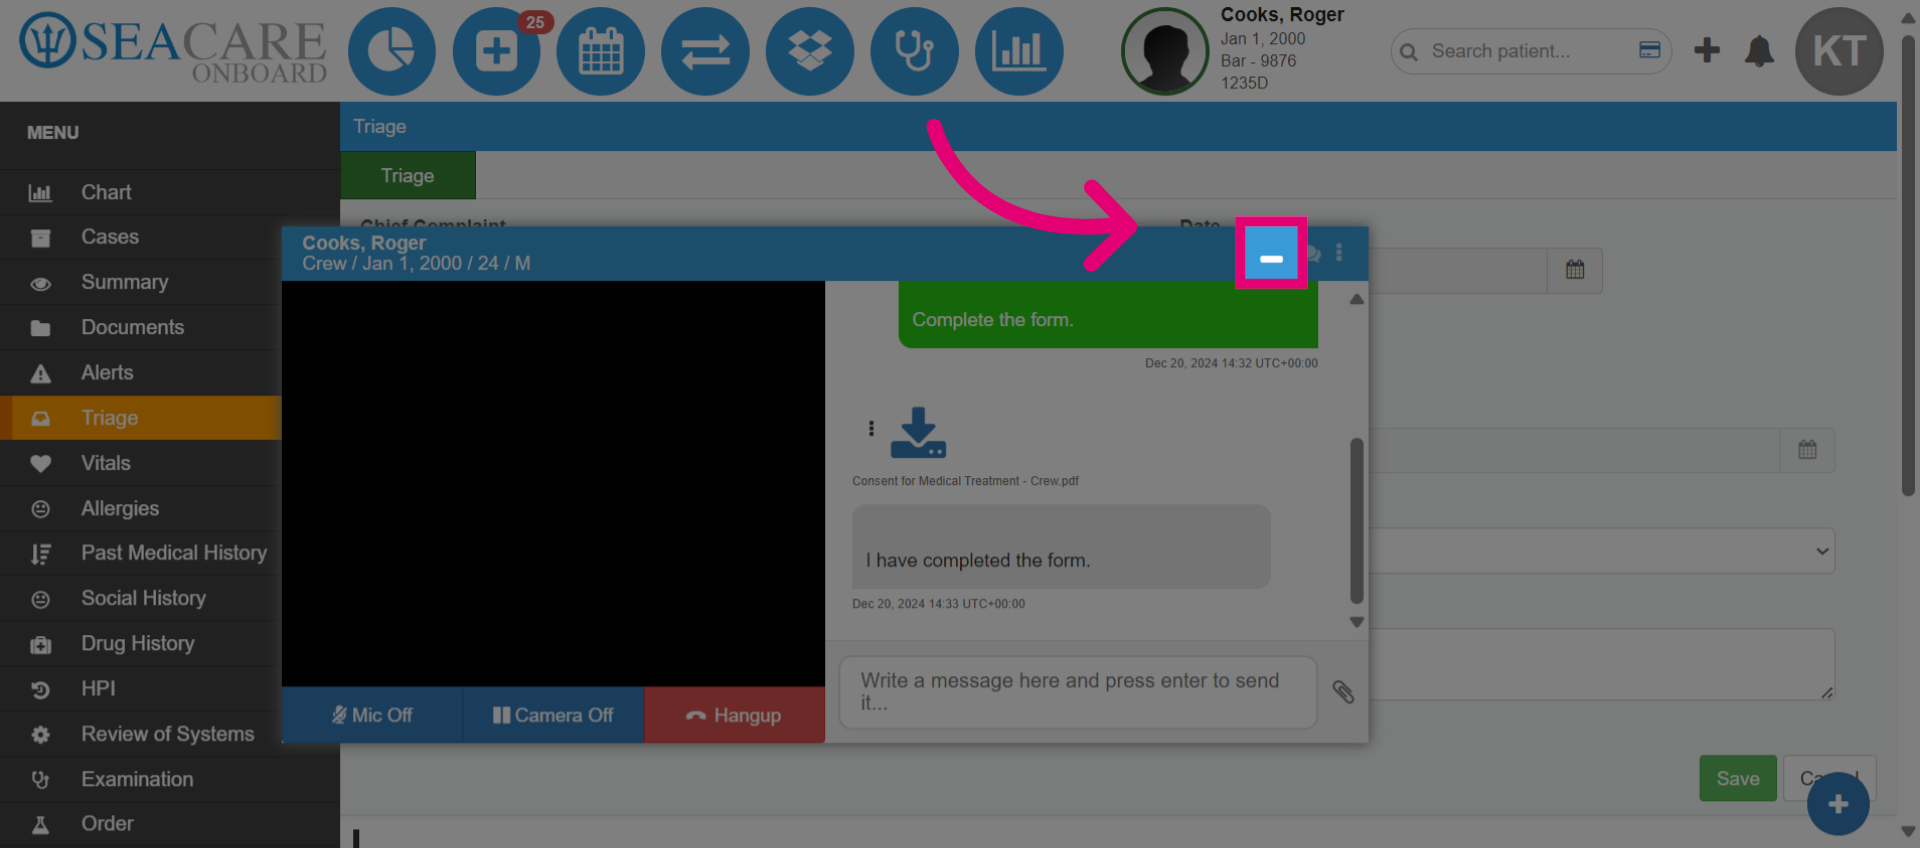
- Minimize the SeaConsult call window as needed to enter details.