New article
Recently updated
Adding a Quick Charge in the patient chart

Who is this article for?
Users who want to learn about adding a Quick Charge in the patient chart.
No elevated permissions are required.
This guide provides a seamless walkthrough on adding a Quick Charge in the Patient Chart within Ideagen Maritime Health Onboard. Quick charges enable fast billing for clinic items without starting an encounter, allowing over-the-counter sales to crew and guests.
1. Adding a Quick Charge in the patient chart
1.1. Video
This walkthrough explains how to manage quick charge transactions within a patient chart.
1. Introduction
Quick charges can be used to quickly prescribe the patient medication when they come into the medical center without them having to see a doctor or nurse.

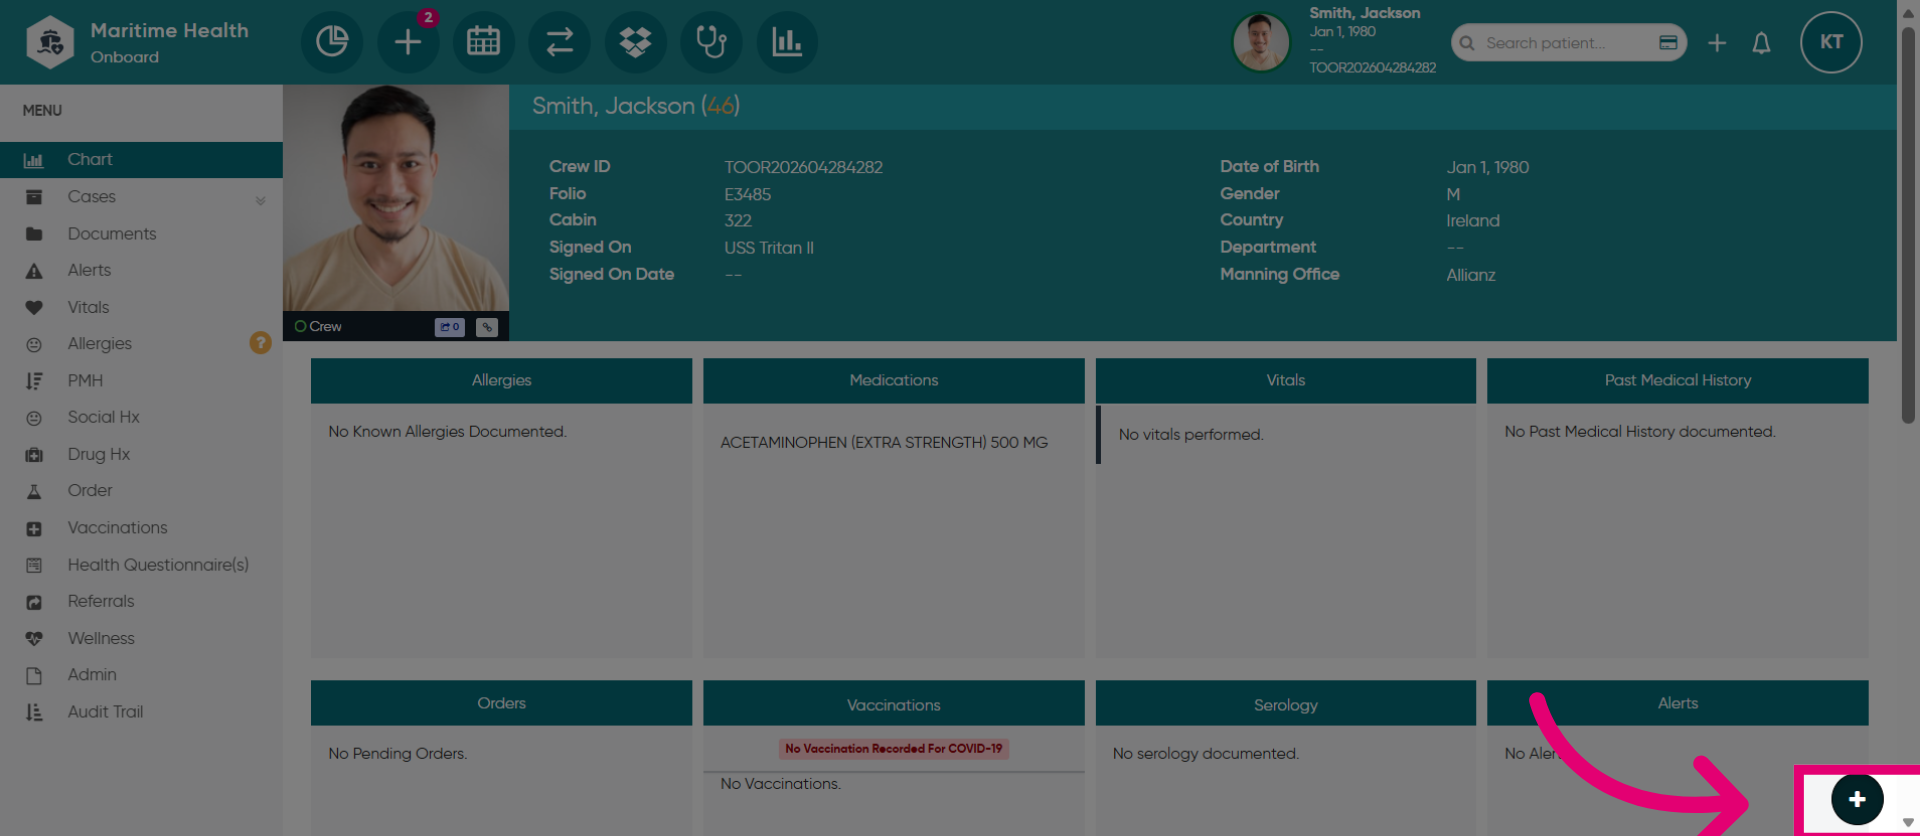
2. Access Quick Charge Section
Click here to access the Quick Charge section
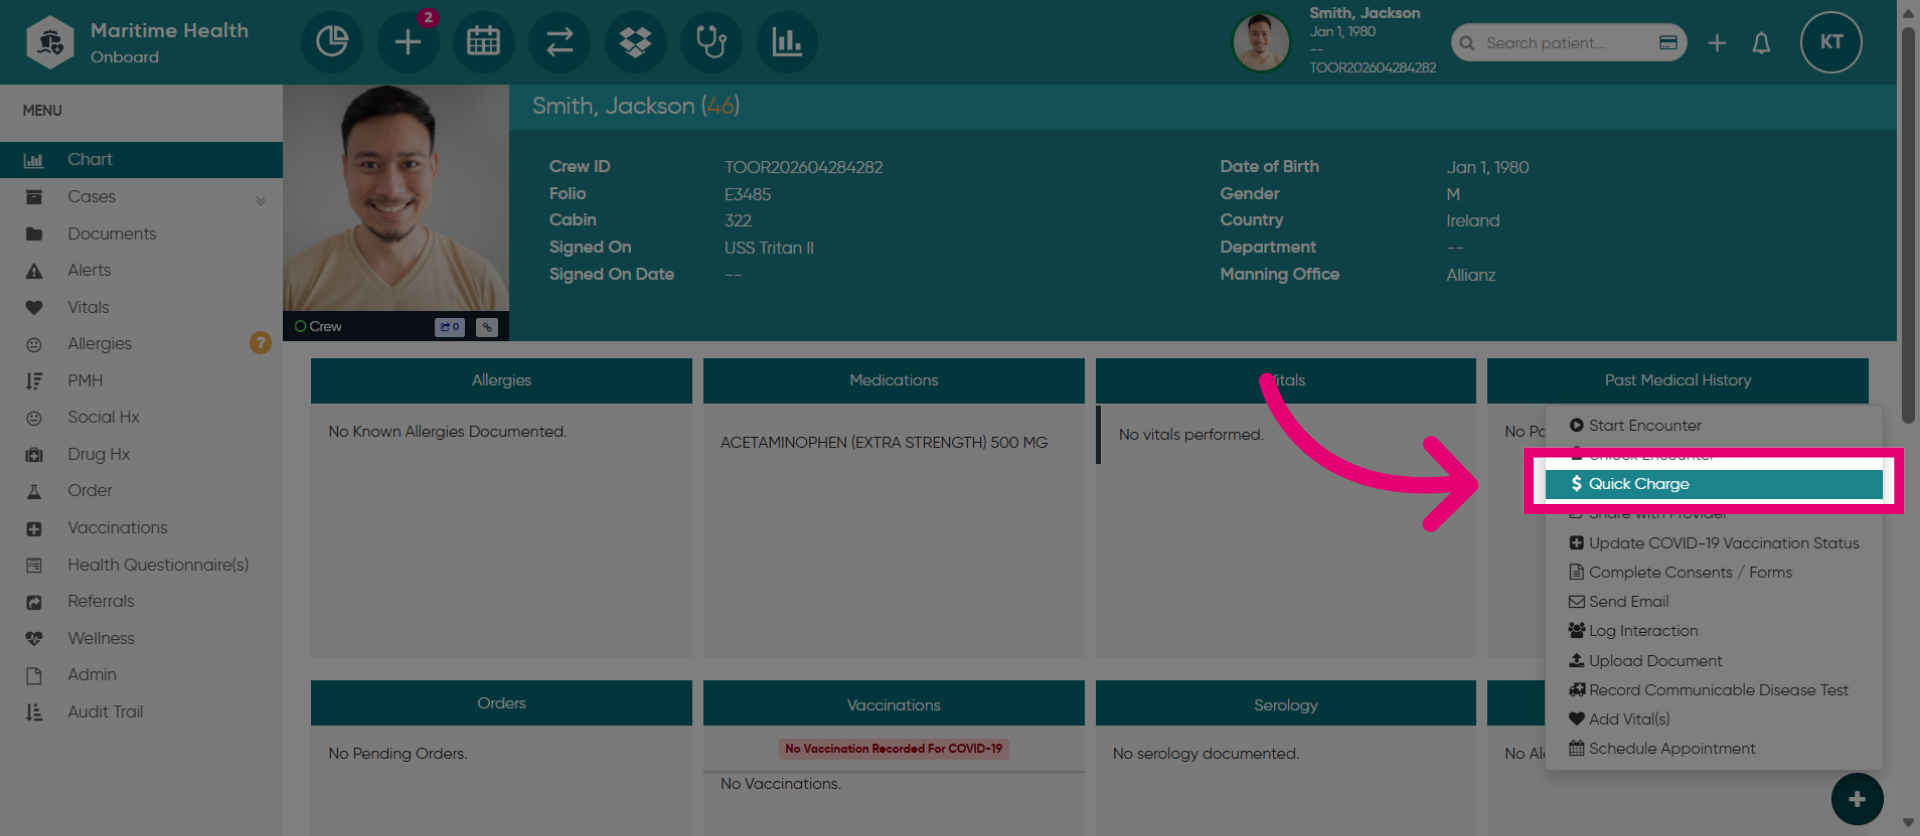
3. Open Quick Charge Menu
Next, select the "Quick Charge" option.
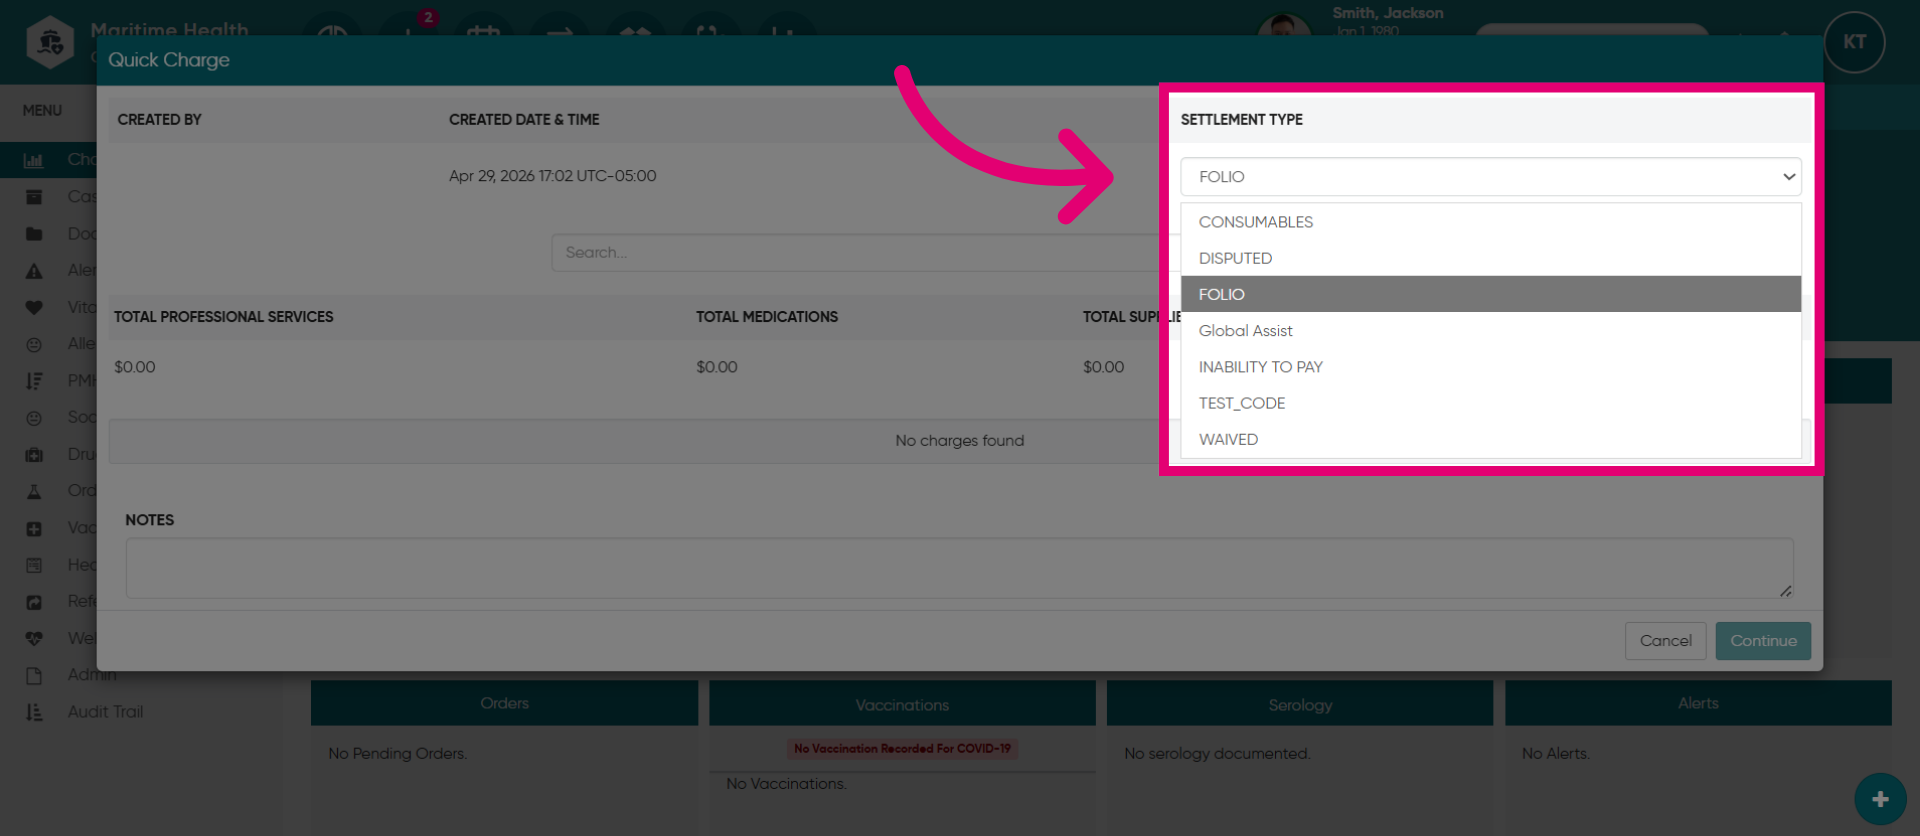
4. Select the "Settlement Type"
Select the Settlement Type for the transaction. Choose Folio, the standard payment method which connects are charges to the patient's account.
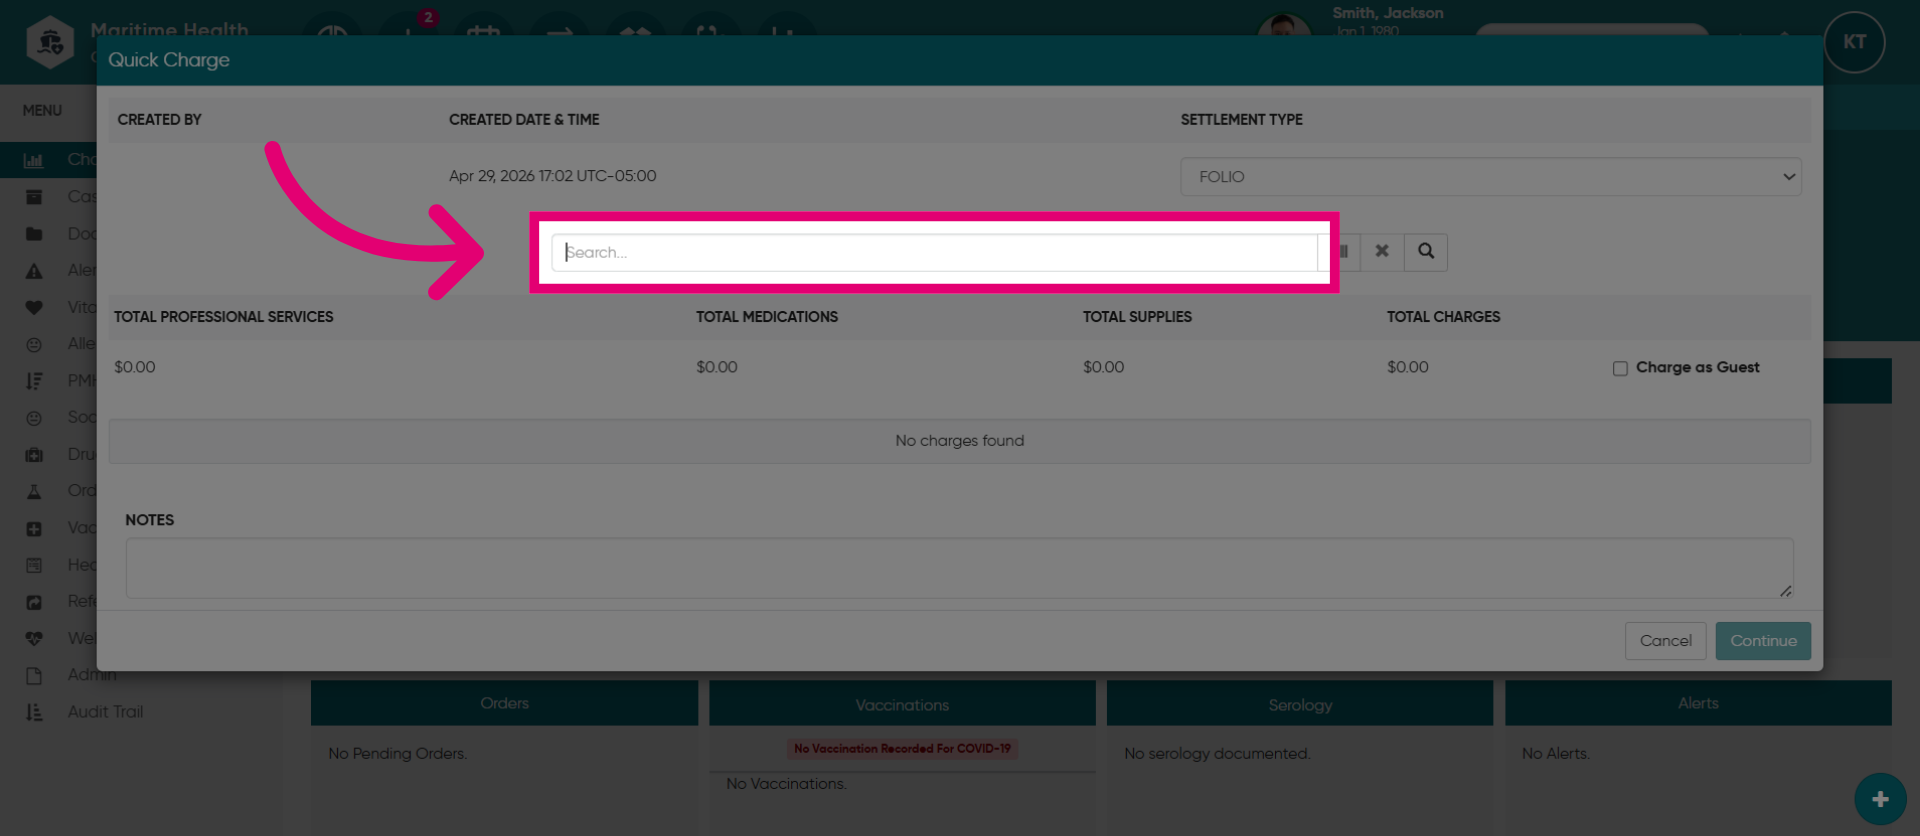
5. Initiate a search
Use the search bar to find items, products, over-the-counter medications, services, fees, consumables, or supplies.
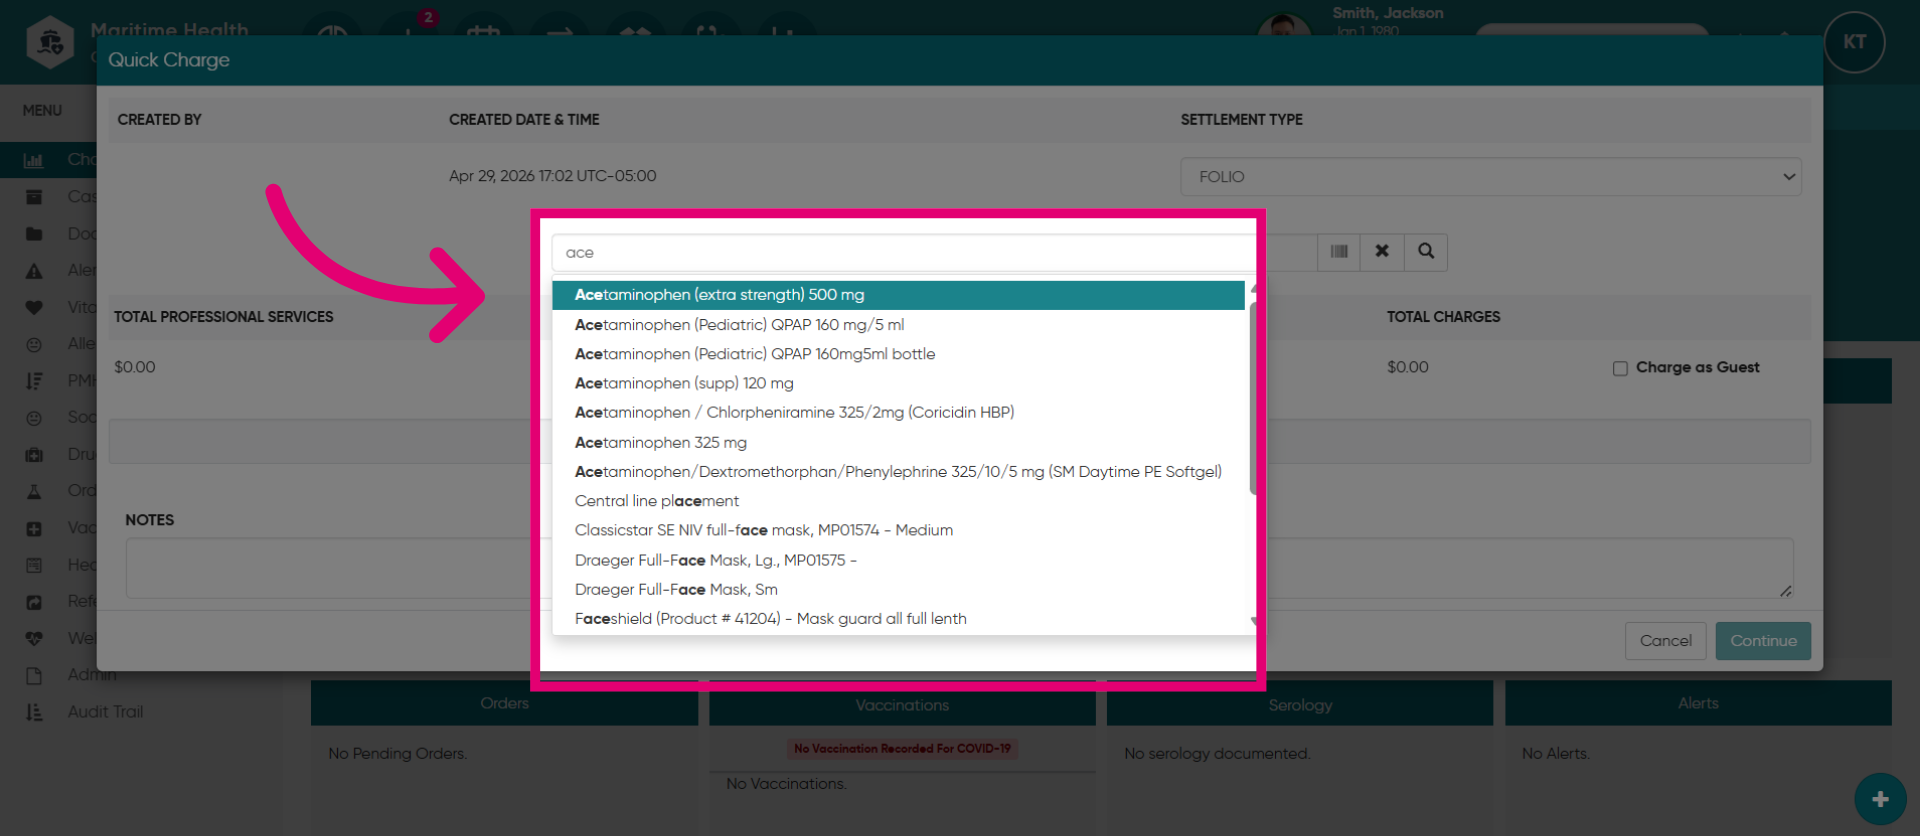
6. Select your item
Your search may return multiple results. Choose the specific item from the list, like Acetaminophen (extra strength) 500 mg.
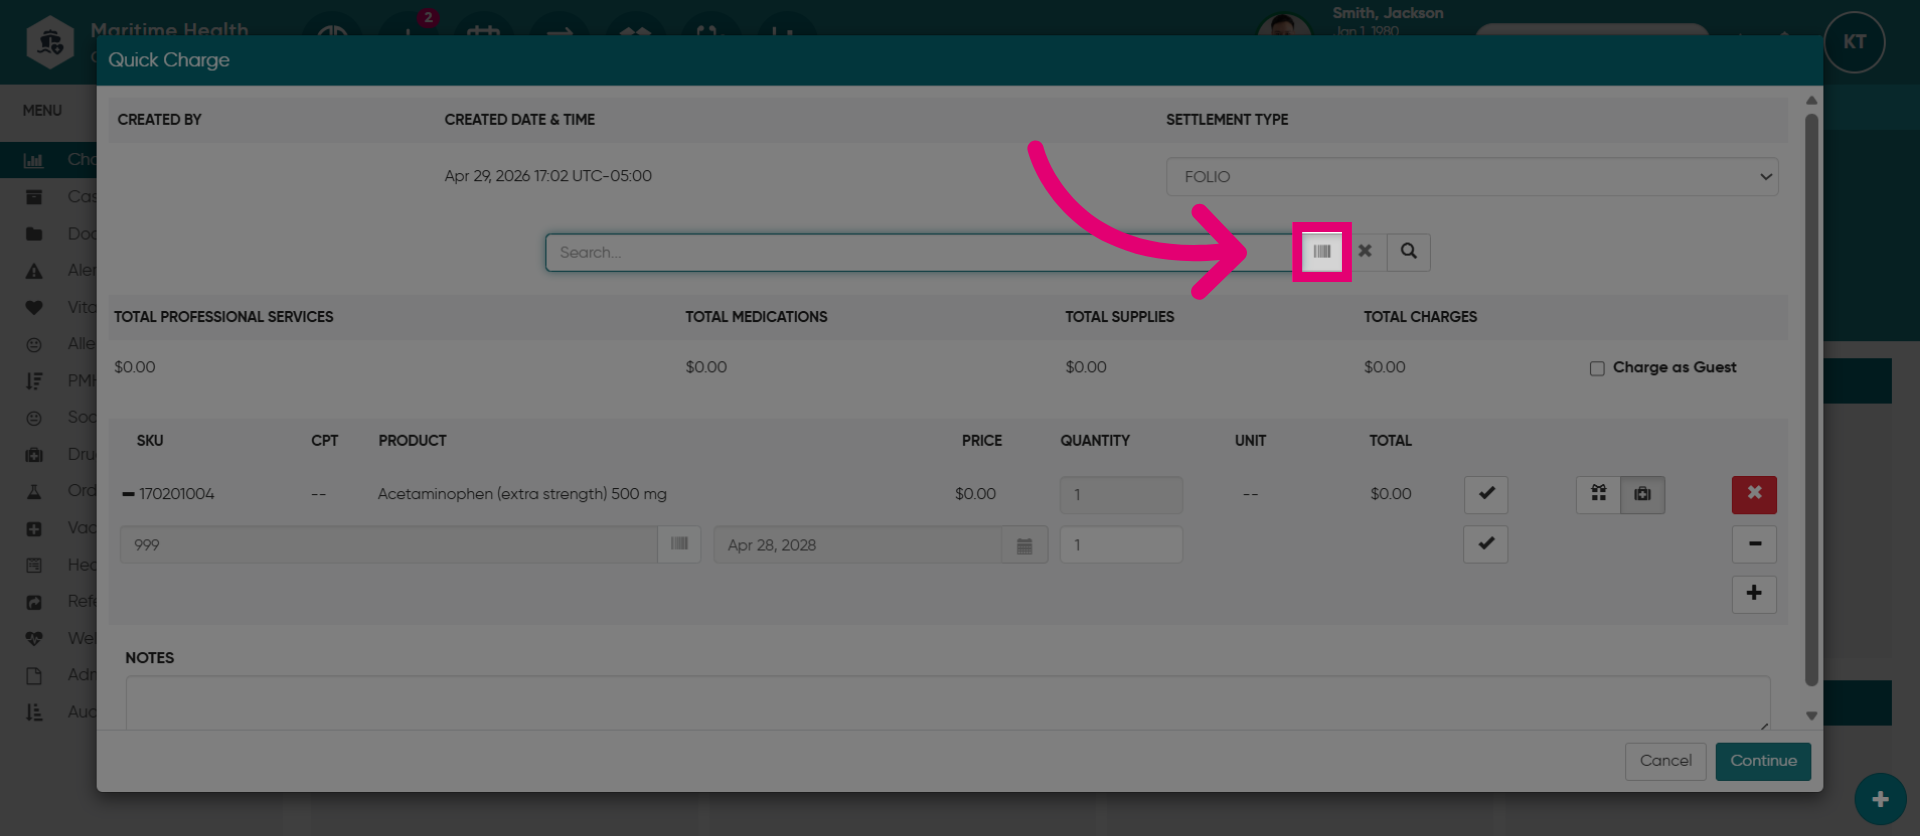
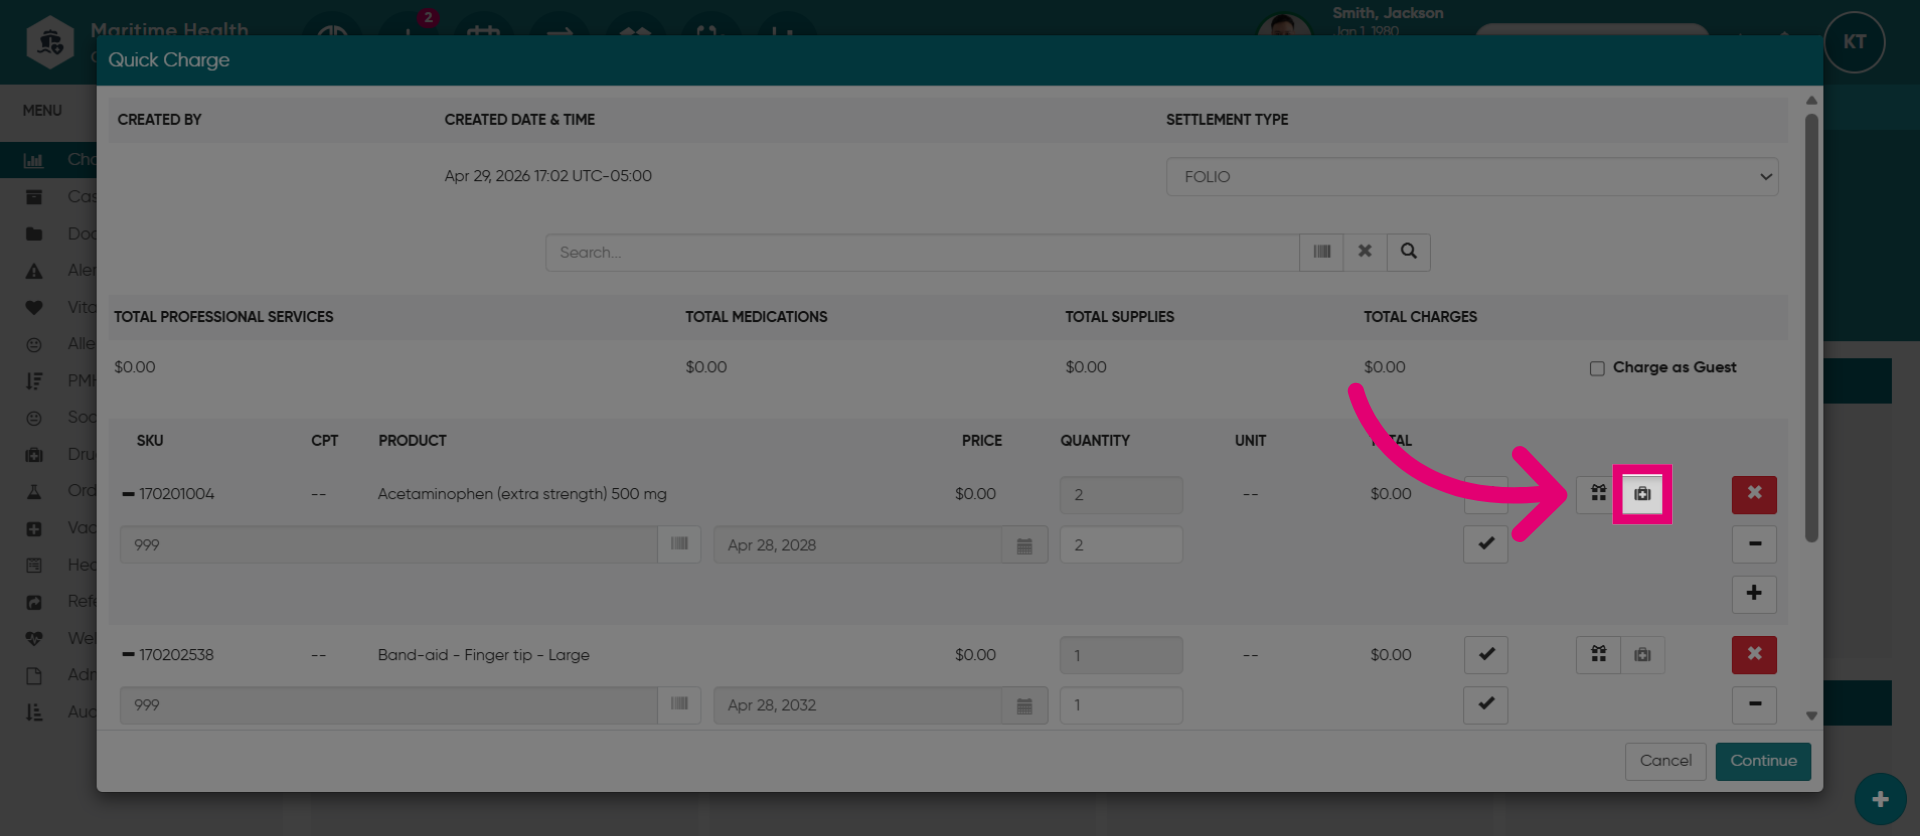
7. Scan an item
You can also scan the item if needed.
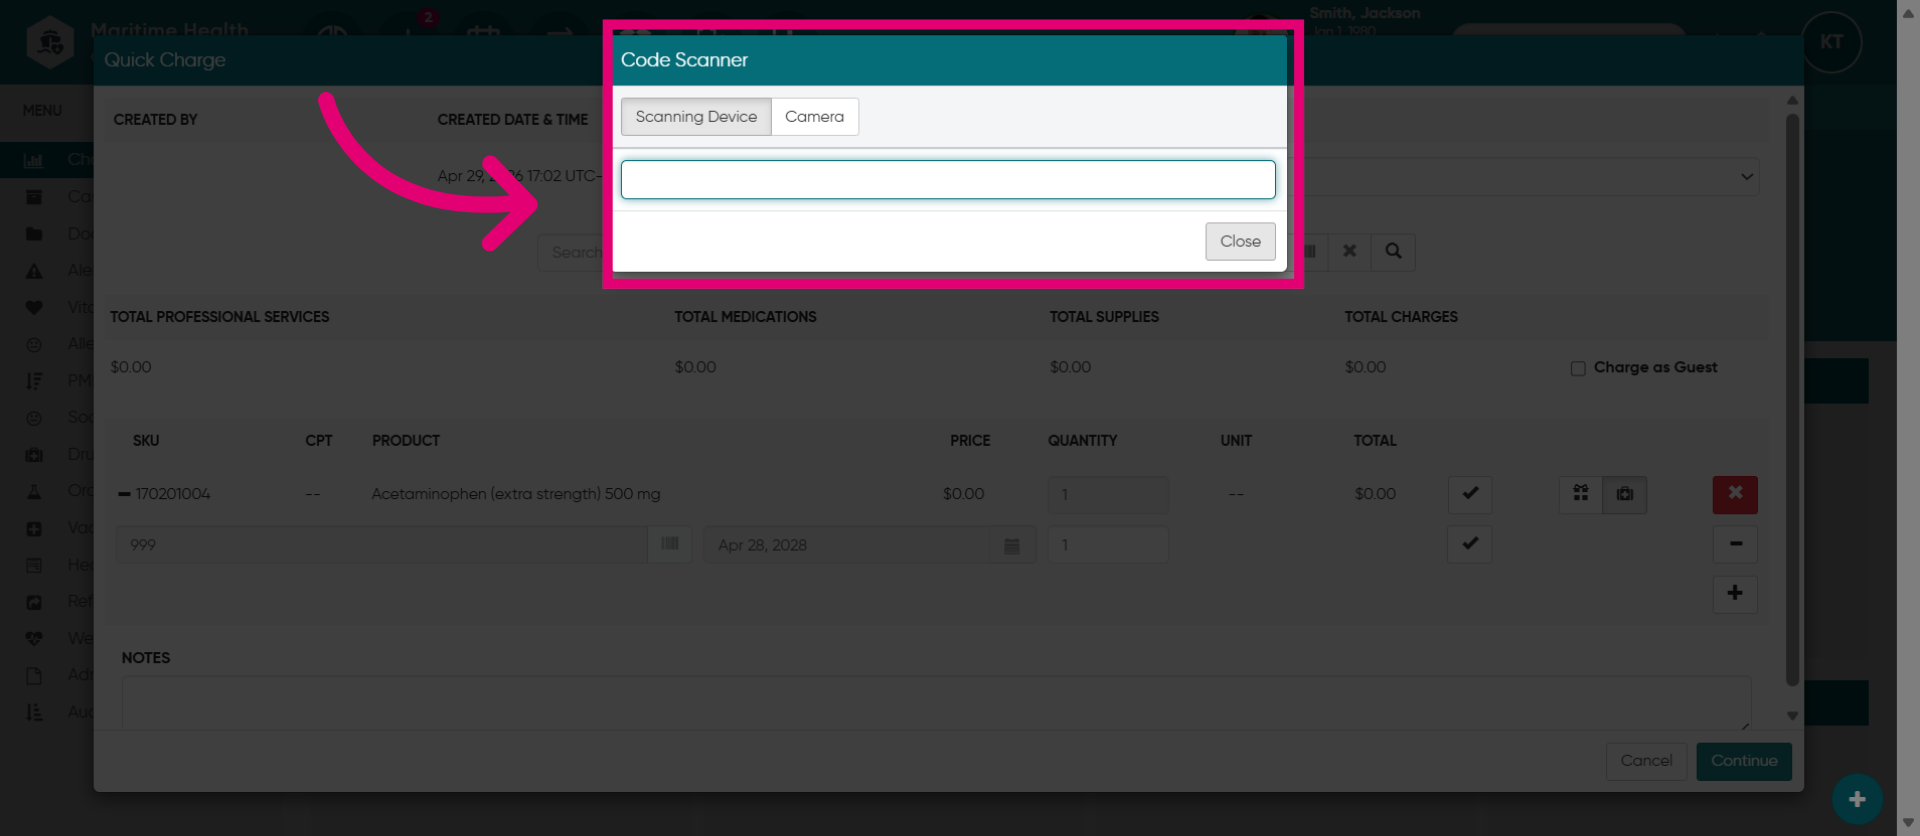
8. Scan an Item
Scan the item using a scanning device or the camera to scan a QR code, if necessary.
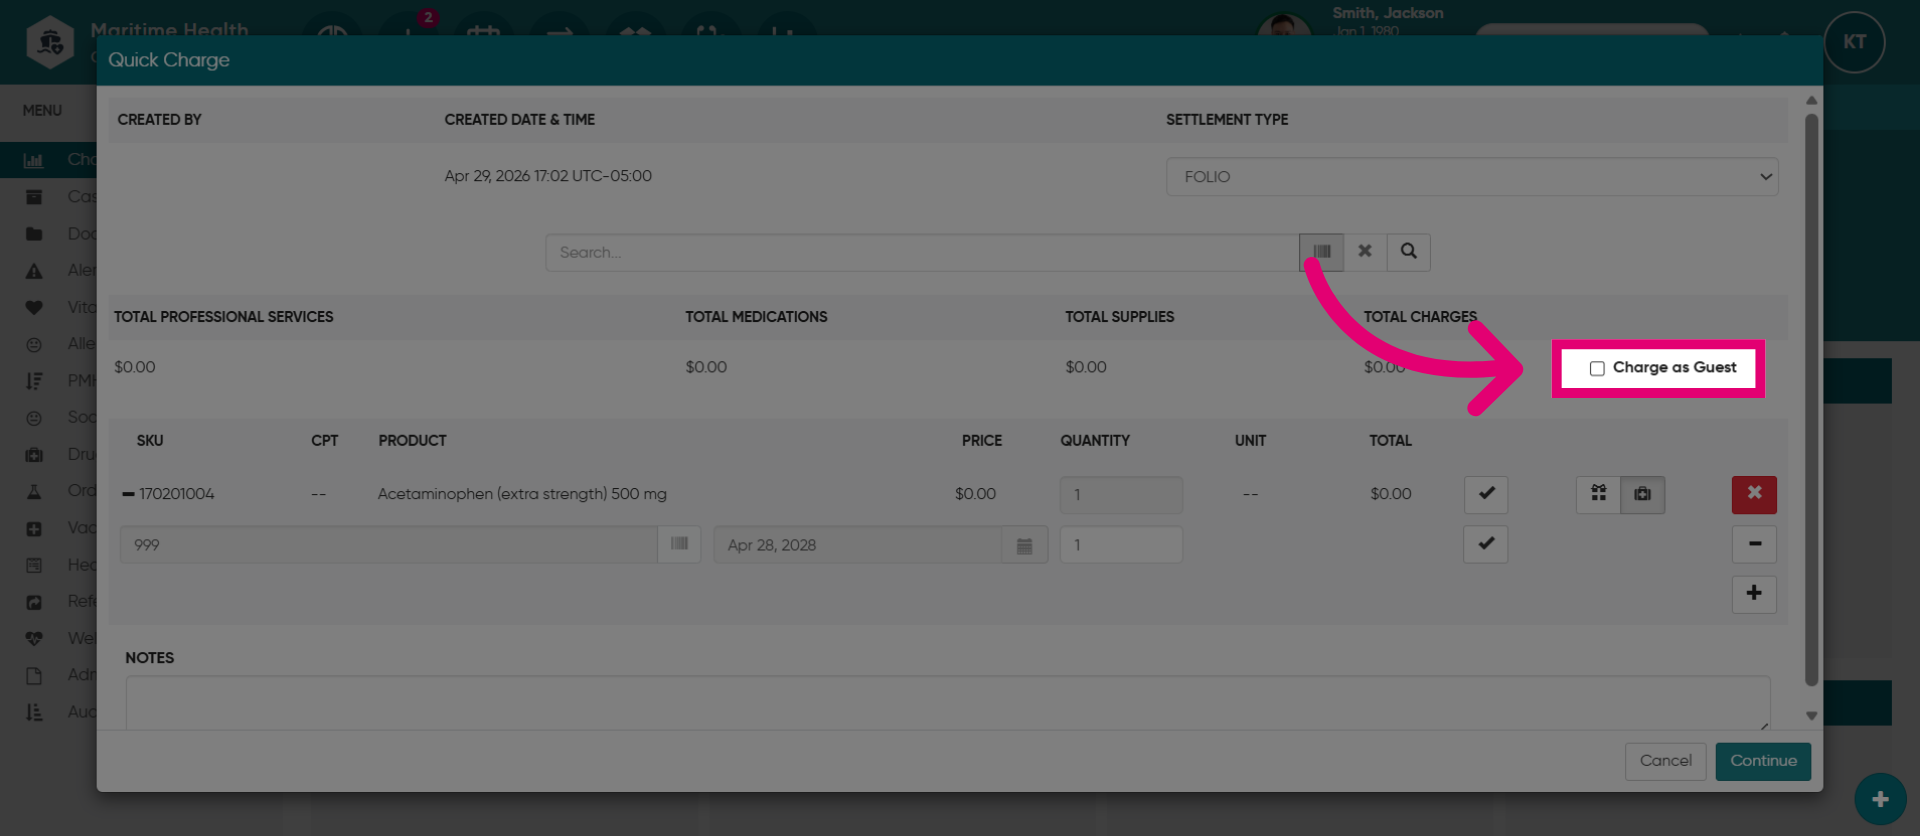
9. Select Charge as Guest
Click "Charge as Guest" to initiate a guest charge transaction.
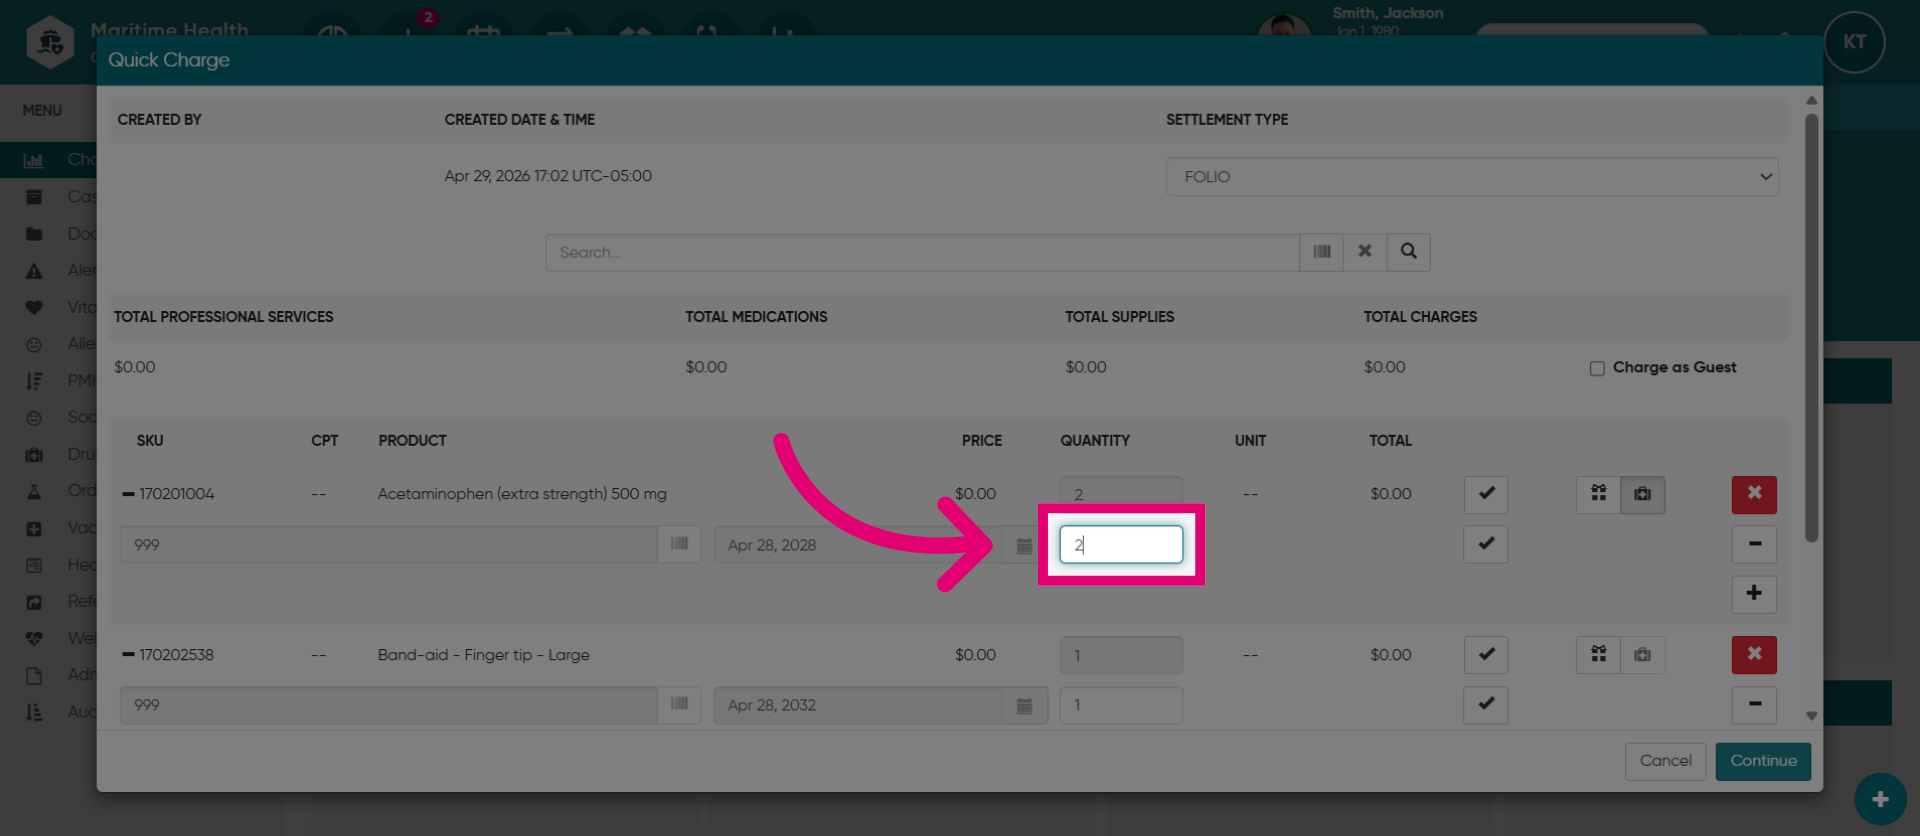
10. Adjust Quantity
Enter a number to adjust the quantity to update the item count.
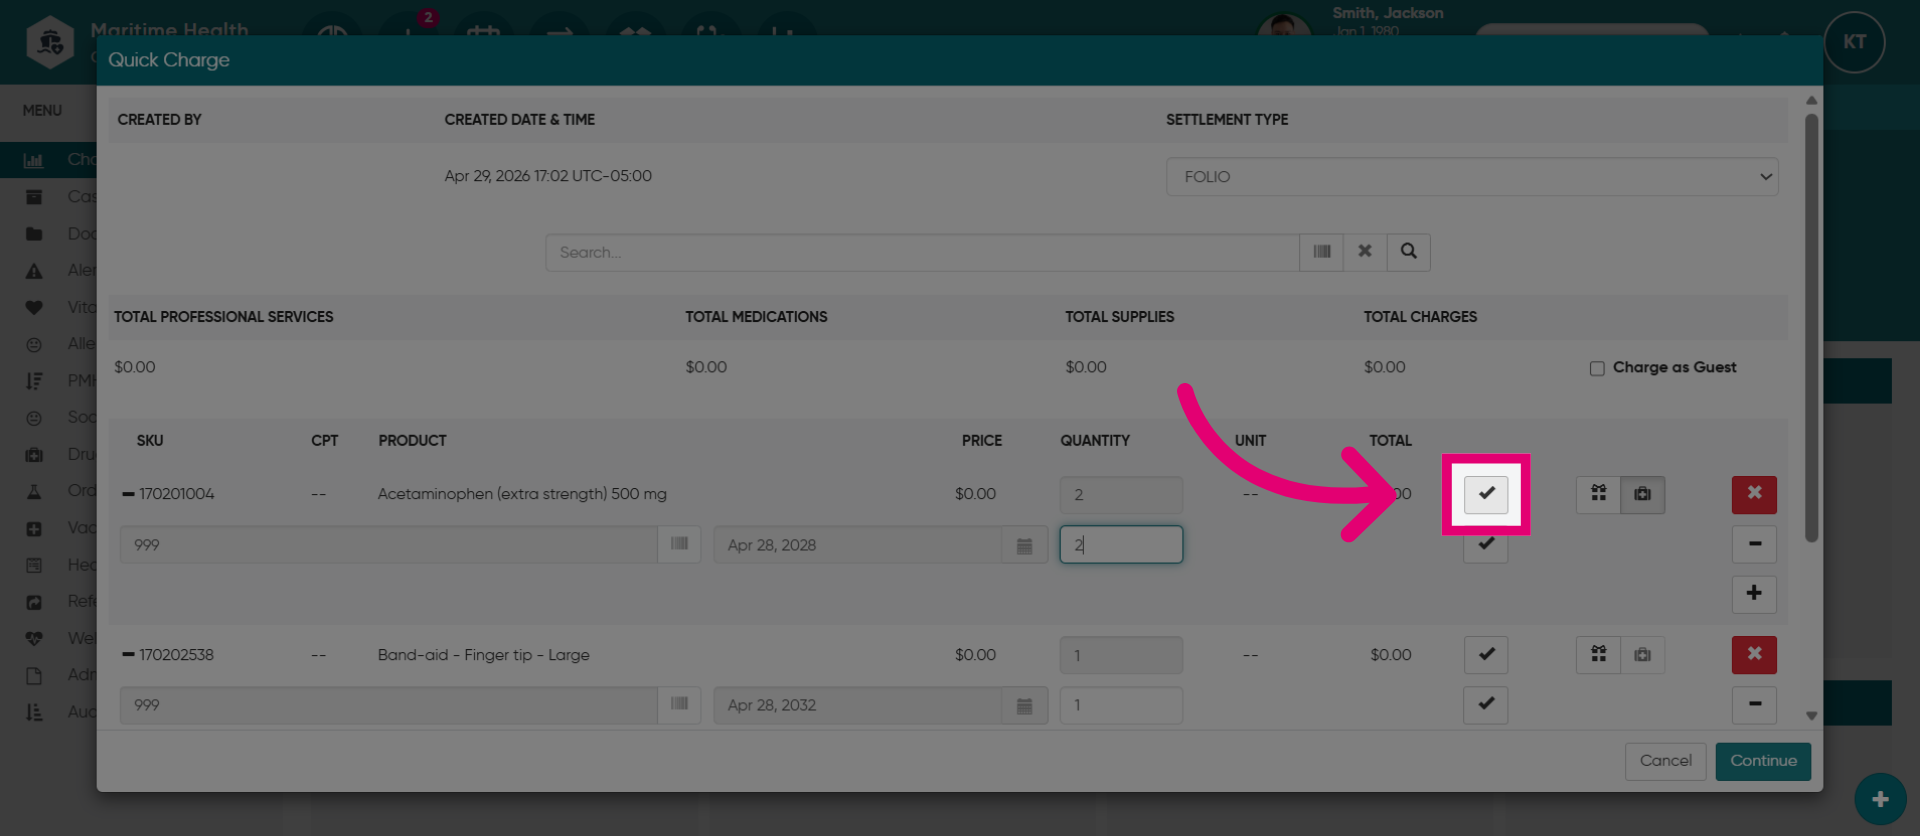
11. Deplete from Inventory
Select this box to remove the item from inventory. Maritime Health employs the First In, First Out inventory method, allowing you to deplete the item upon use. Leave it unchecked to restore it to inventory.
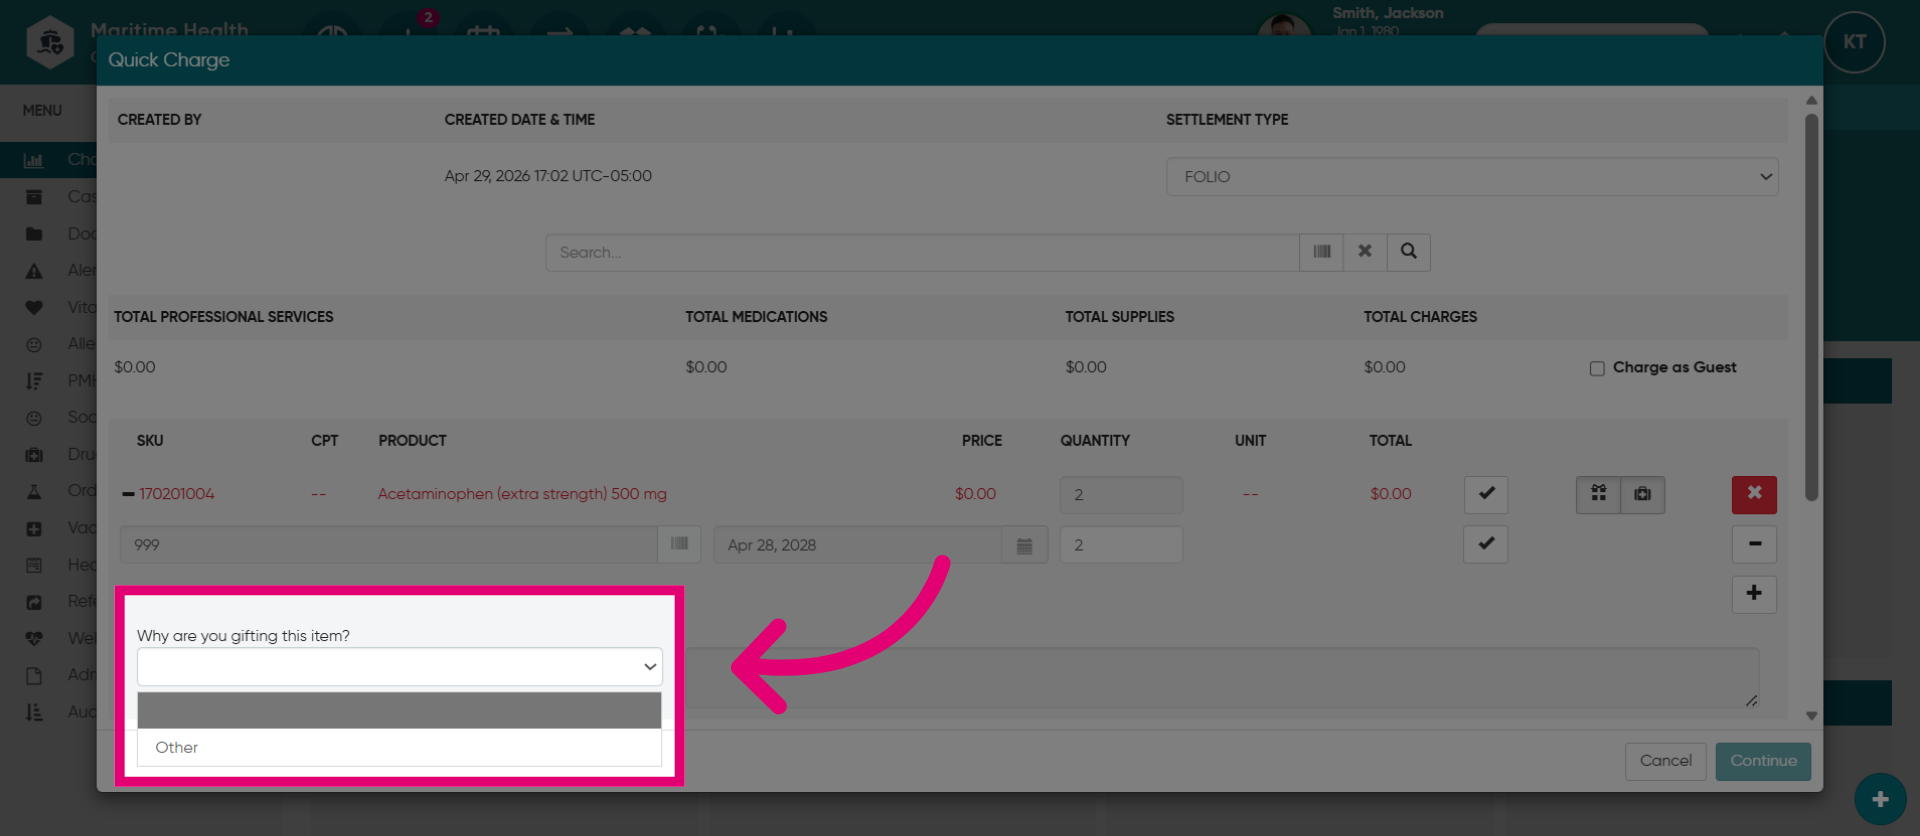
12. Mark as a Gift
If you'd like to charge it as a gift, select the Gift button. This means there will be no charges applied.

13. Enter the "Reason"
Enter the "Reason" if marking an item as a gift.
14. Add to Drugl History
Check this box to include the item in the patient's drug history within the patient chart. The Drug History section records and monitors the patient's medications.
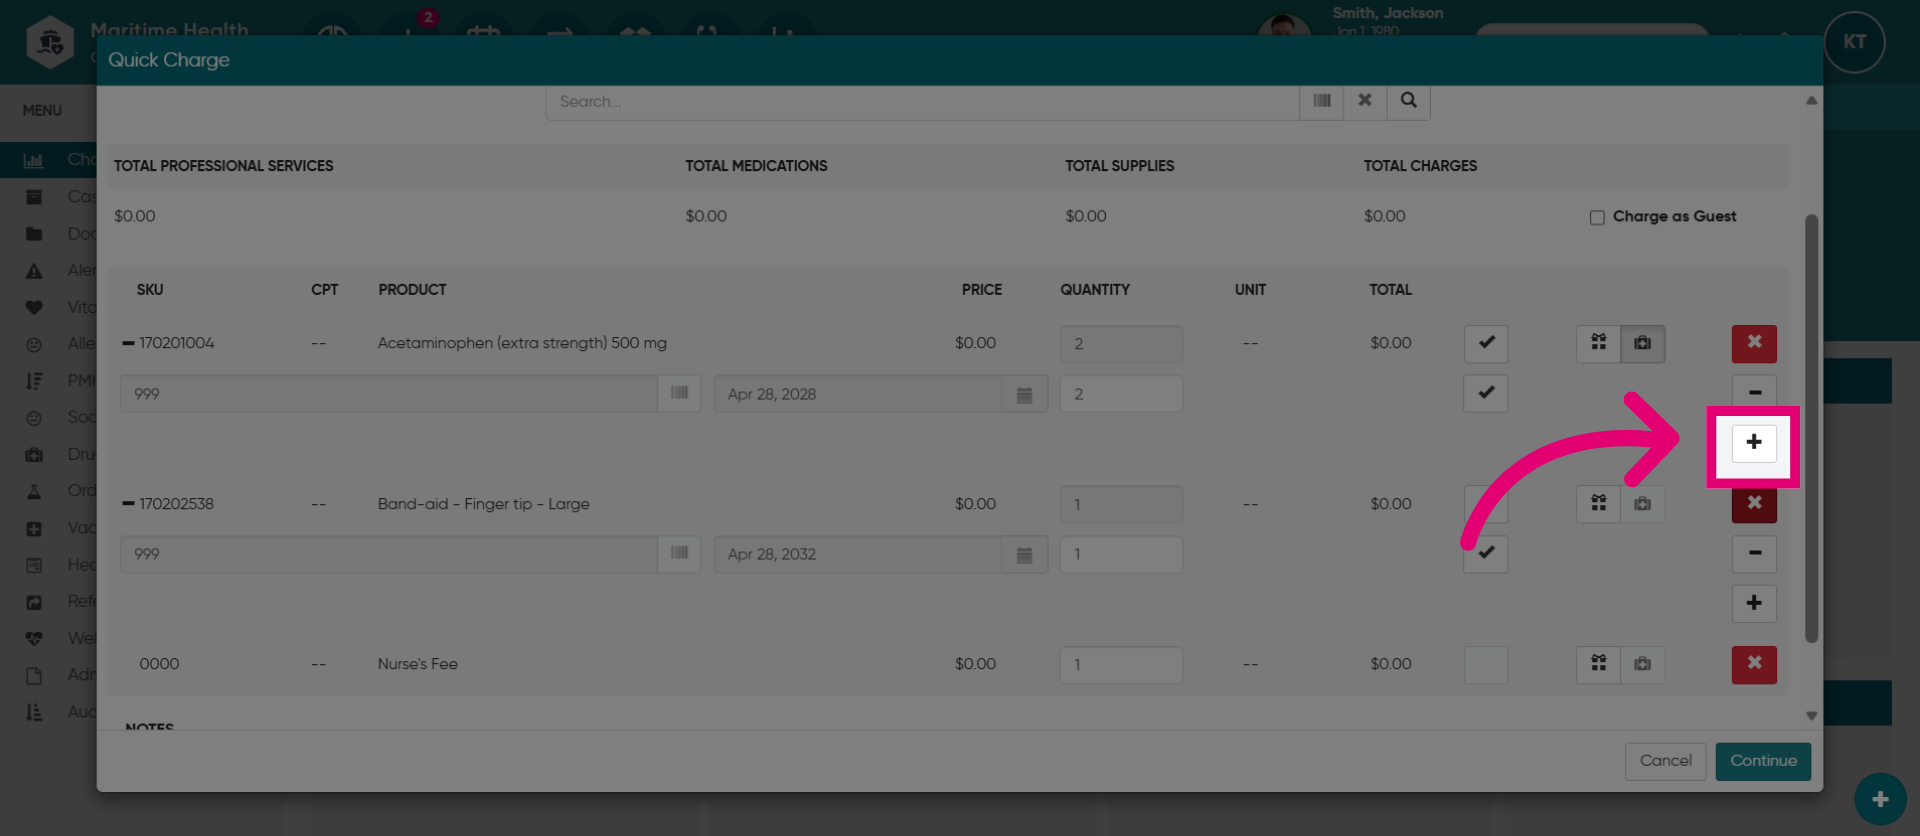
15. Delete an Item
You can also remove an item using the X button, or add a new lot with the plus button. Adding a lot introduces new inventory for items not previously in the system. This occurs when you're providing an item for which new inventory has not yet been added.
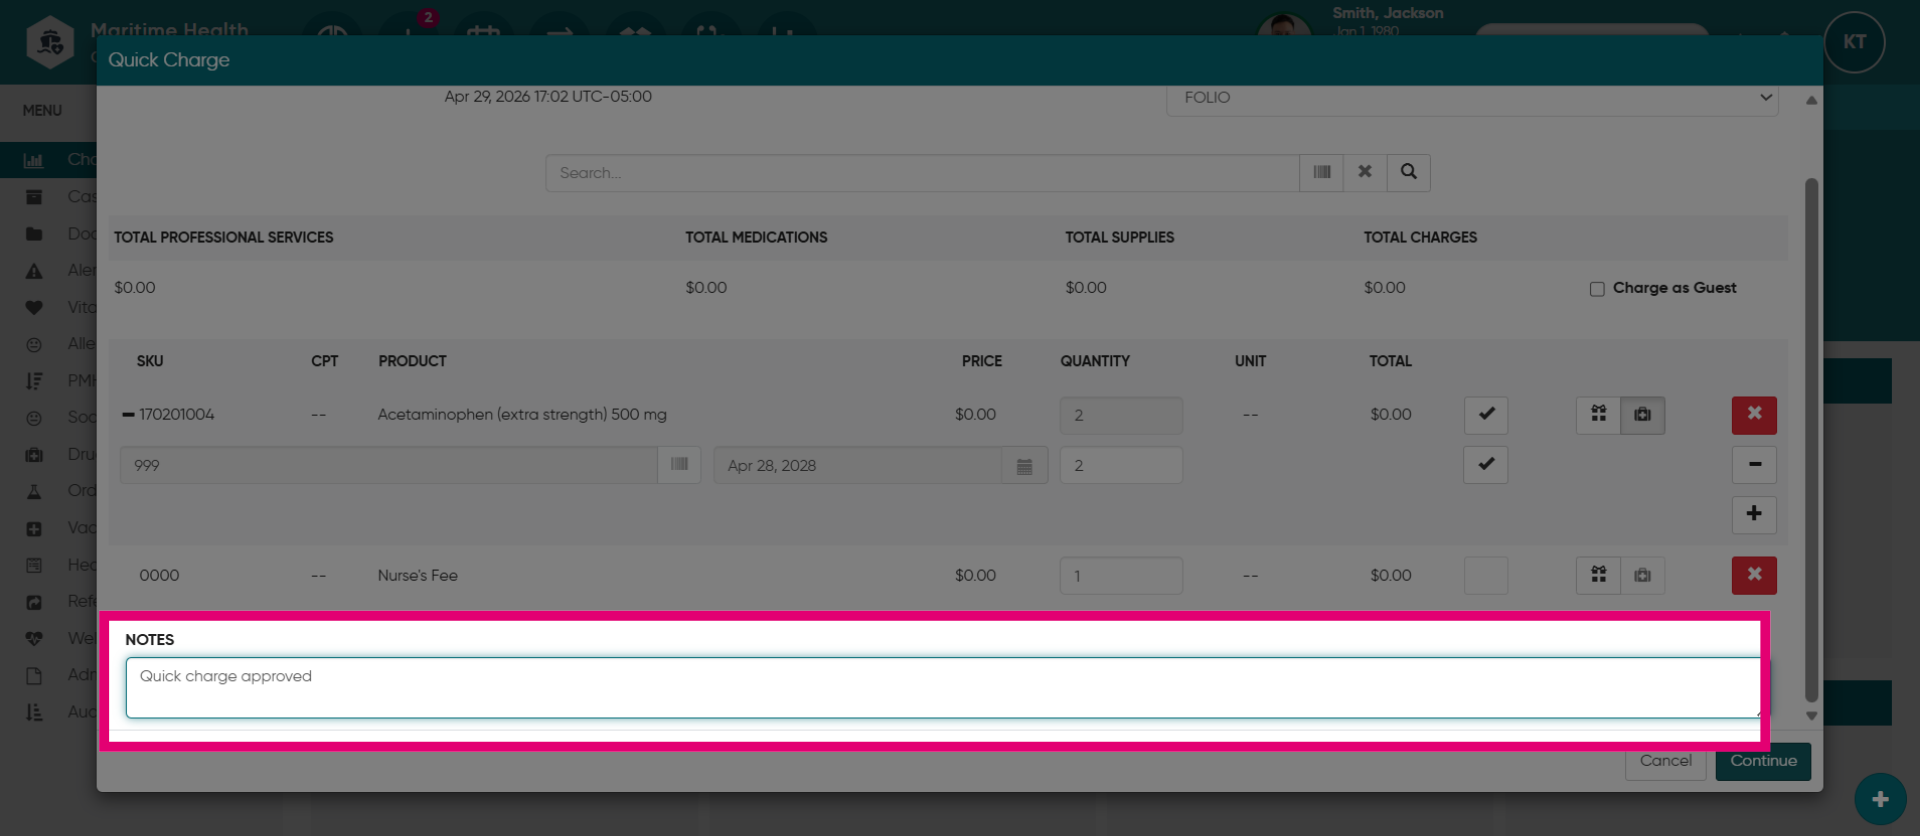
16. Add notes
Add notes in this section.
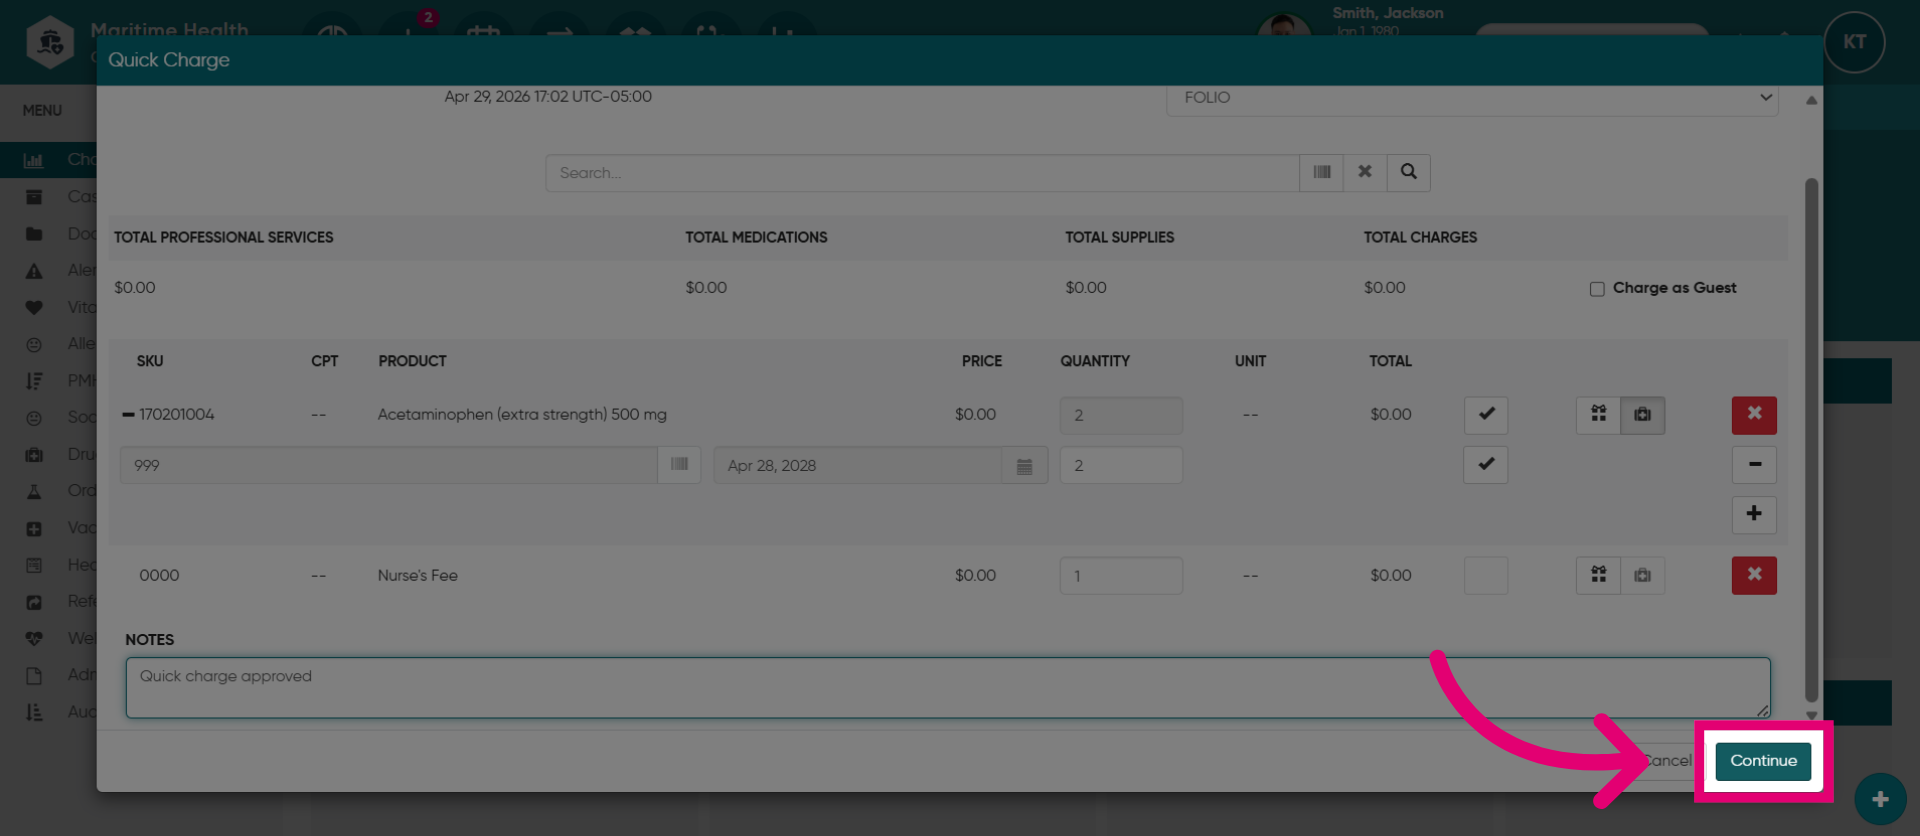
17. Continue to Confirmation
When you are done, click Continue.
18. Confirm Action
Click "Yes" to confirm the action and proceed.

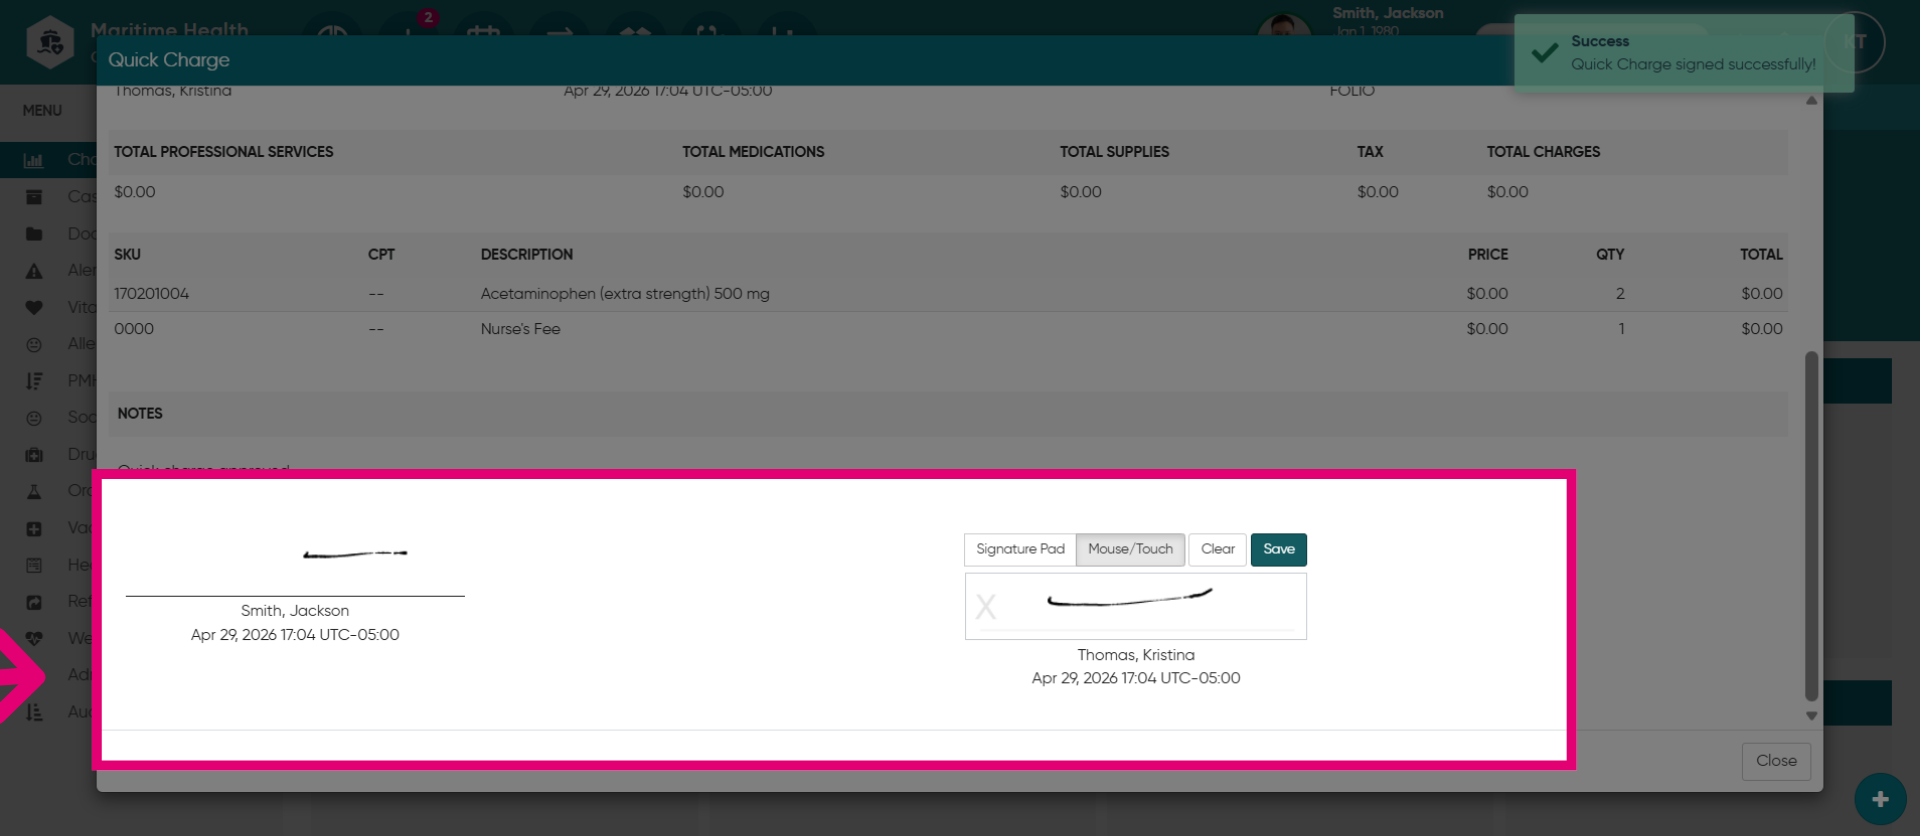
19. Add signatures
The invoice should be signed by both the patient and the medical team.
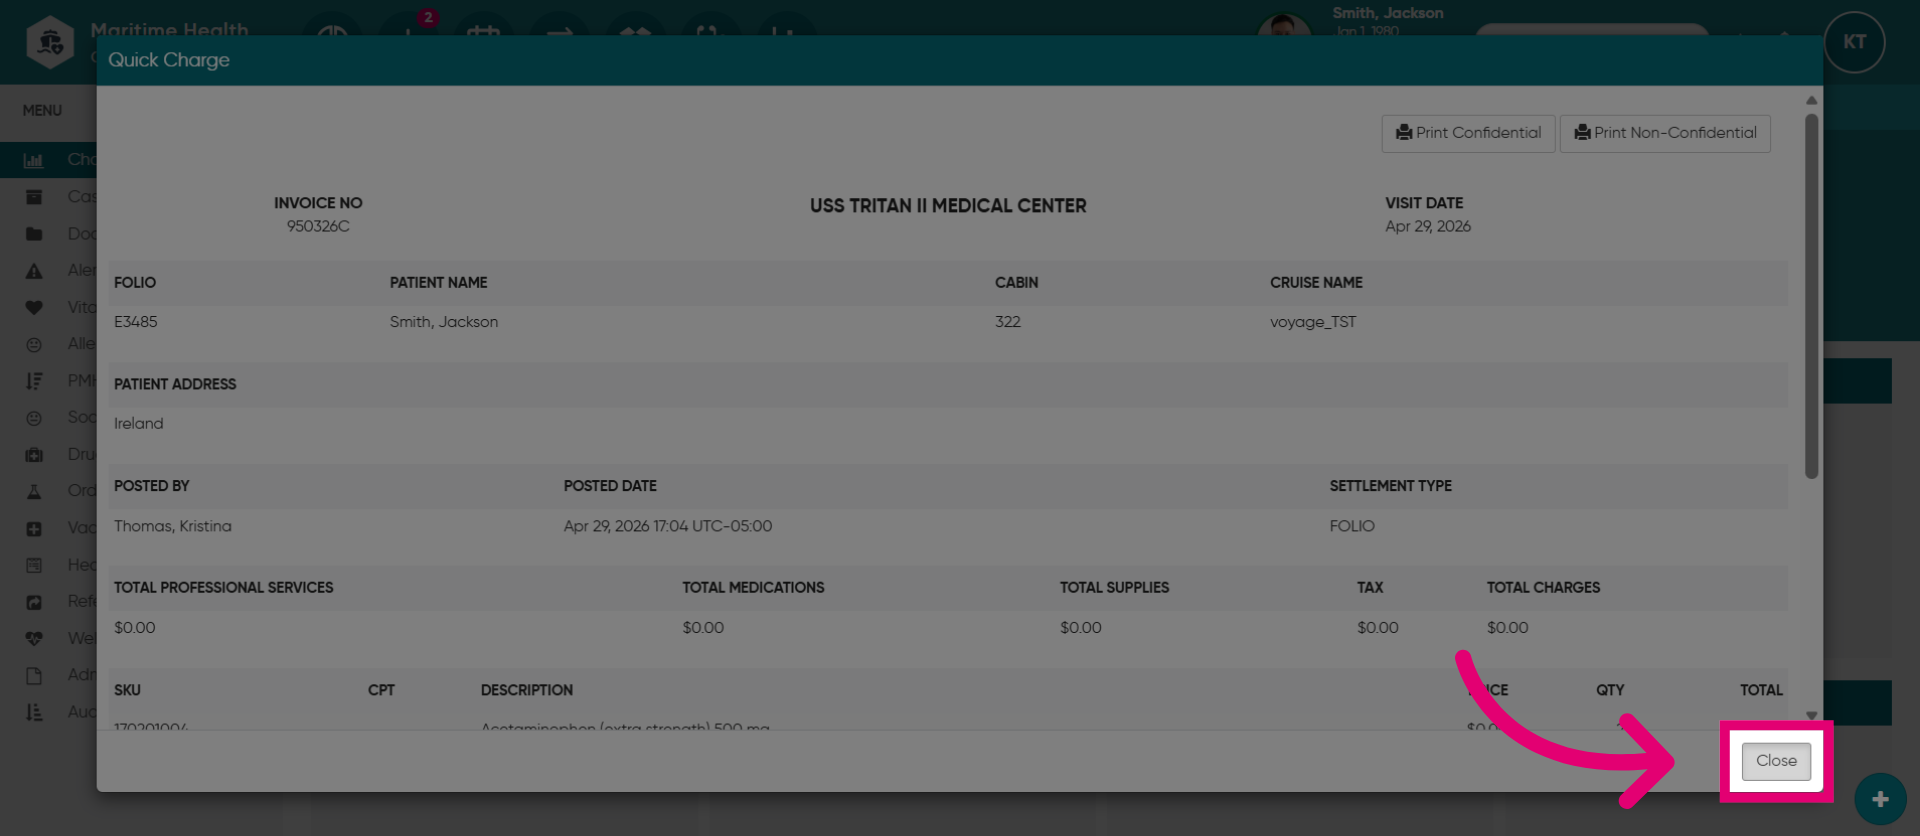
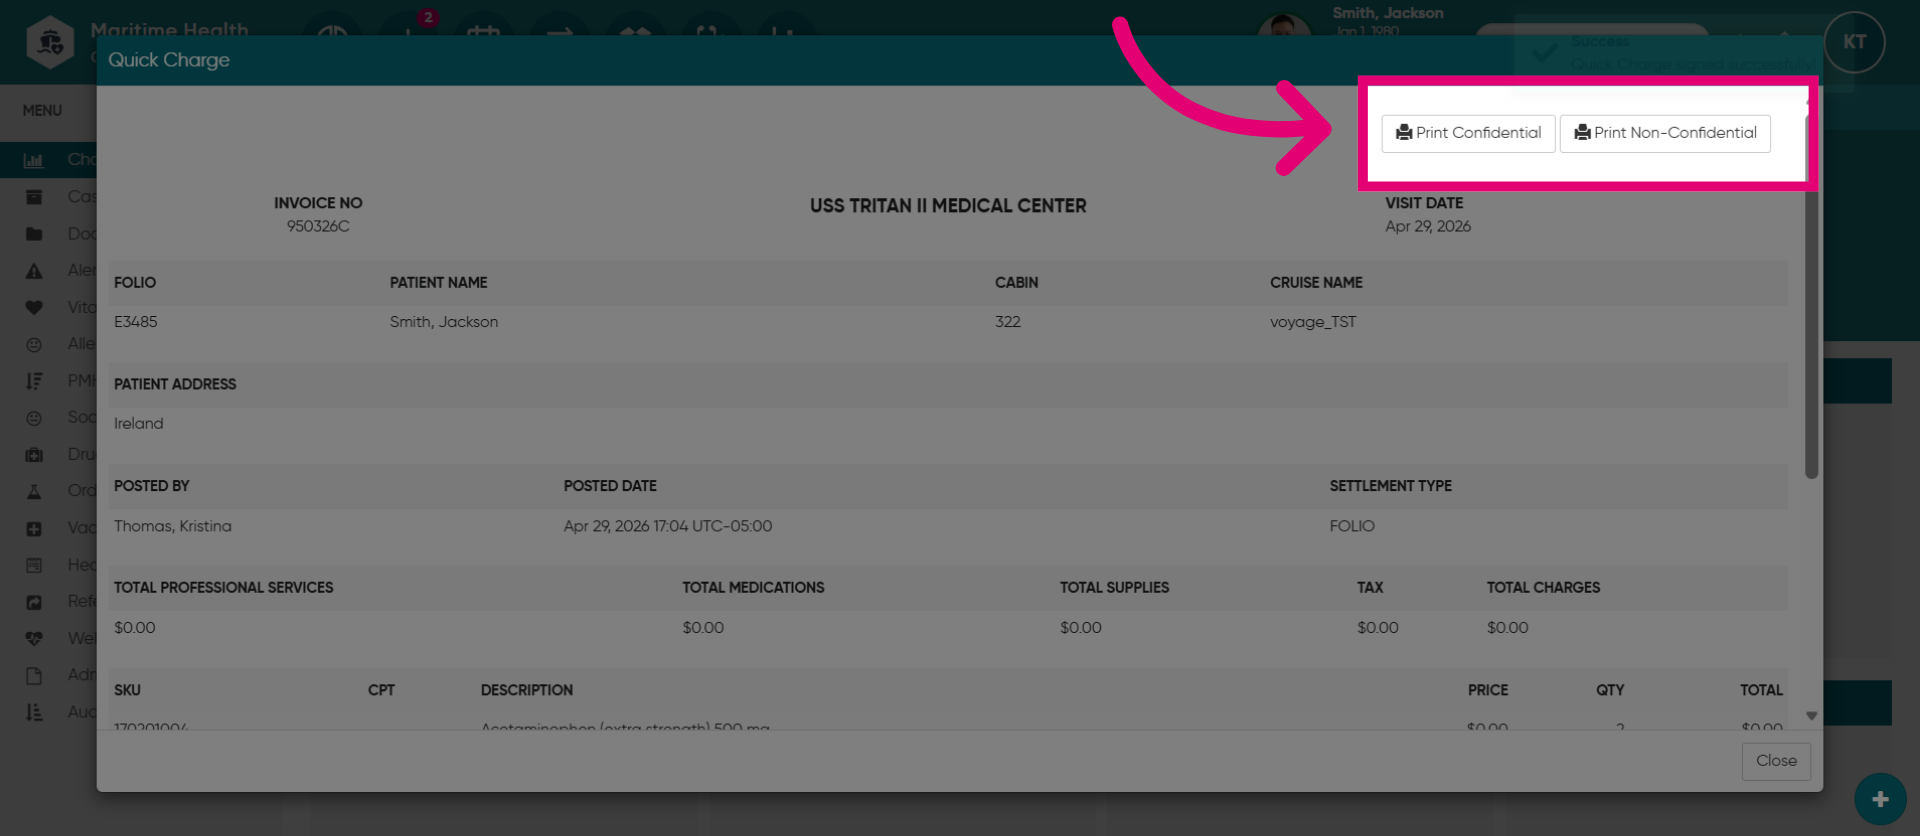
20. Open Print Options
Click "Print Confidential or Non-Confidential" to print the document.
21. Close Window
Click "Close" to exit the quick charge transaction window.