New article
Recently updated
Updating Isolation in the Admin

Who is this article for?Users who want to learn to update Isolation in the Admin.
No elevated permissions are required.
This guide provides a comprehensive walkthrough for putting patient into isolation in the patient chart without an encounter.
1. Updating Isolation in the Admin
1.1. Video
1.2. Steps
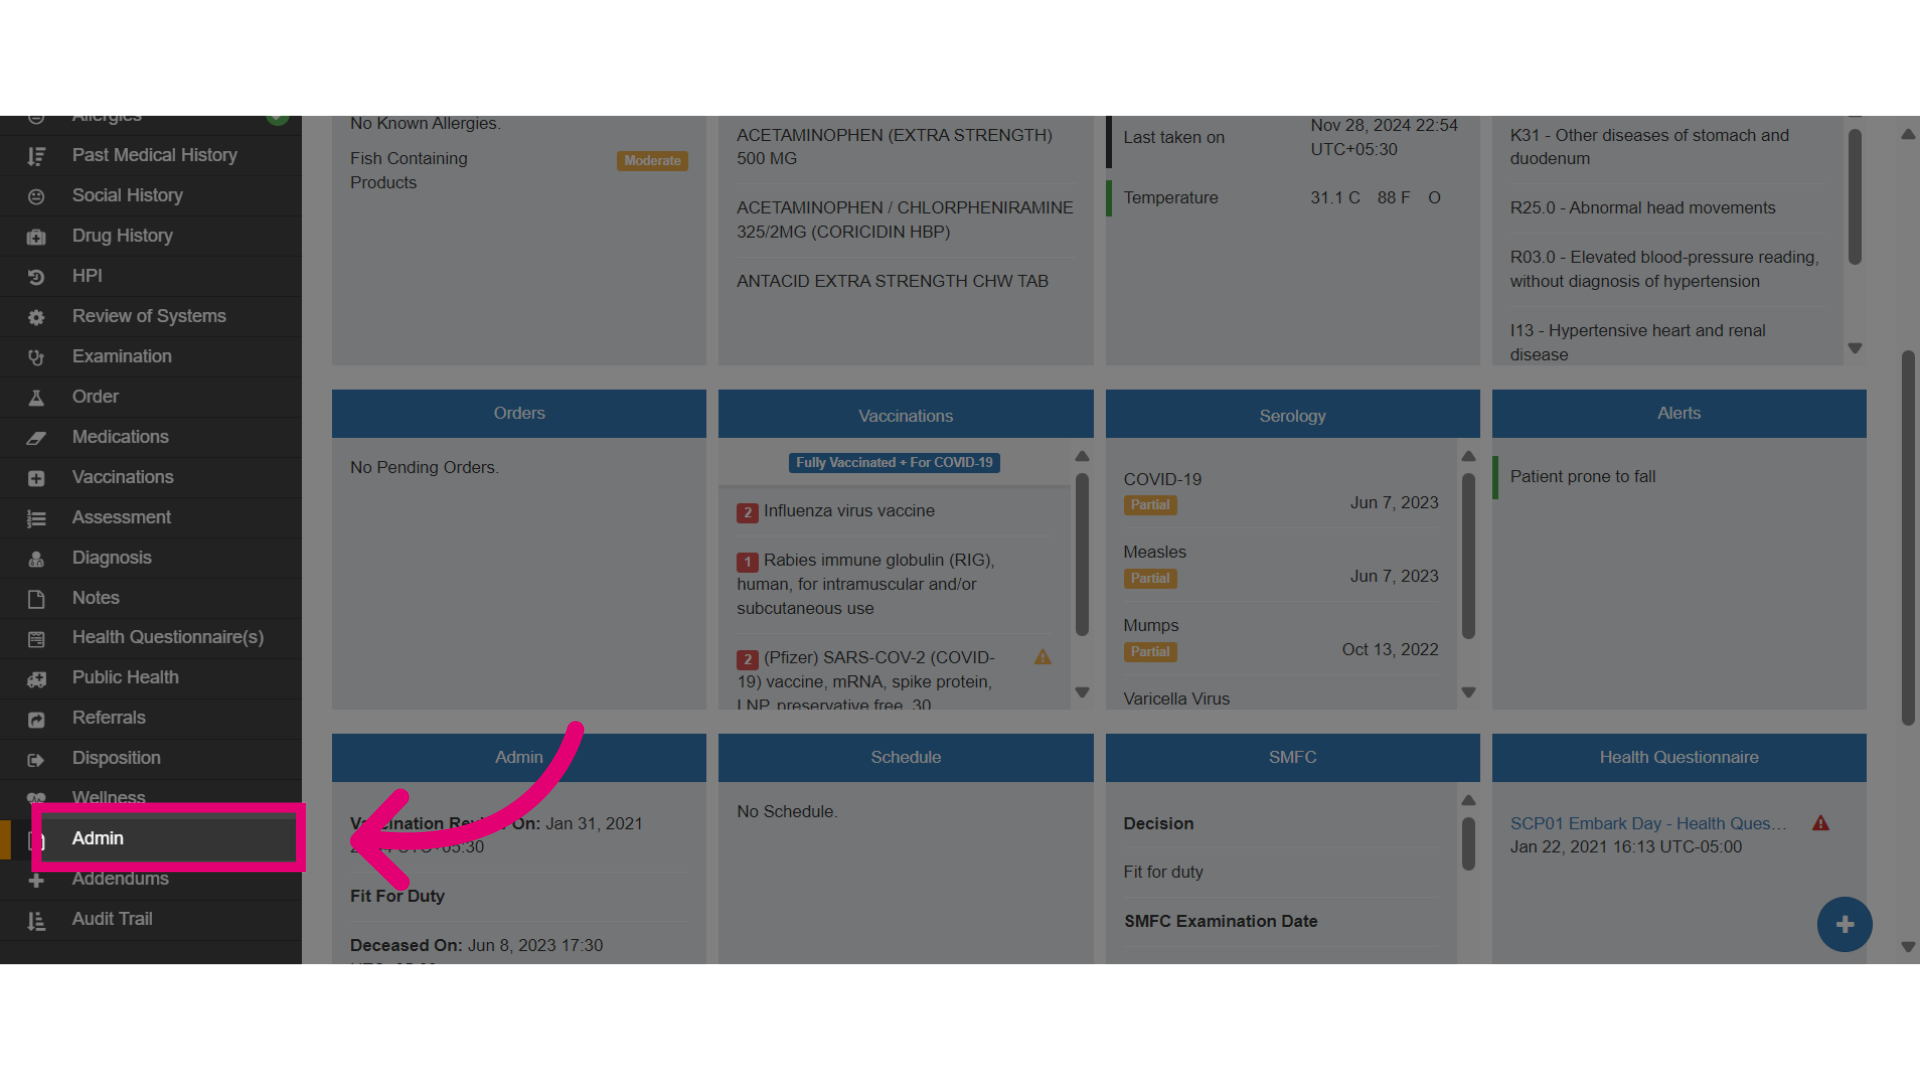
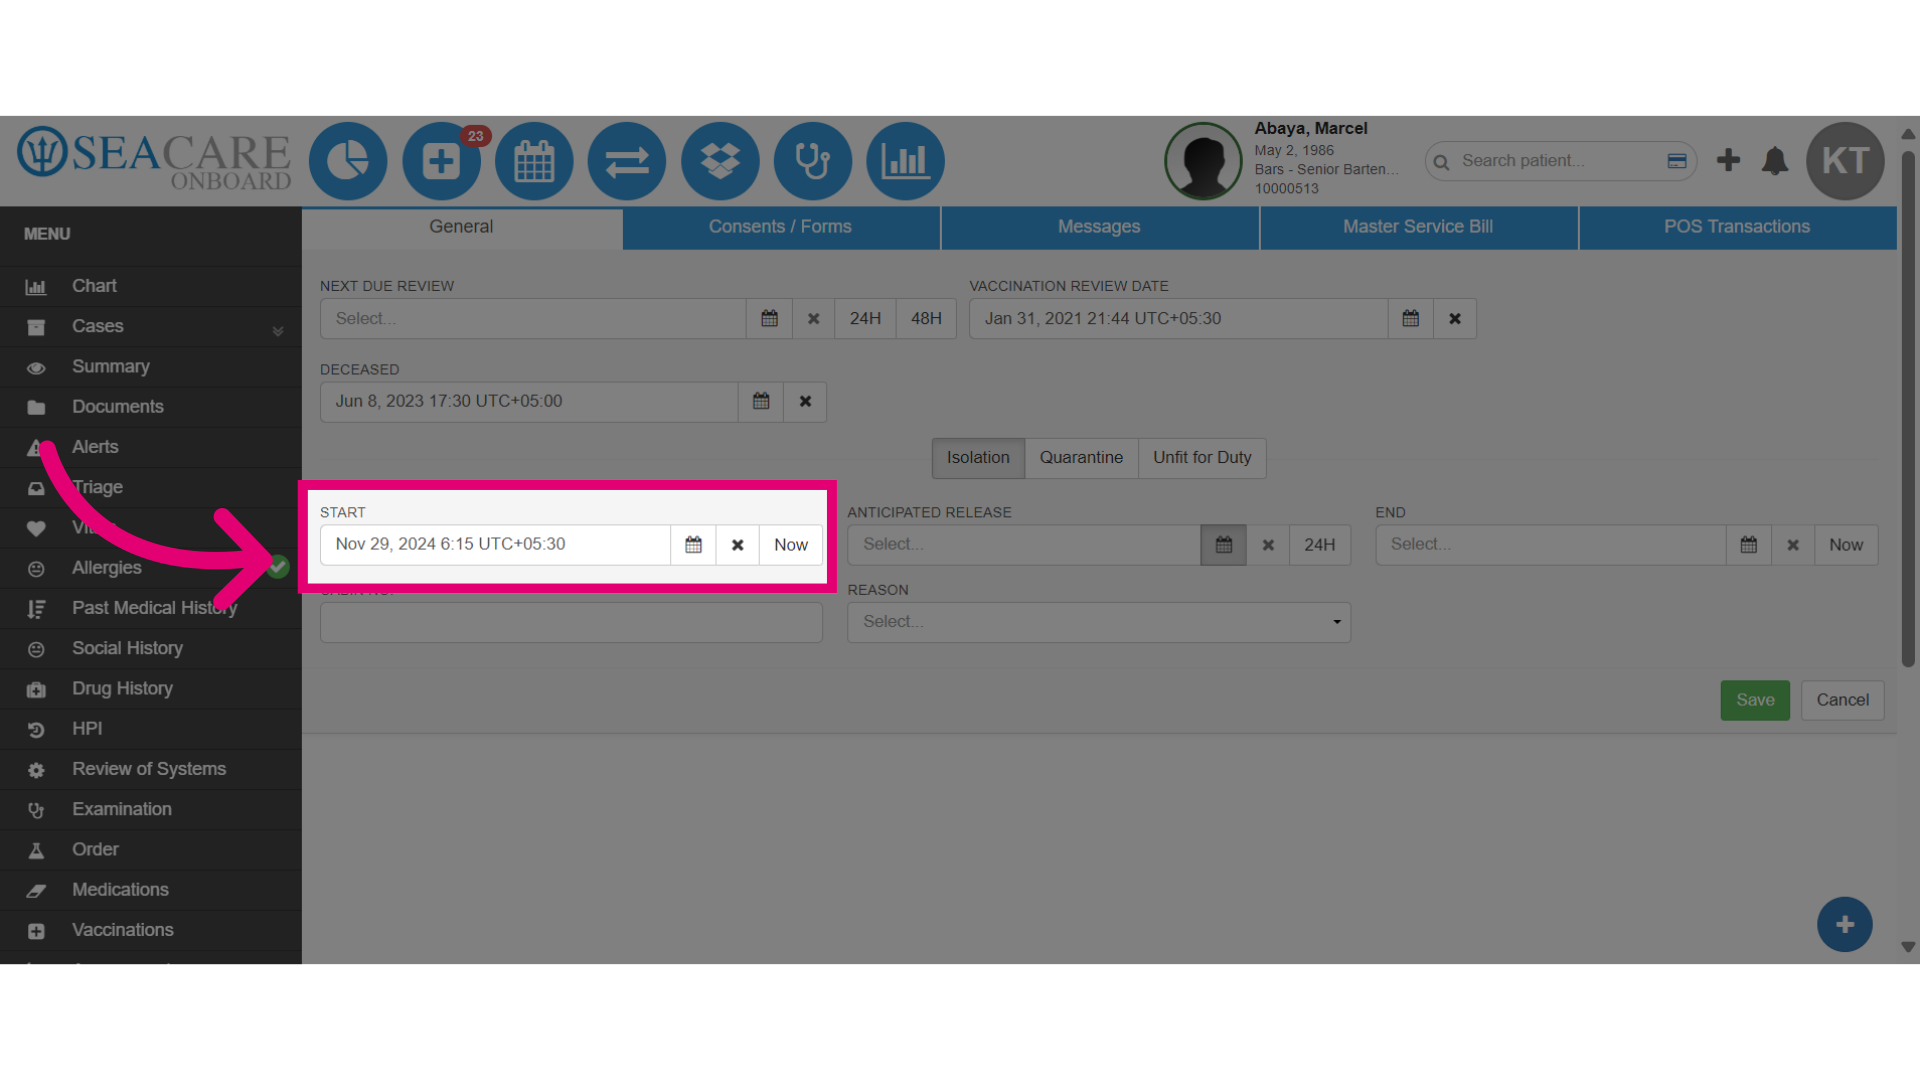
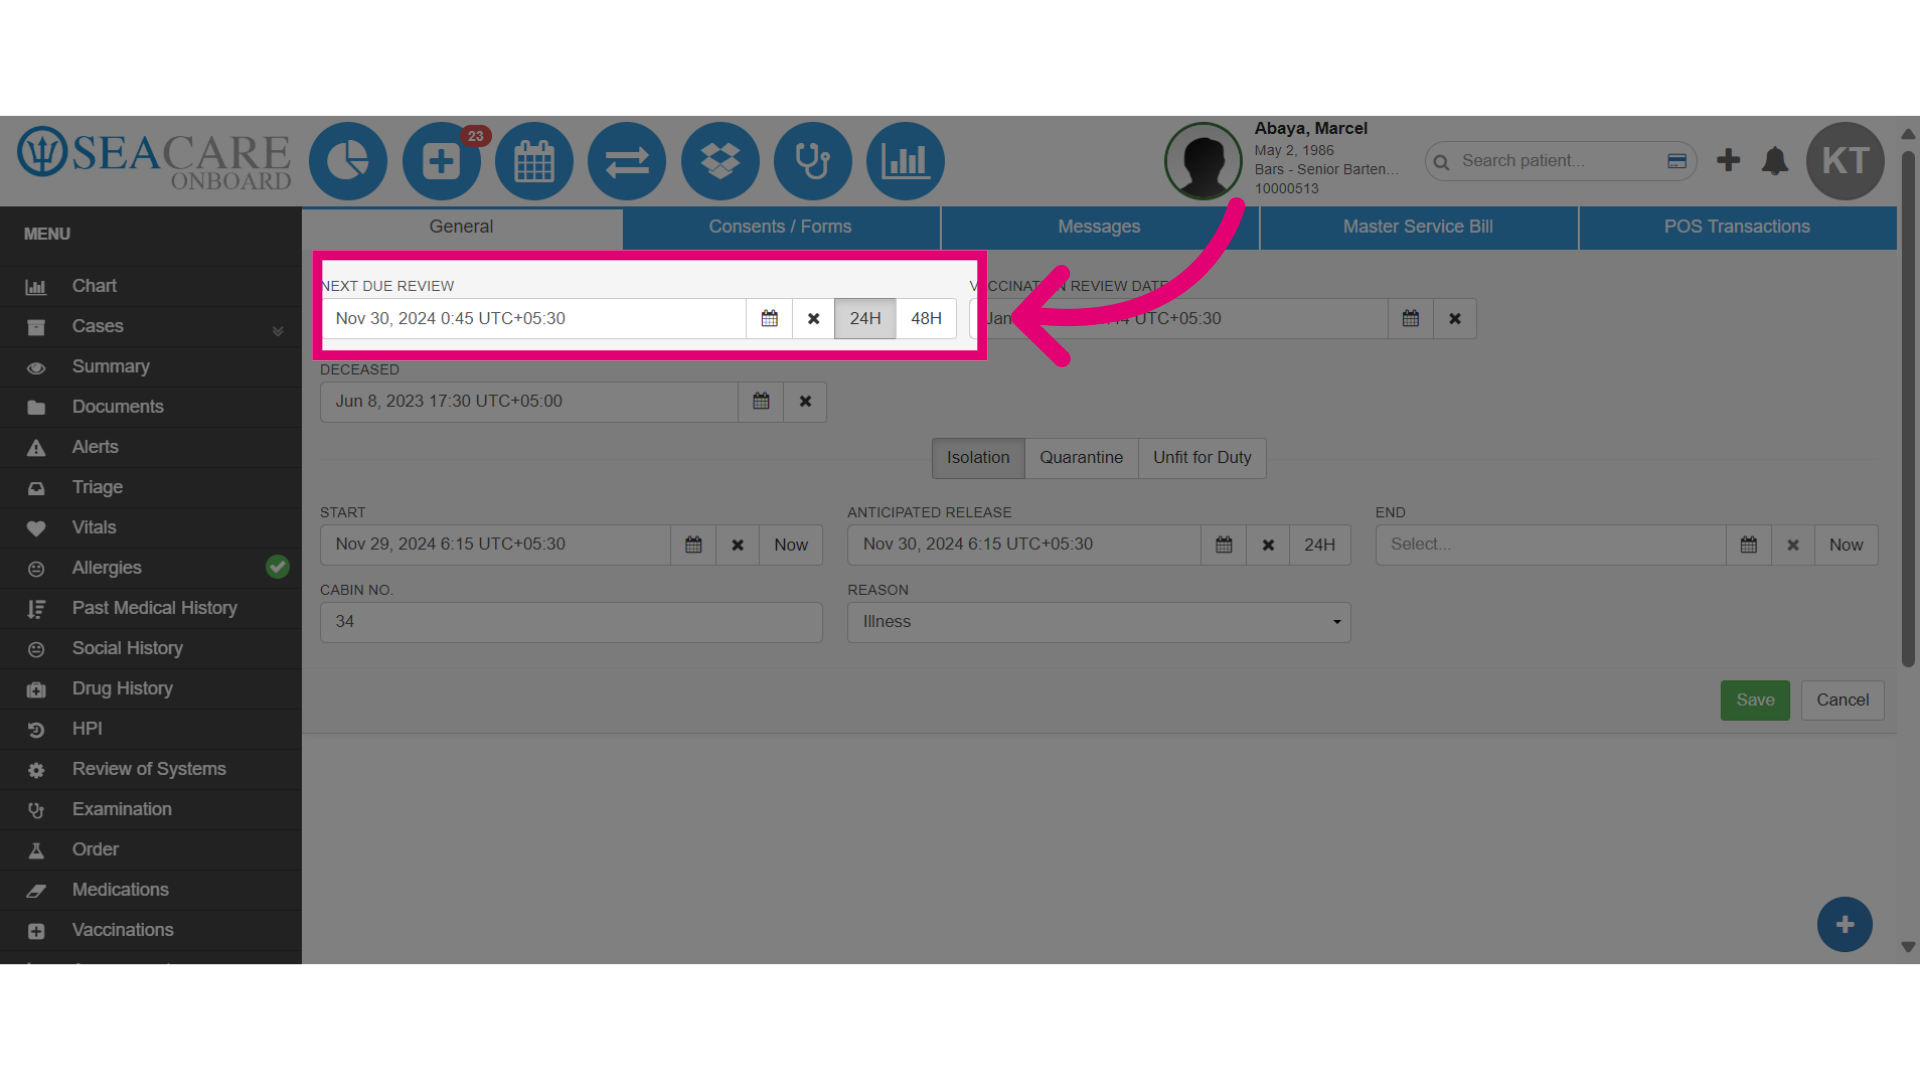
- Start in the patient chart, then go to the Admin section to put a patient into isolation or update their isolation status.
- Under the General tab, you can manage Isolation, Quarantine and Unfit for Duty for the patient. Use this section to place a patient into Isolation if the patient is suspected of exposure to a communicable disease.
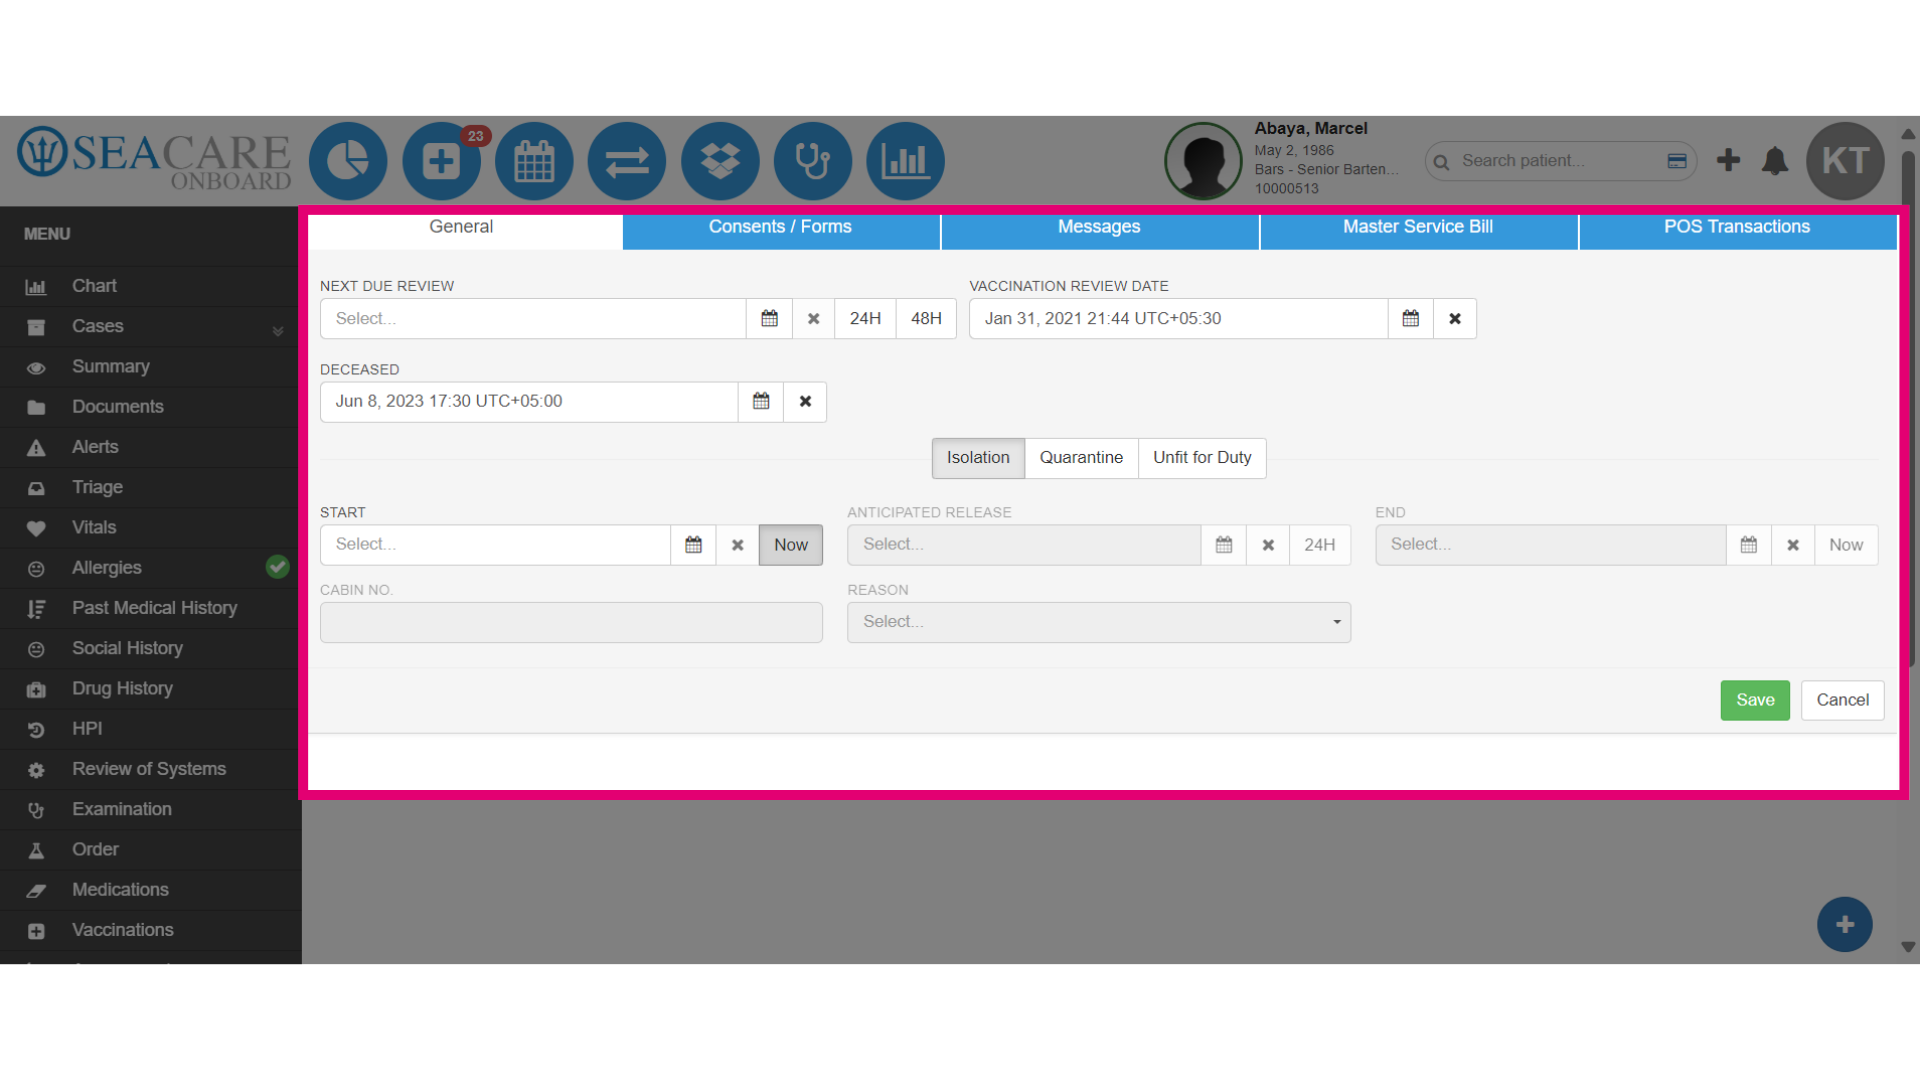
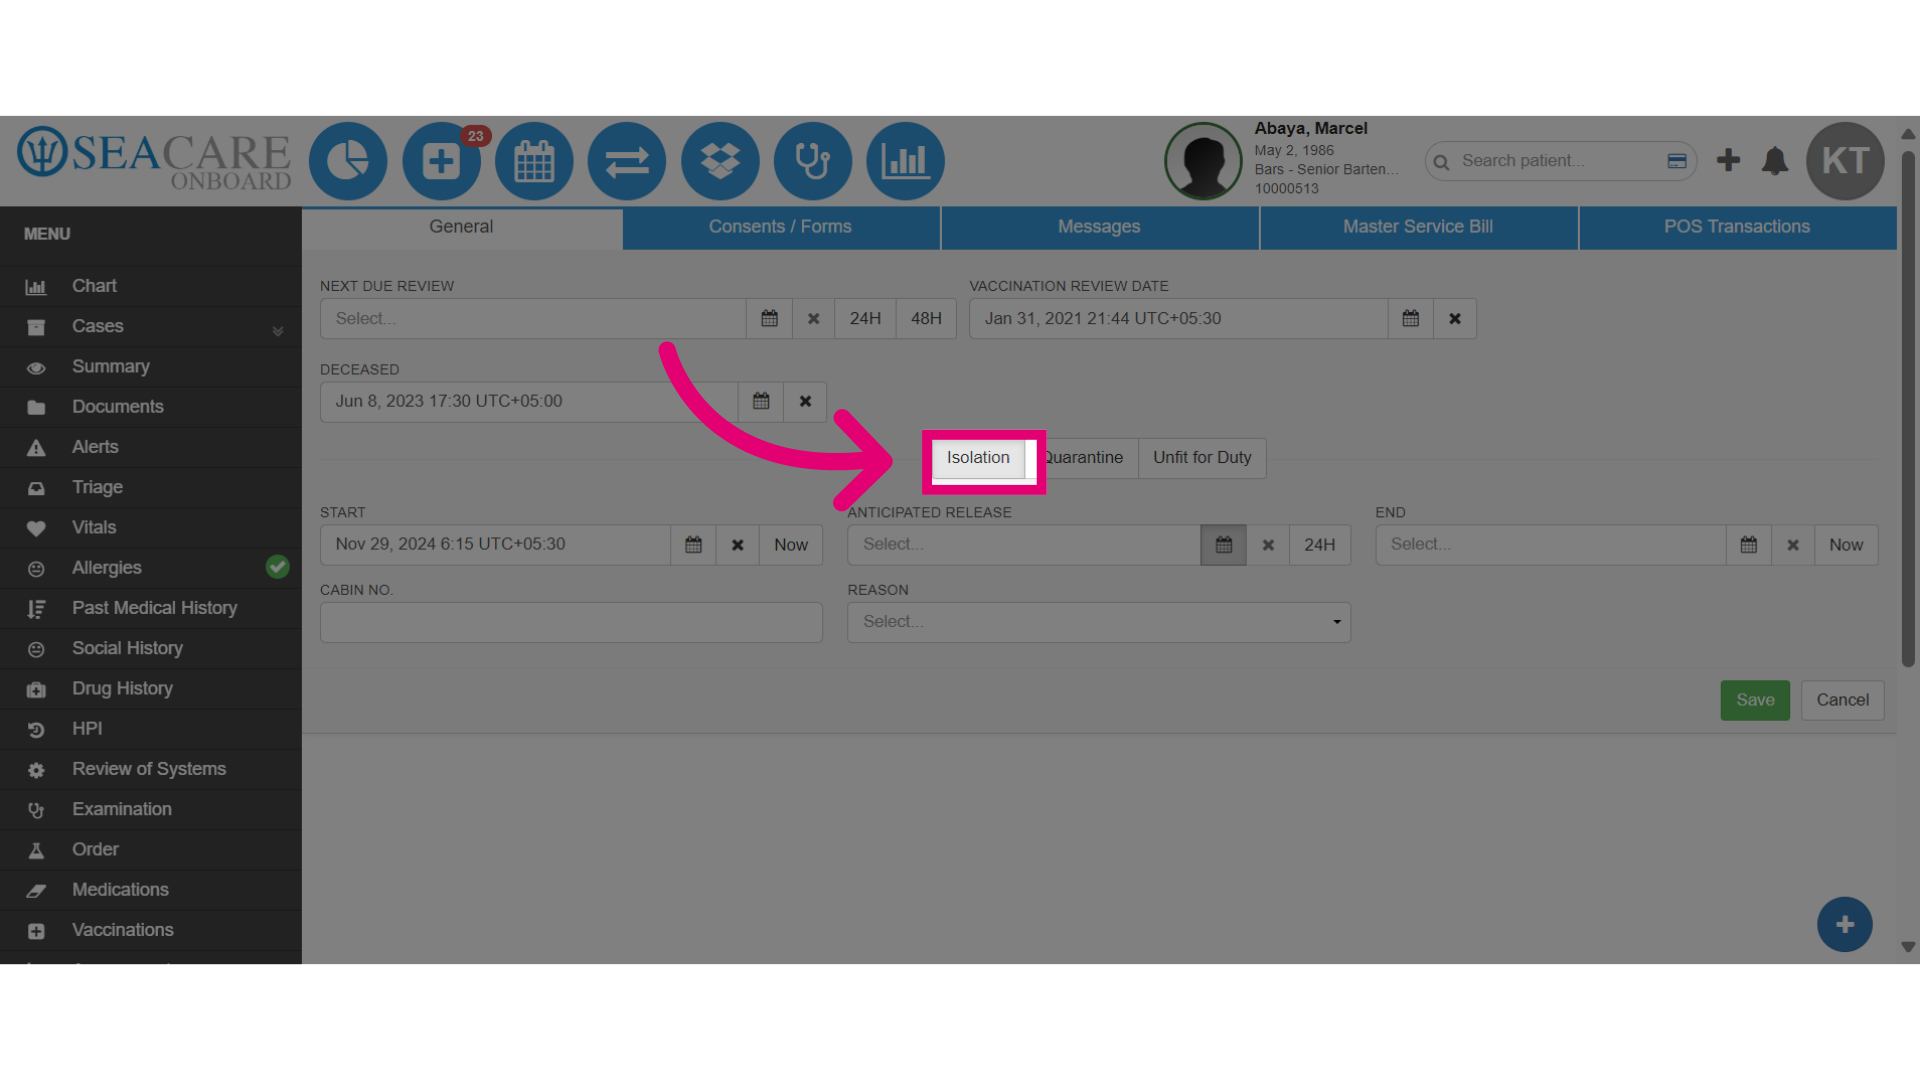
- Select the Isolation sub tab to manage isolation.
- Add the isolation start date. If it starts today, you can select Now to populate the date 24 hours instantly.
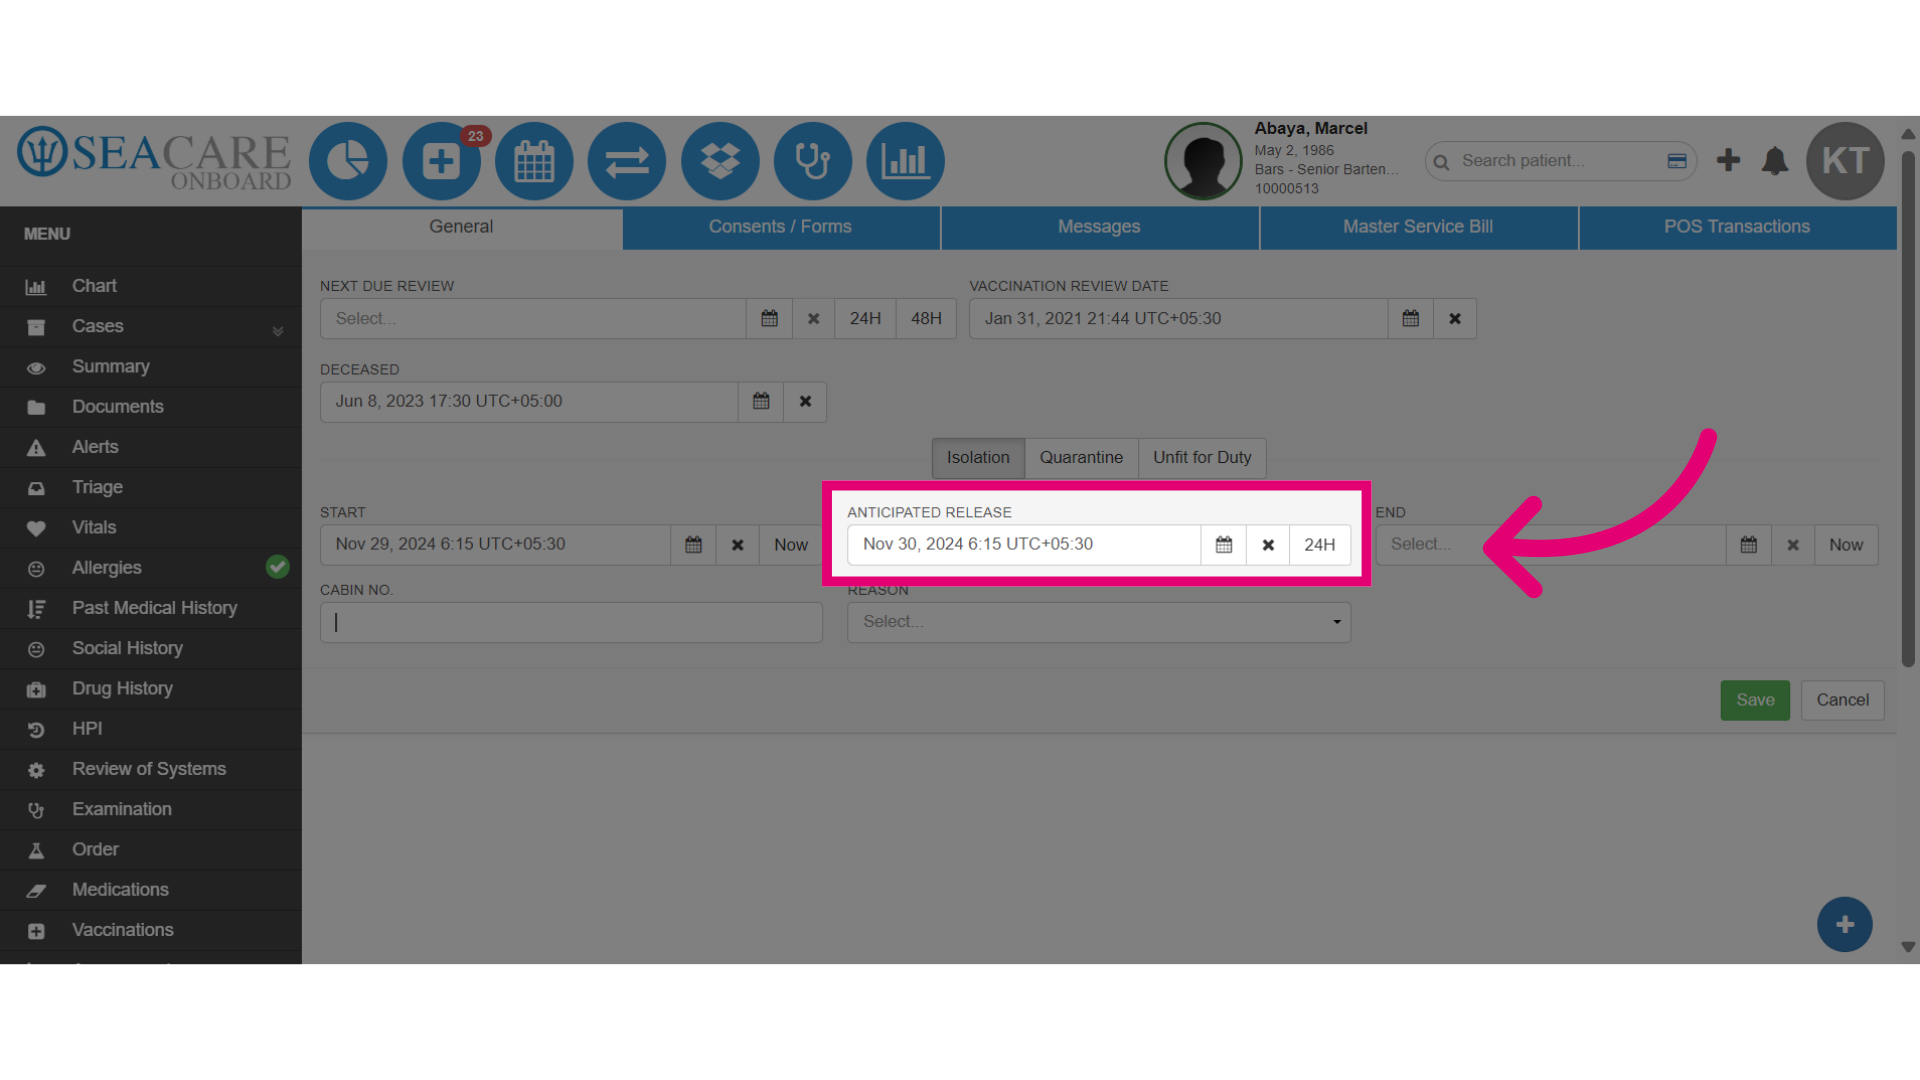
- Enter the anticipated release date for the patient's isolation. A follow-up check for symptoms is typically done after 24 hours.
- The End Date section can be used when it's time to release the patient from isolation.

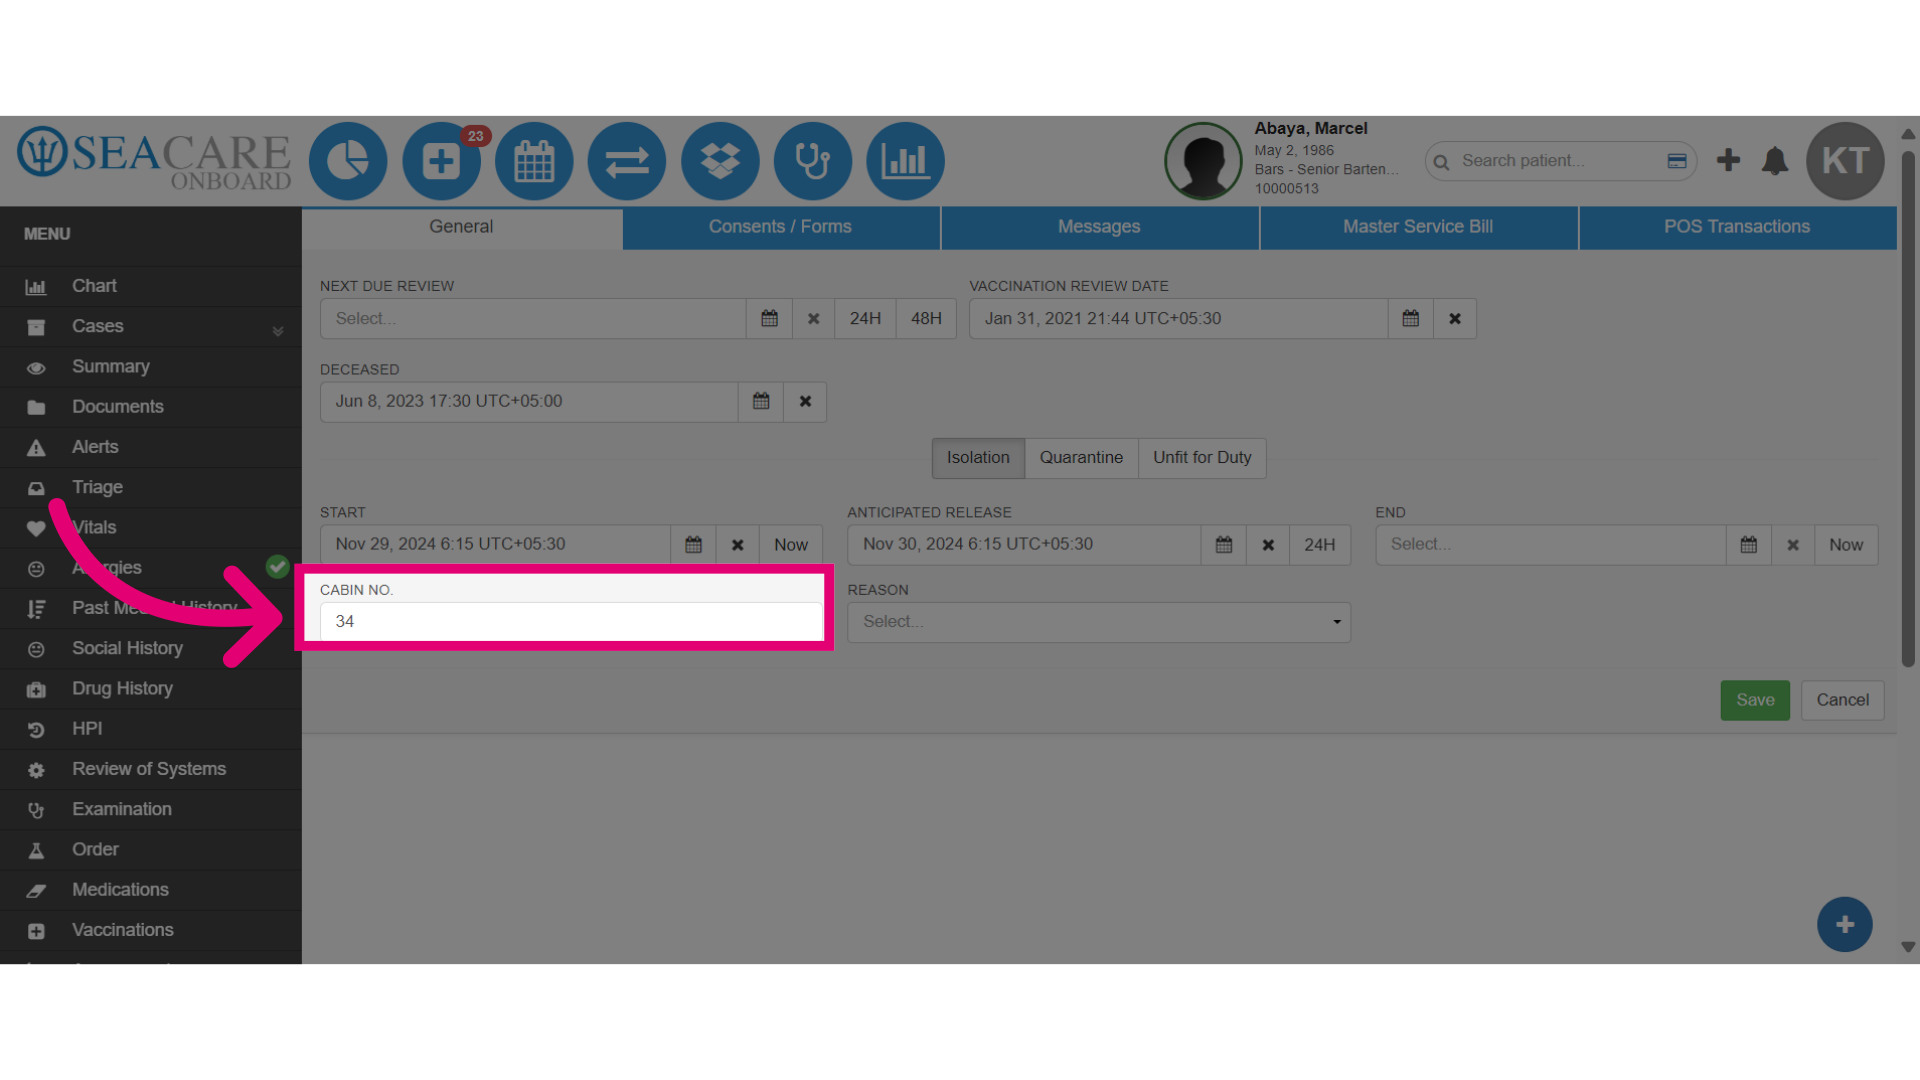
- Enter the Cabin number where the patient will be isolated. This typically differs from their current cabin if the patient shares with a cabin mate. That way, they isolate alone without putting their cabin mate at risk.
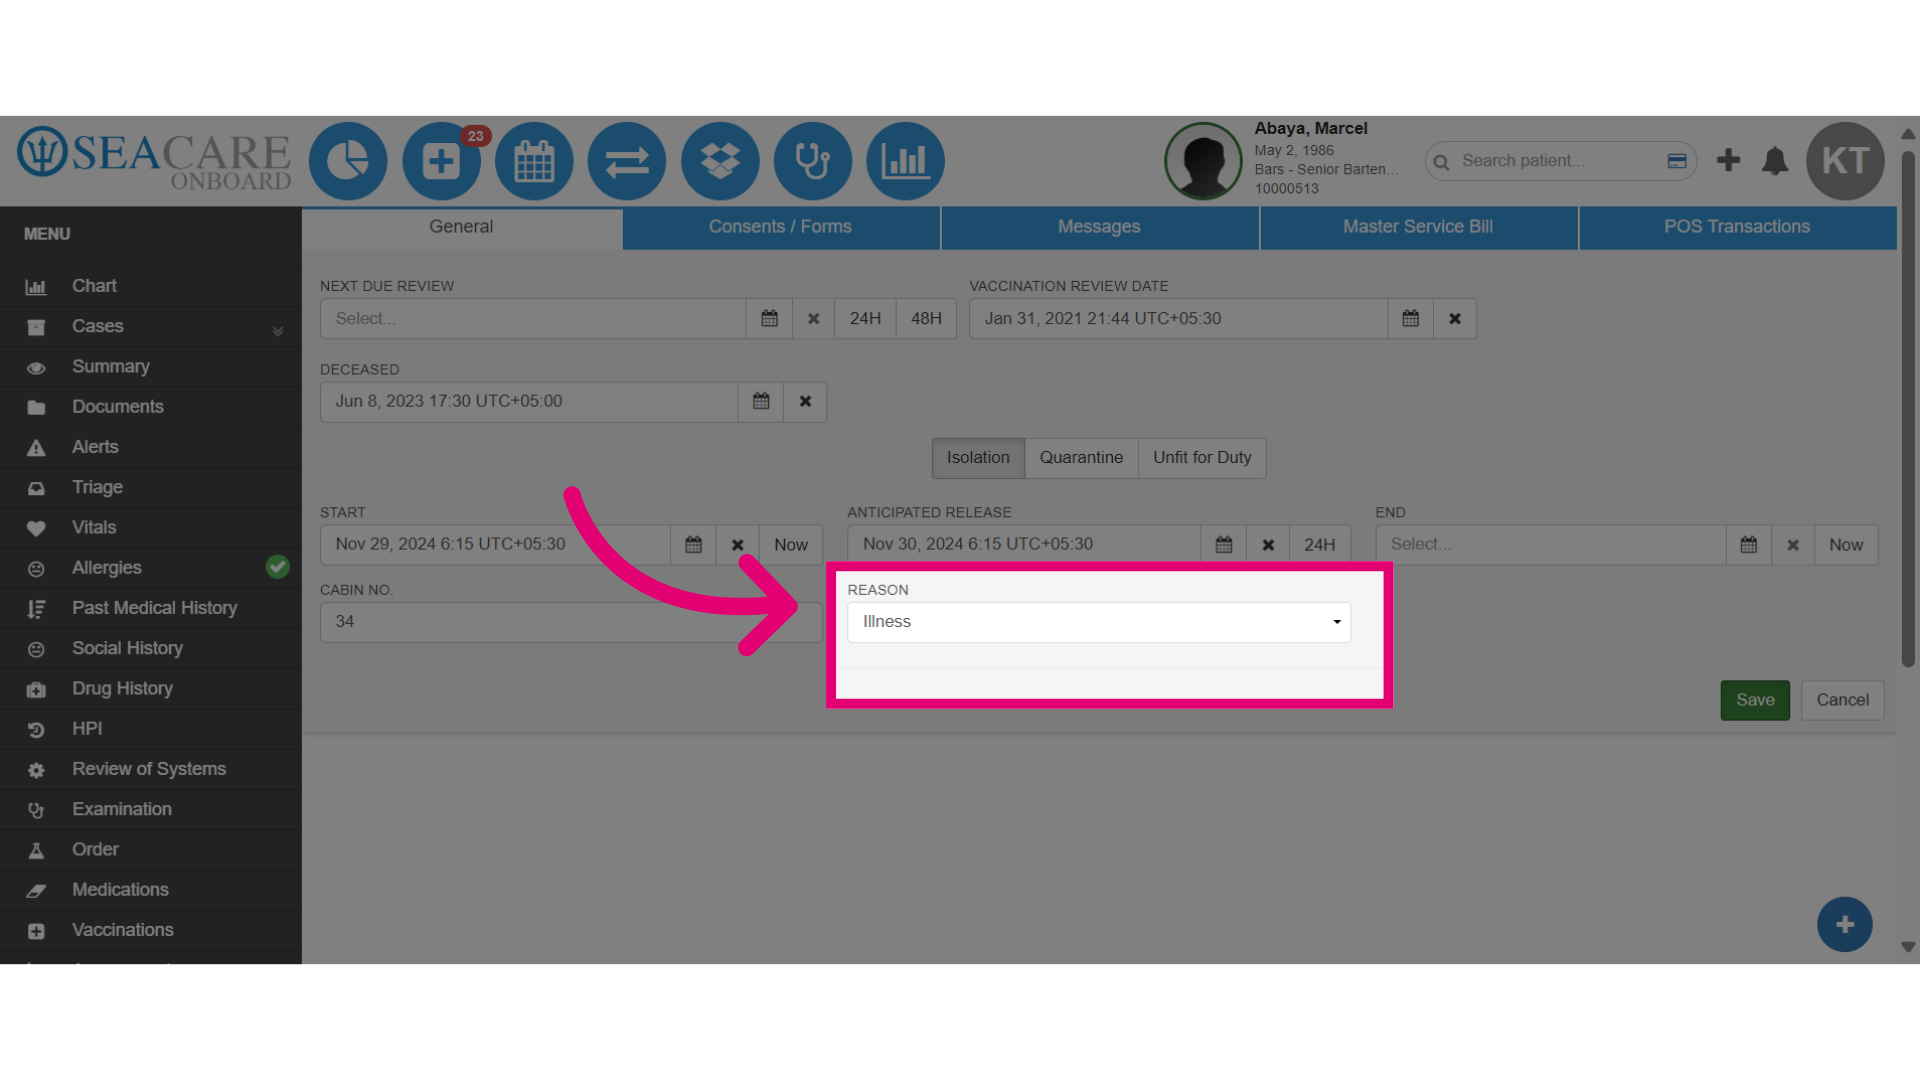
- Enter a reason for the isolation from the menu options.
- If a Next Due Review is needed, select 24 hours, 48 hours, or manually enter the date. This can be tracked on the main dashboard.
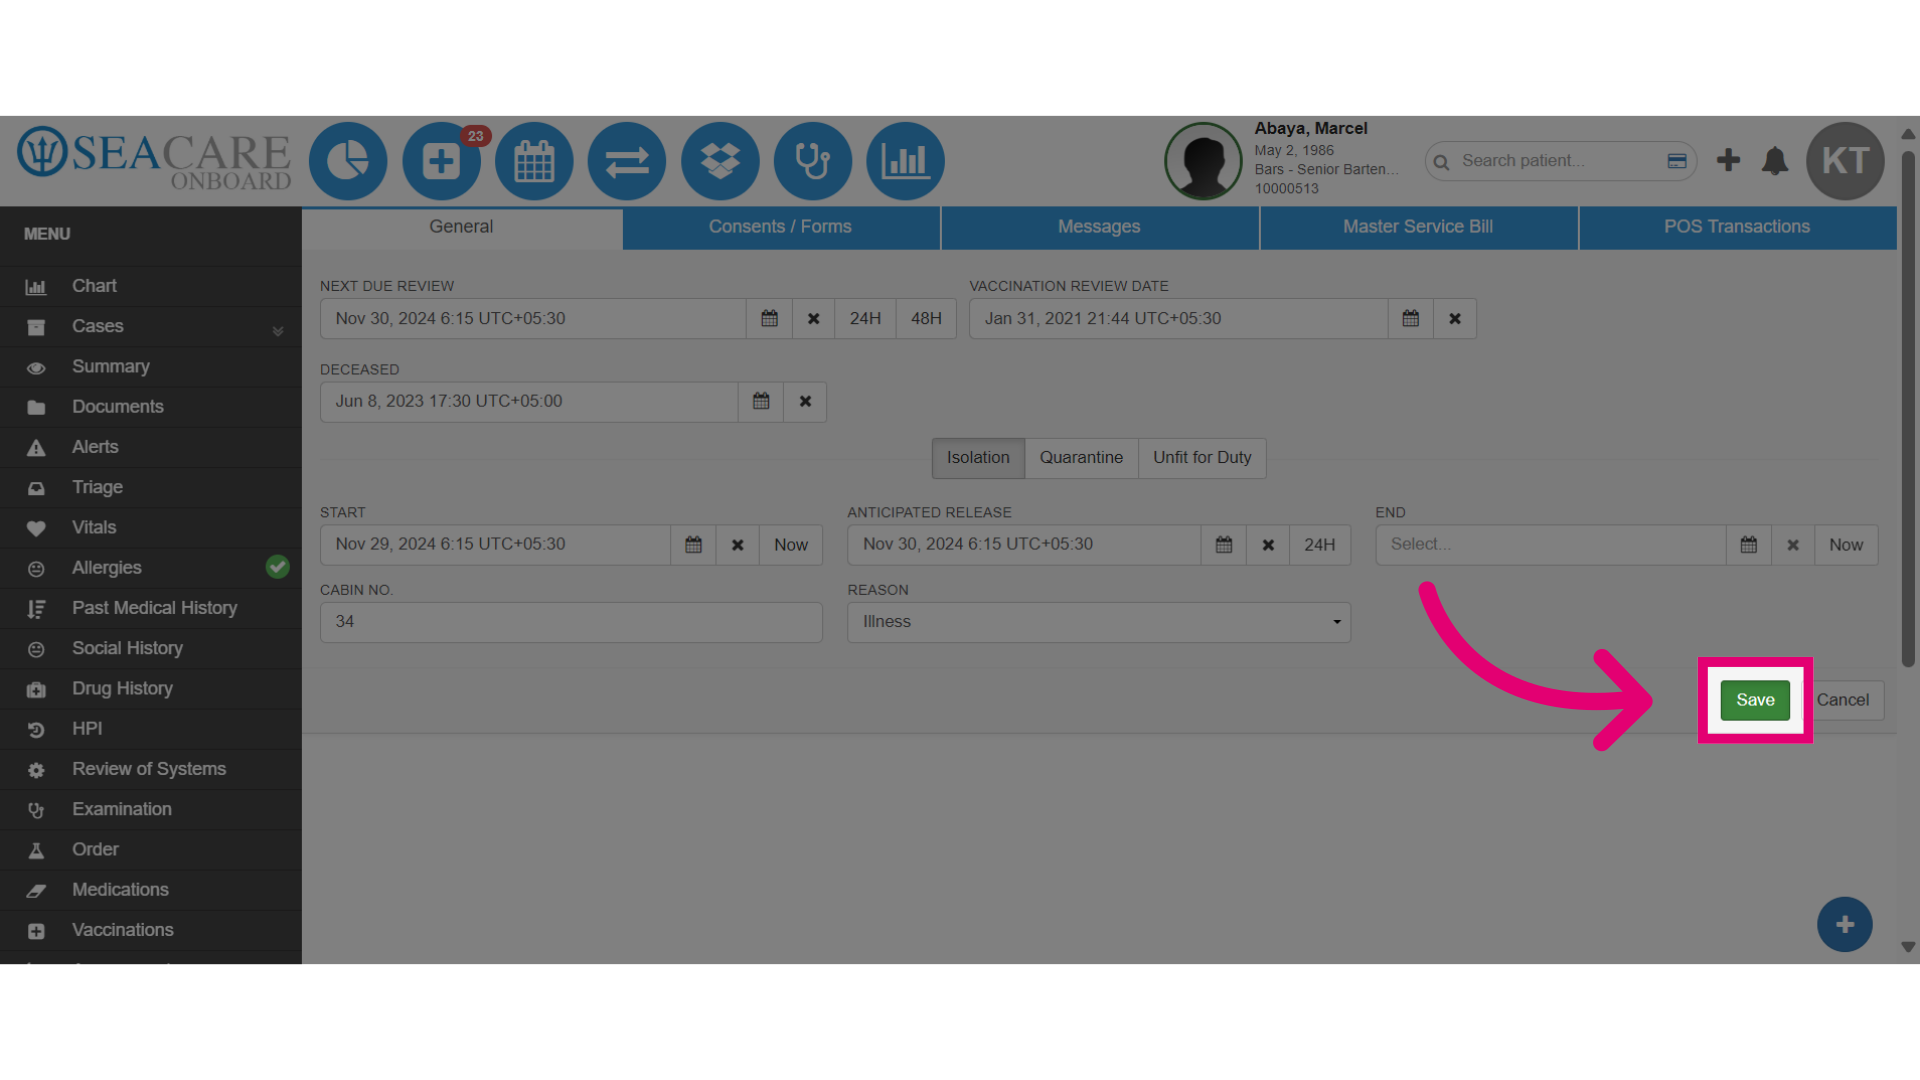
- Save your changes.
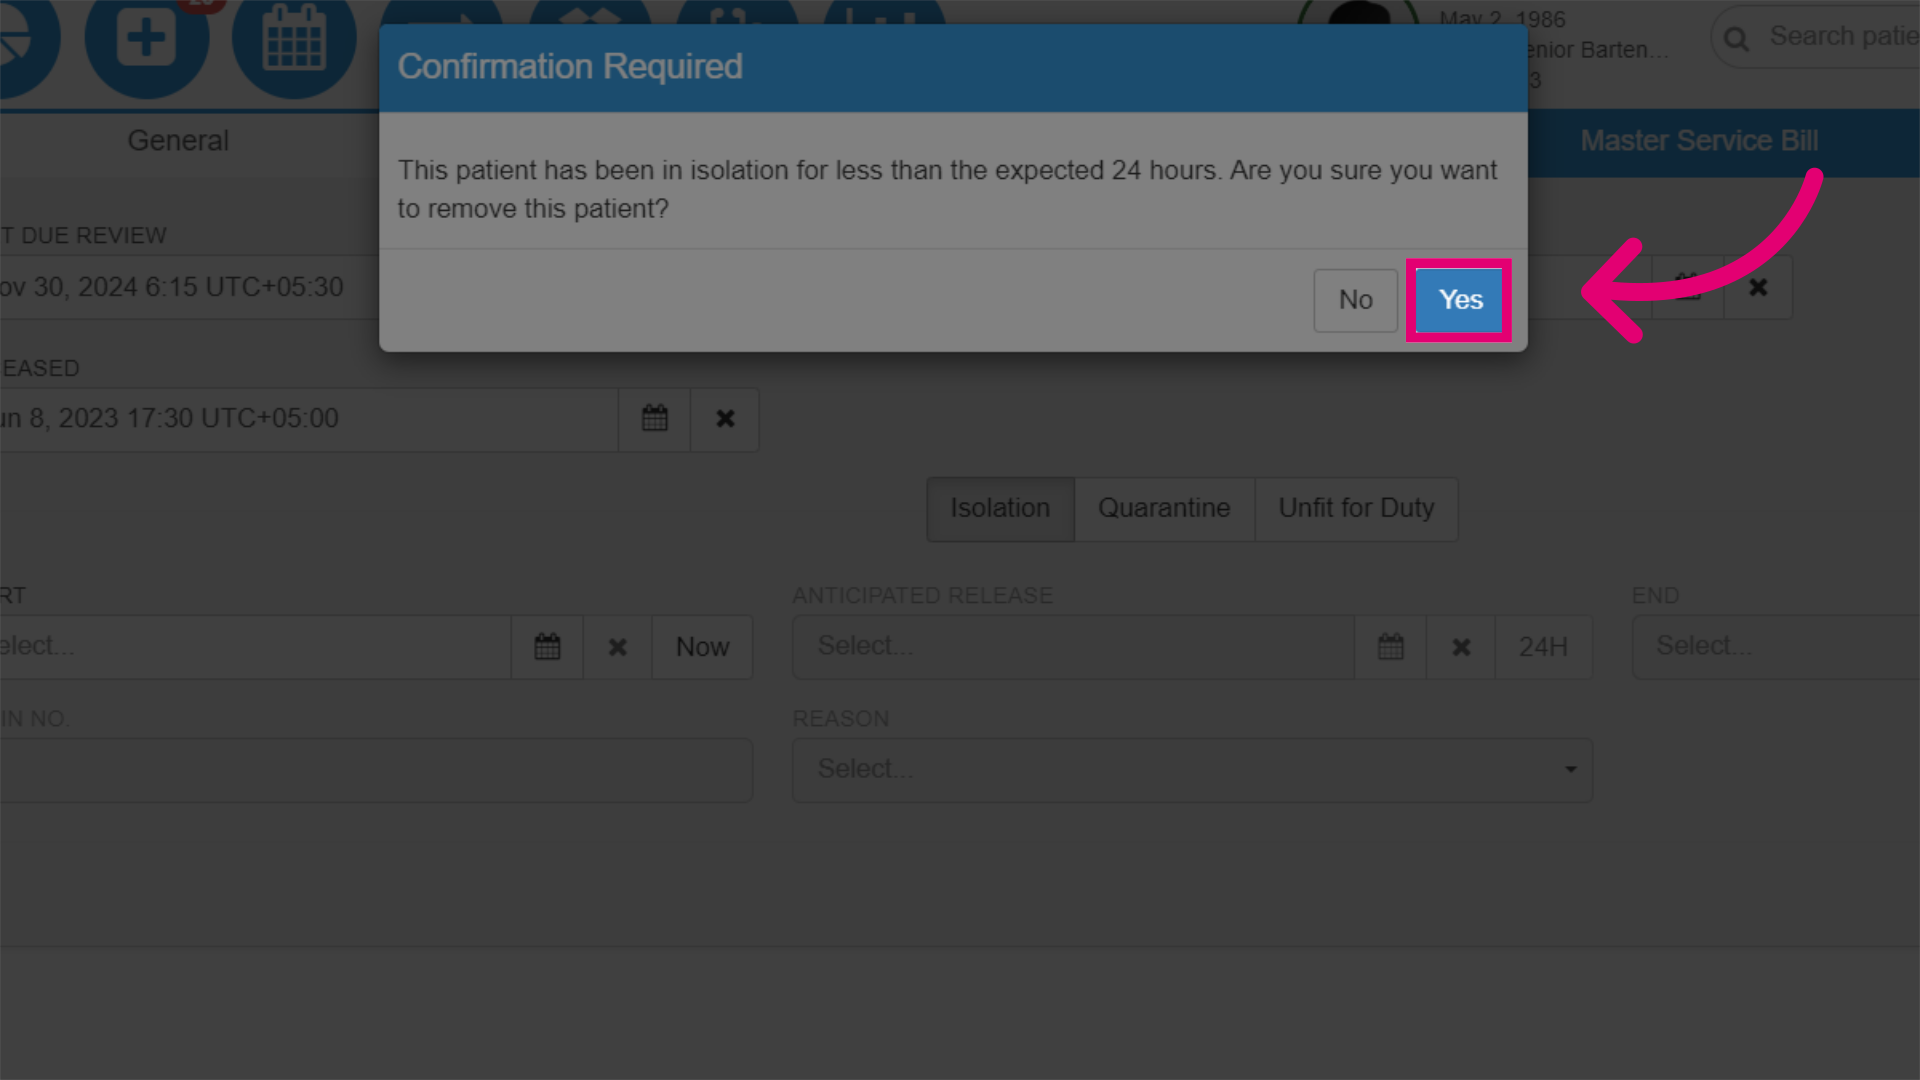
- End Isolation by adding the end date or selecting Now to end it instantly. Then click Save.

- Confirm ending the isolation.