New article
Recently updated
Adding a communicable disease test Quick Entry

Who is this article for?Users who want to learn to add a communicable disease test Quick Entry.
No elevated permissions are required.
This guide offers a comprehensive walkthrough for adding a communicable disease test using quick entries. By following these instructions, users can streamline their workflow and maintain accurate records for testing procedures.
1. Adding a communicable disease test Quick Entry
1.1. Video
1.2. Video
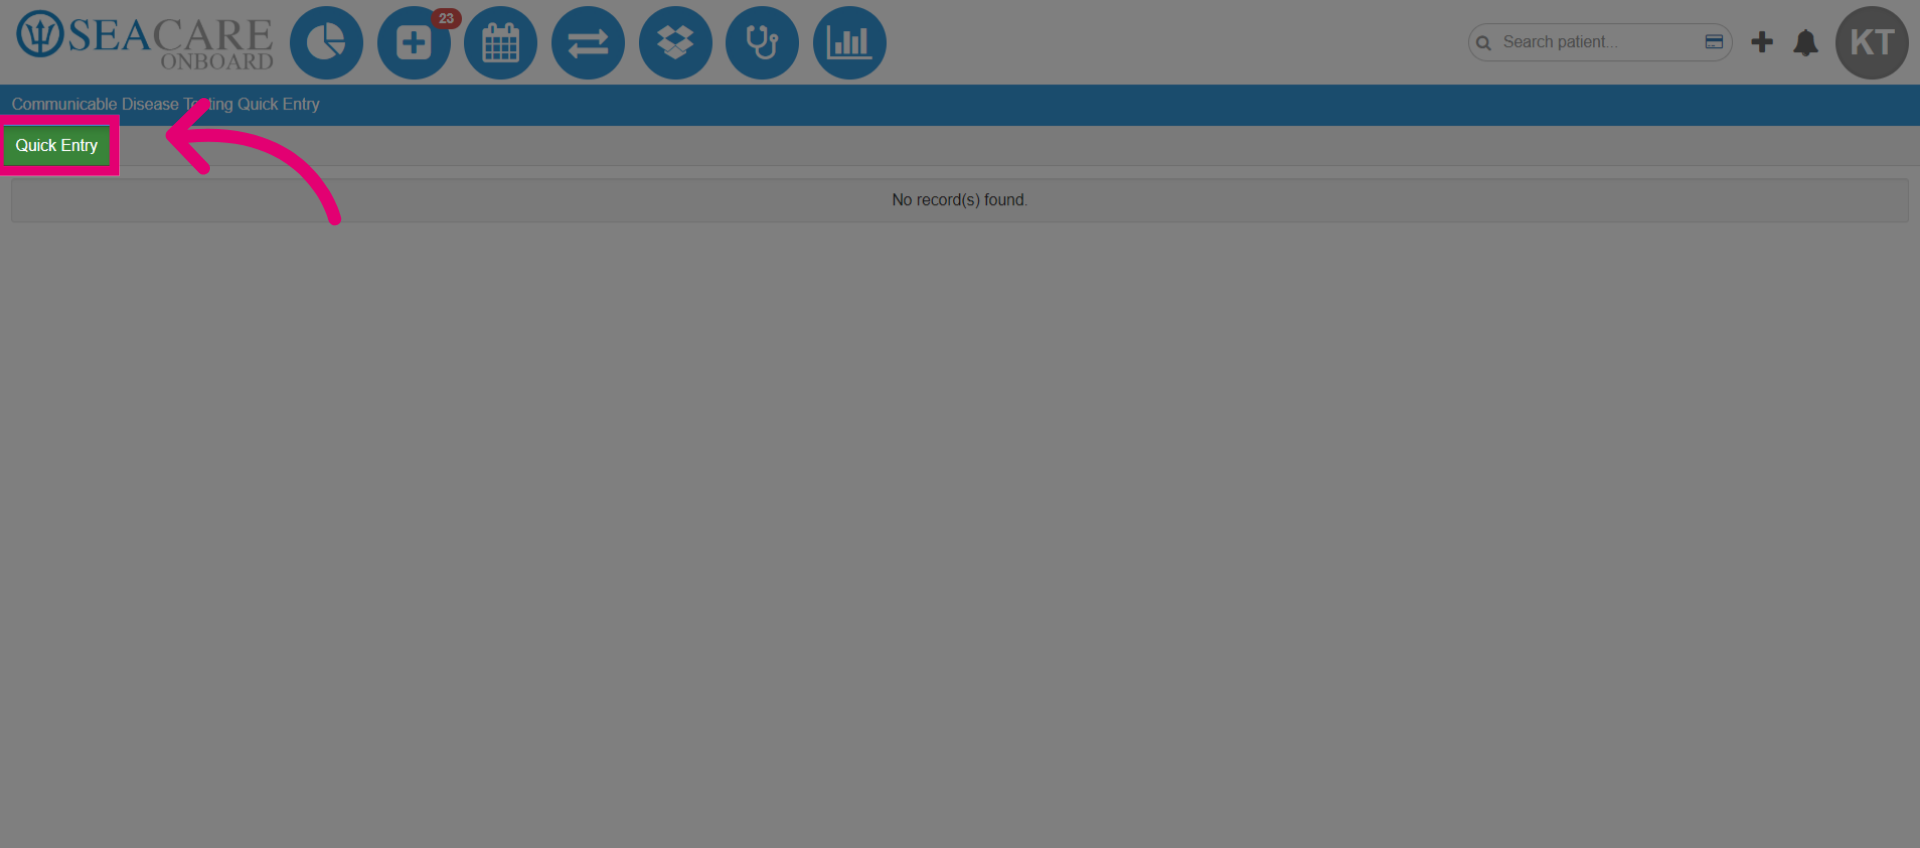
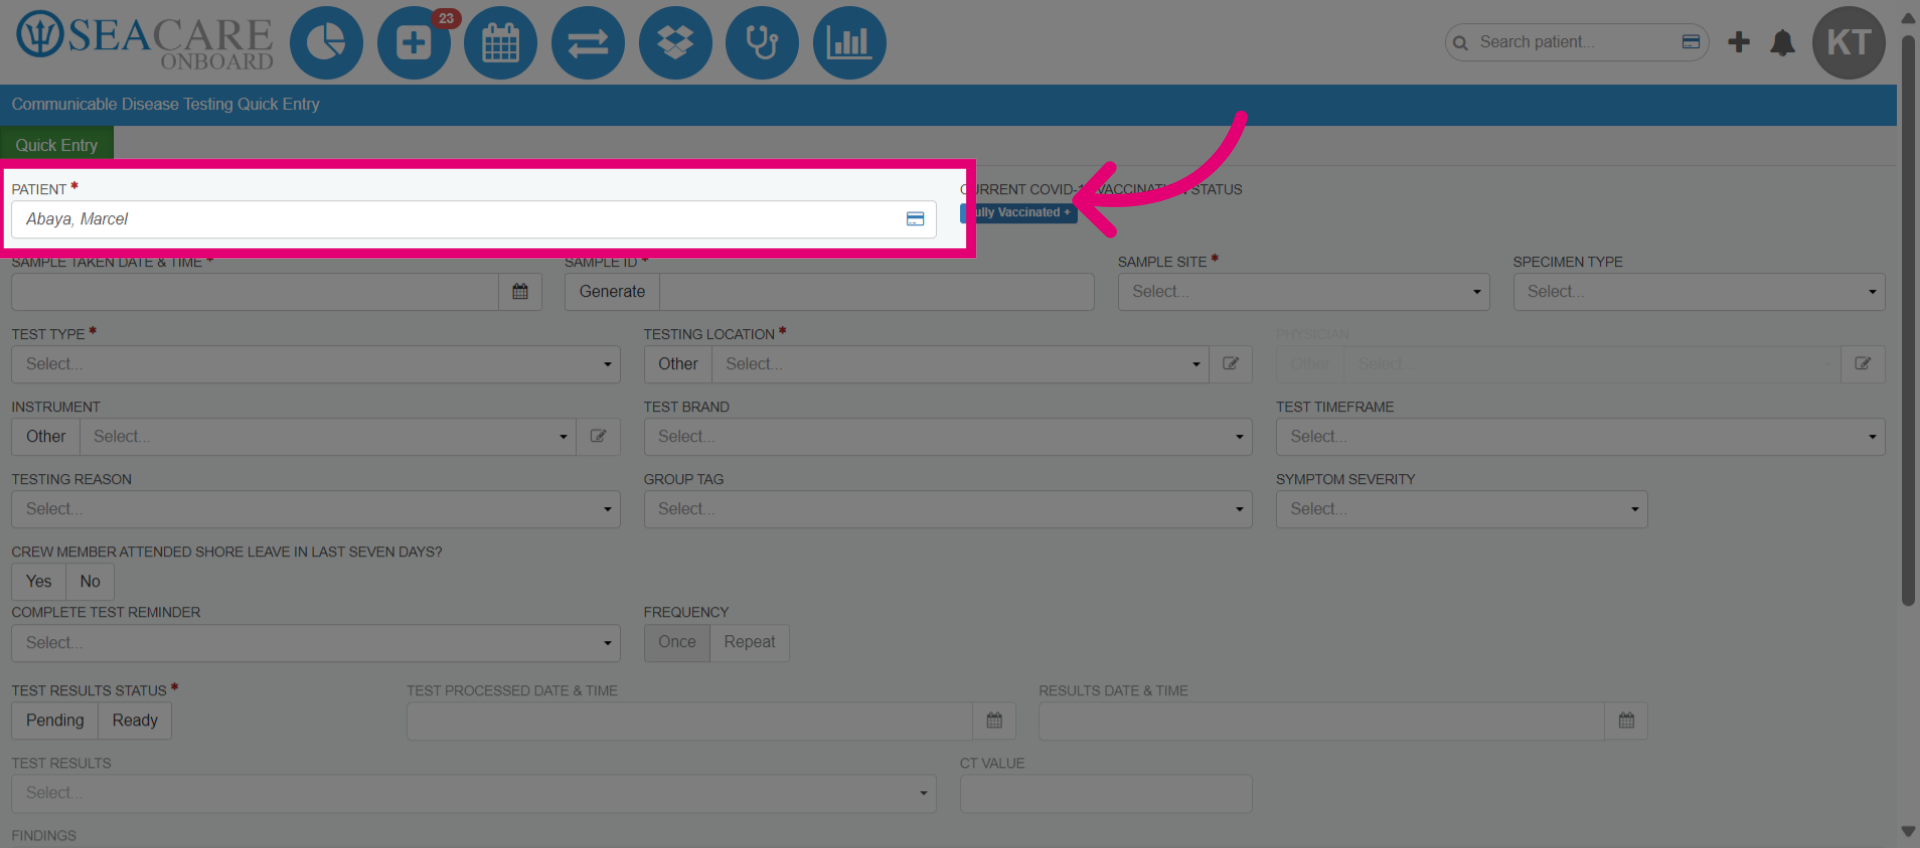
- Go to Quick Entries.
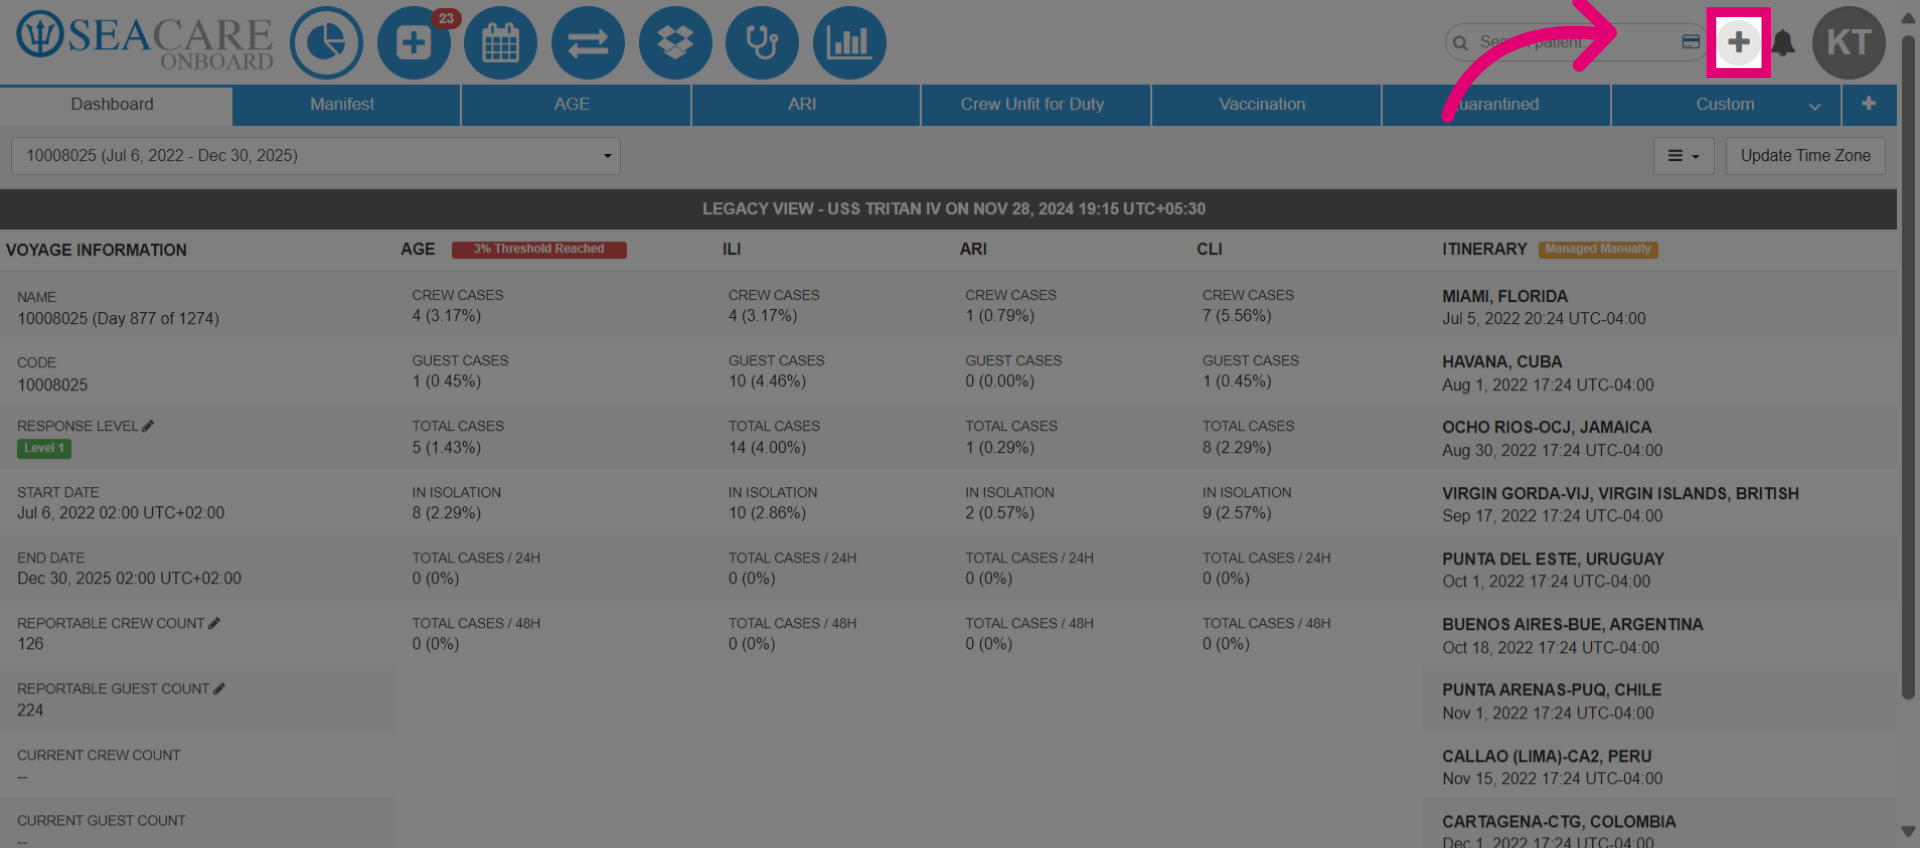
- Navigate to the section dedicated to communicable disease testing.
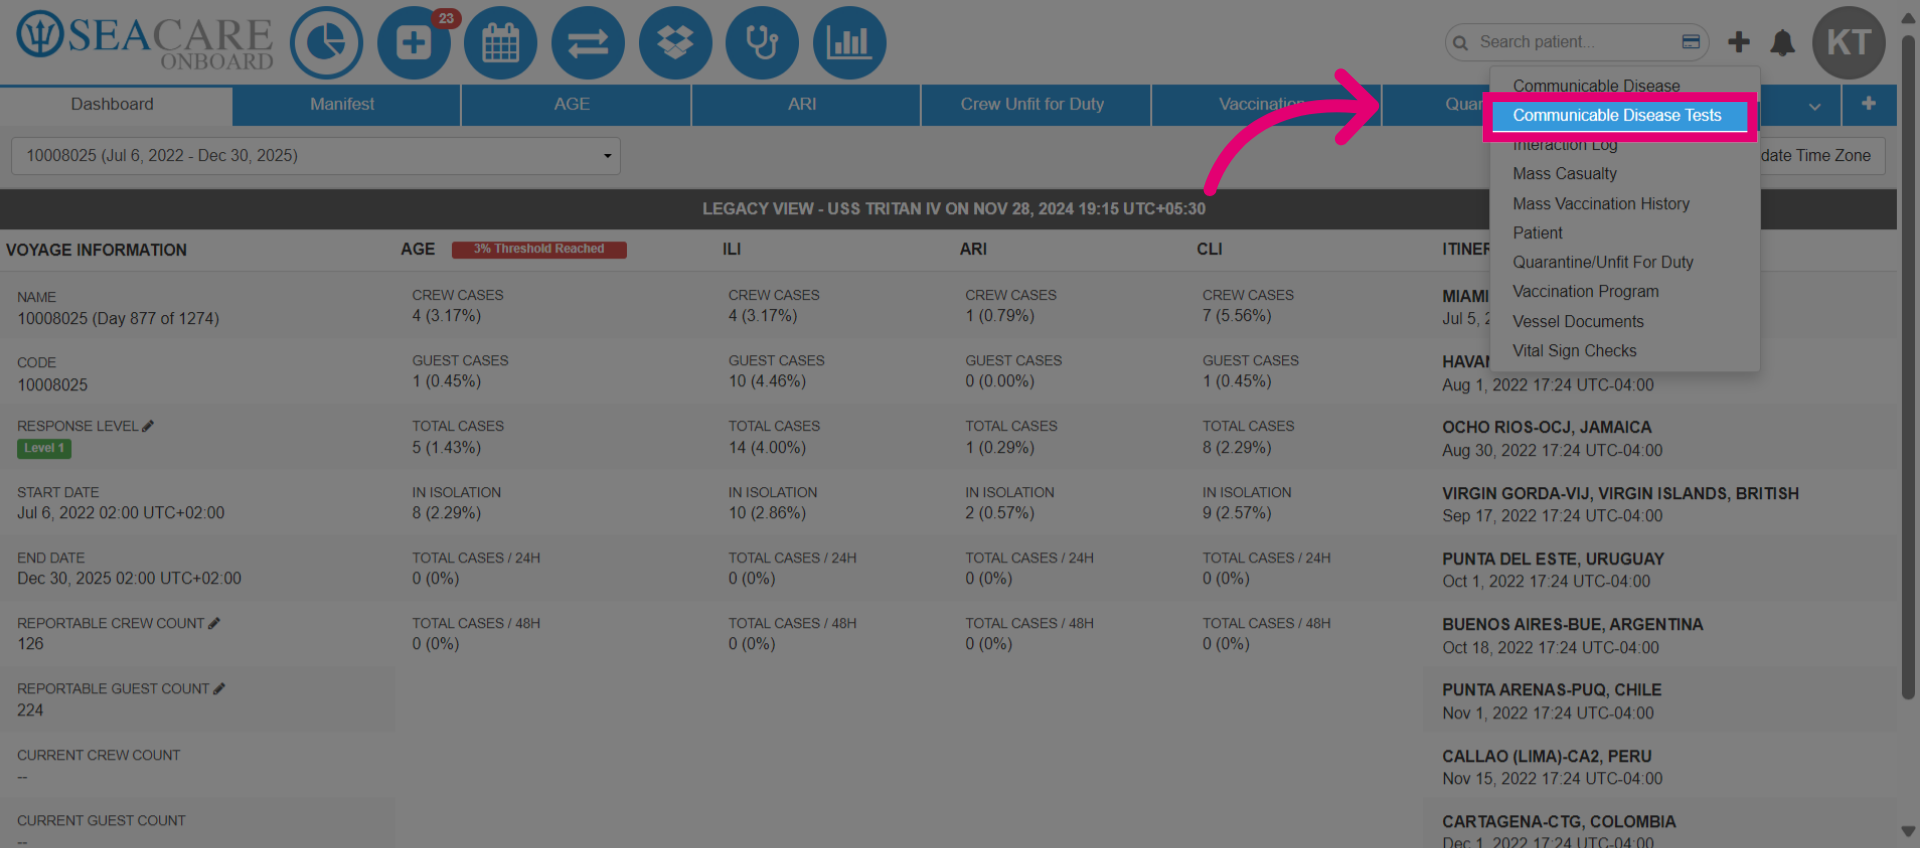
- Access the quick entry feature for more efficient data handling.
- Search for the patient by name.
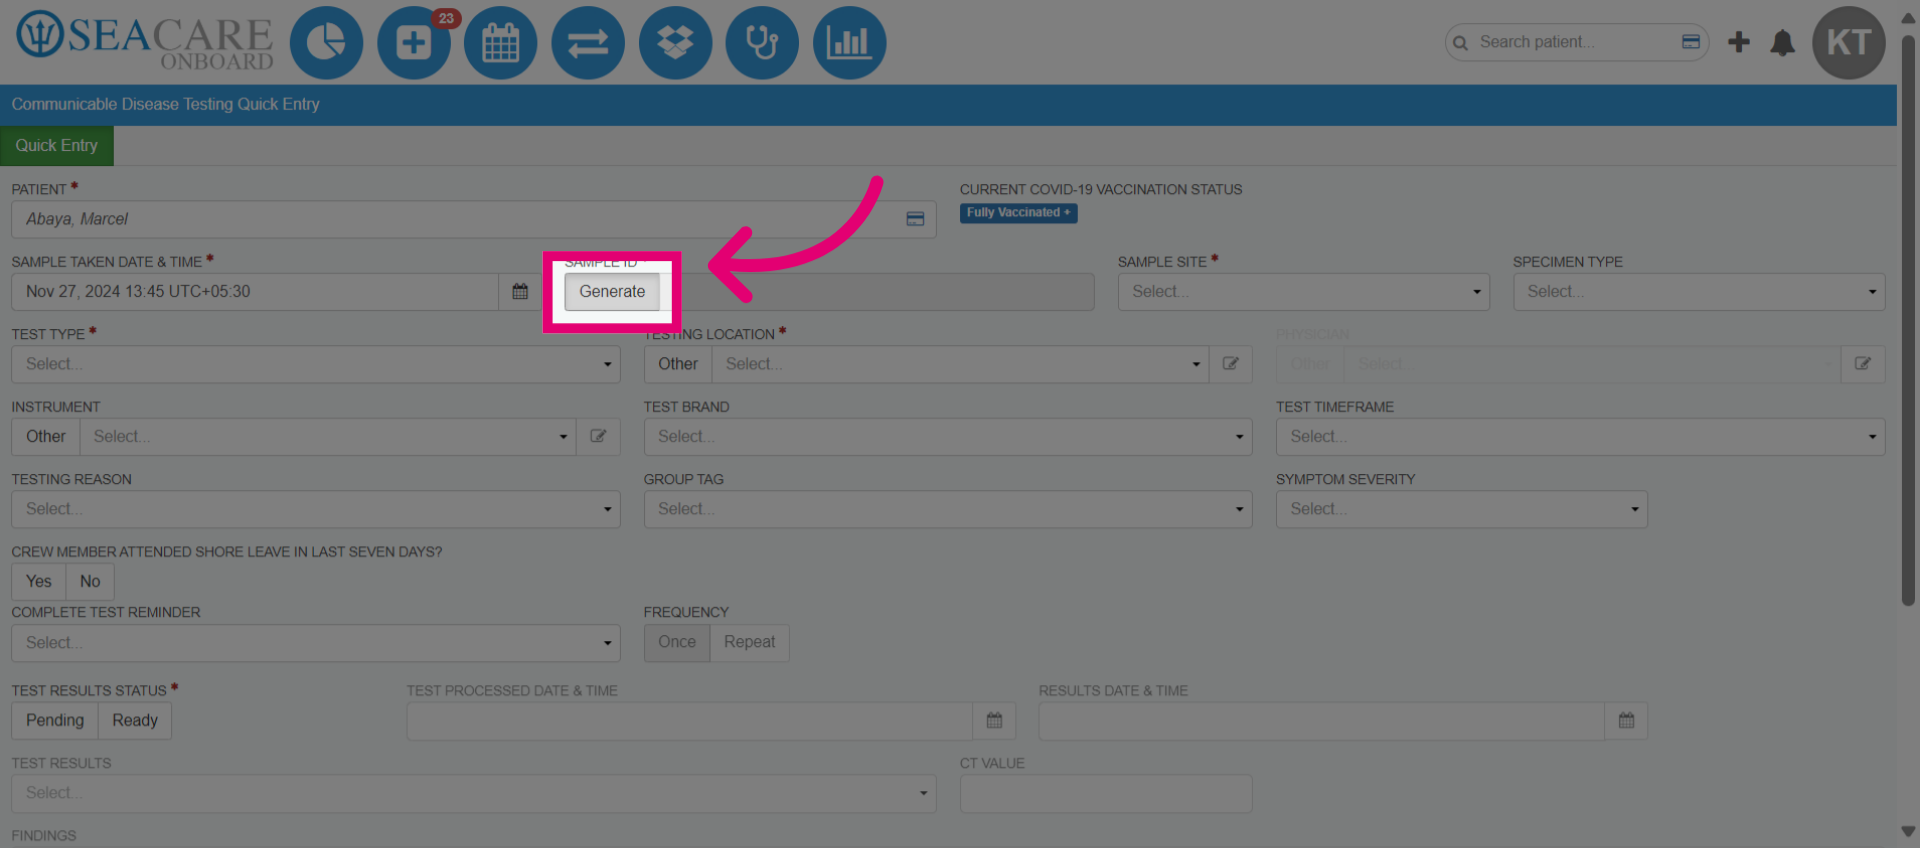
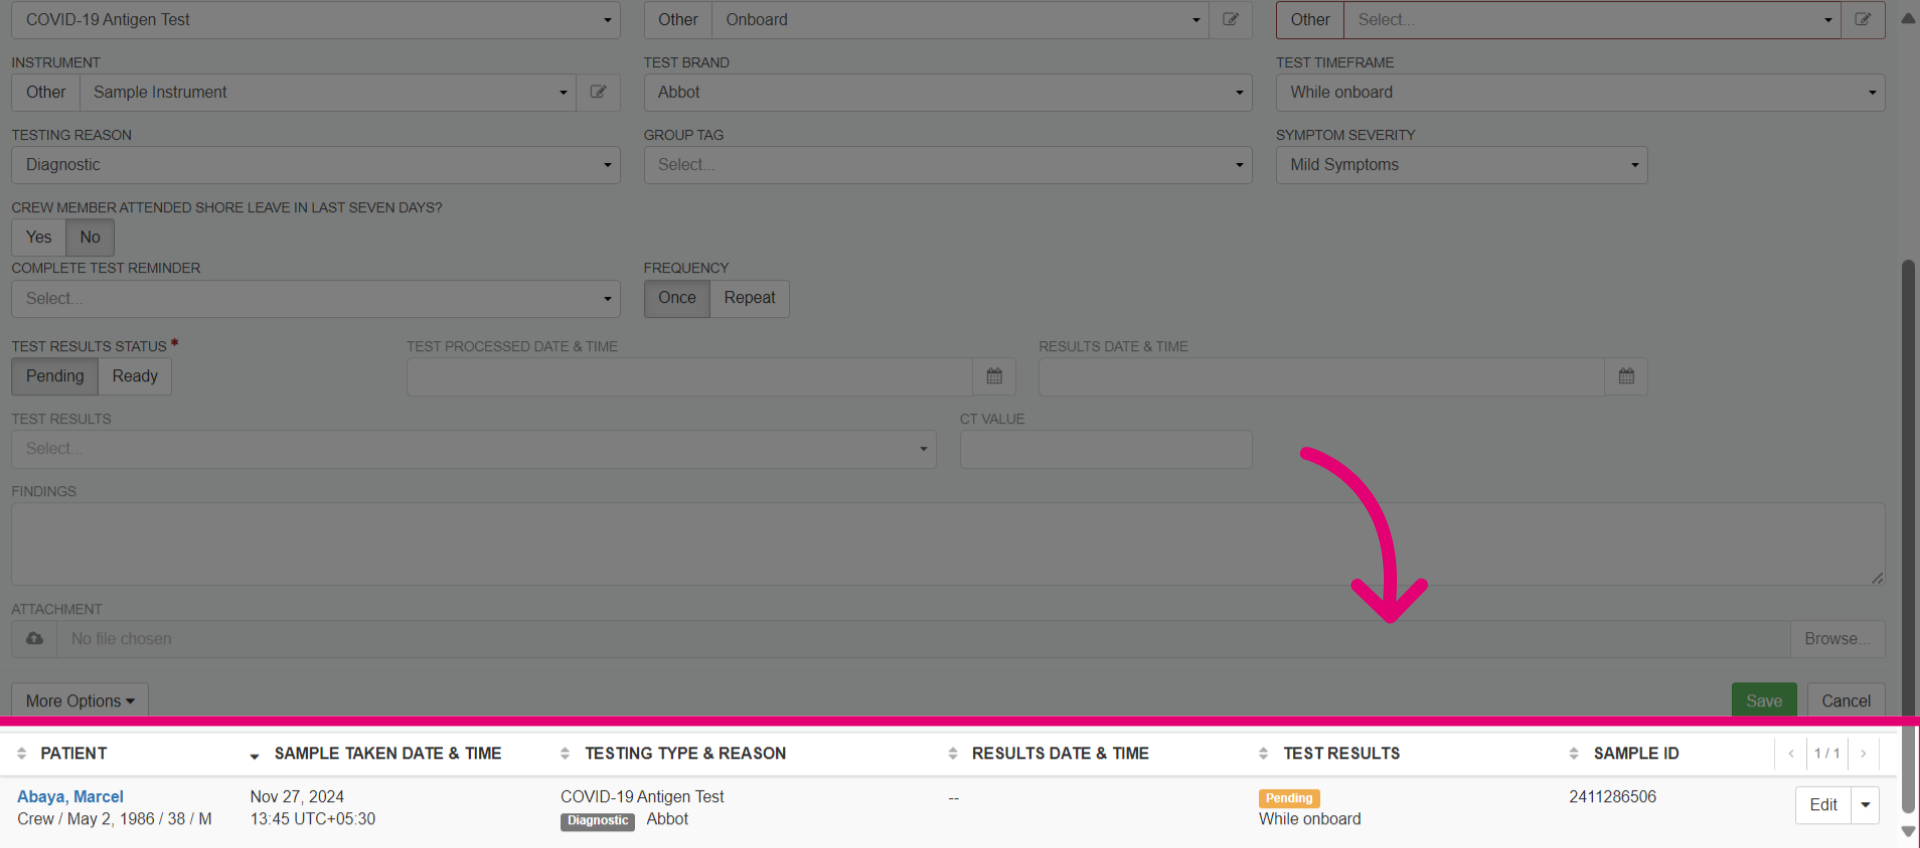
- Generate a Sample ID by selecting Generate, which adds a randomized ID to the label for tracking the test sample. To add a Sample ID manually, enter a unique label in the box.
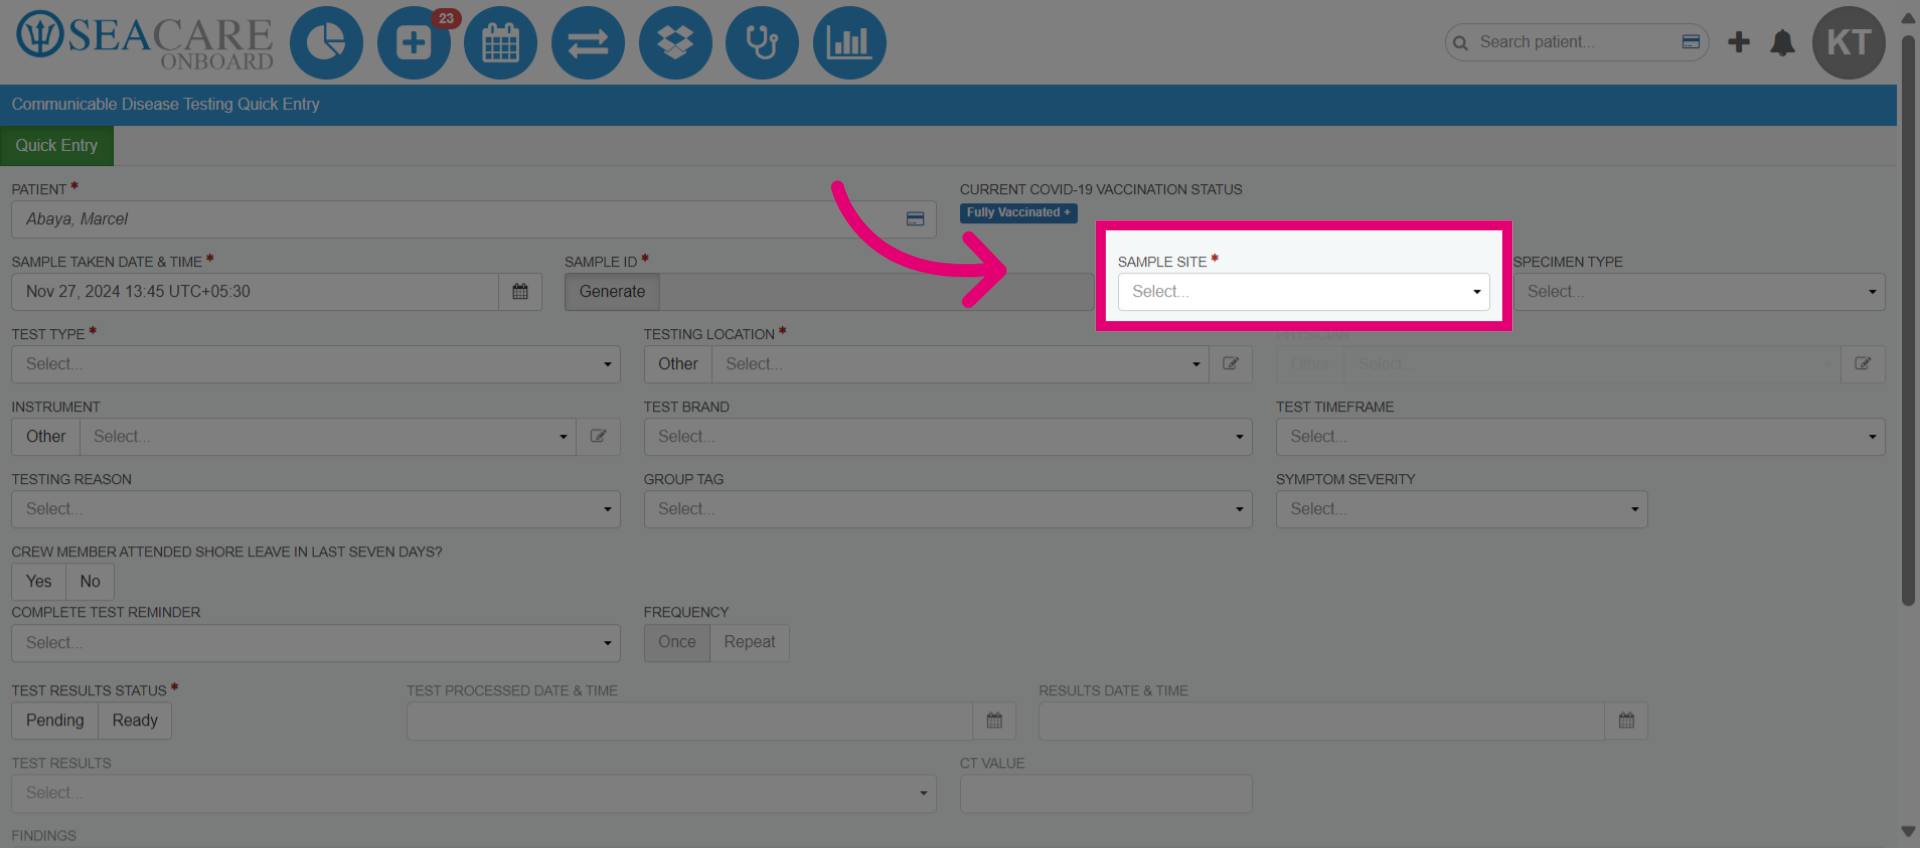
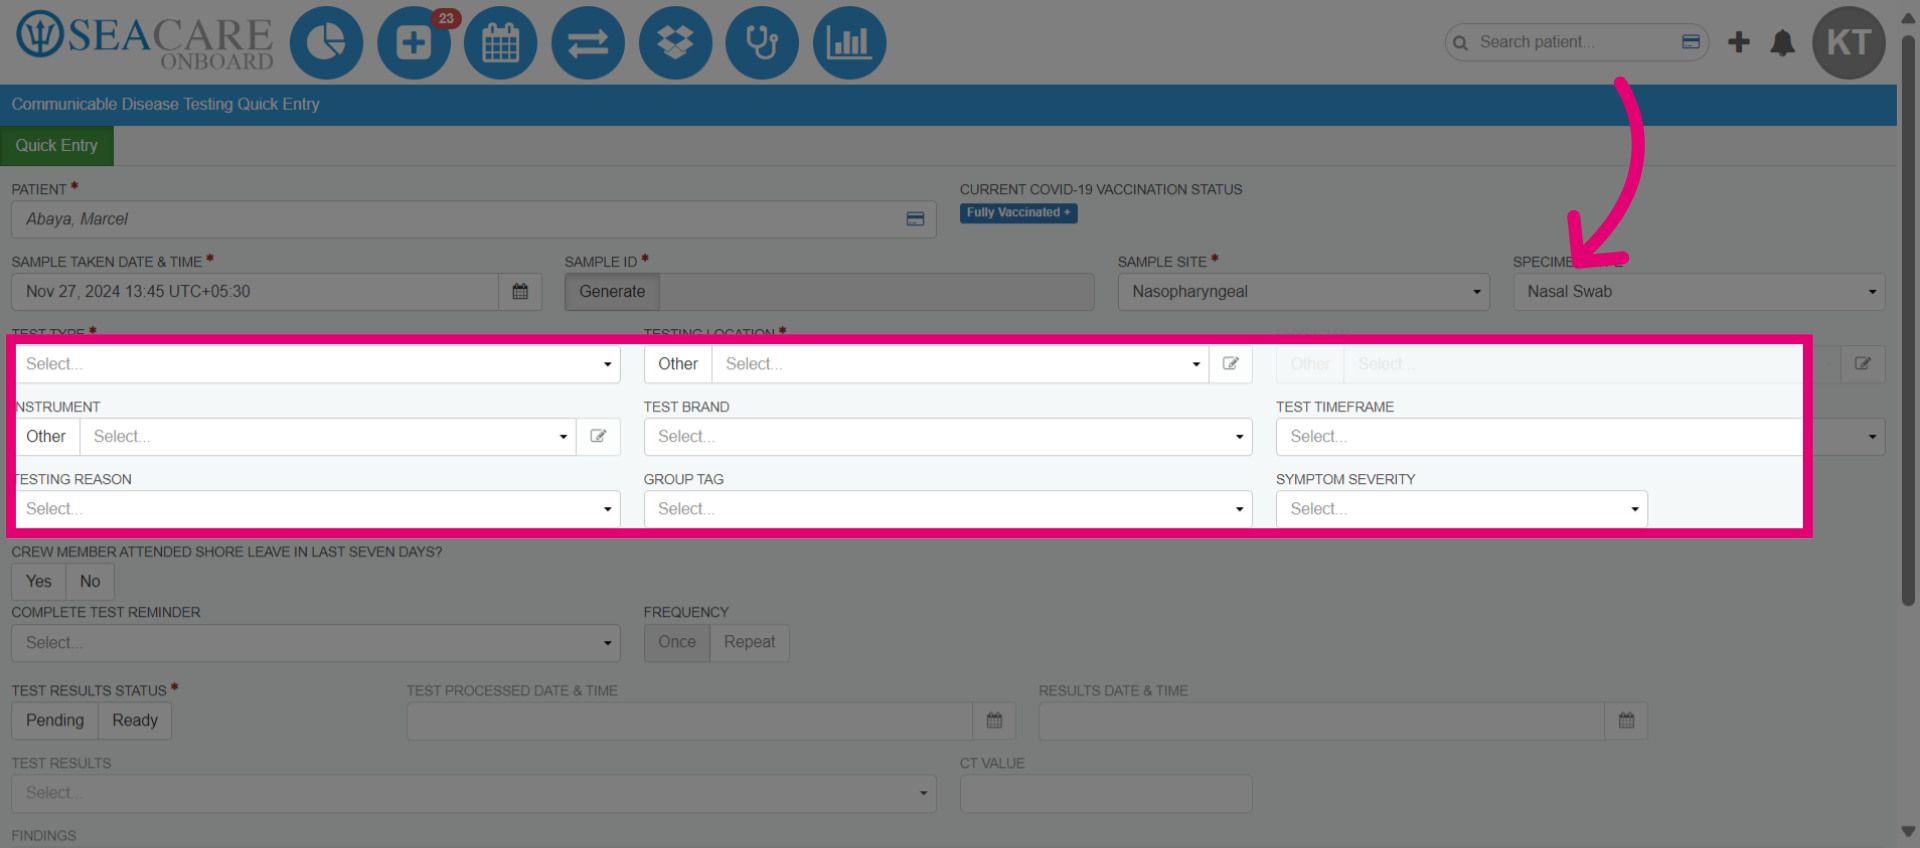
- Use the dropdown box to select how the communicable disease sample was taken from the index case, such as nasopharyngeal (nose) or saliva sampling.
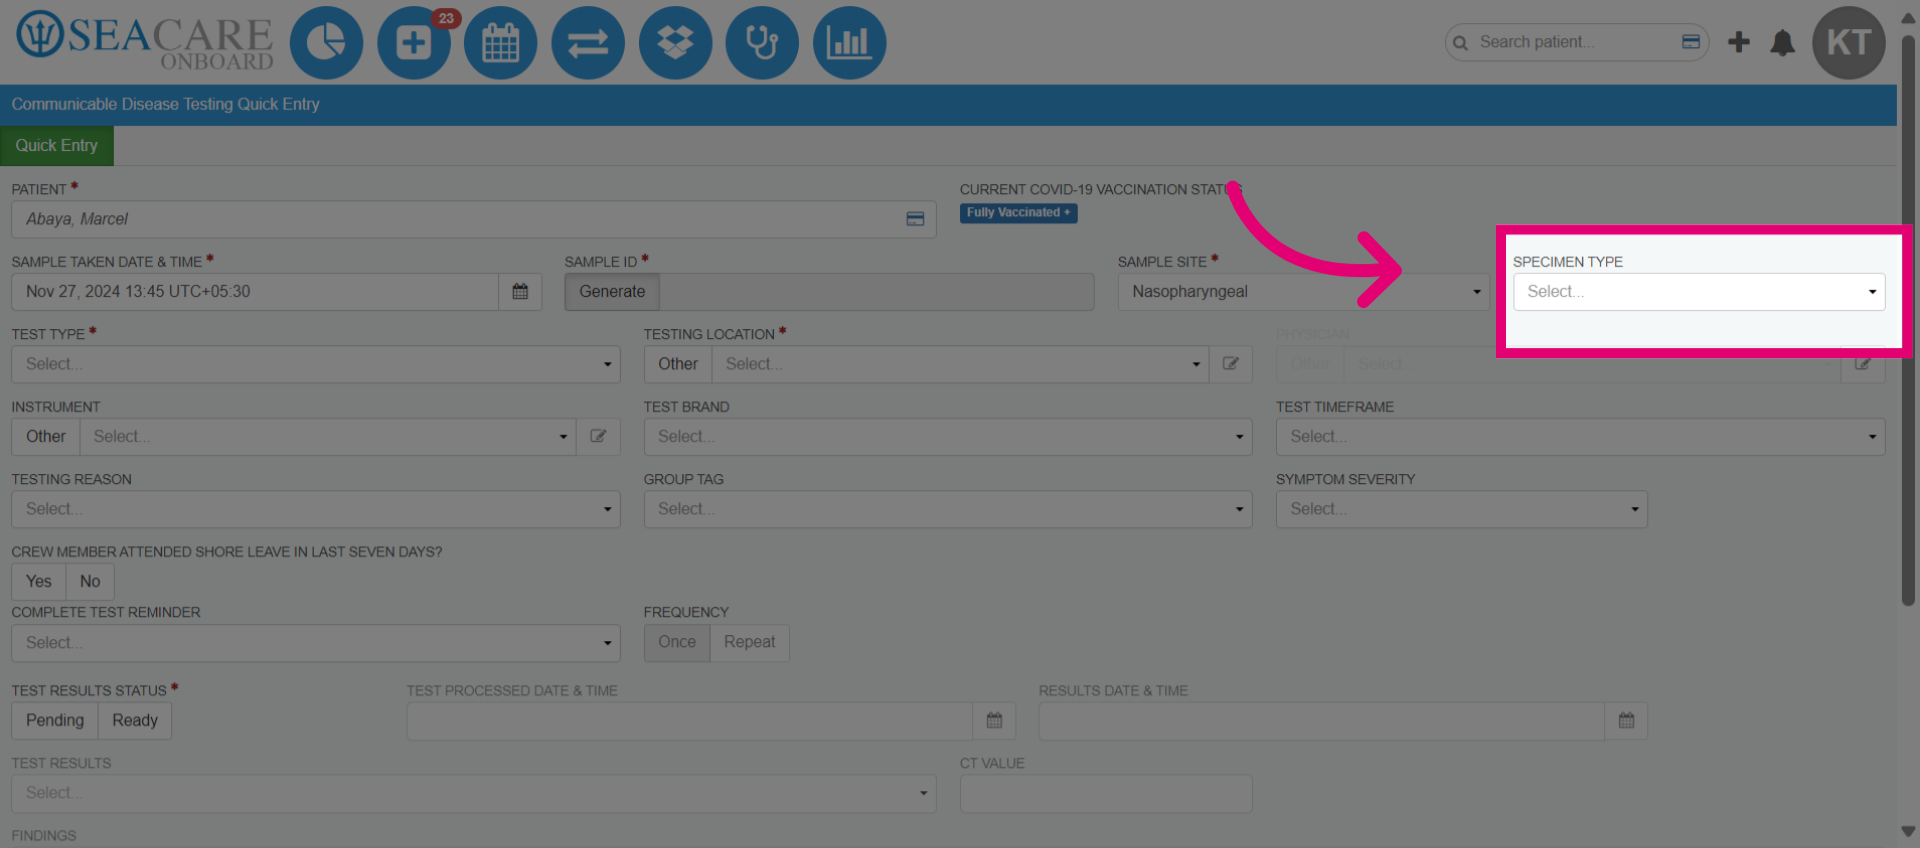
- Add the specimen type that was used to derive the sample. This may be a nasal swab to collect a nasal or saliva sample. The options vary by client.
- Select the type of test the index case will receive from the dropdown box. You may choose one or more test types for this sample. Add the location where the sample was taken, such as onboard the vessel. Then, select the physician collecting the test sample.
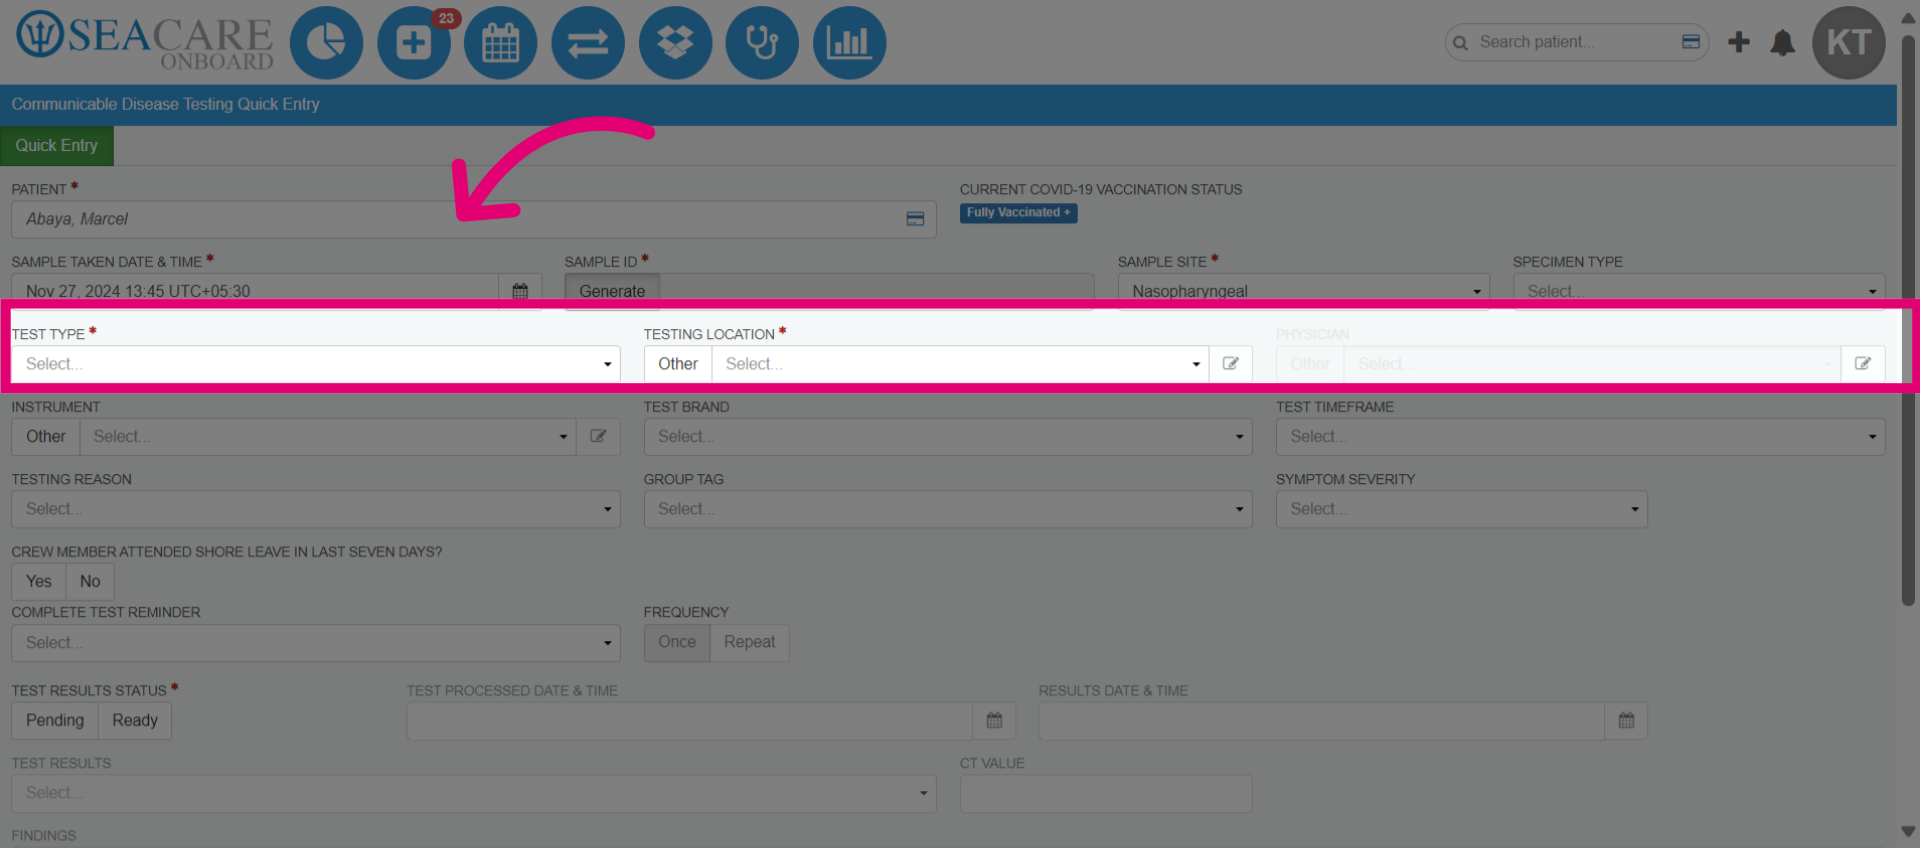
- Select the instrument used to process the sample. If the instrument is not listed, enter the details manually by selecting Other. Add the Test Brand from the dropdown list. The Test Timeframe, required by the CDC, indicates if the sample was taken while the patient was boarding the vessel, onboard the vessel, or in quarantine at the time of collection.
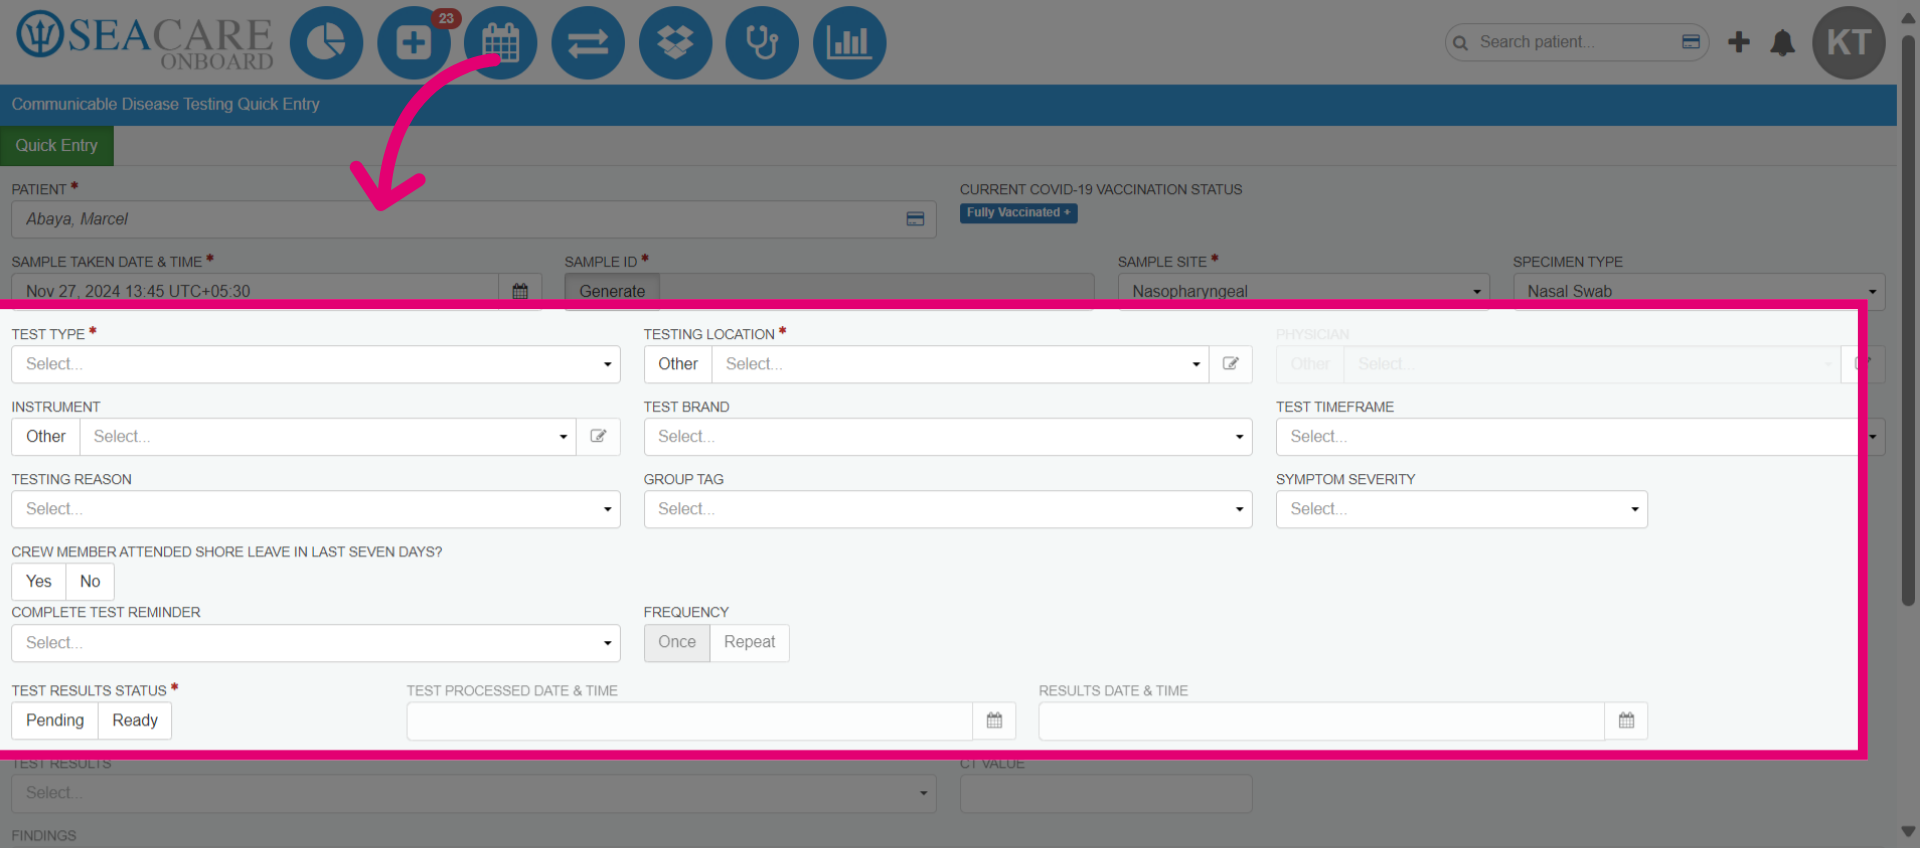
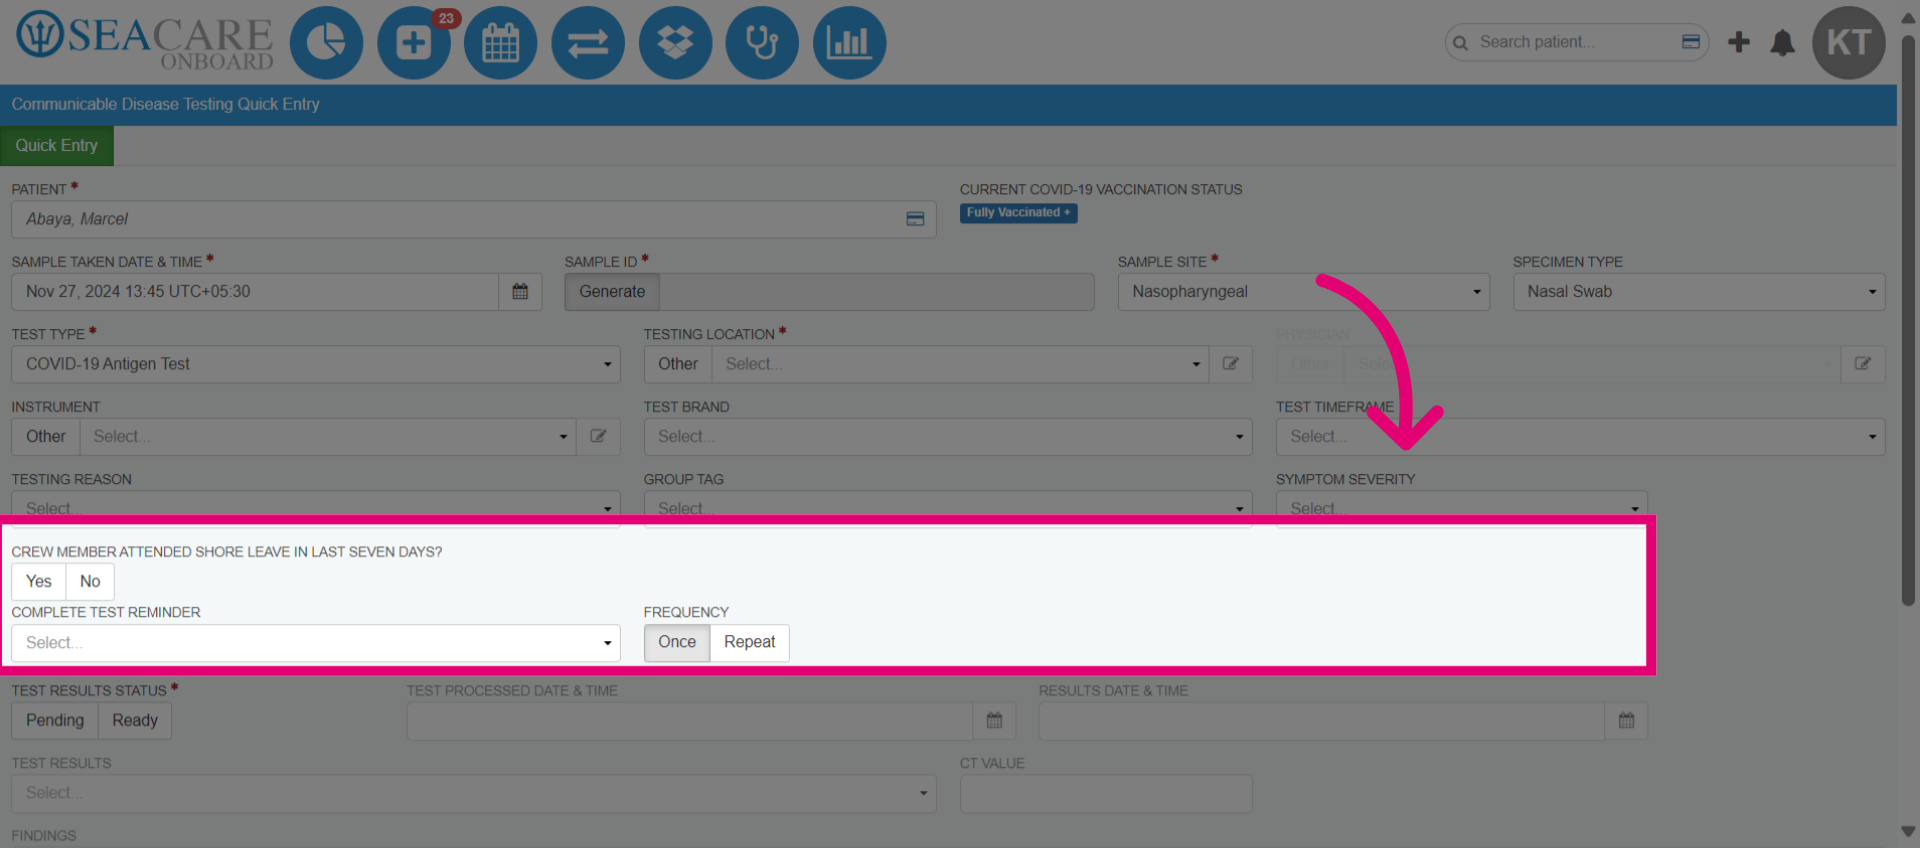
- Then, add the Testing Reason from the dropdown menu. Diagnostic is for medical encounters, Screening is for possible exposure, and Surveillance is for general population testing to prevent public health breakouts. Then, add a group tag if the patient is part of a specific group and include the patient's symptom severity.
- Click the Test Result Status. Leave it as pending if awaiting results; update during a follow-up. Select ready if results are available, and enter the test processing date/time, results date/time, test results, CT value, and physician.
- Click Save.

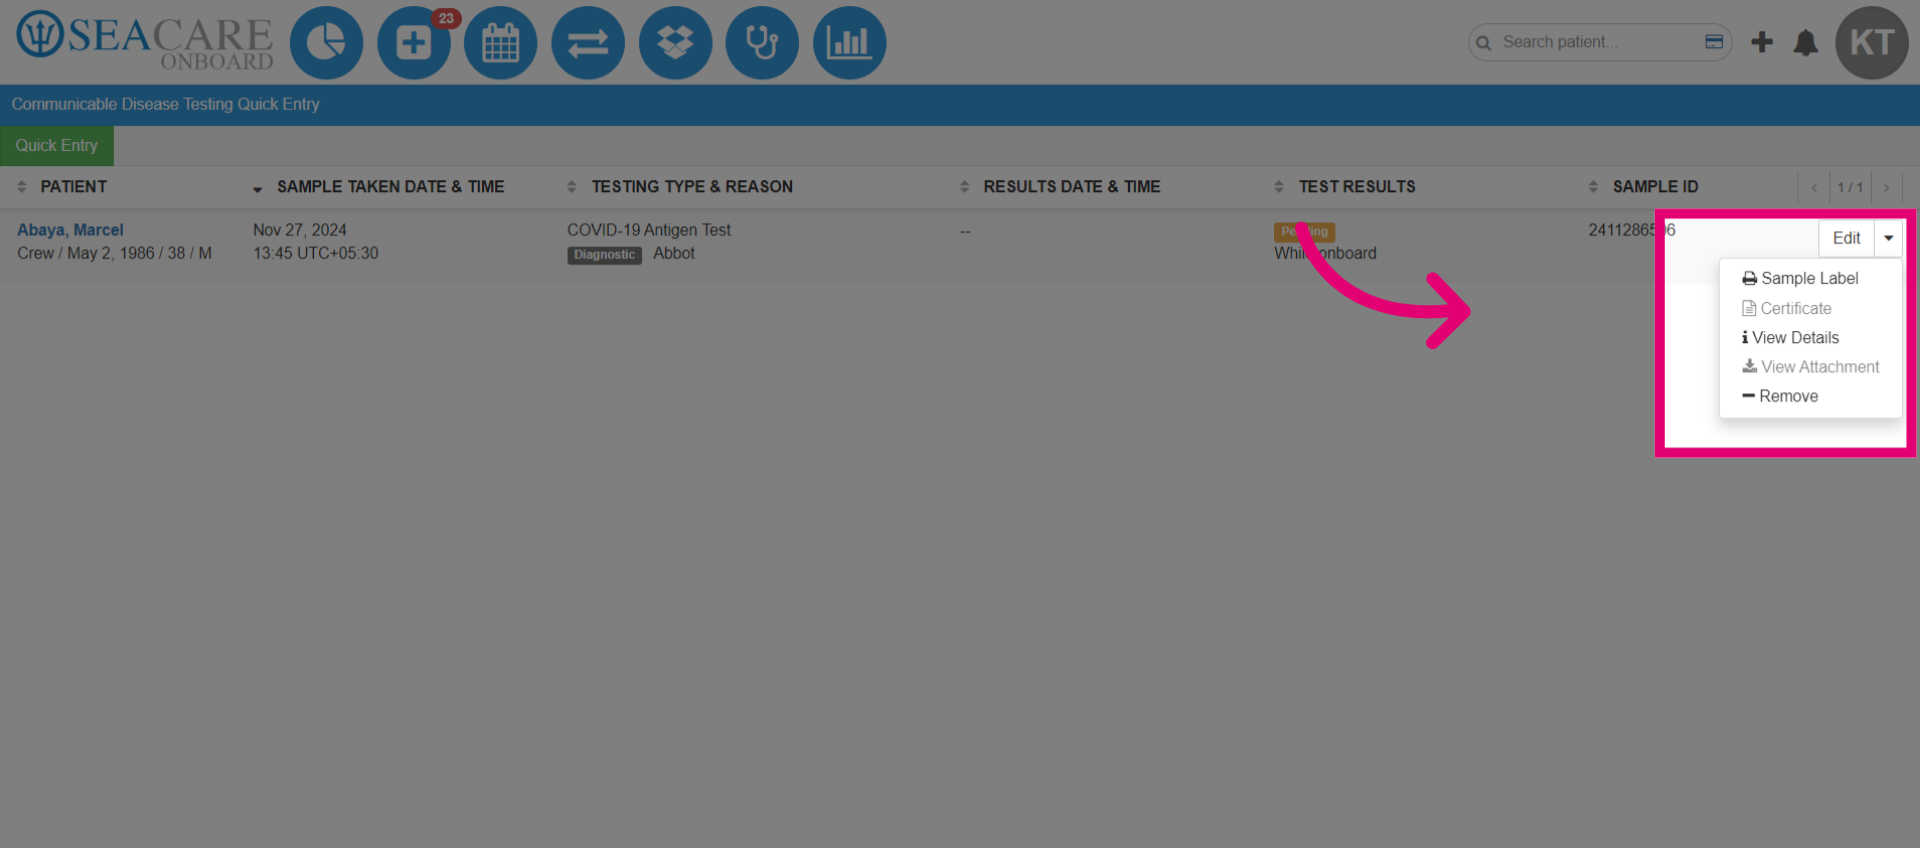
- The test is in the list. View, add, or adjust entries as needed. Then, analyze the case.
- View the test in the list. Choose to add or adjust entries as needed.
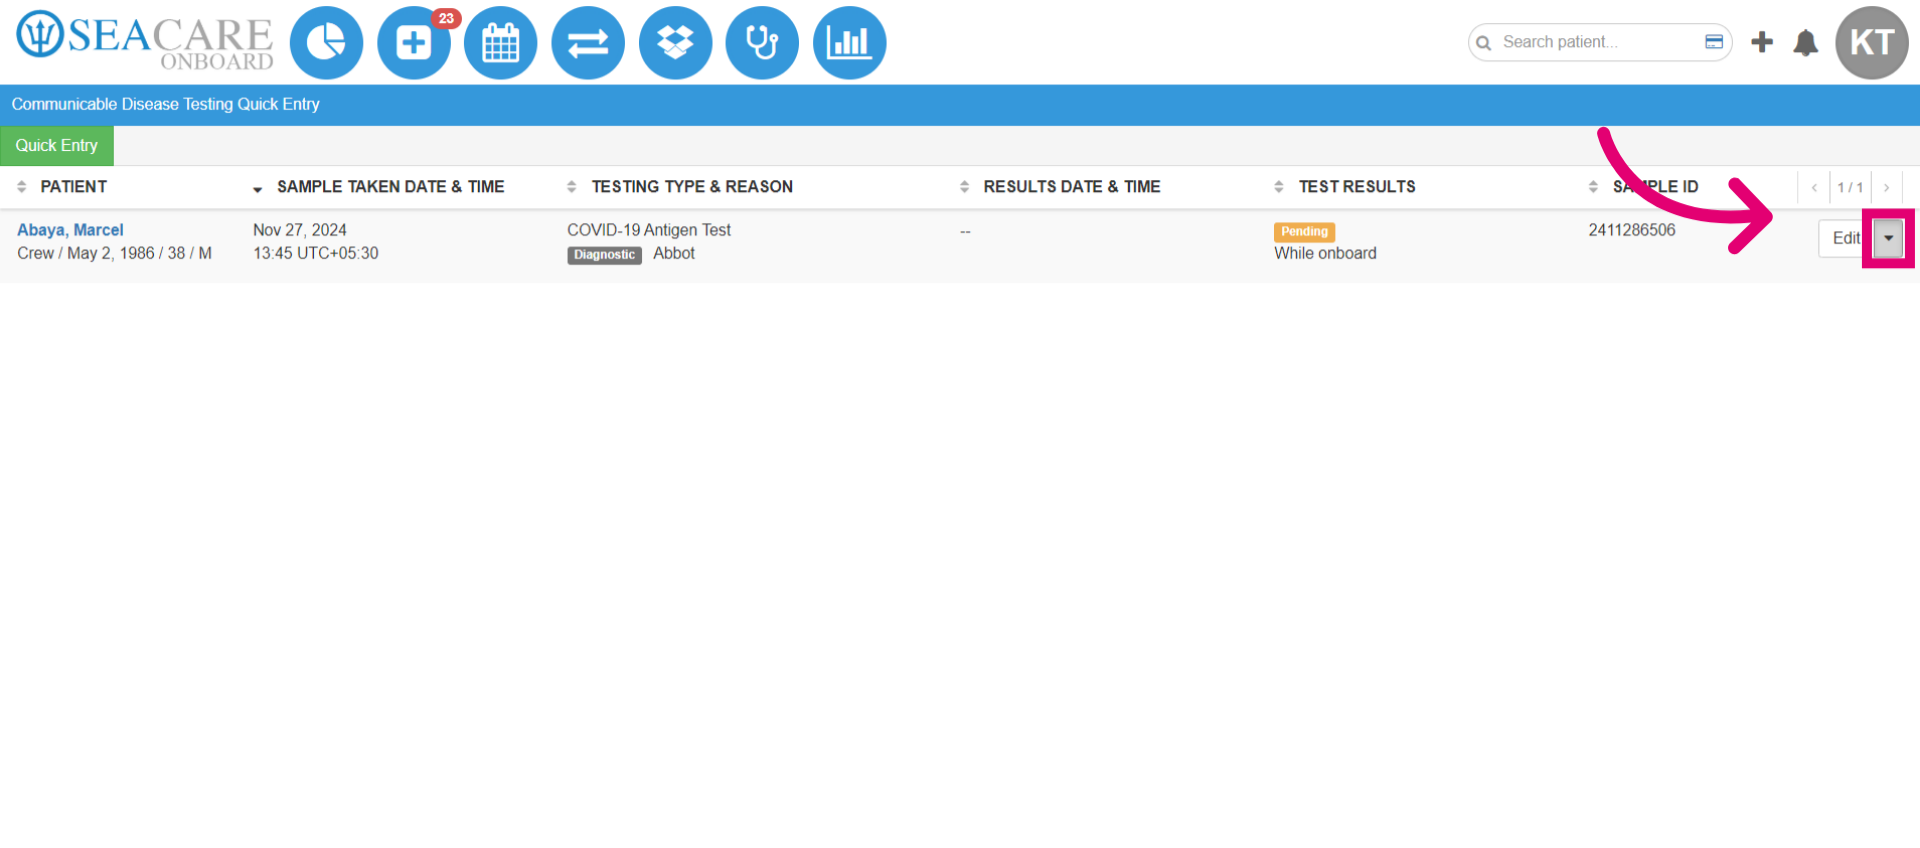
- Sample labels, View details, and removed people. Once you've finished, analyze the case.