New article
Recently updated
Uploading a SMFC to a Patient Chart

Who is this article for?Users who want to learn to upload a SMFC document to a patient chart.
No elevated permissions are required.
This guide provides the workflow for uploading a Seafarer Medical Fitness Certificate (SMFC) to a patient chart.
1. Uploading a SMFC to a Patient Chart
1.1. Video
1.2. Steps
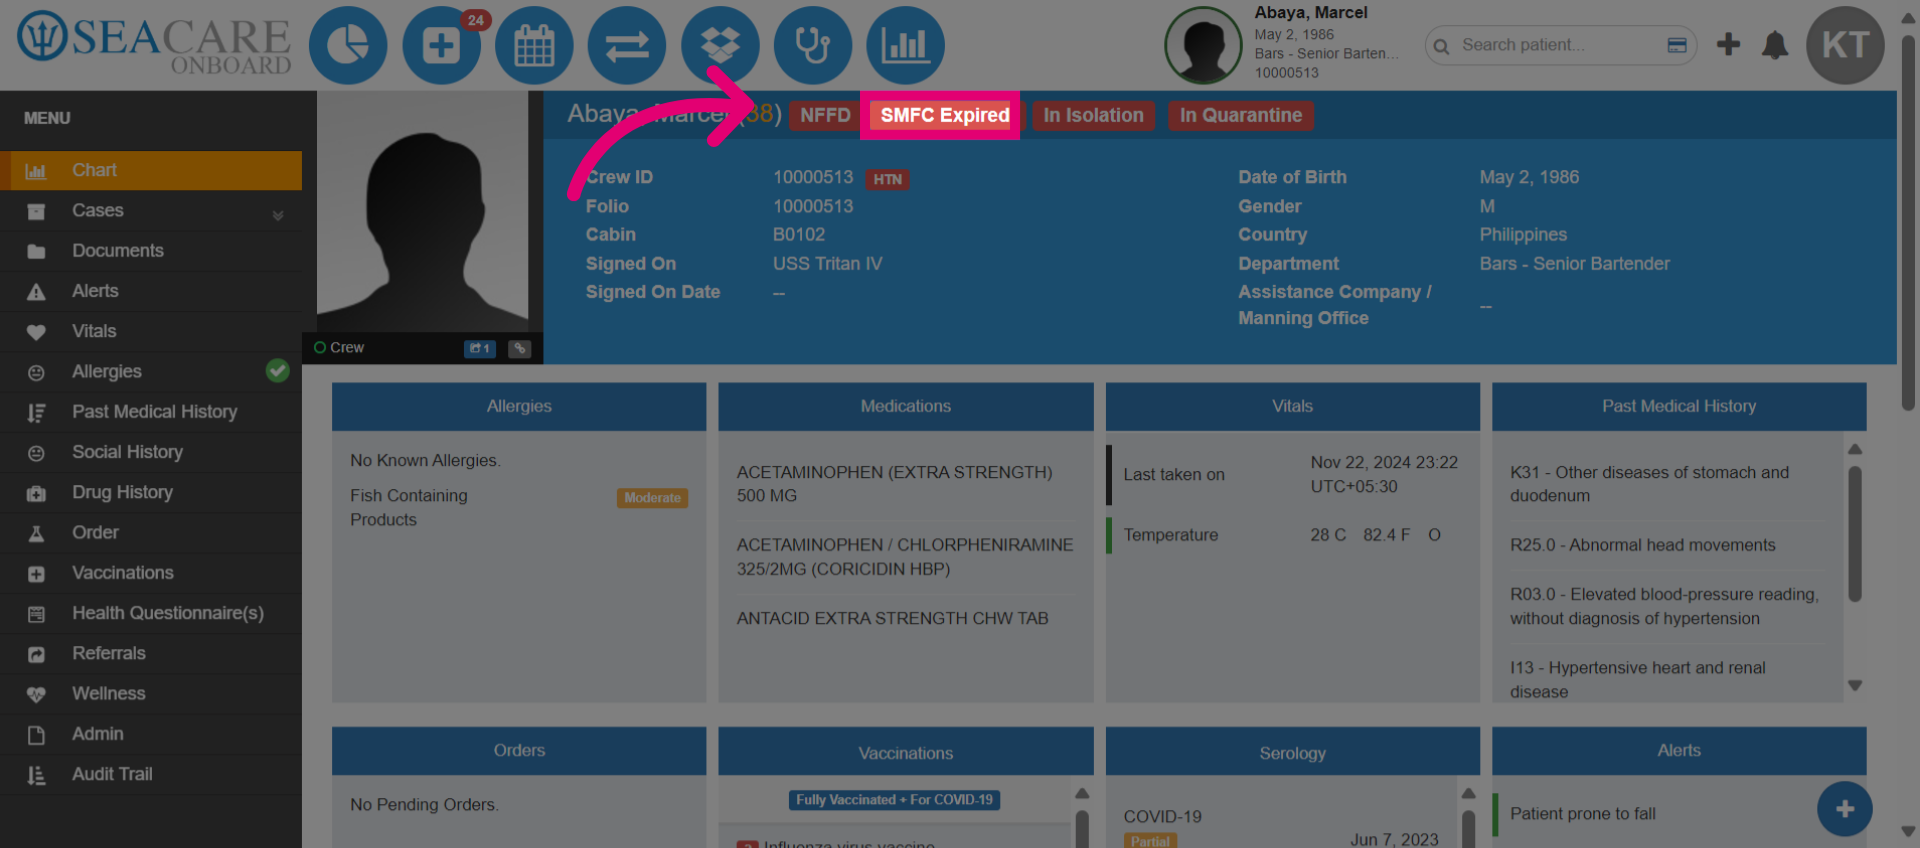
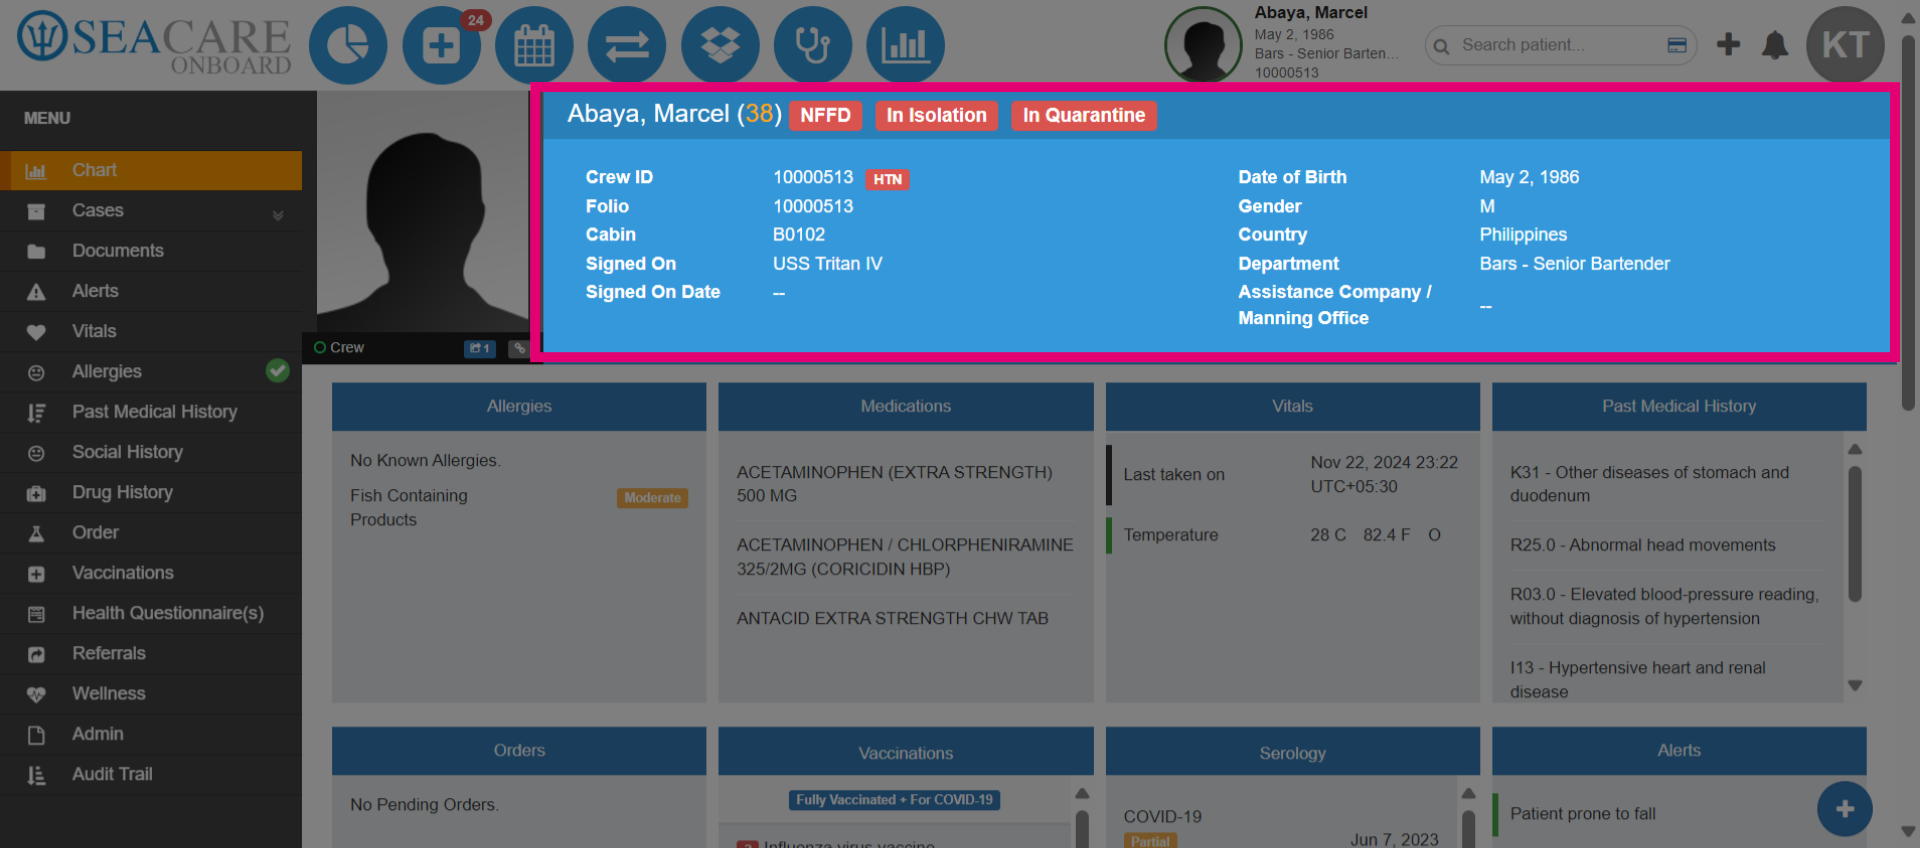
- Crew members should have a Seafarer Medical Exam Certificate, also known an SMFC, uploaded to their patient chart prior to boarding a vessel. First, check the crew member's current fitness status by viewing the option indicating the expiration status of the SMFC. When it is expired, the crew member needs to be issued an updated SMFC and medical exam.
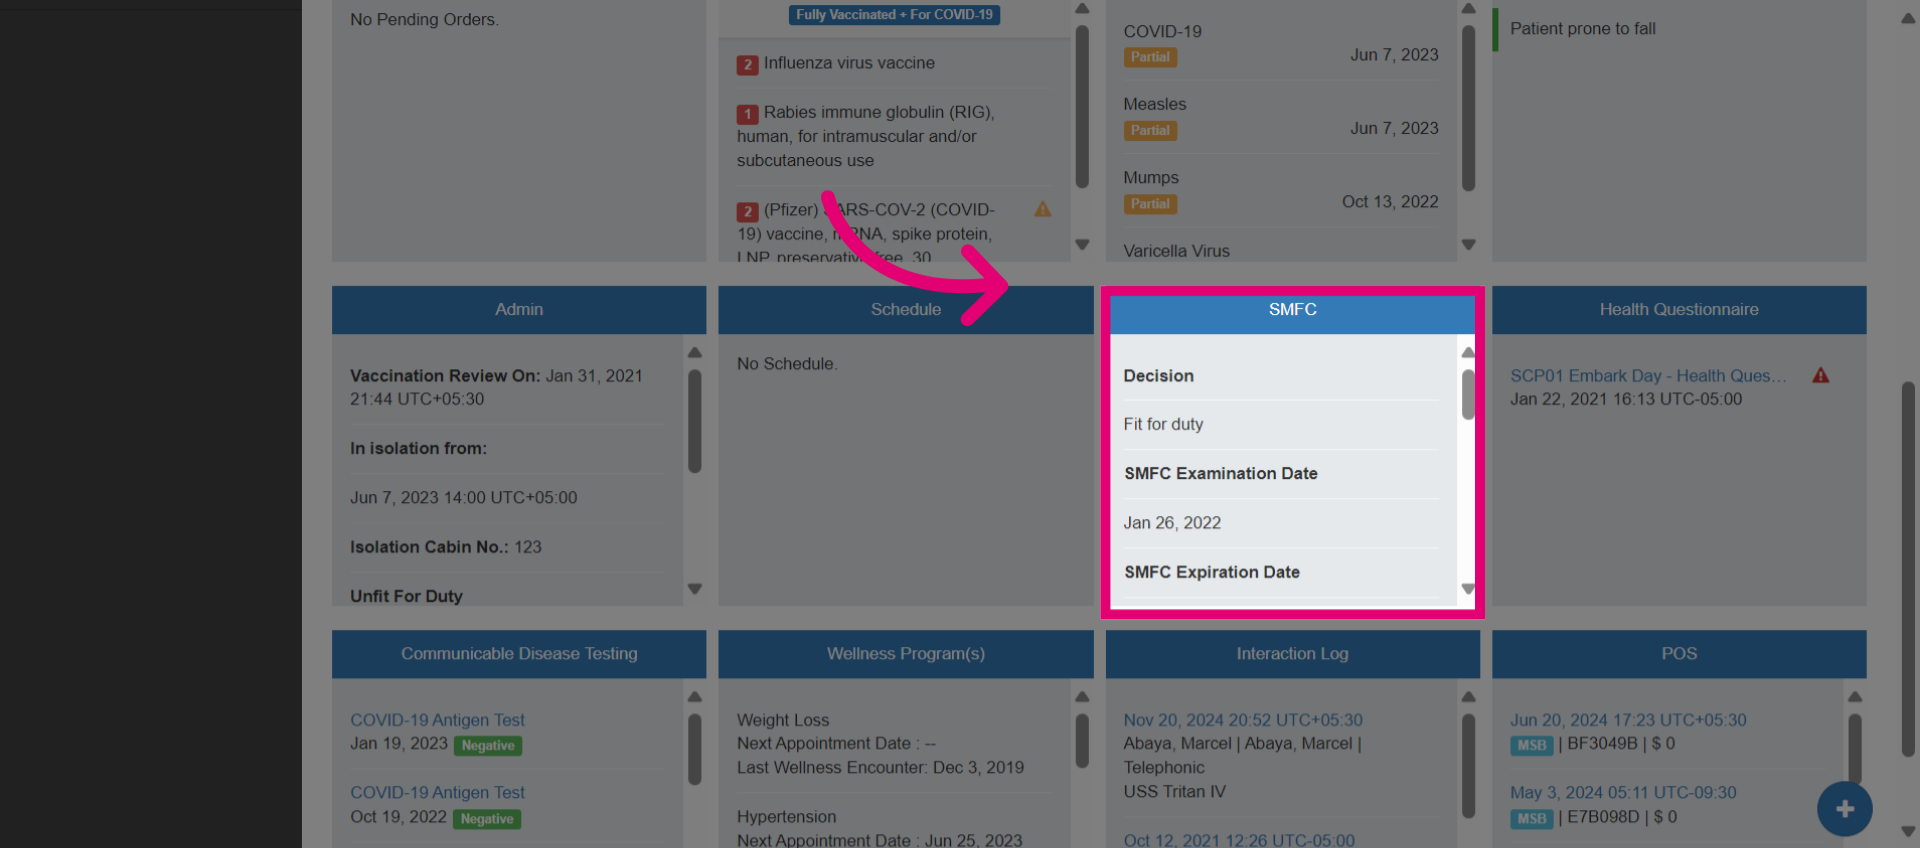
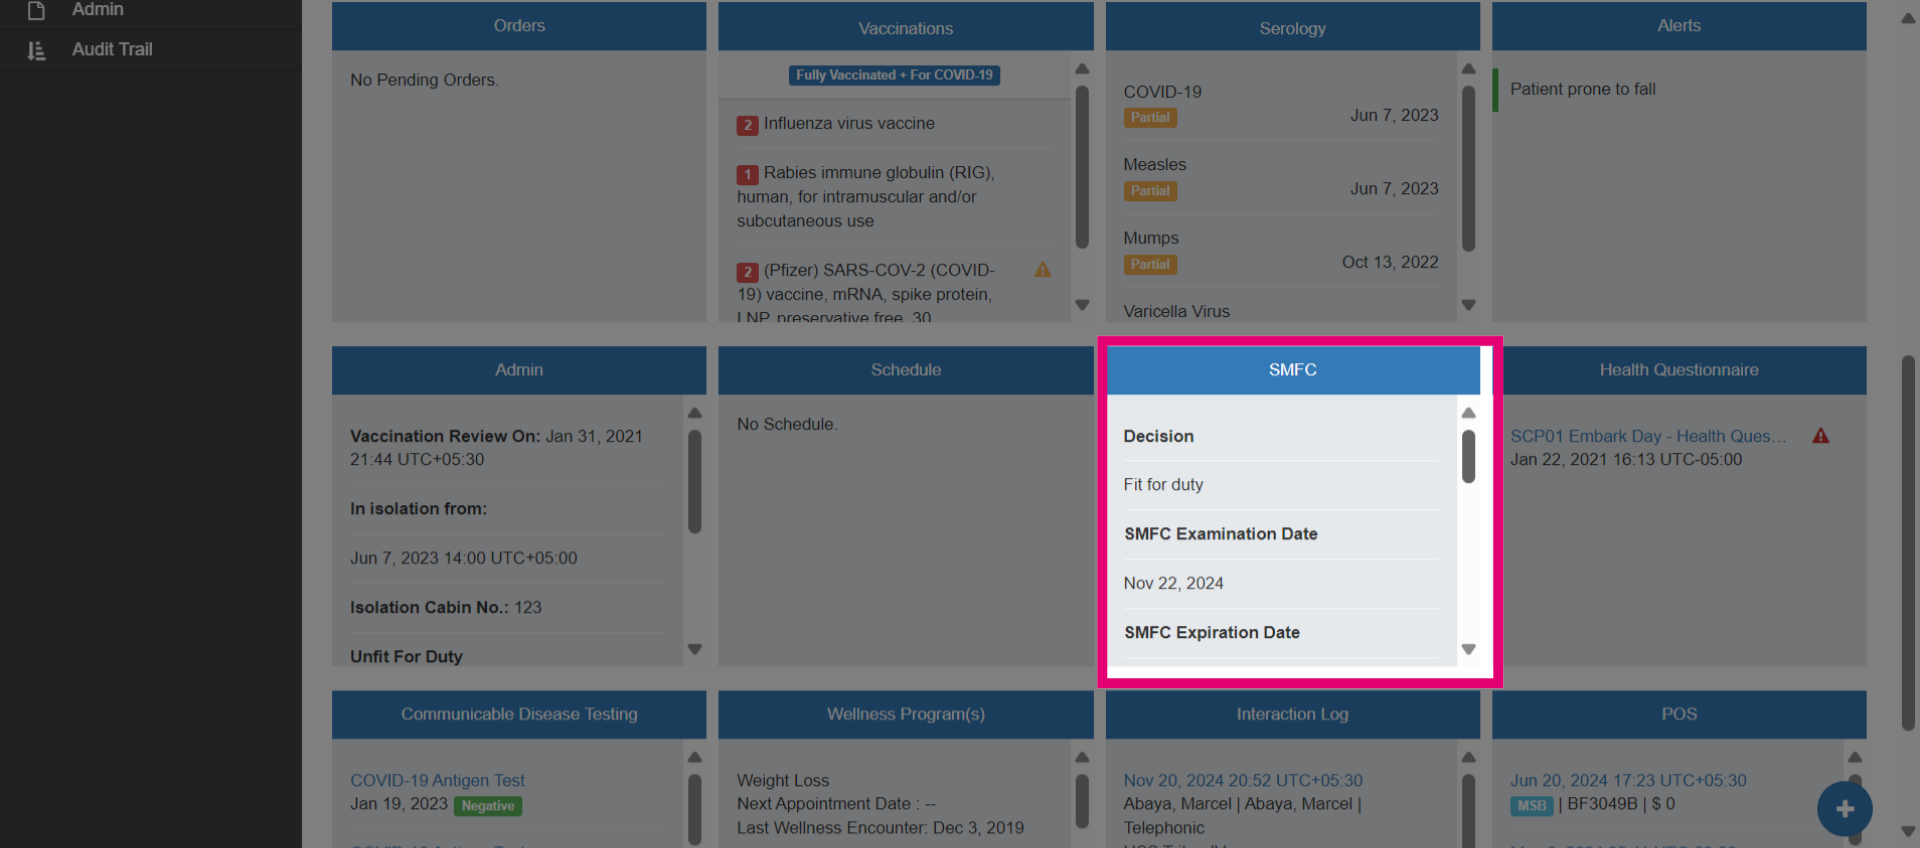
- Access the section of the chart dedicated to SMFC documents to review more details regarding the latest fitness decision, expiration and examination dates.
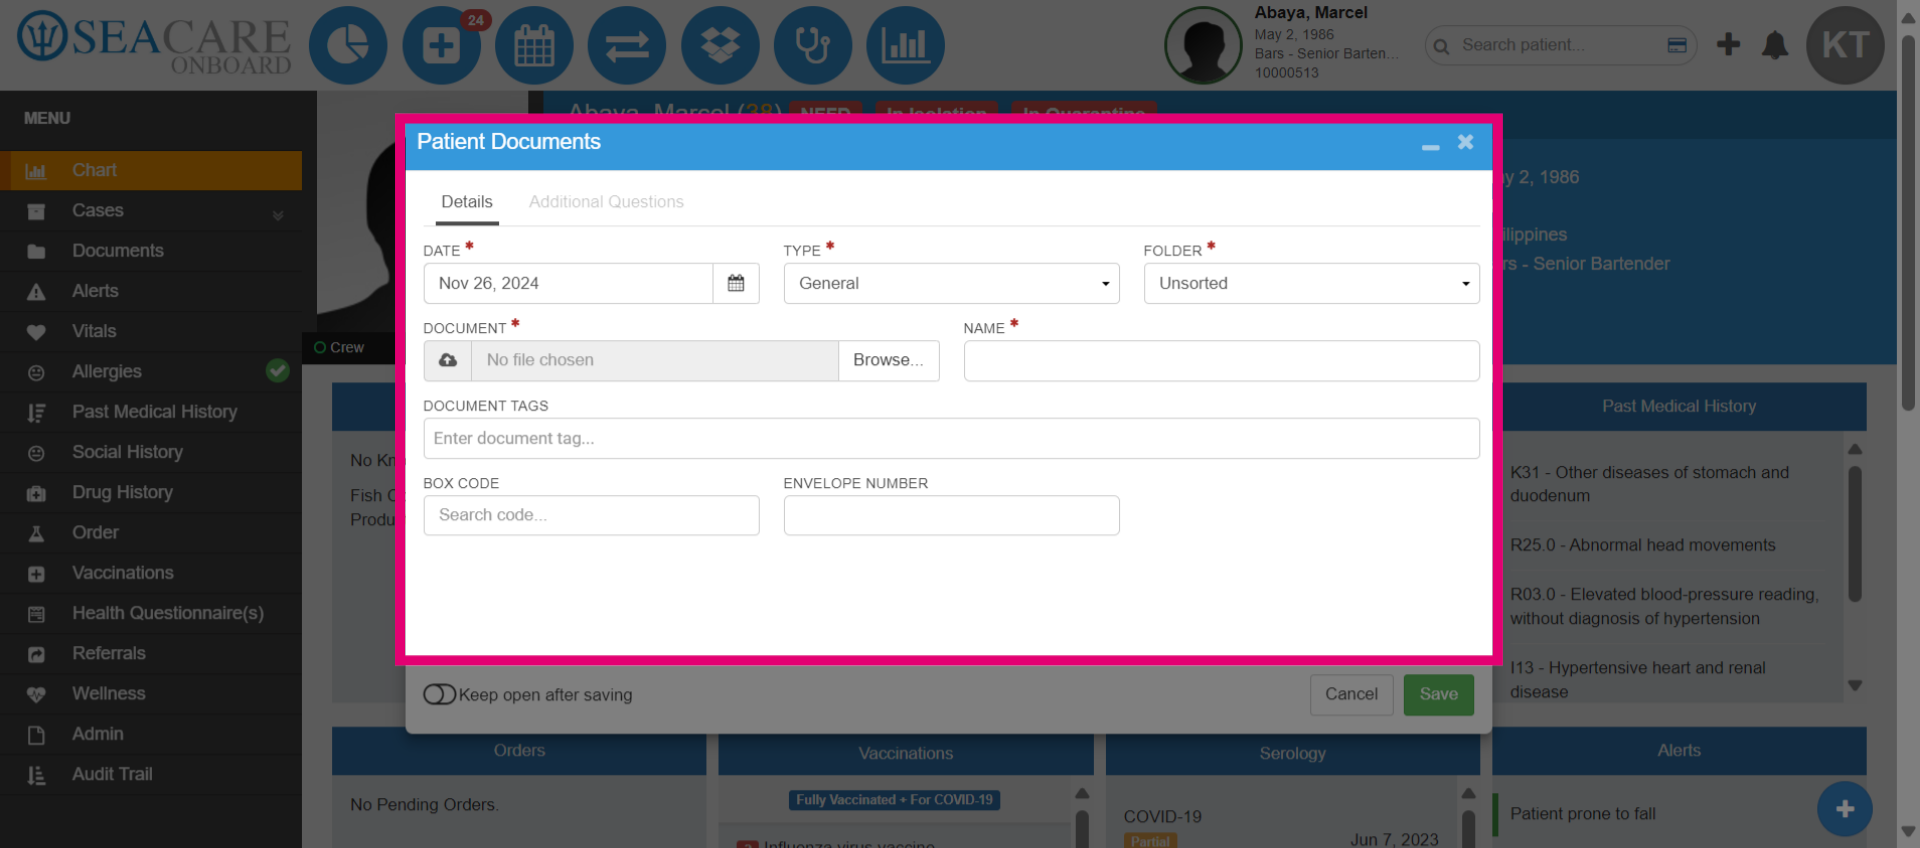
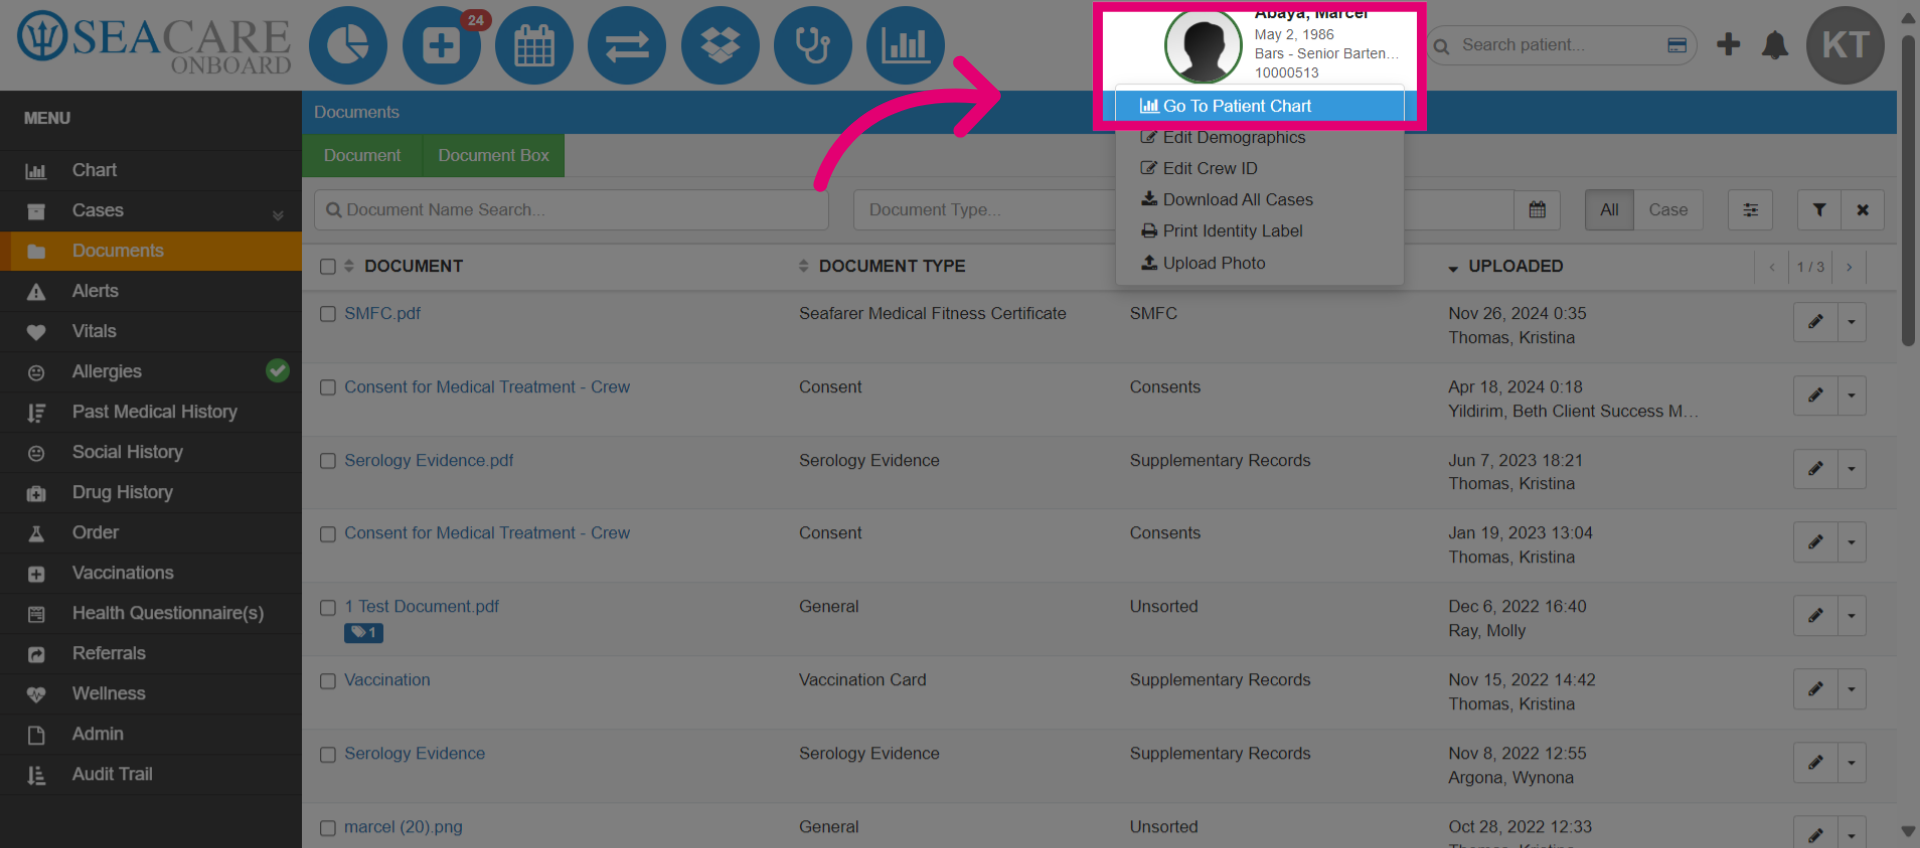
- Once the crew member attends a medical exam appointment and is issued an SMFC that has been provided to the company, the document can be manually uploaded to the documents folder. Navigate to the Documents section for further actions.
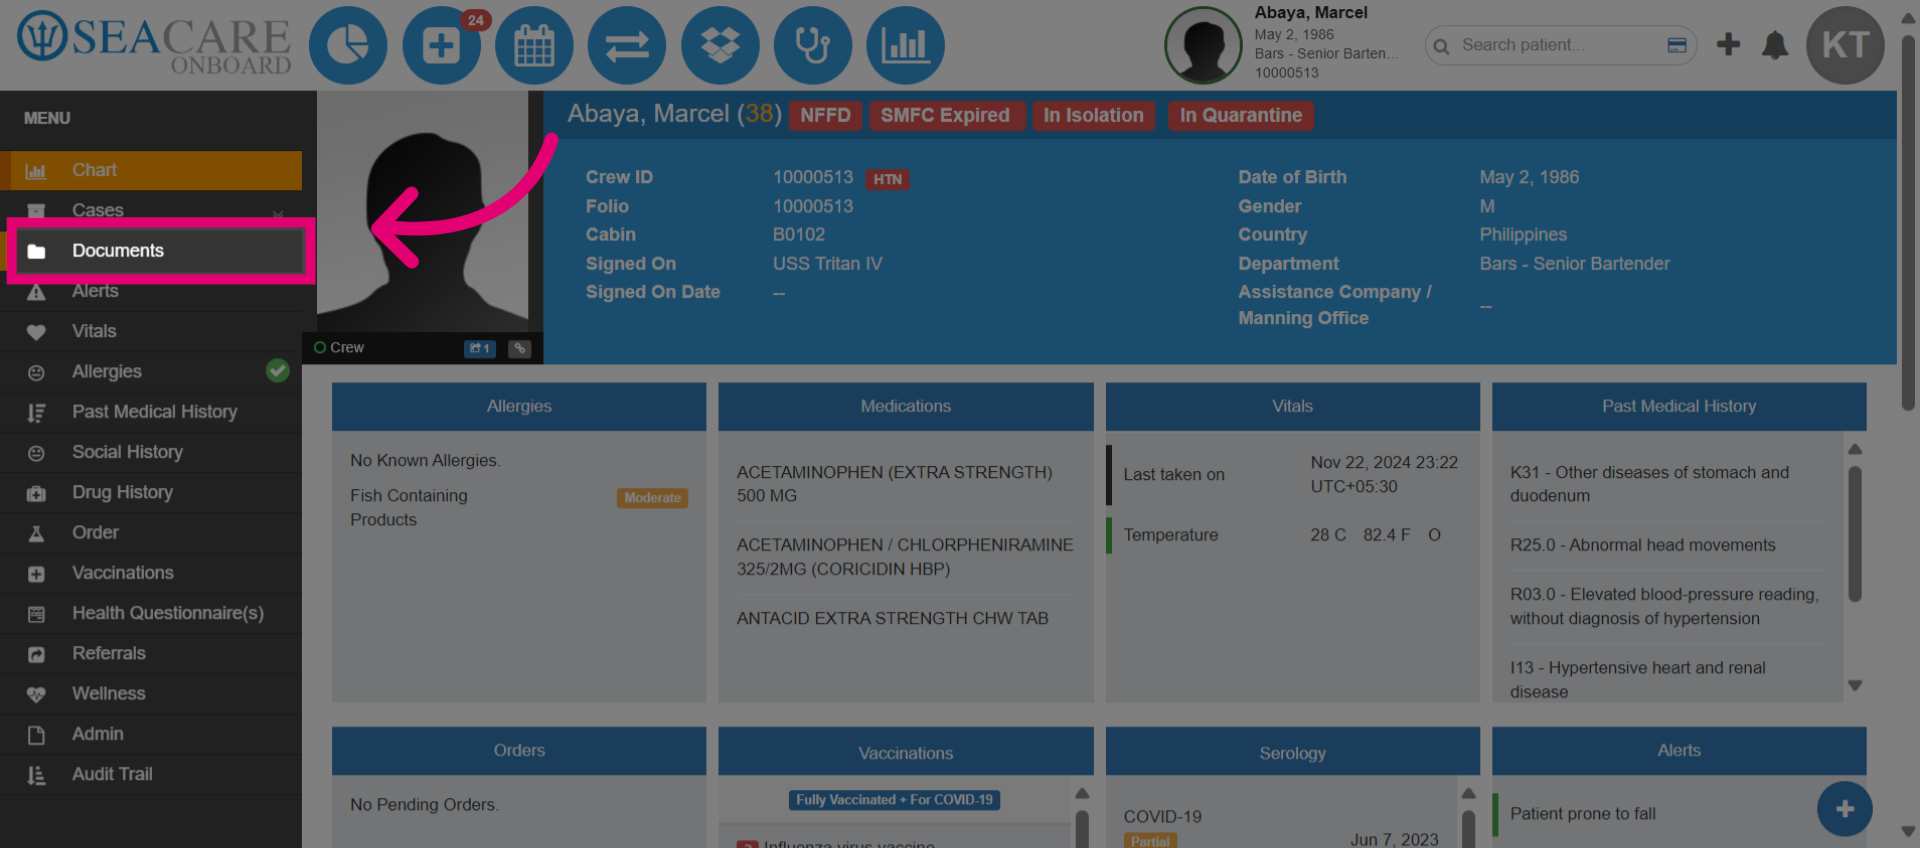
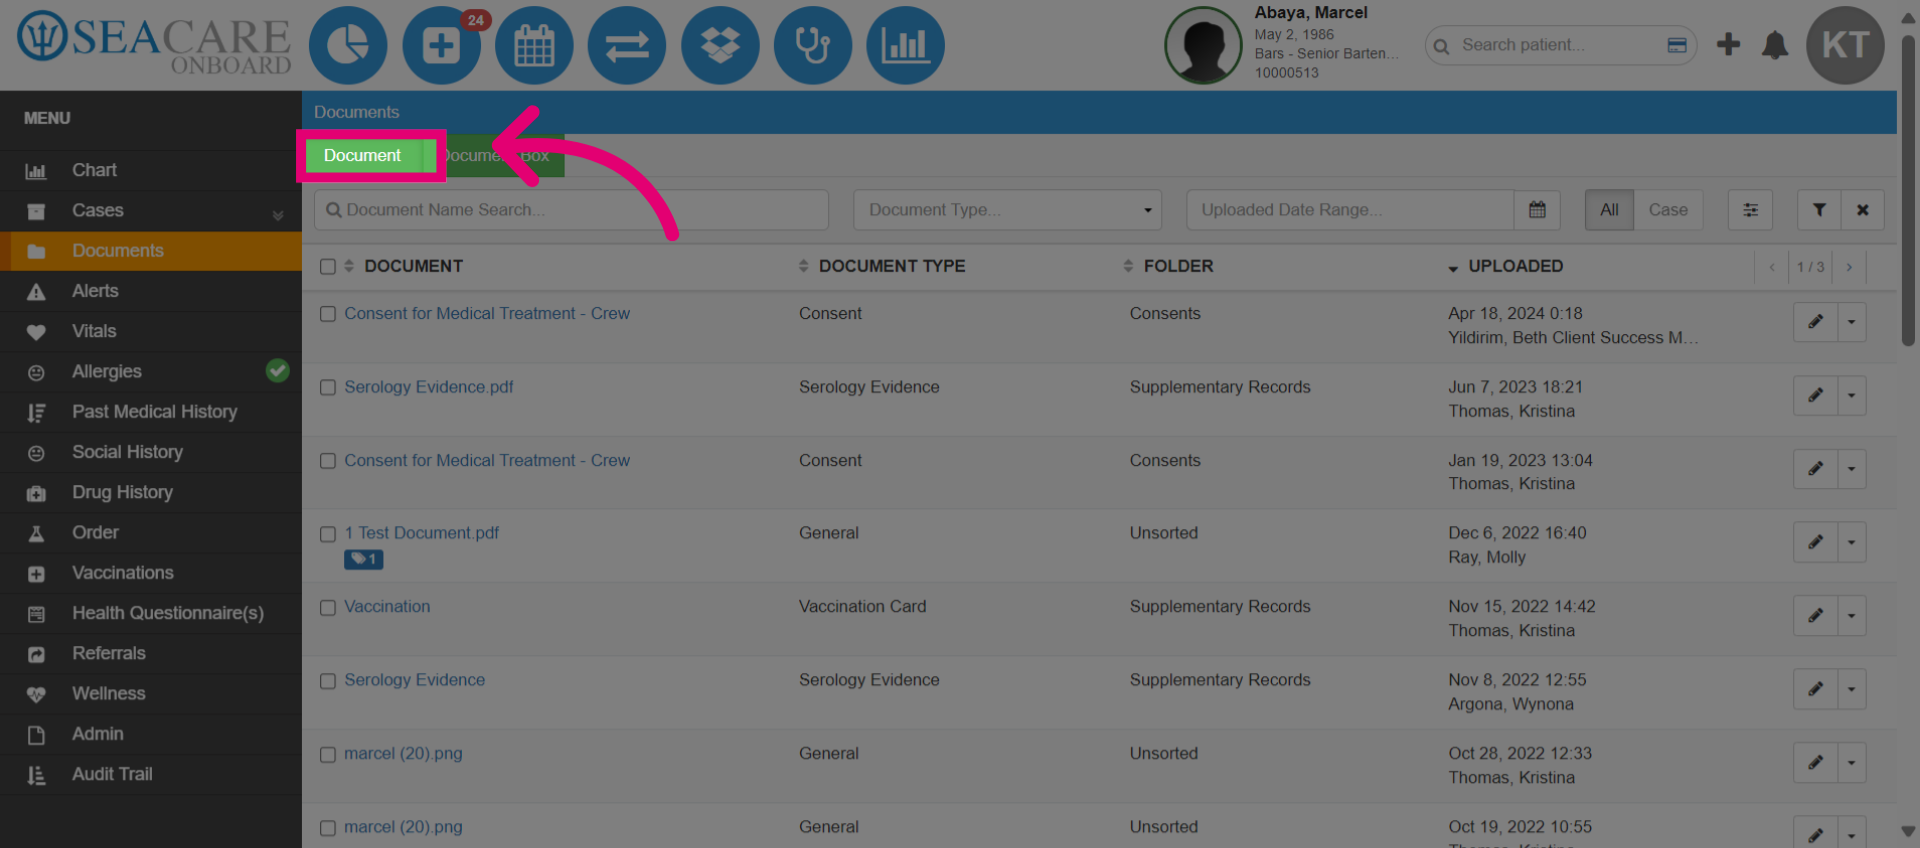
- Select the green Document tab from the patient chart menu.
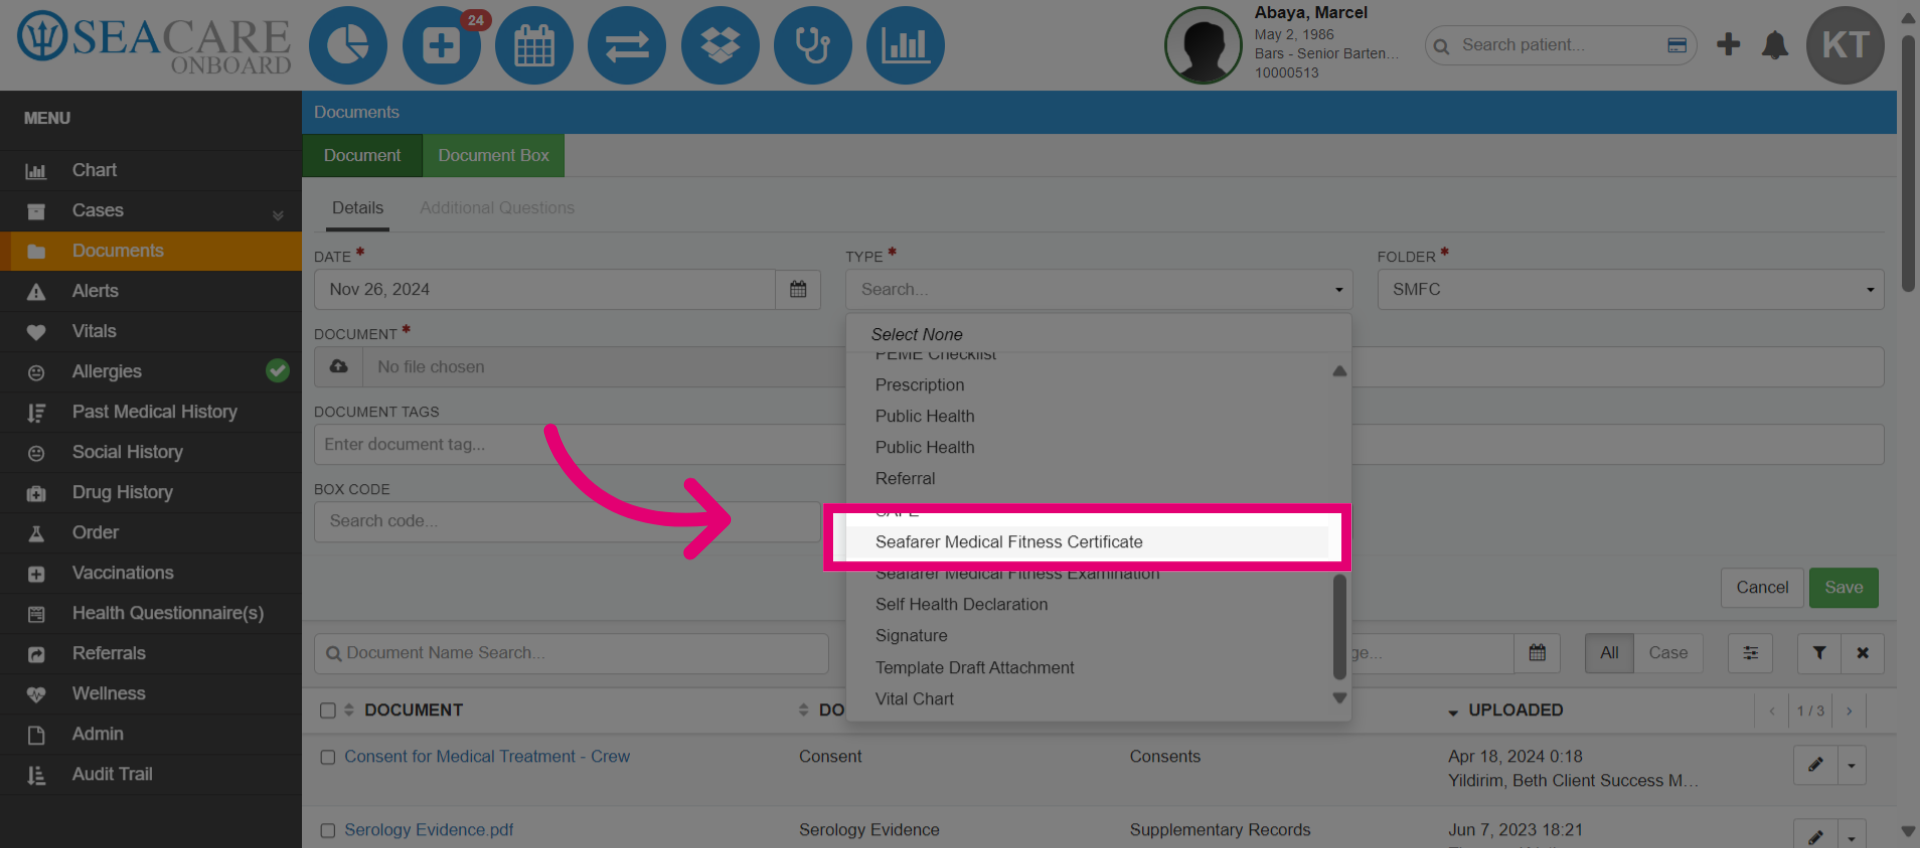
- Go to the Folder section and select "SMFC" from the dropdown options.

- Select the Document Type field, and choose the Seafarer Medical Fitness Certificate option.
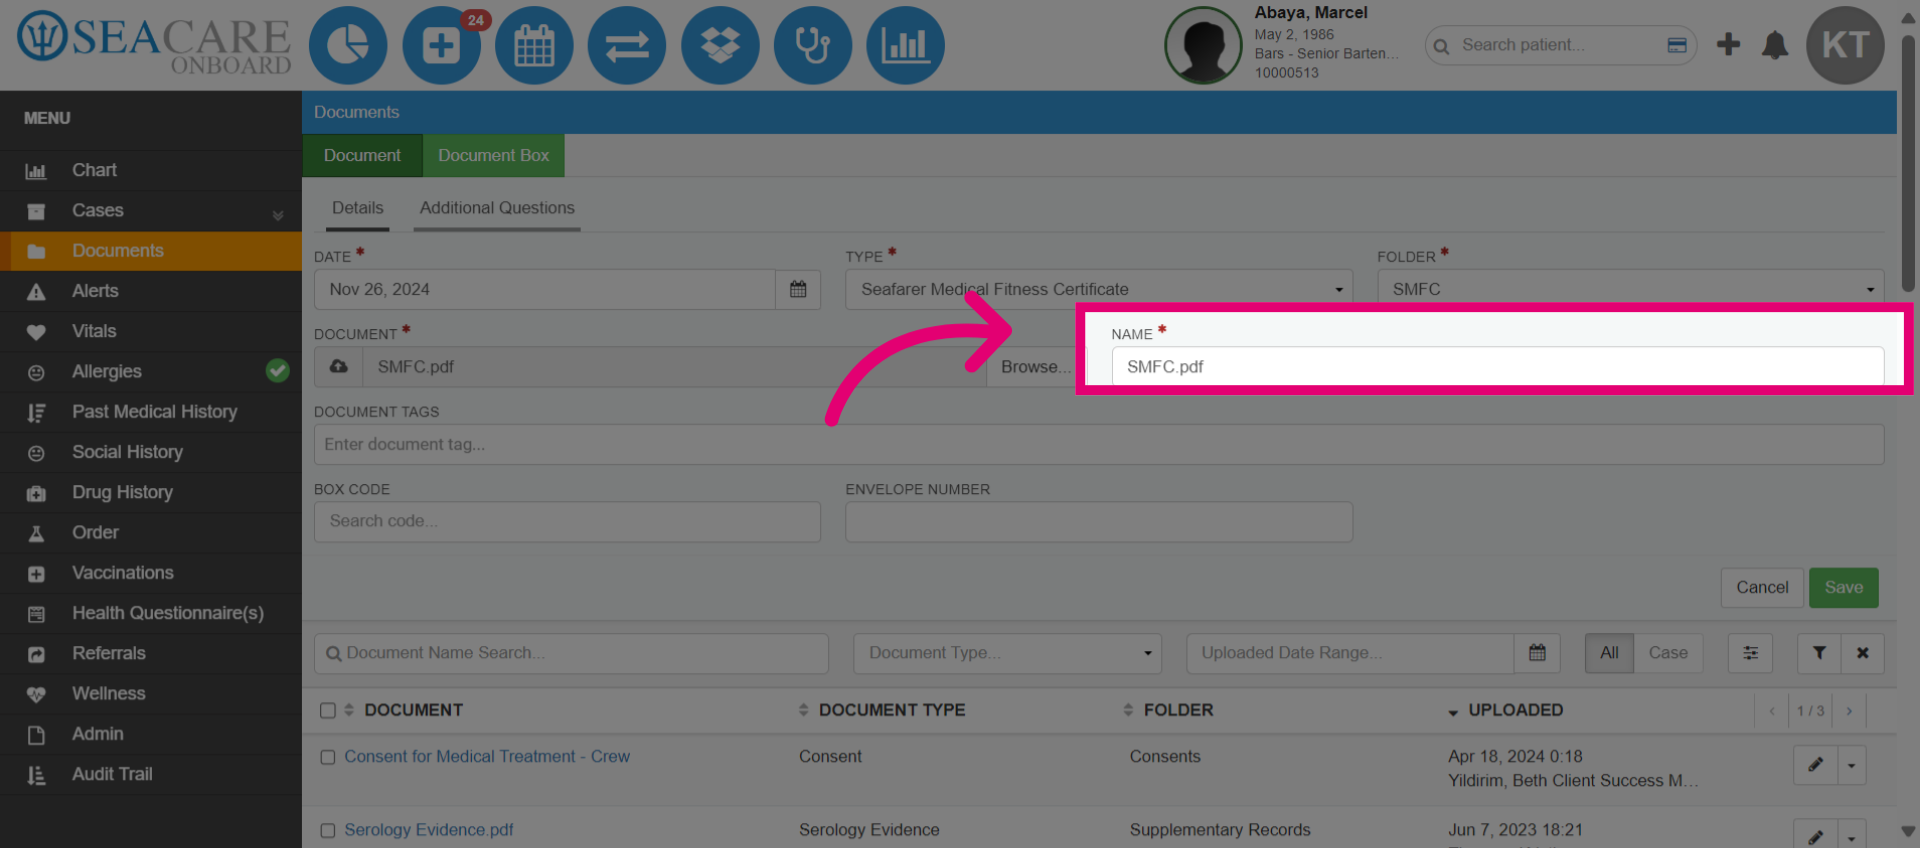
- Ensure it has been reviewed first before uploading the SMFC into the patient chart. Then upload the file. The file name will be pre-populated.
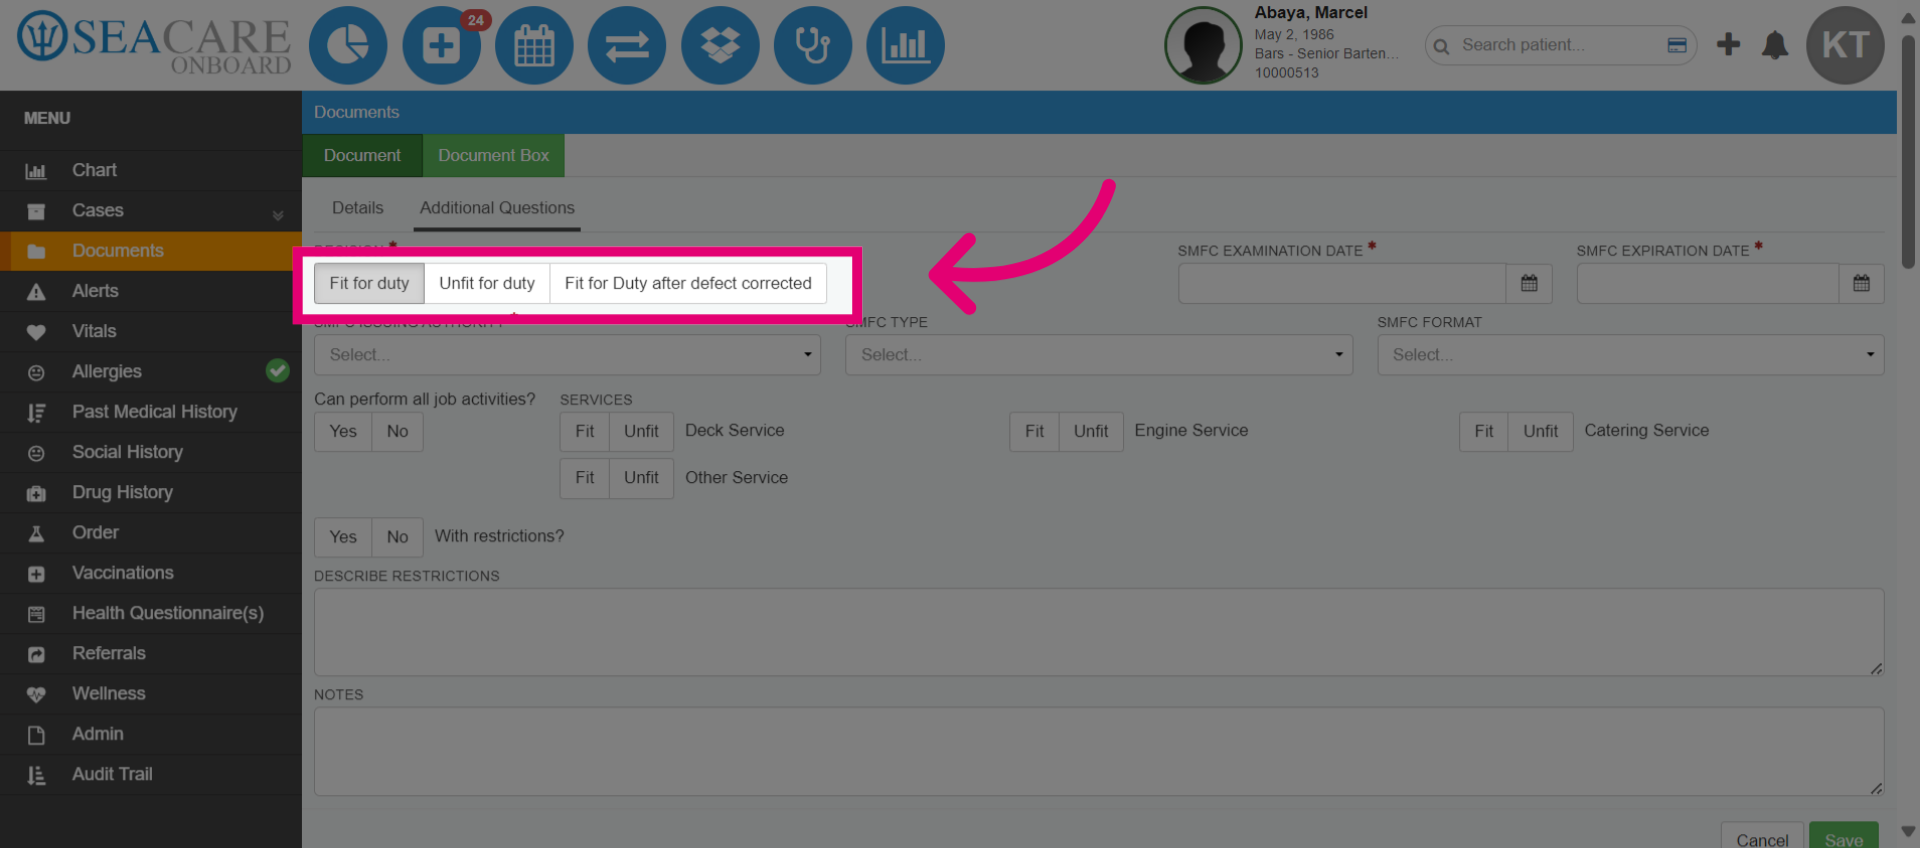
- Go to the Additional Questions tab to review any additional questions needed for the SMFC process.
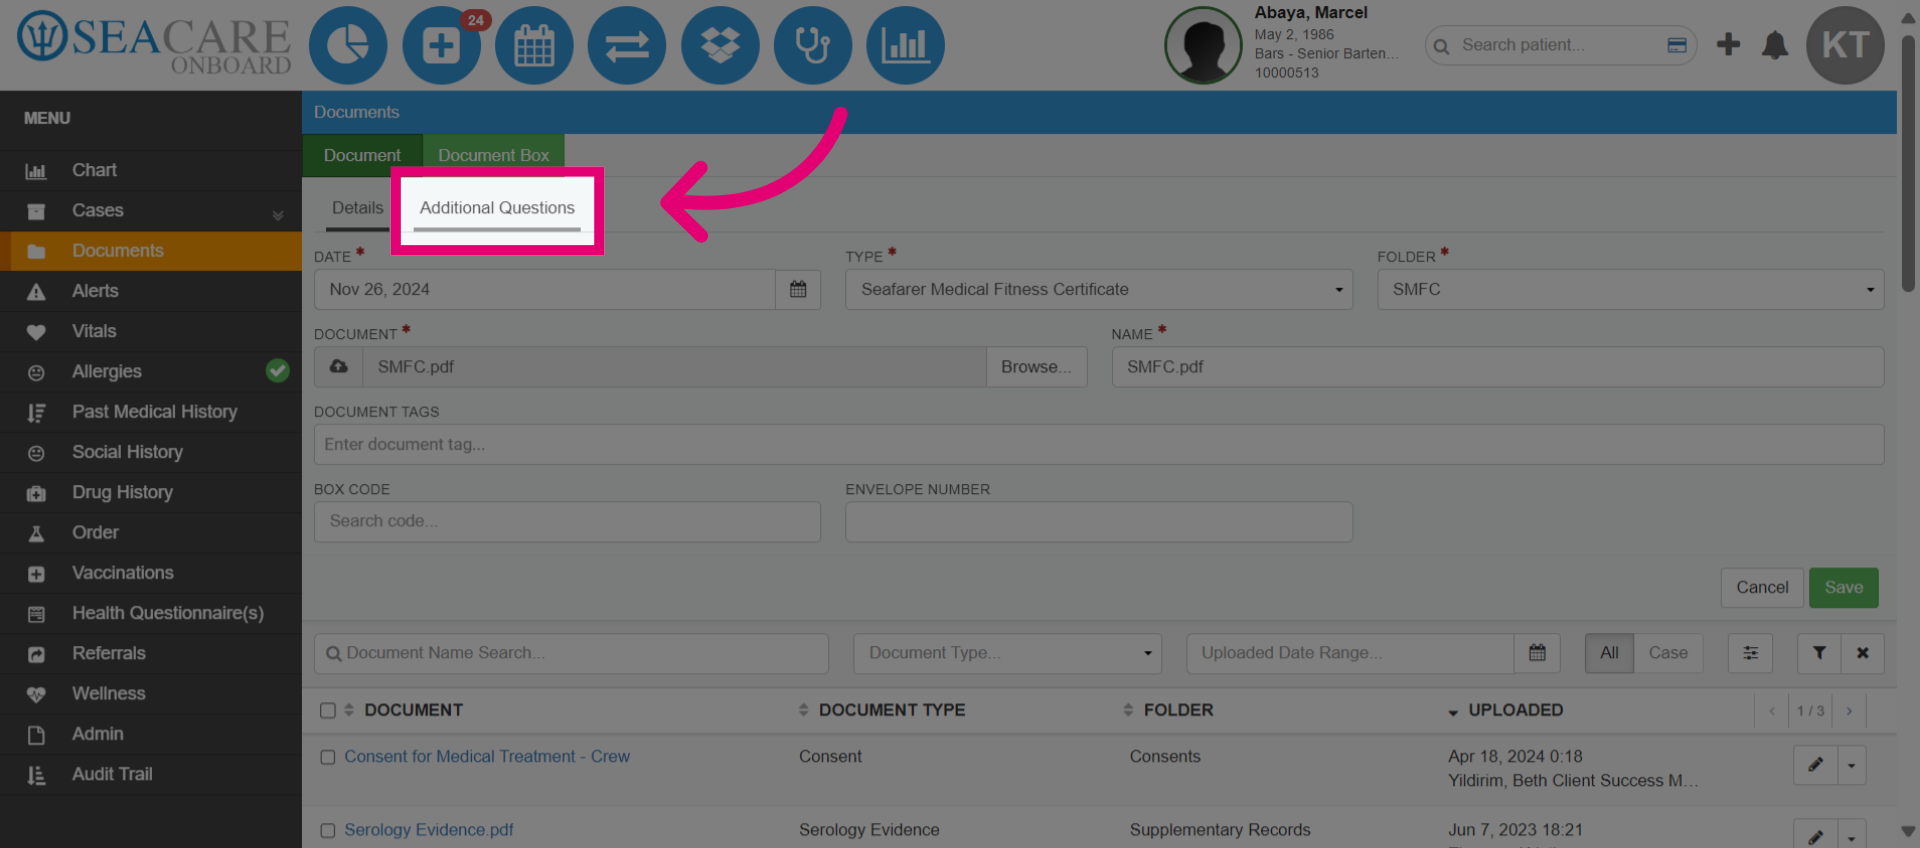
- The provider may have already added these details on this page and you will review them for accuracy. Review the fit for duty status decision of the individual.
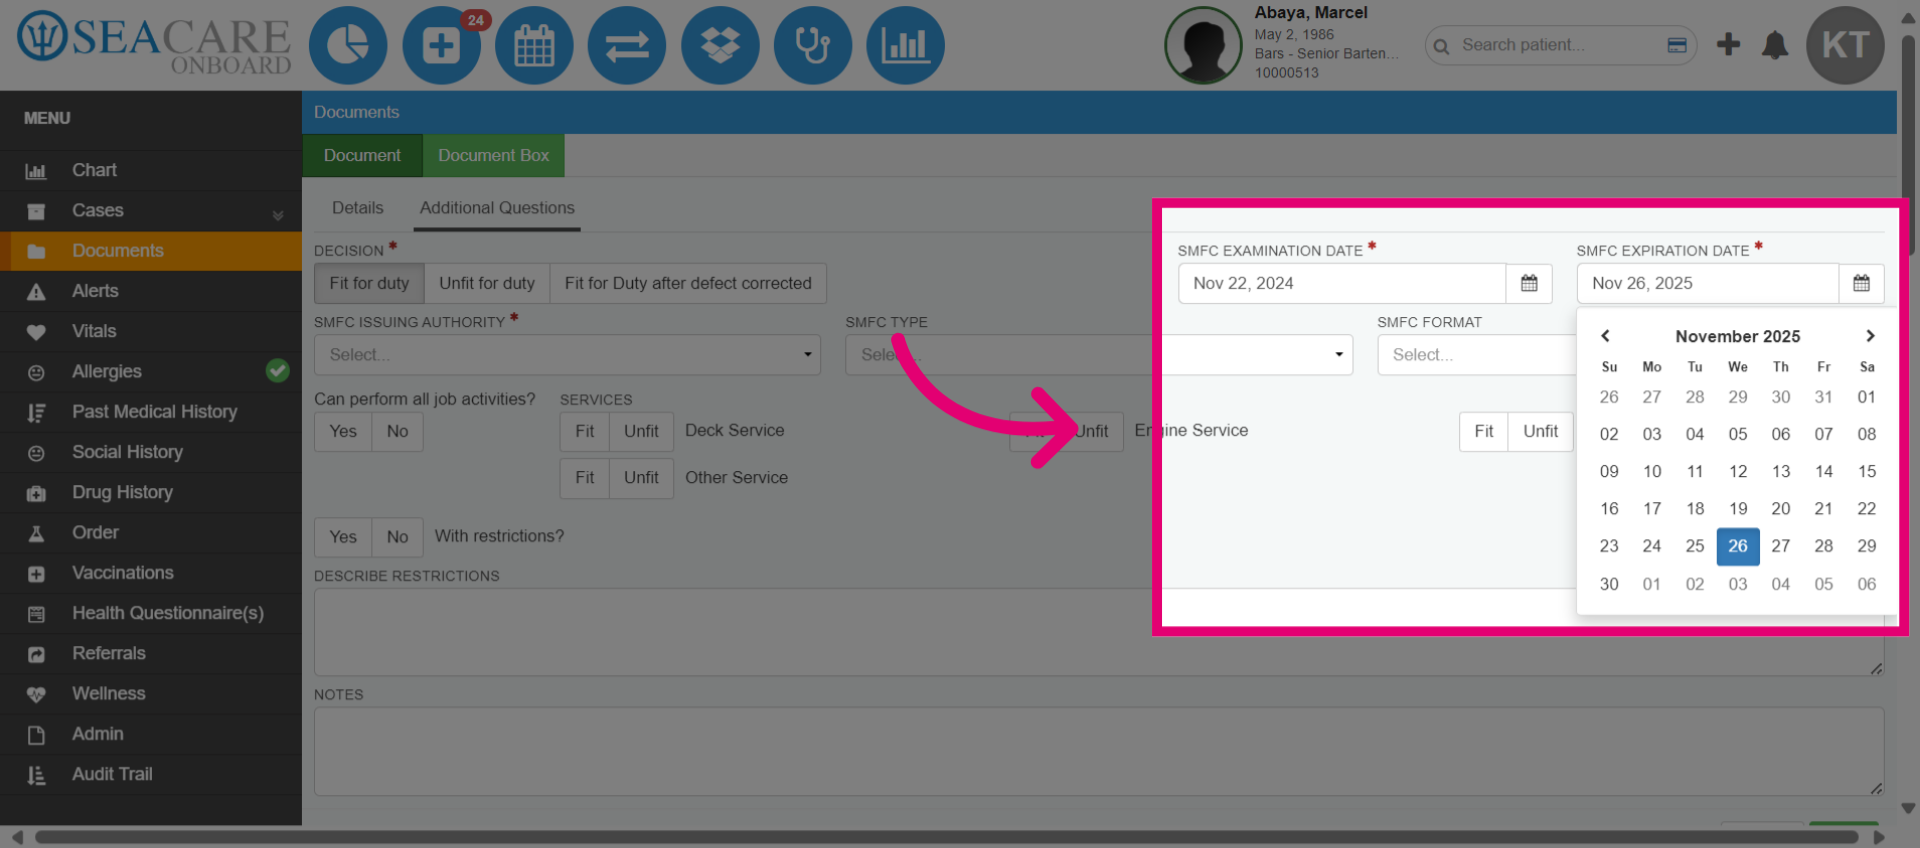
- Confirm the specific day for the crew member's medical exam and the date when the SMFC expires which is usually two years.
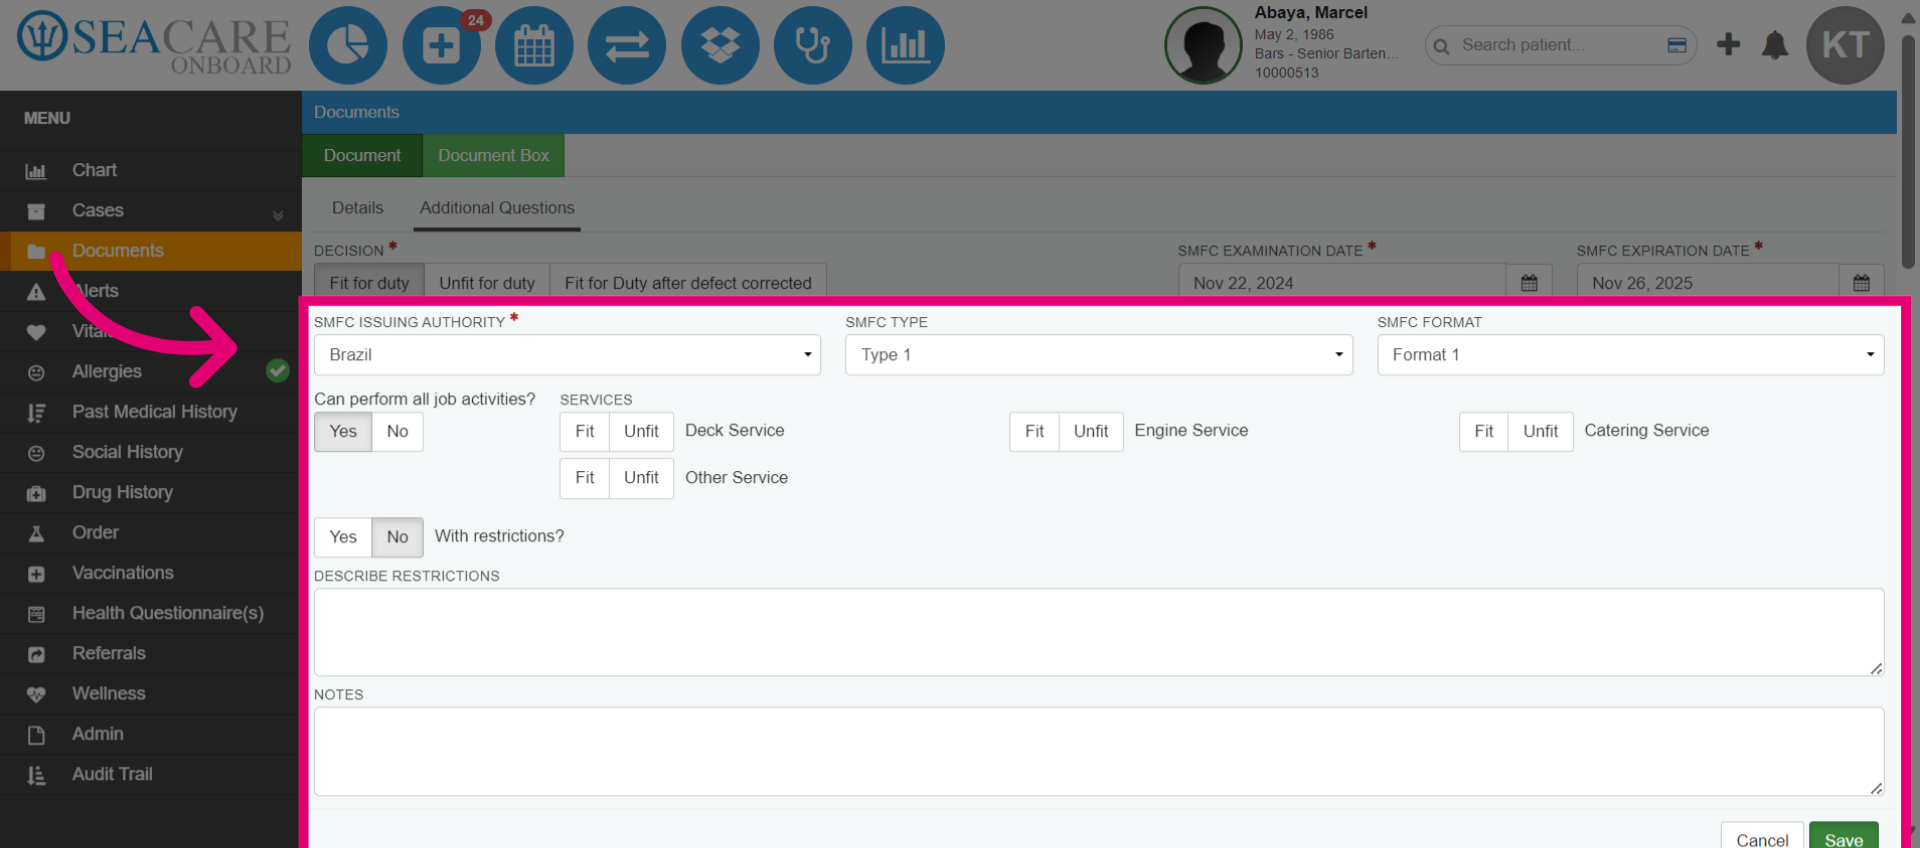
- Review all details and confirm the yes or no questions provided, and add notes or additional details as needed. Then, save the SMFC.
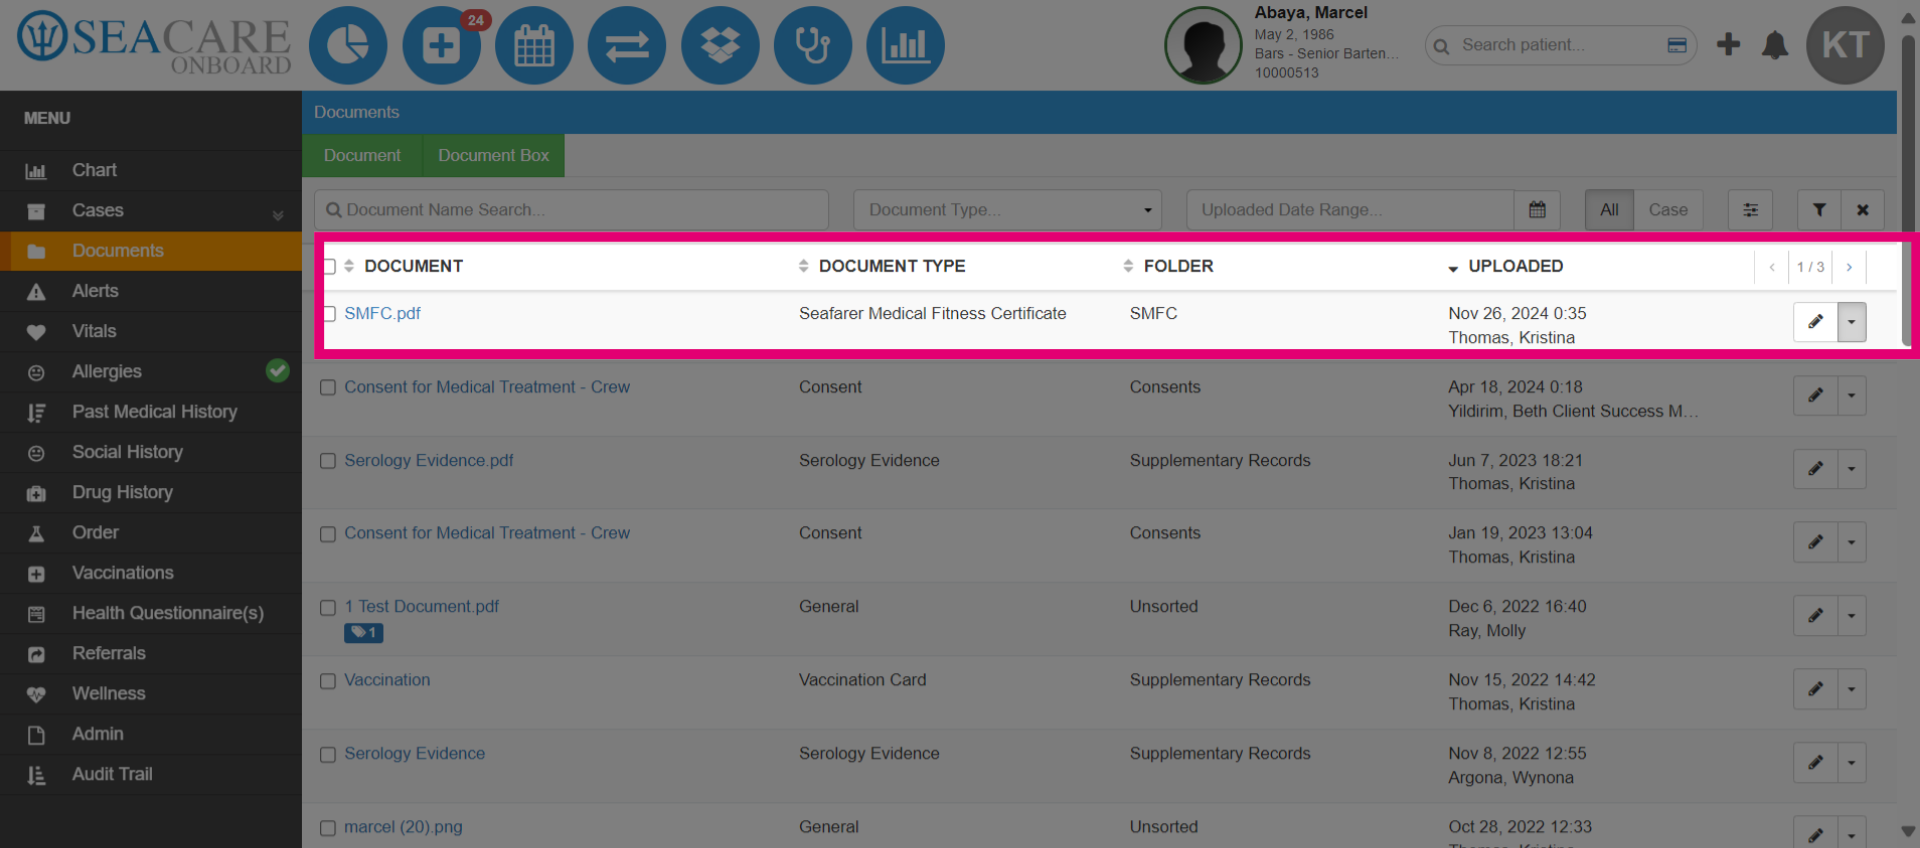
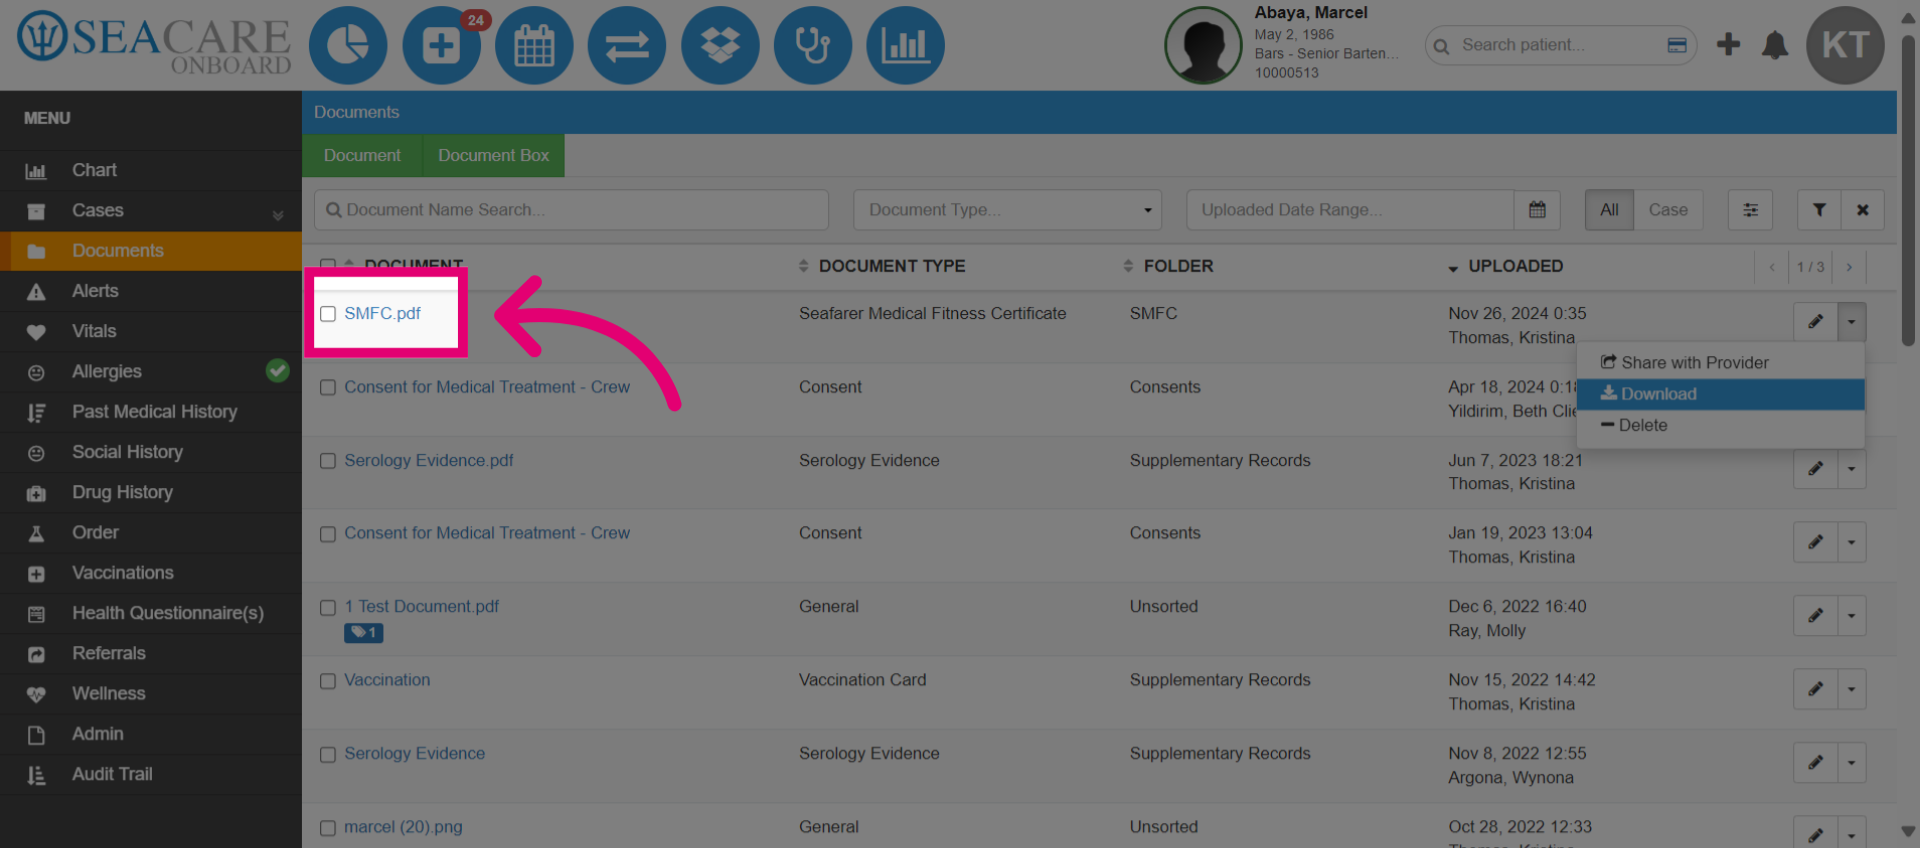
- View the SMFC that is saved to the documents list.
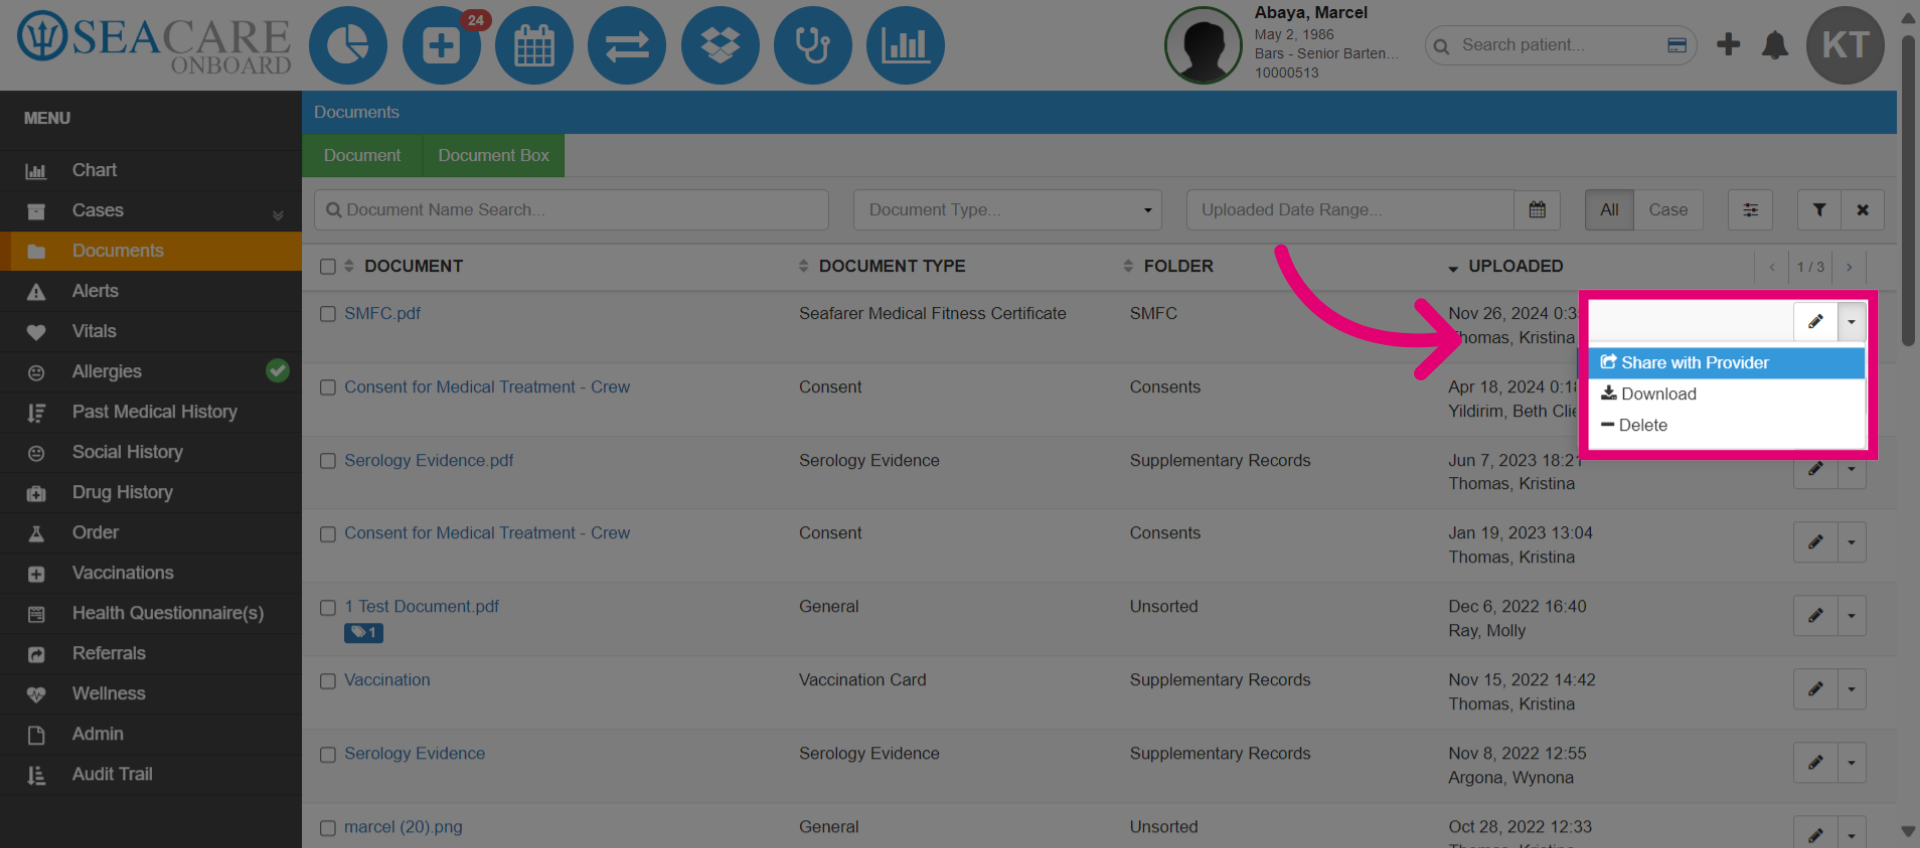
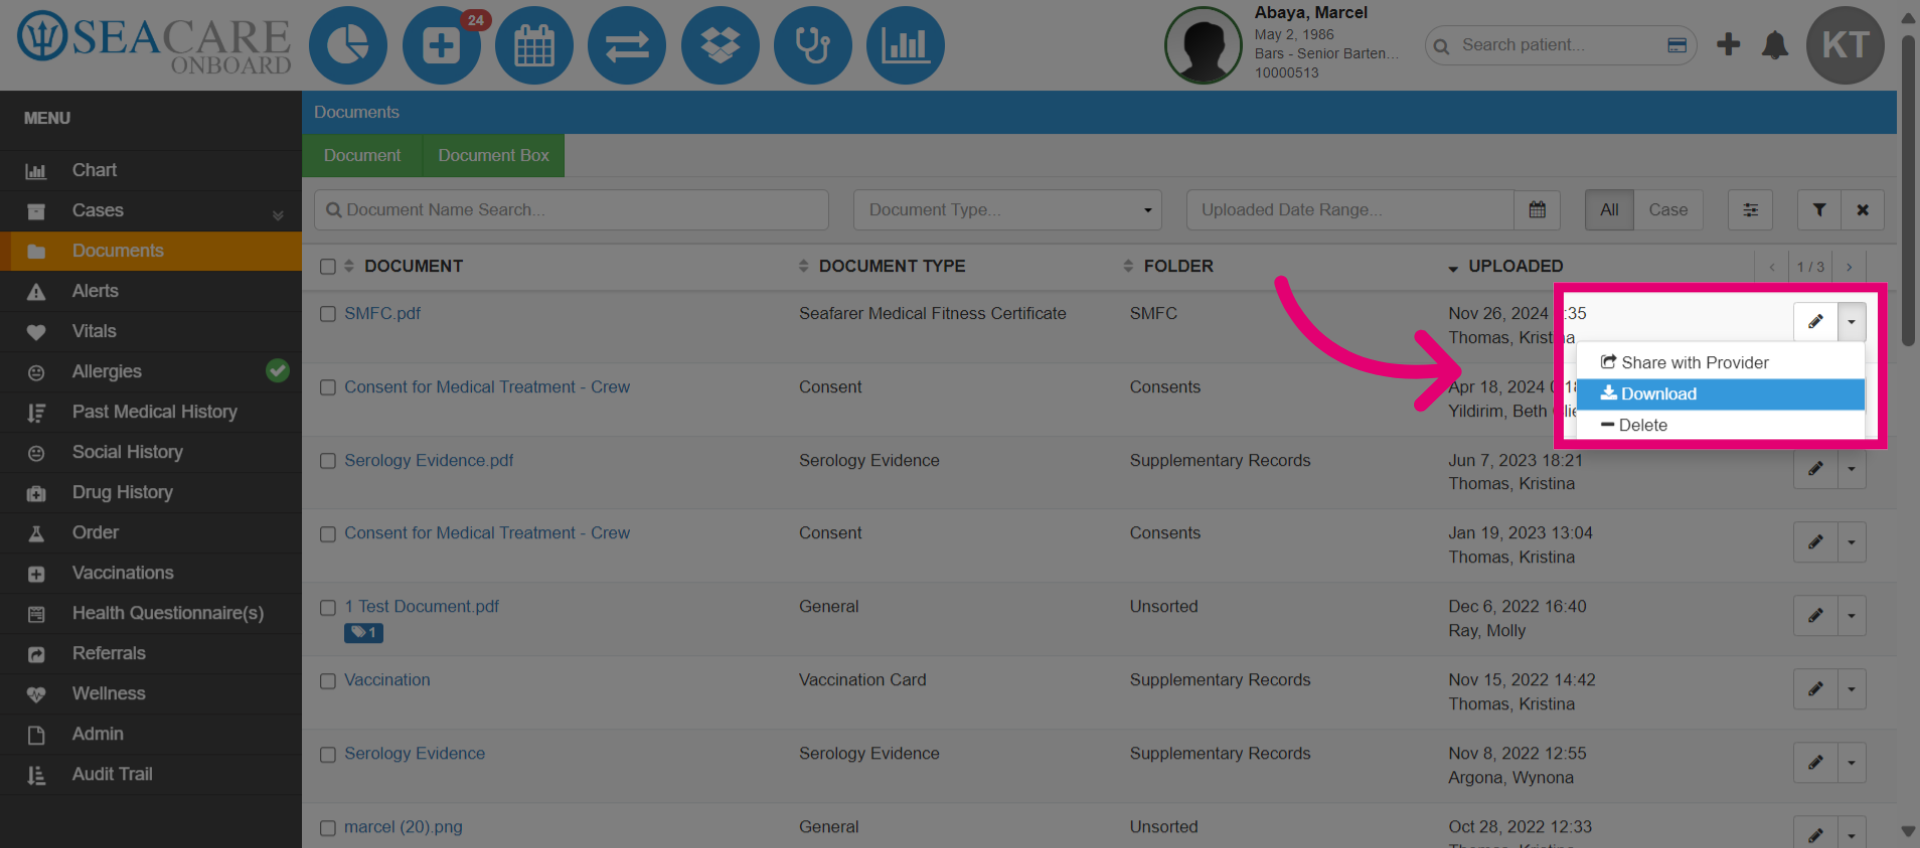
- Use the Actions Menu to edit or to perform additional actions for the document. Initiate sharing of the document with a provider if needed such as to share information about the patient's latest SMFC details.
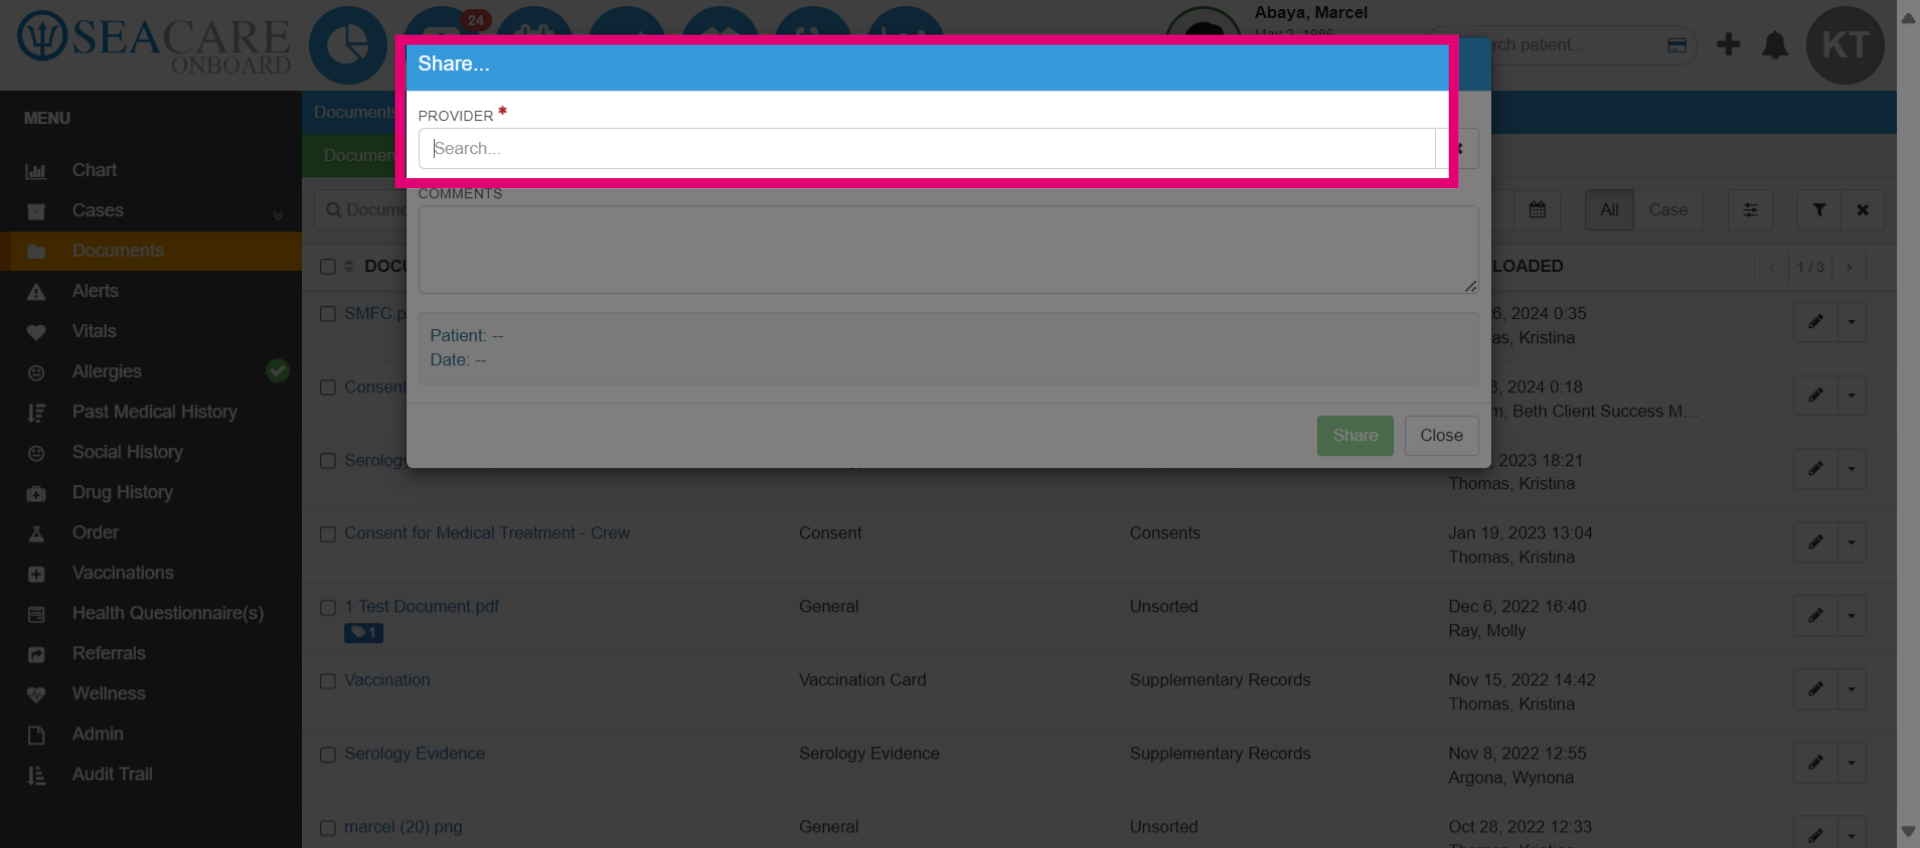
- Enter your query in the search bar to find a provider.
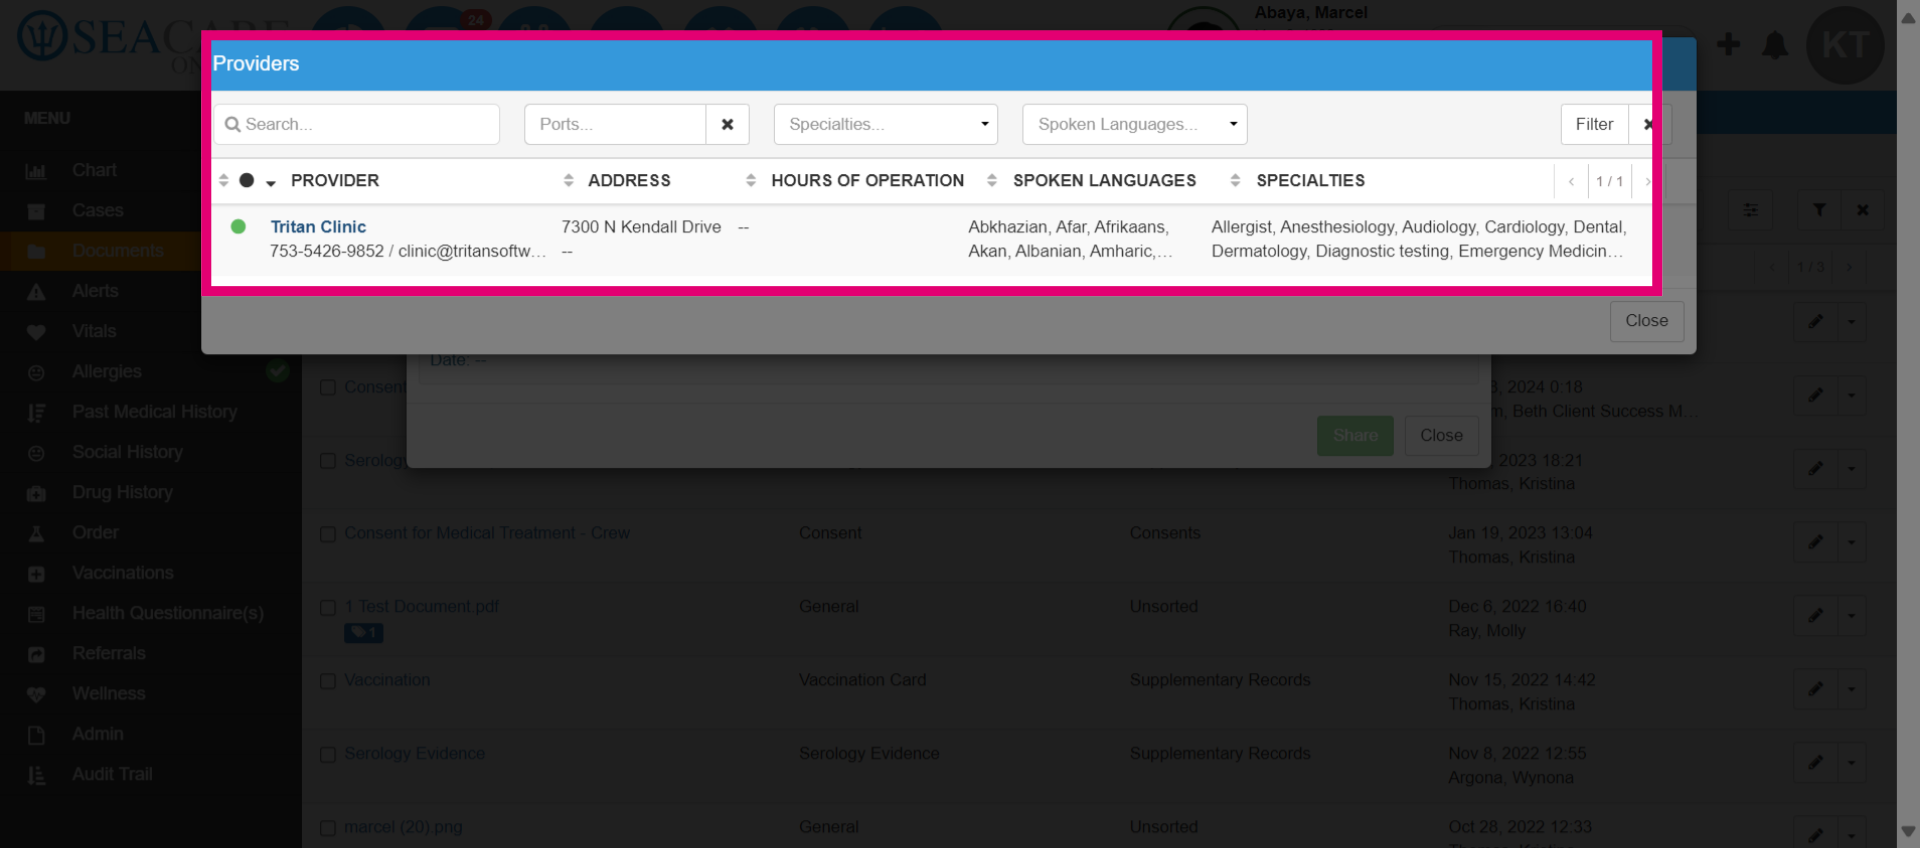
- View information for the provider such as if there are connected or not, address, hours of operations, languages spoken, specialties. Select the relevant clinic.
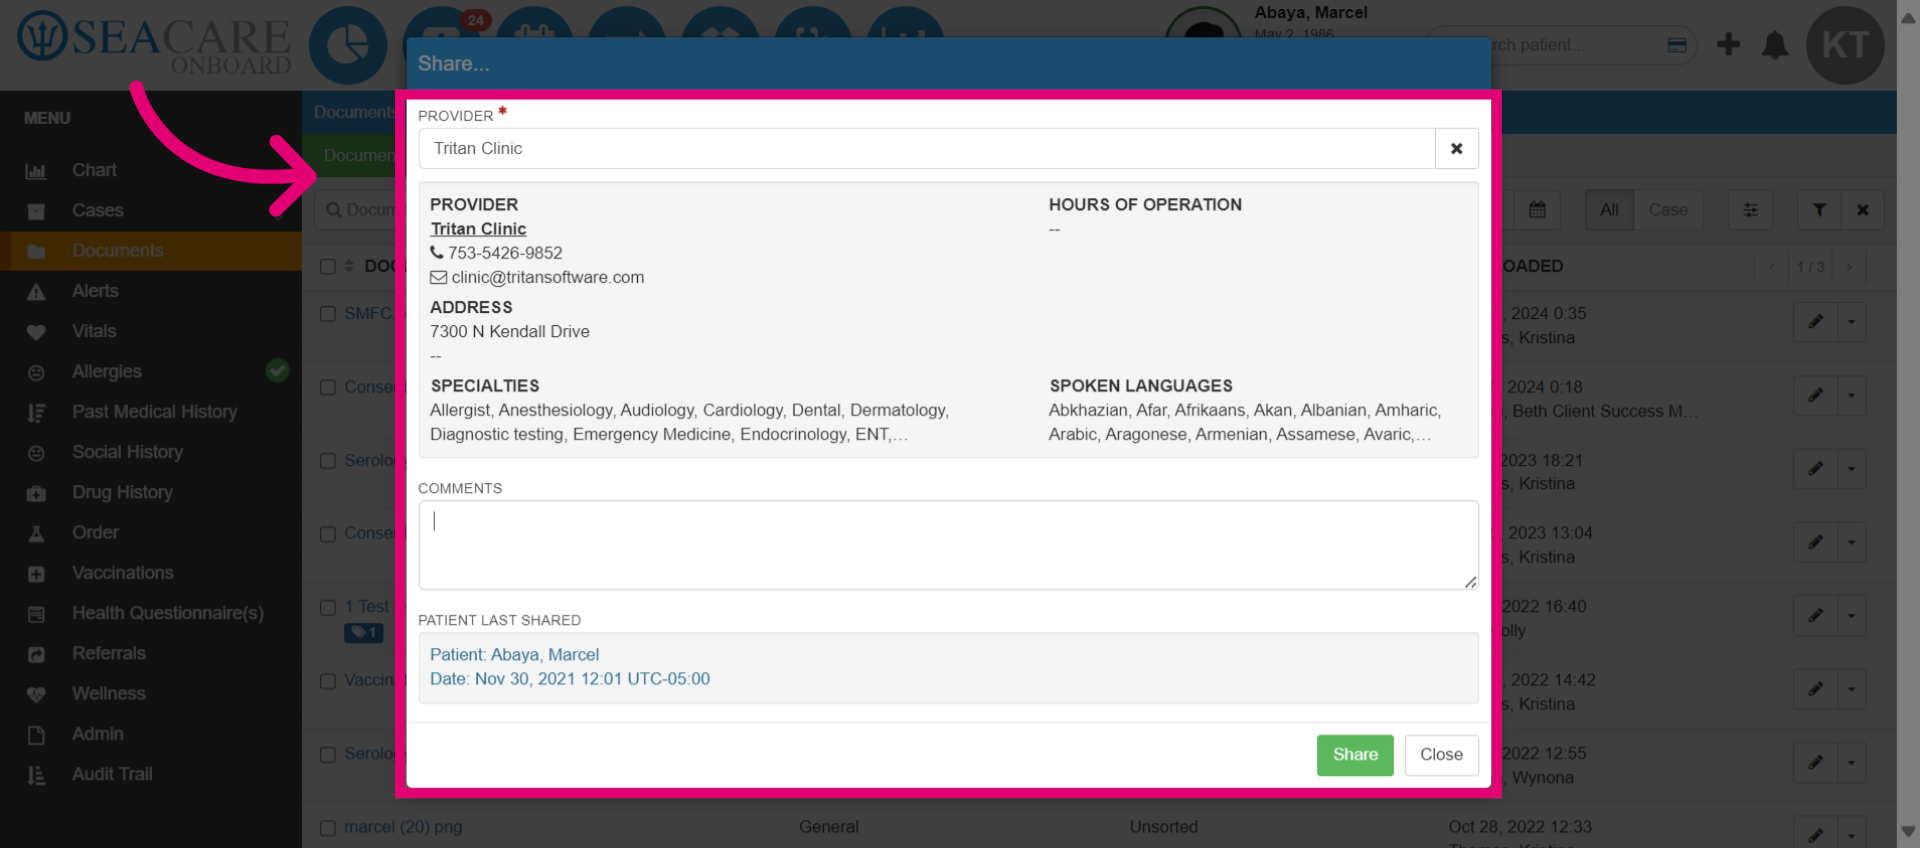
- Access further details, add any relevant comments to the provider then select Share to share the SMFC with the provider.
- You may also download it by selecting the Download button from the Actions menu. Use the Delete button to remove the SMFC.
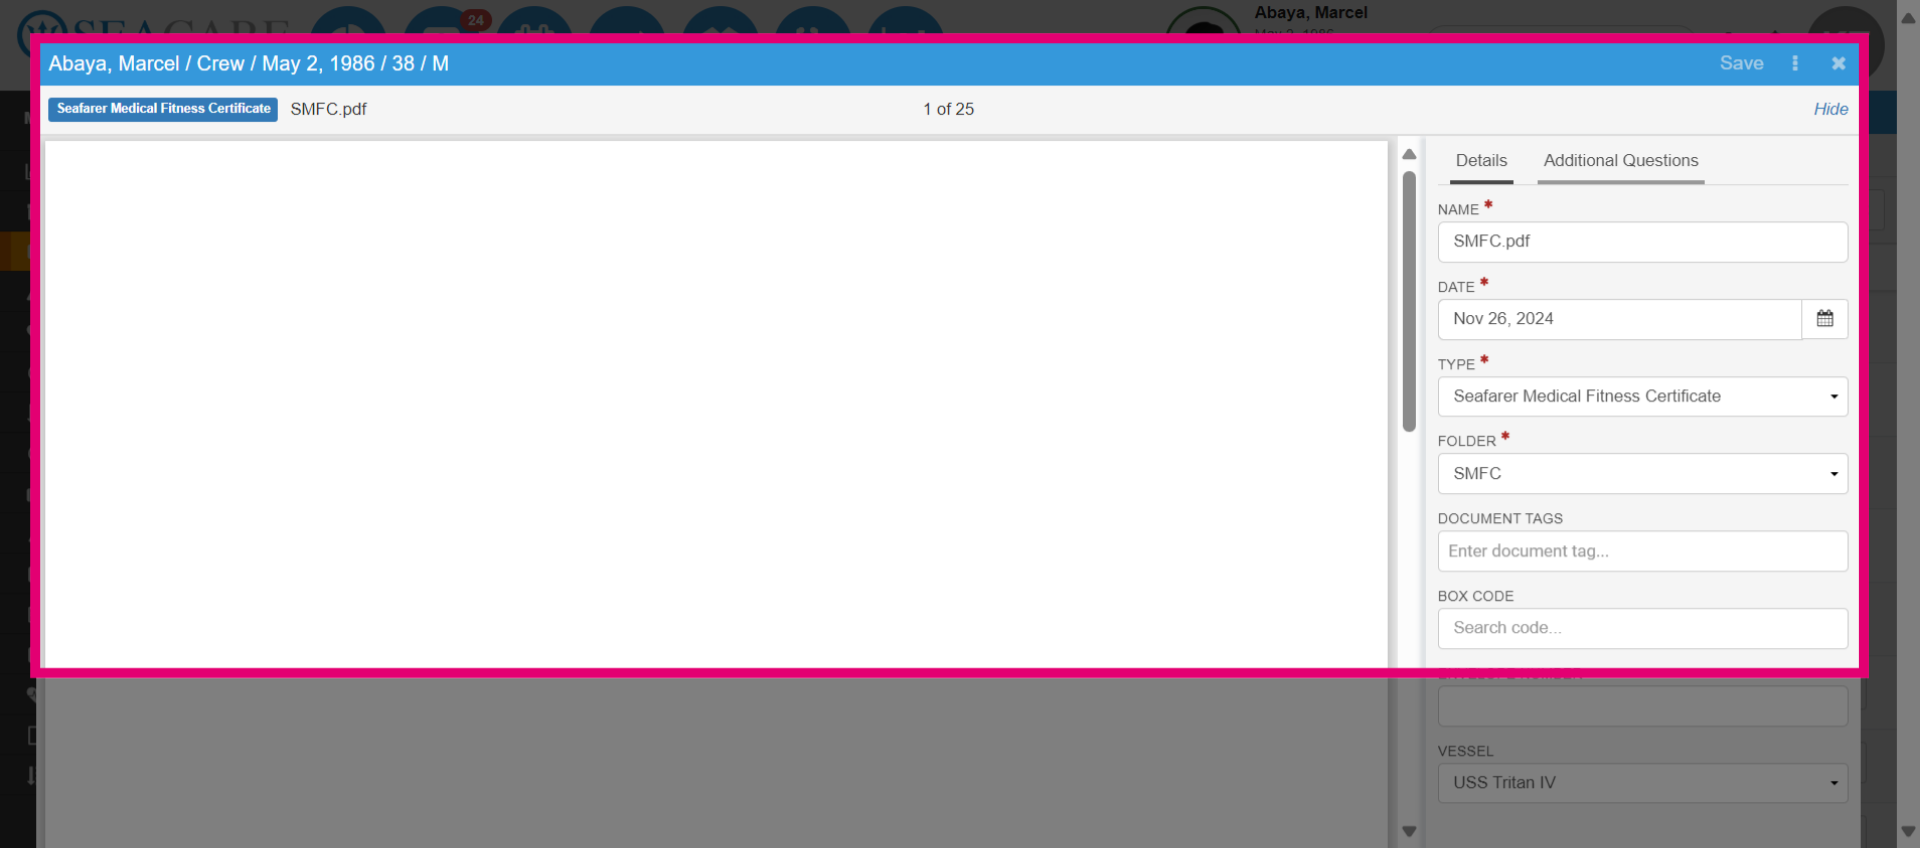
- Select the document link to open the document to review details or make changes.
- Make updates, revisit any details or extra questions that need attention. Select the Save button at the top to save the changes.
- The SMFC expired status should be removed now that the SMFC has been updated in the patient chart. Follow this link for more details.
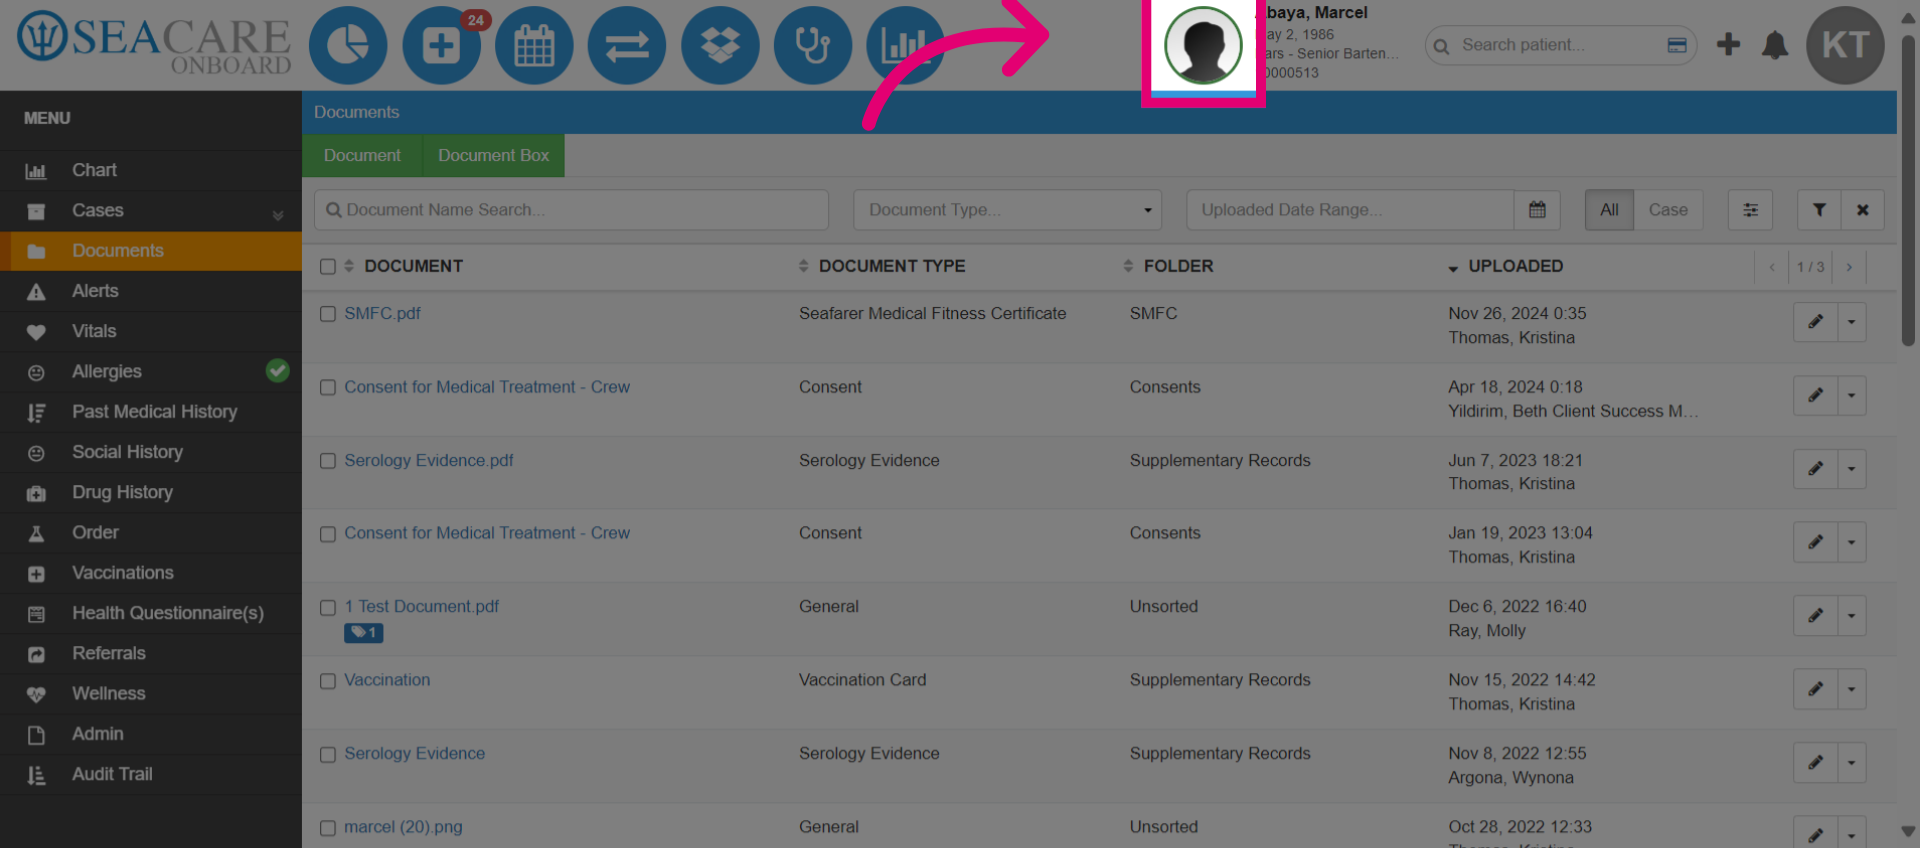
- Navigate to the Patient Chart to review the SMFC status.
- The Expired SMFC status badge has disappeared now that the SMFC has been updated.
- Review the updated decision and examination details from the SMFC section.
- An alternative and quicker way to upload the SMFC is through the Quick Actions Menu.
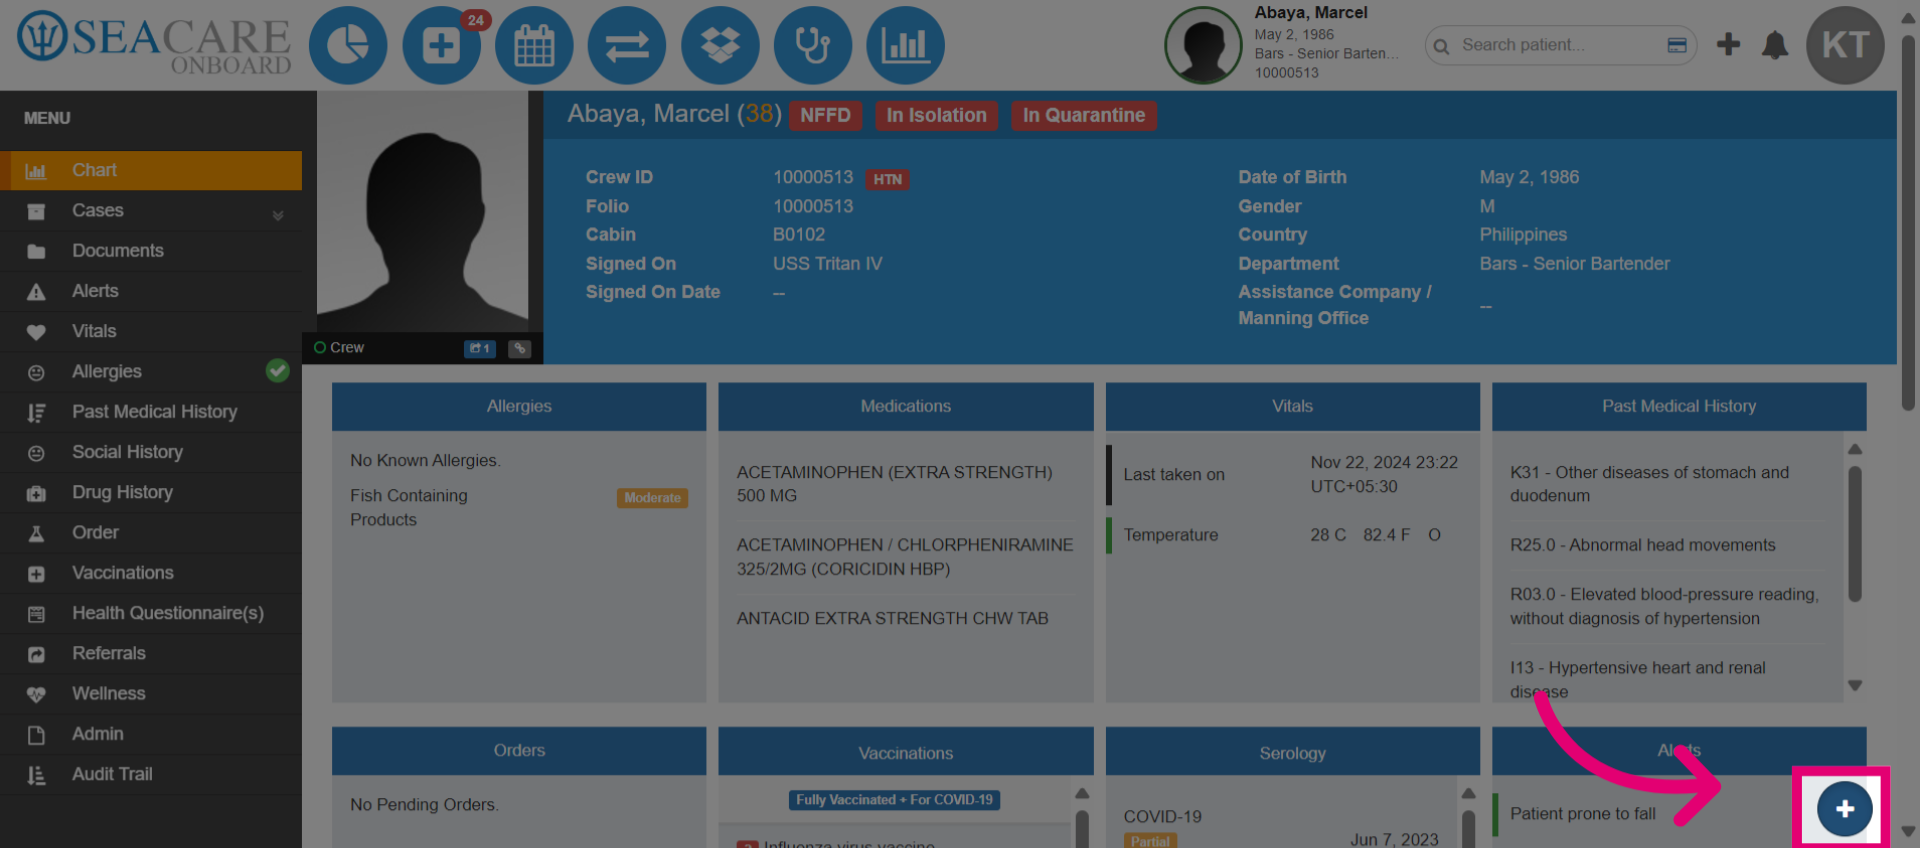
- Initiate the upload process for the document, by selecting Upload Document.
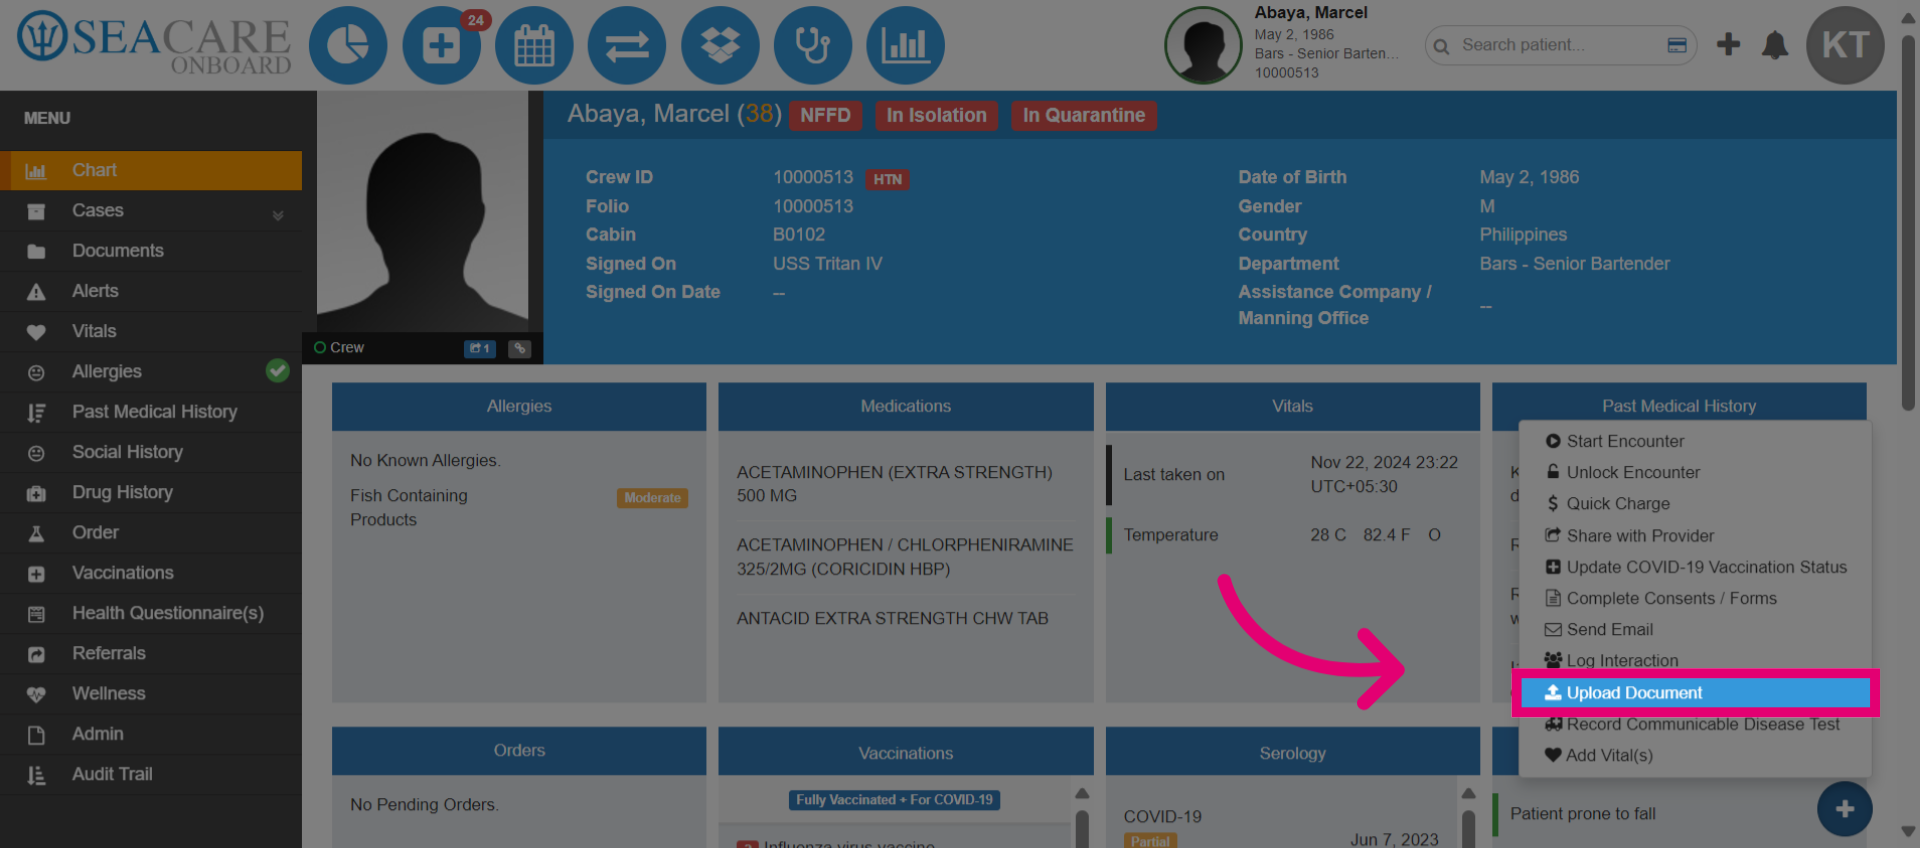
- Follow the same instructions to upload the SMFC here.