New article
Recently updated
Adding a Group and Permissions in Ideagen Maritime Health Provider

Who is this article for?Users who want to learn to add a new group with its permissions in Ideagen Maritime Health Provider.
No elevated permissions are required.
This guide will help you create a new group and add the associated group permissions by following the steps outlined in it. From defining the group's purpose to setting up the appropriate permissions, every aspect will be covered to facilitate a smooth and efficient setup. By following the instructions in this guide, you will be able to create a new group effectively.
1. Adding a Group and Permissions in Ideagen Maritime Health Provider
1.1. Video
1.2. Steps
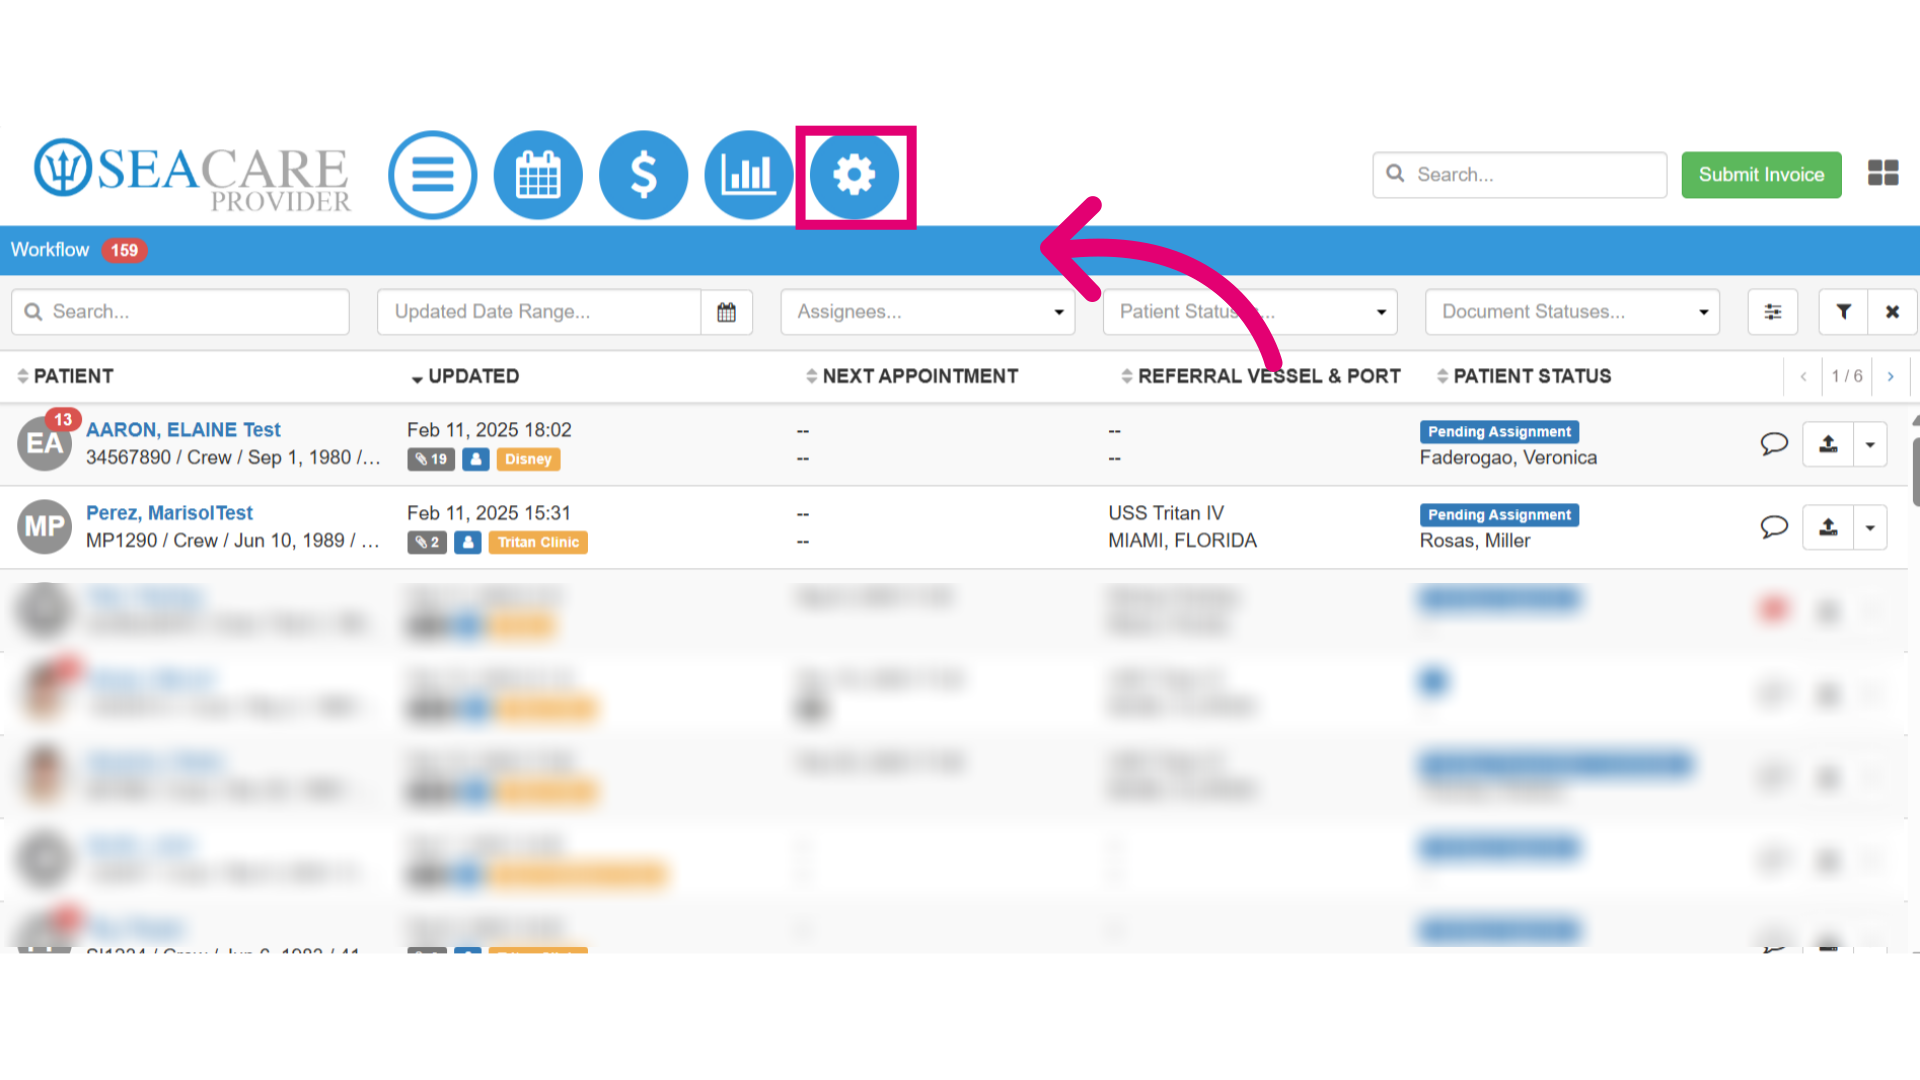
- Start by selecting the Admin Settings menu.
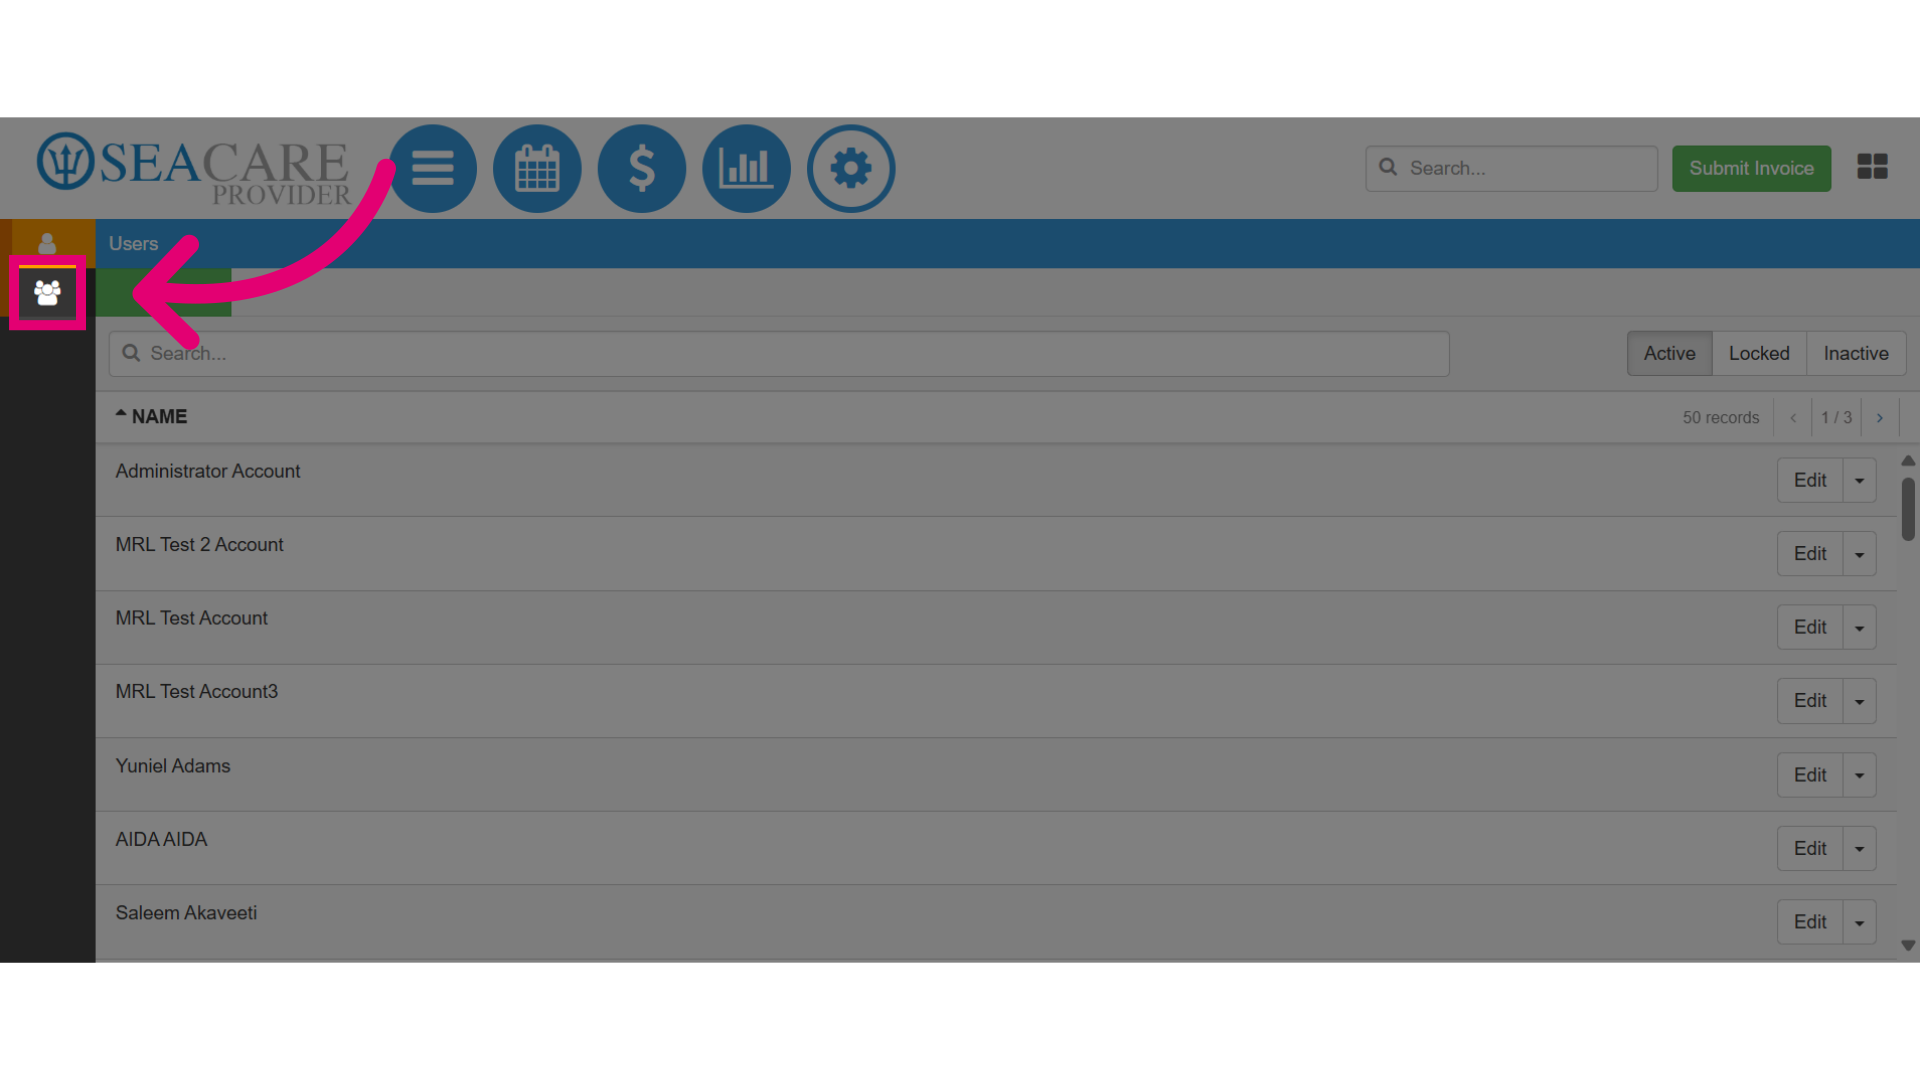
- Then, select the Groups module.
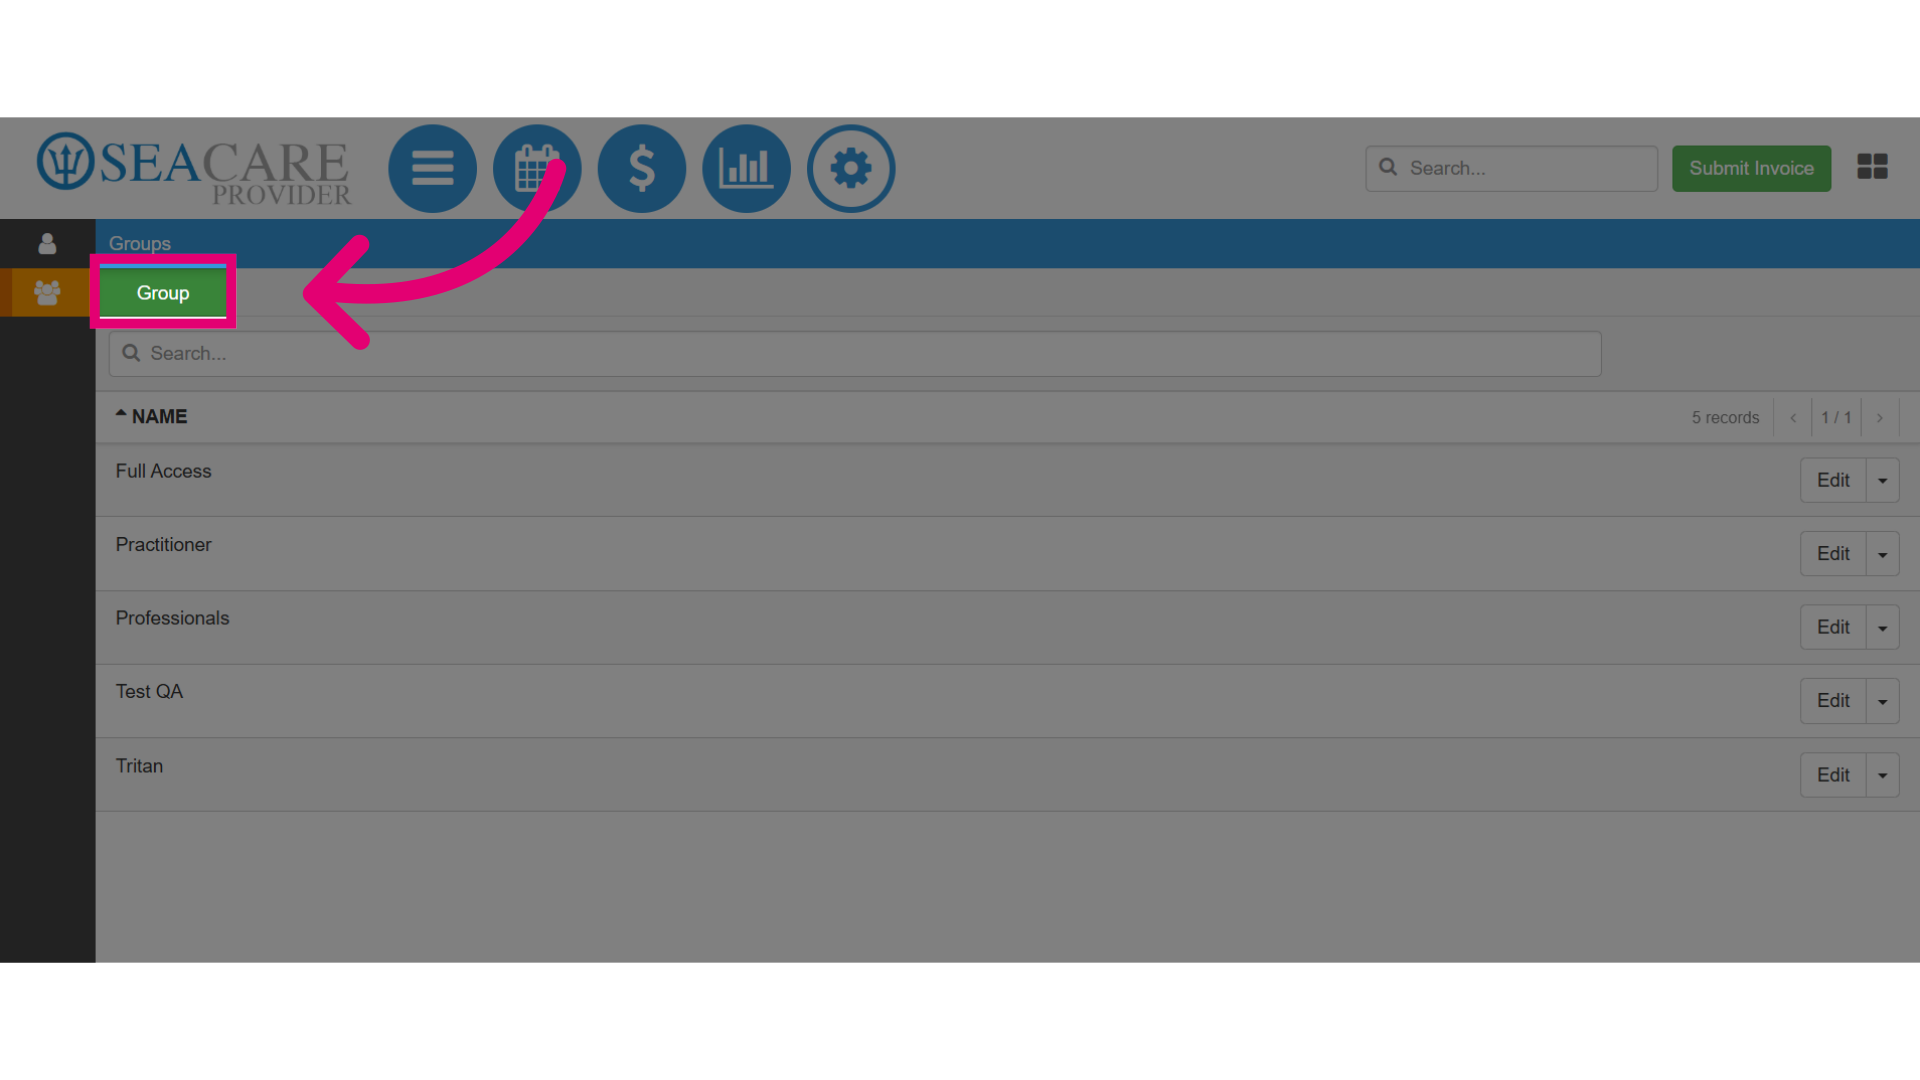
- Next, select the green Group button.
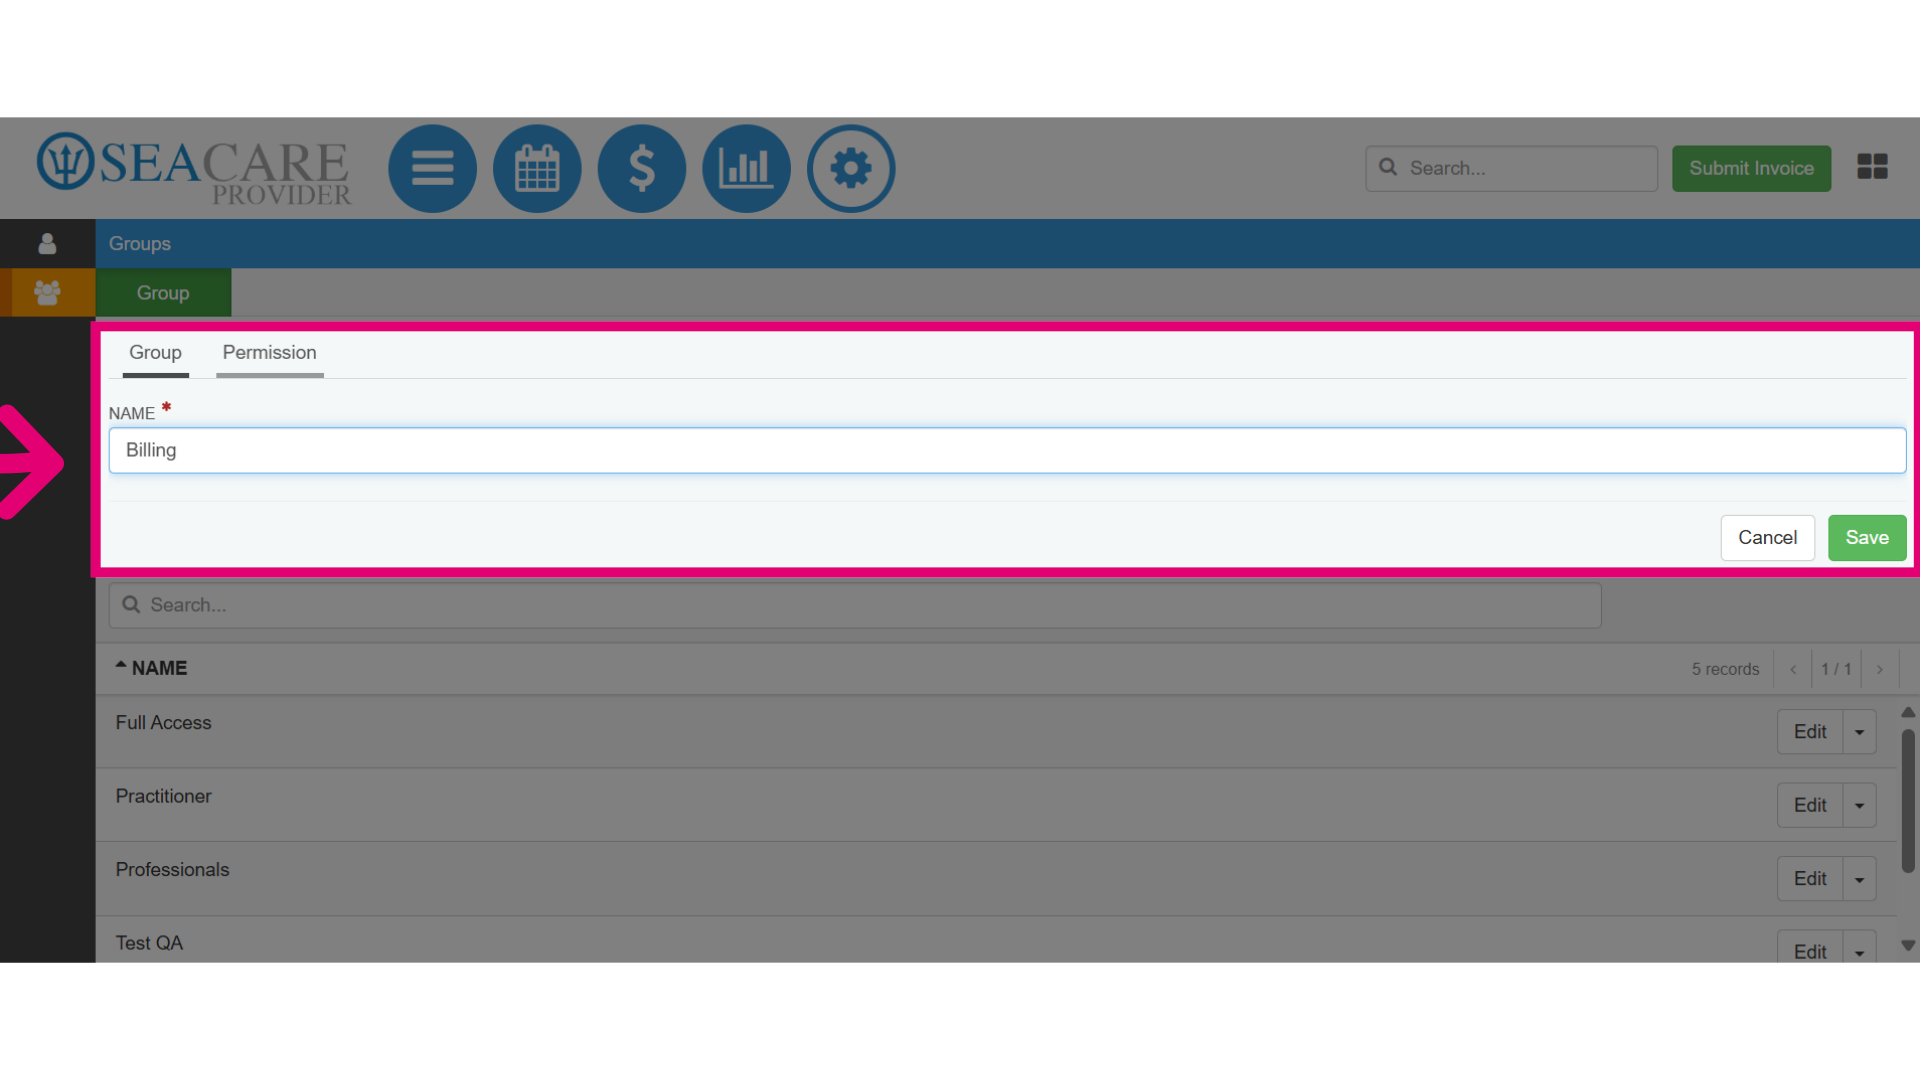
- There are two tabs representing the Group and Permission sections. Under the Group tab, enter a Group name.
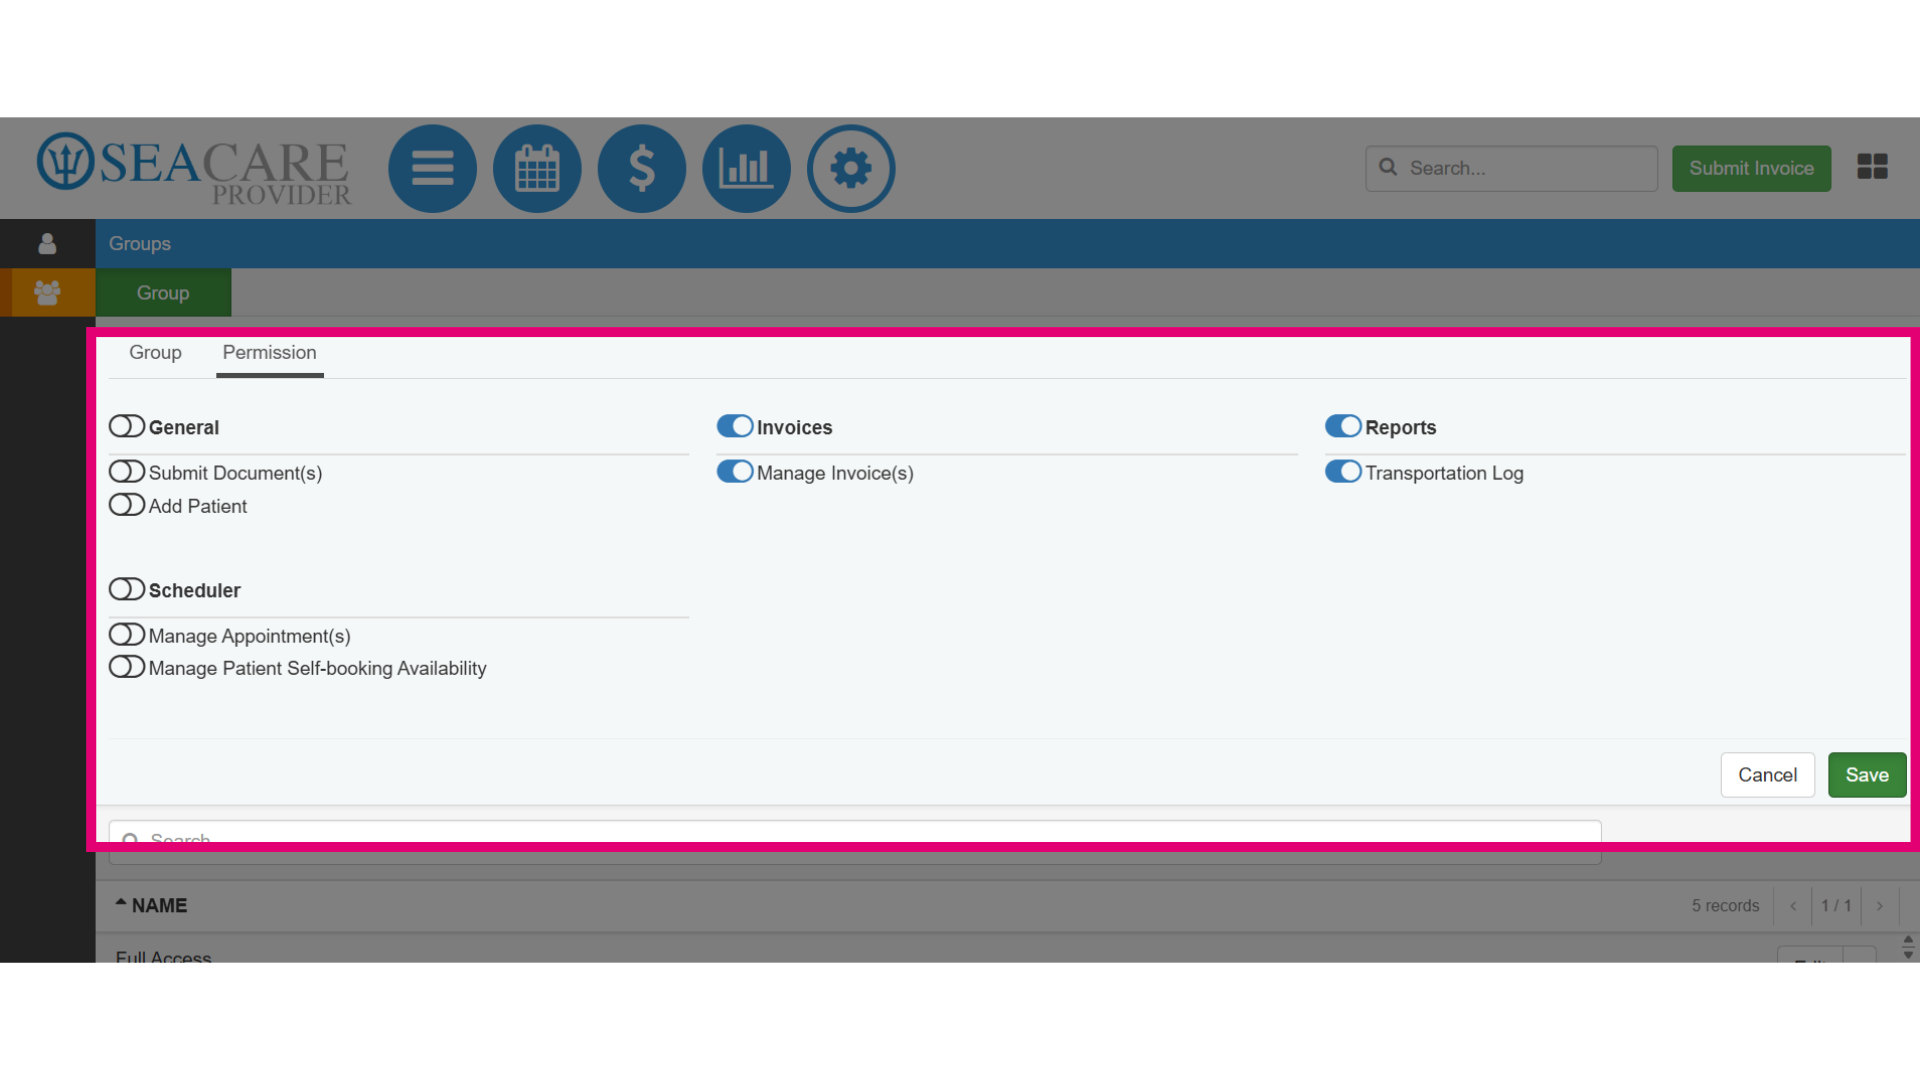
- In the Permissions tab, choose permissions that grants the group access to functionalities under the following categories:
- General - Includes options for specific permissions that grant access to Submit Document(s) and Add Patient.
- Invoice(s) - Includes an option that allows the user to Manage Invoice(s).
- Reports - Include a permission that grants the user access to the Transportation Log.
- Scheduler - Includes permissions that allows access to the scheduler to Manage Appointment(s) and Manage Patient Self-booking Availability.
- To remove a permission for a user, toggle off an option that was toggled on.
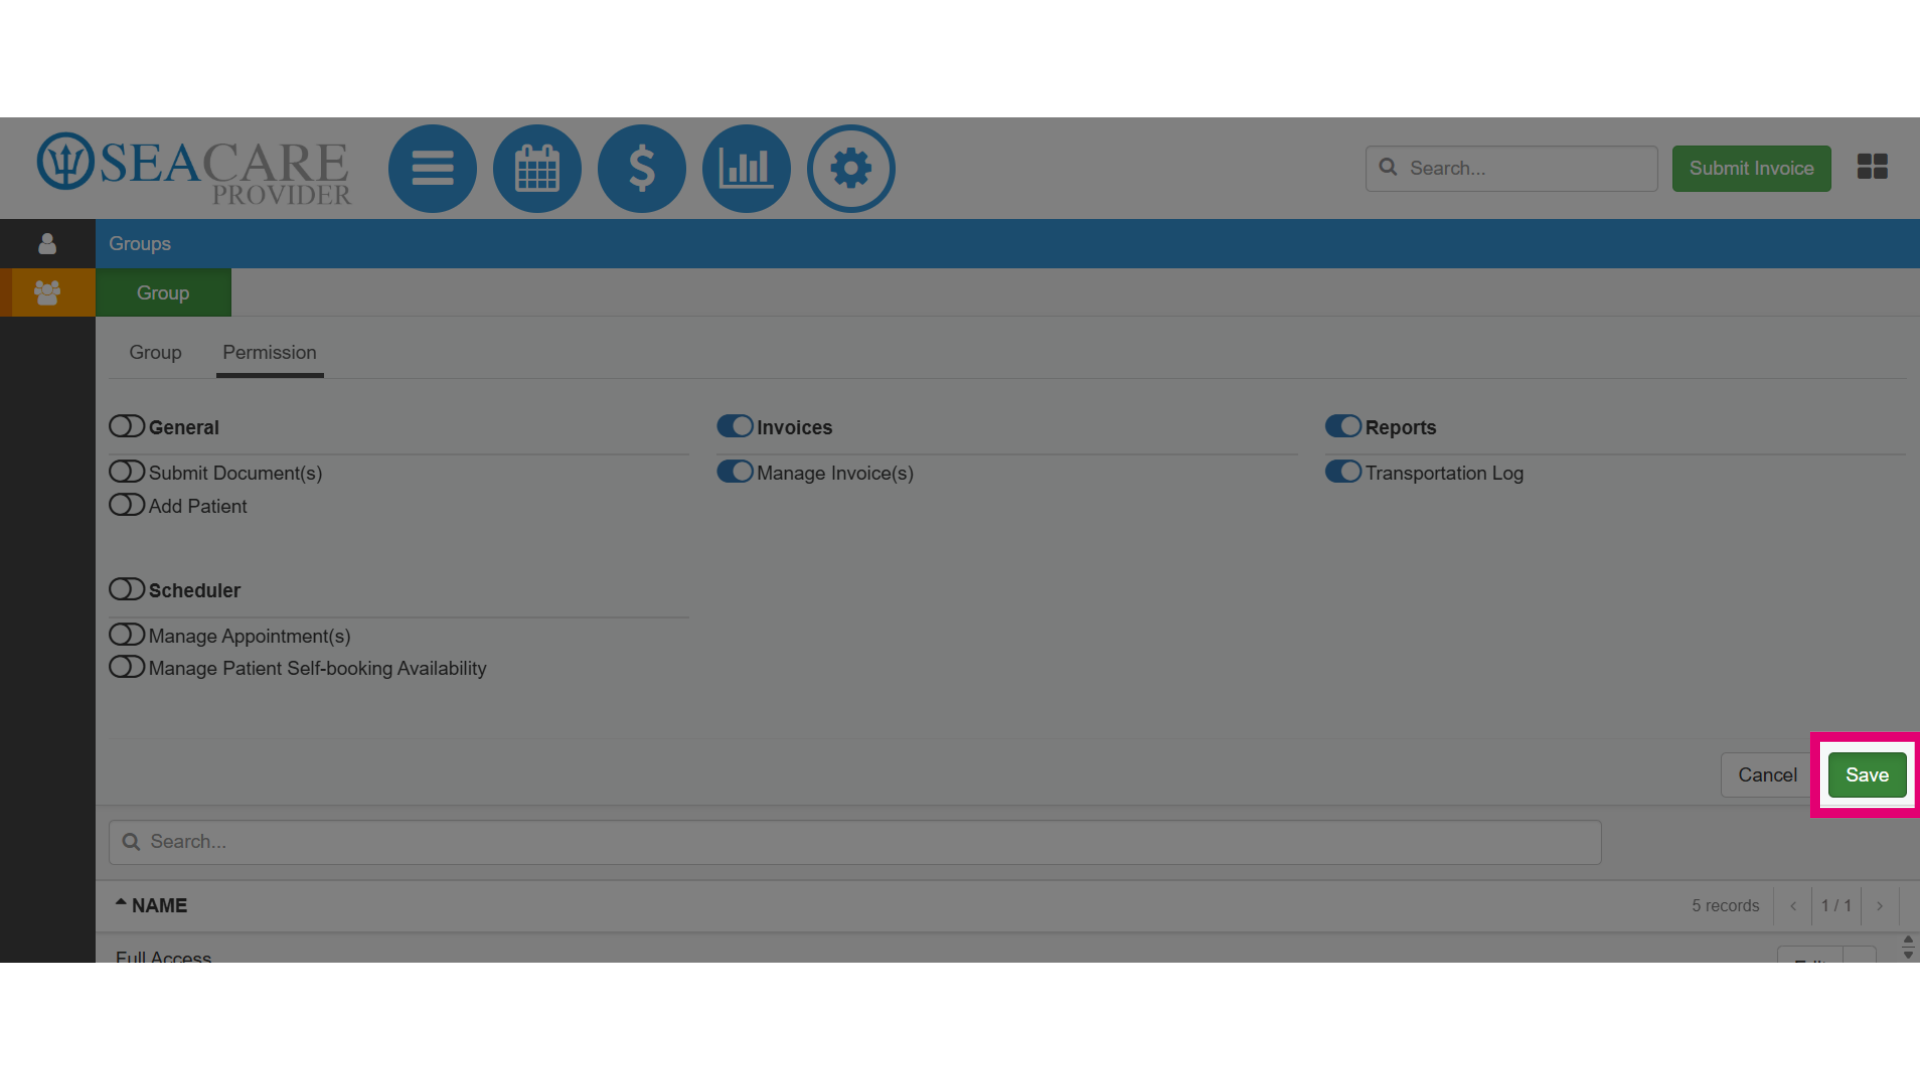
- Then, select Save to save the group information and permissions.
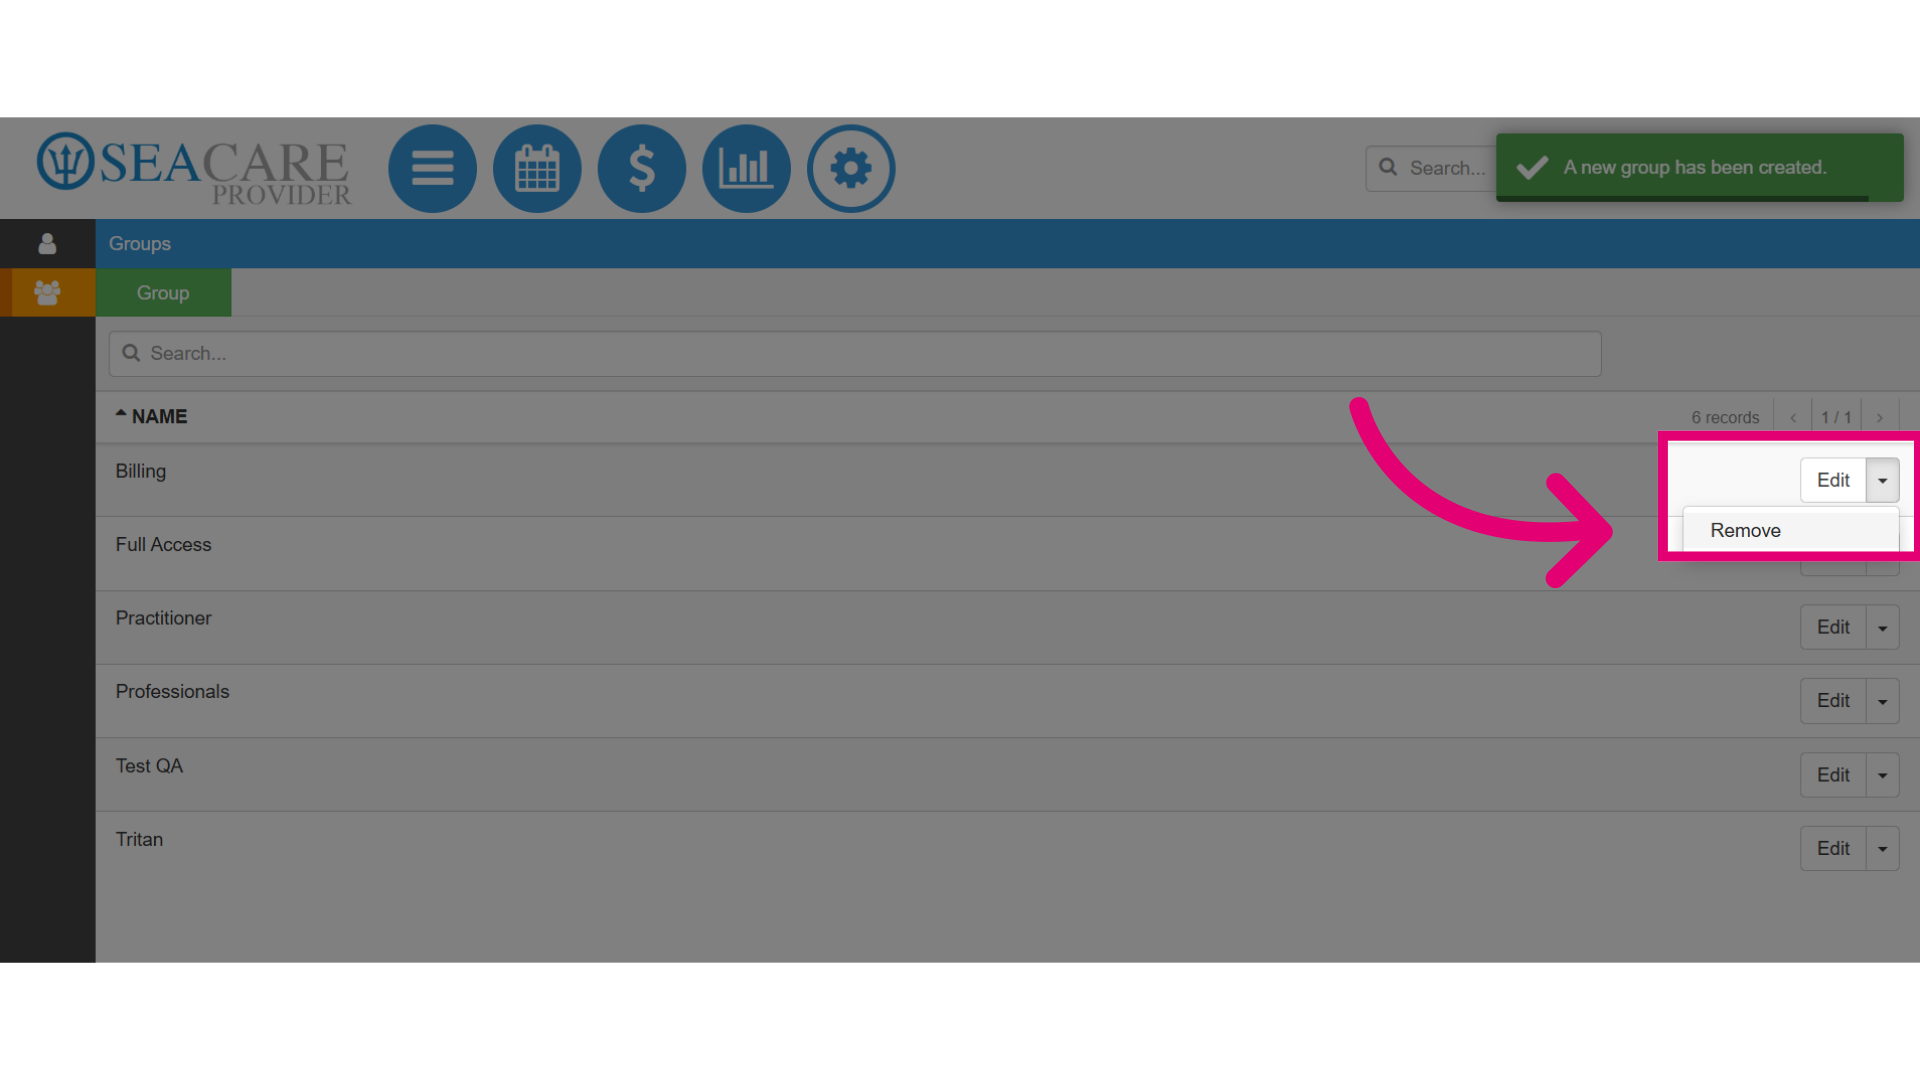
- Then, you can view the new group in the list with the group name displayed.
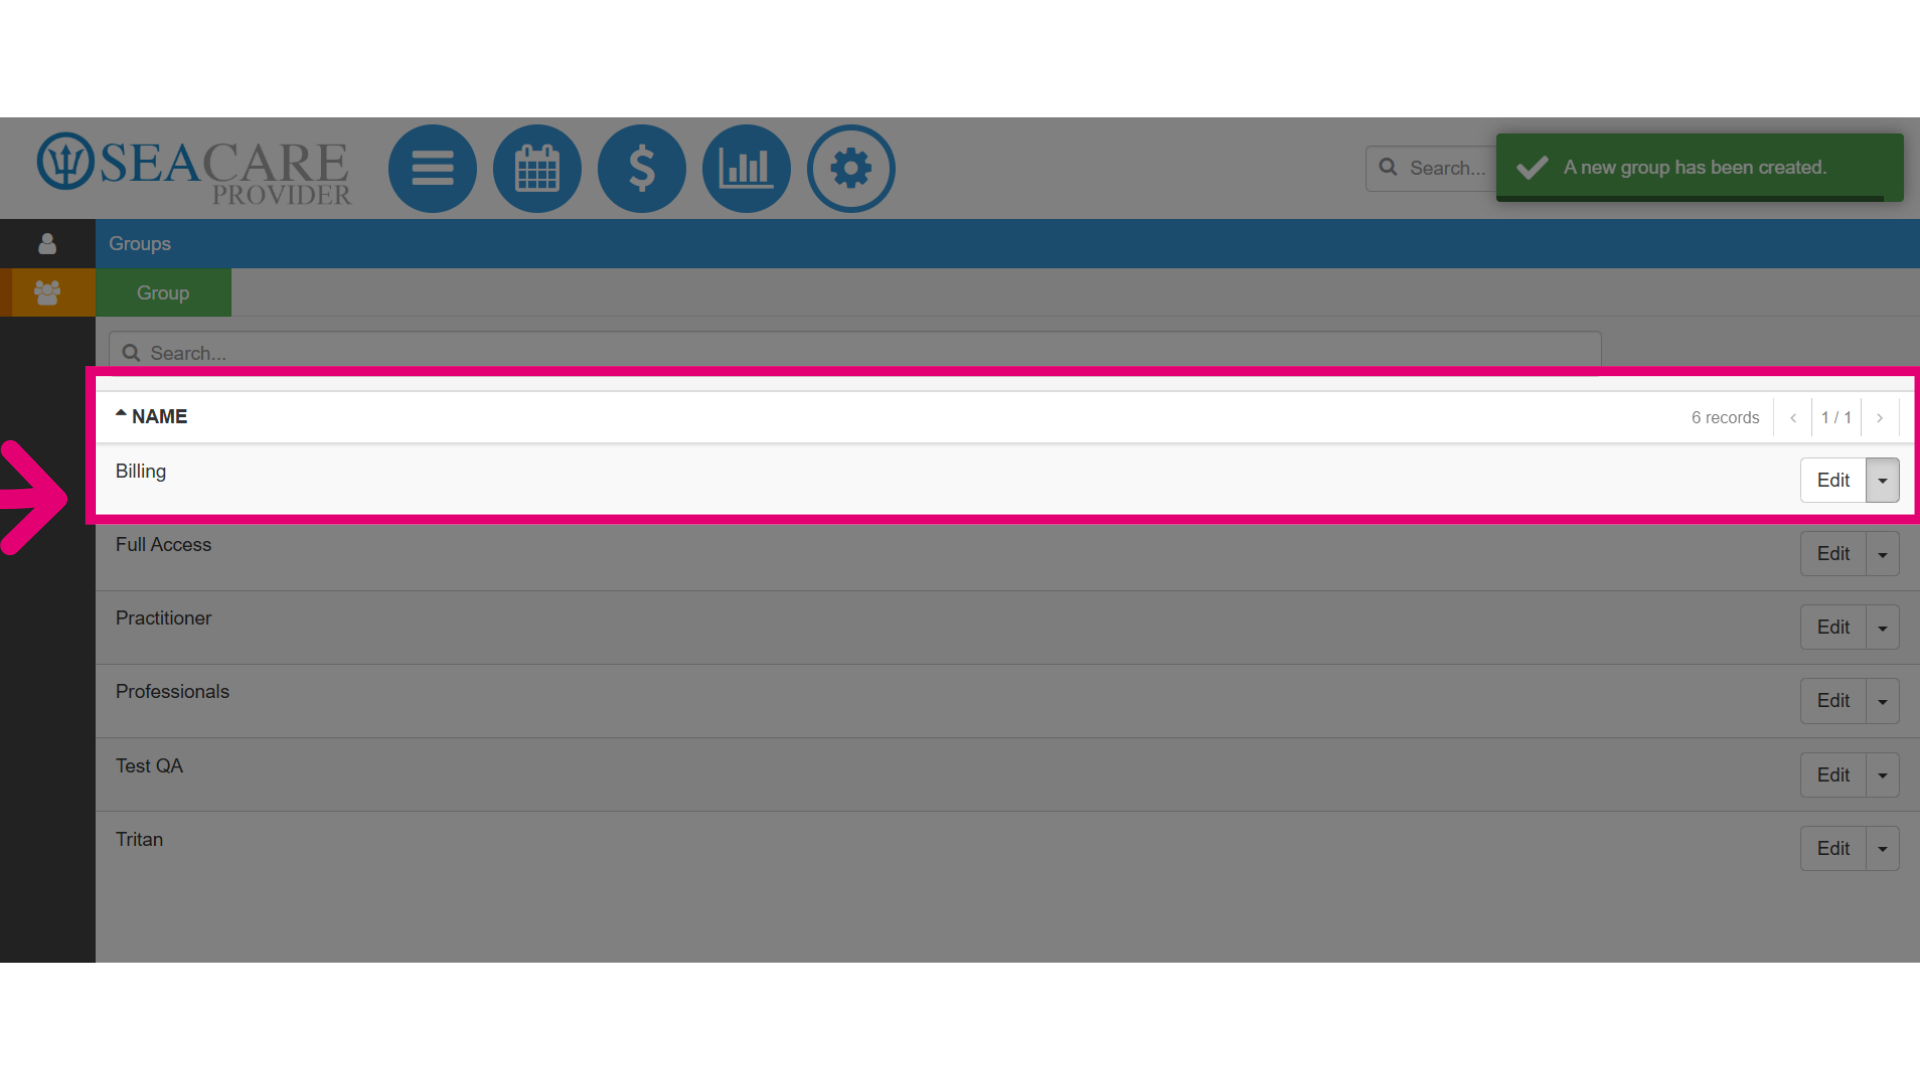
- You may also make updates to Edit or Remove the group.
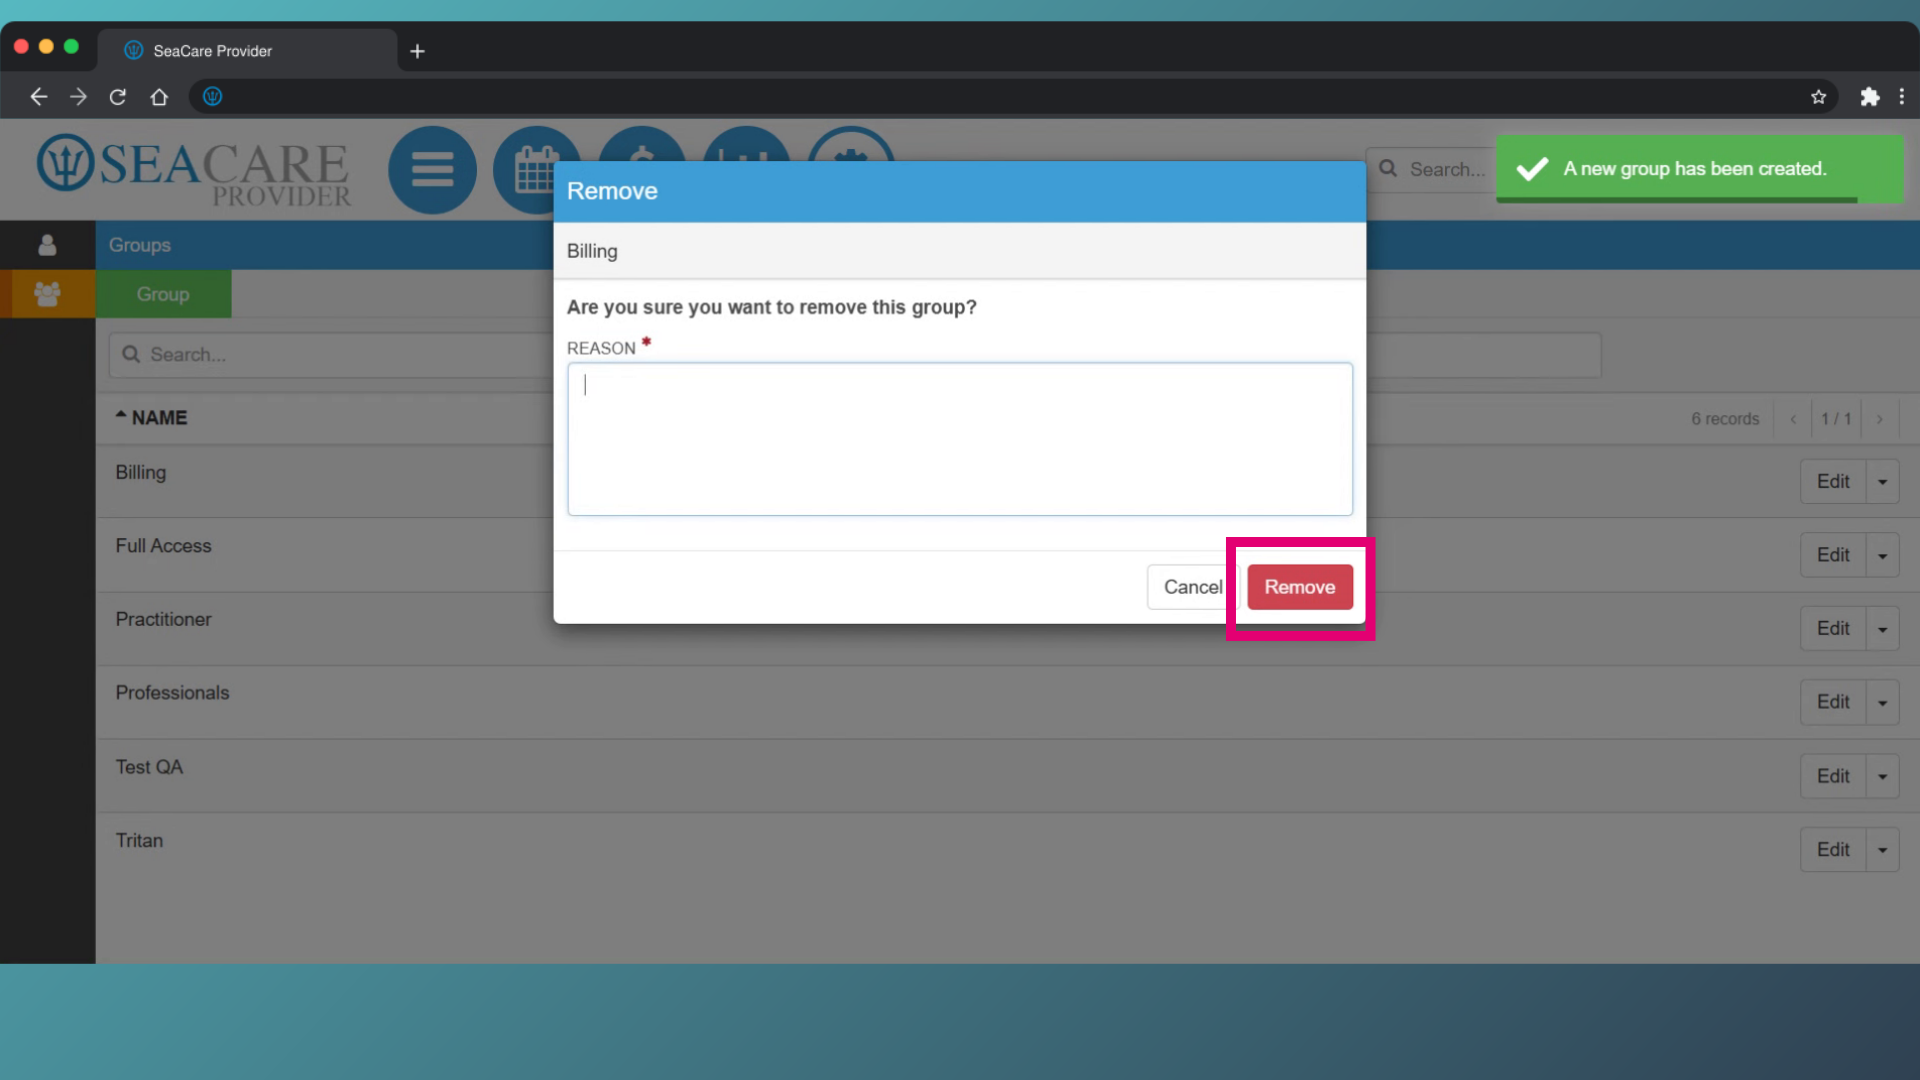
- To remove the group, a window will appear prompting you to provide a reason for the removal. Then, select Remove.